Shamrock On! Simplicity 8280
March is here and I’m feeling revived and renewed. I do love the month of March, mainly because everything is GREEN! Over the years green has become one of my favorite colors. Naturally, shamrock print would catch my eye at Joann’s.
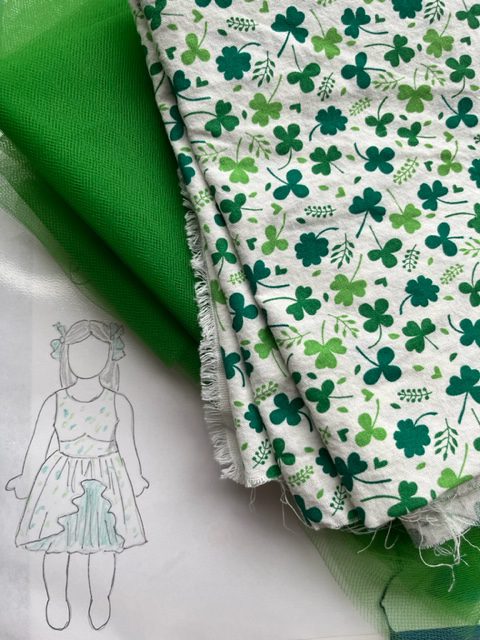
Lucky Pia will get a new dress for St. Patrick’s Day. I don’t always draw out what’s in my head, but I need to start doing this more consistently. I am finding the vision is more likely to get executed if I do a brain dump (it’s also easier for me to sleep!)
I chose Simplicity 8280 for Pia’s dress. This is out of print but was reissued as Kwik Sew 4311. You can find both of them online.
Construction Time!

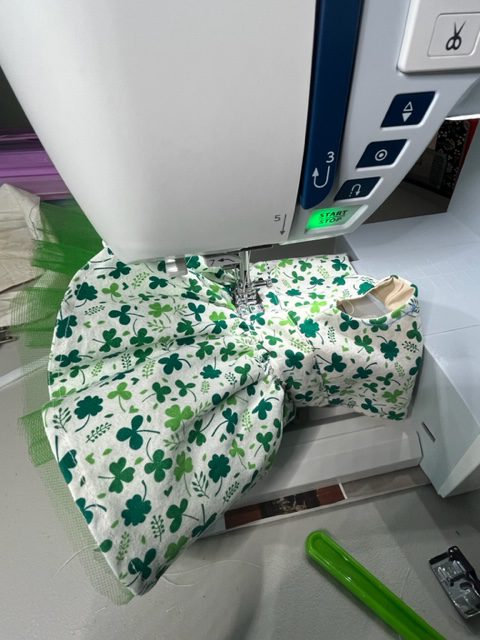
This pattern has 7 pieces, plus lining for the bodice. There’s an overskirt, underskirt and tulle layer. Unlike human garment sewing, I can cut this out so easily and not have to clear my kitchen table, haha!
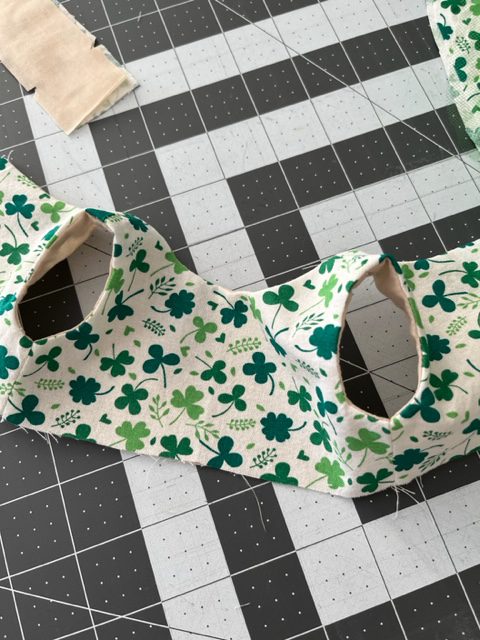
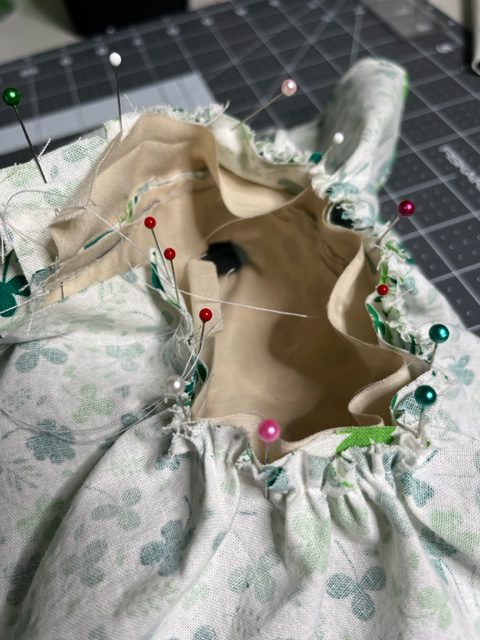
The pattern wants you to topstitch all around the neckline and armholes AFTER the sides are sewn. How you’re supposed to do that on the armholes I have no idea! I skipped that part. There is a separate midriff piece for the bodice.
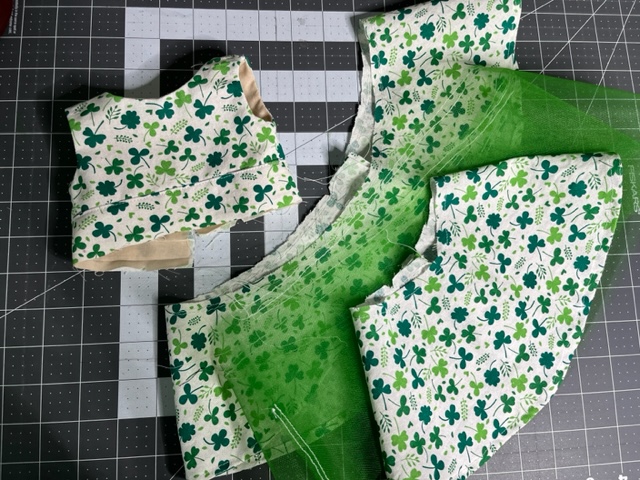
Now for the skirt. The pattern kept referring to the tulle layer as “front back skirt”, which was really confusing. This is NOT to be confused with the overskirt and underskirt. They should just call it the tulle layer, because that is what it is!

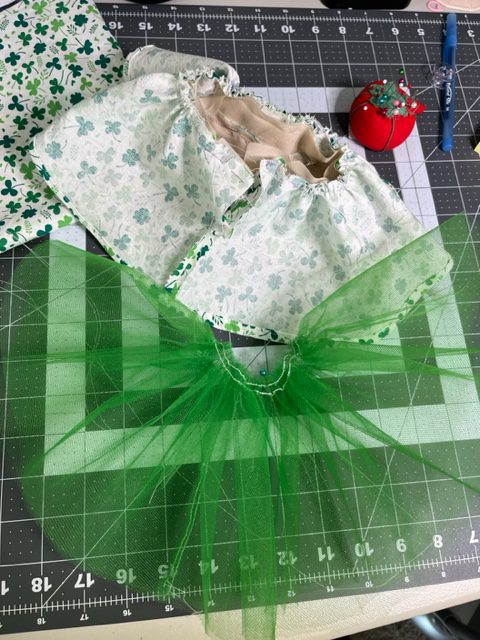
Each skirt layer was hand basted, per the instructions. I was not really feeling that. Next time I will baste all three of them as one; then attach them to the bodice.
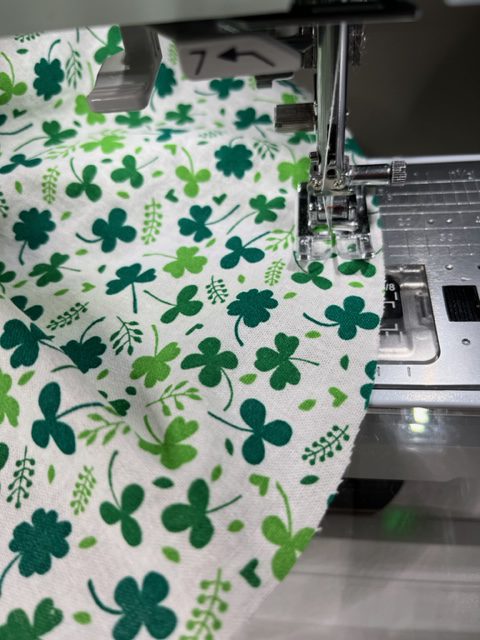
For the hem they want you sew 1/2″ basting, then fold all around then sew again. This is a pretty standard. Since there are 2 layers (the tulle layer is left alone) it can be cumbersome so next time I will use my narrow hem foot.
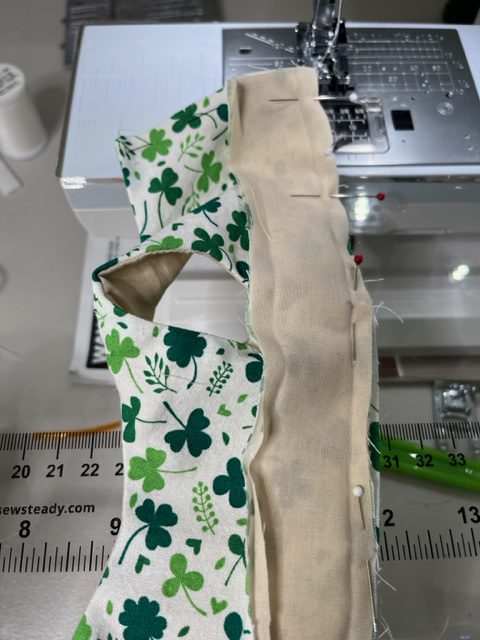
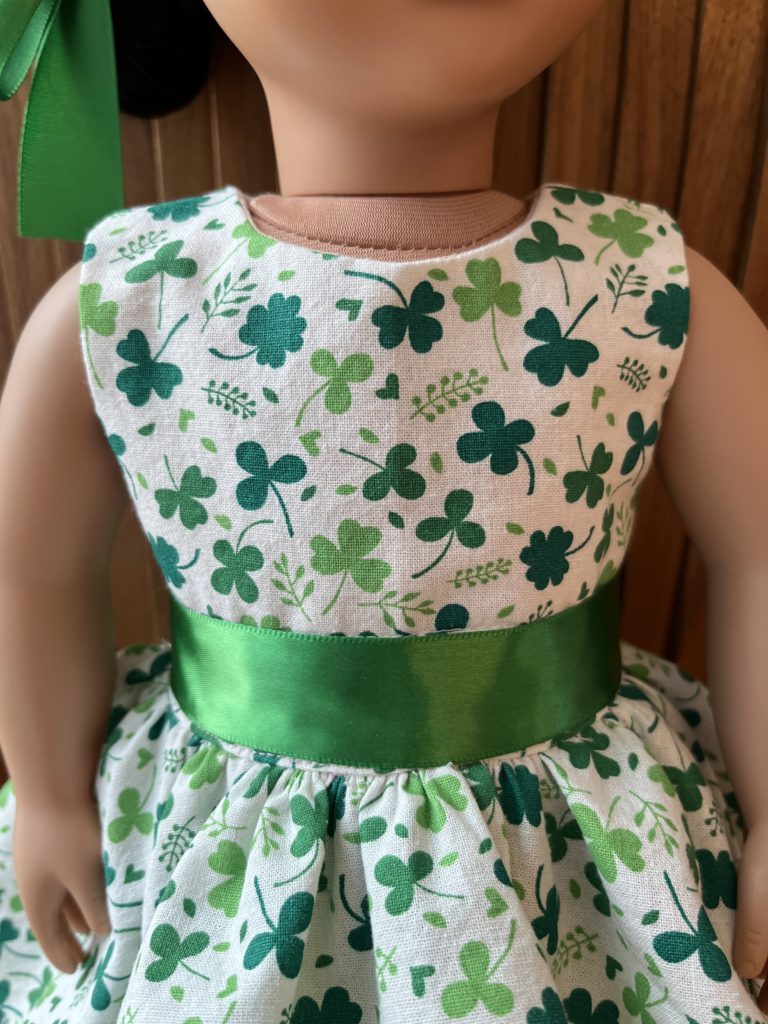
The lining of the bodice is then folded under and topstitched to stay in place. I did have a hard time making sure this caught underneath.

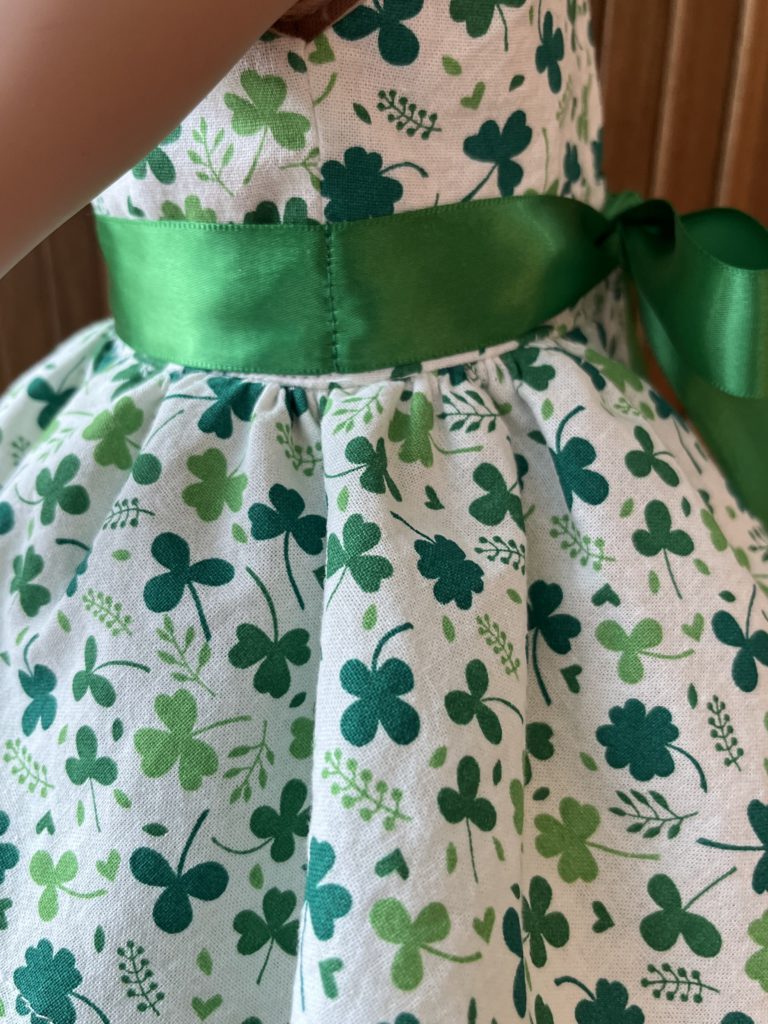
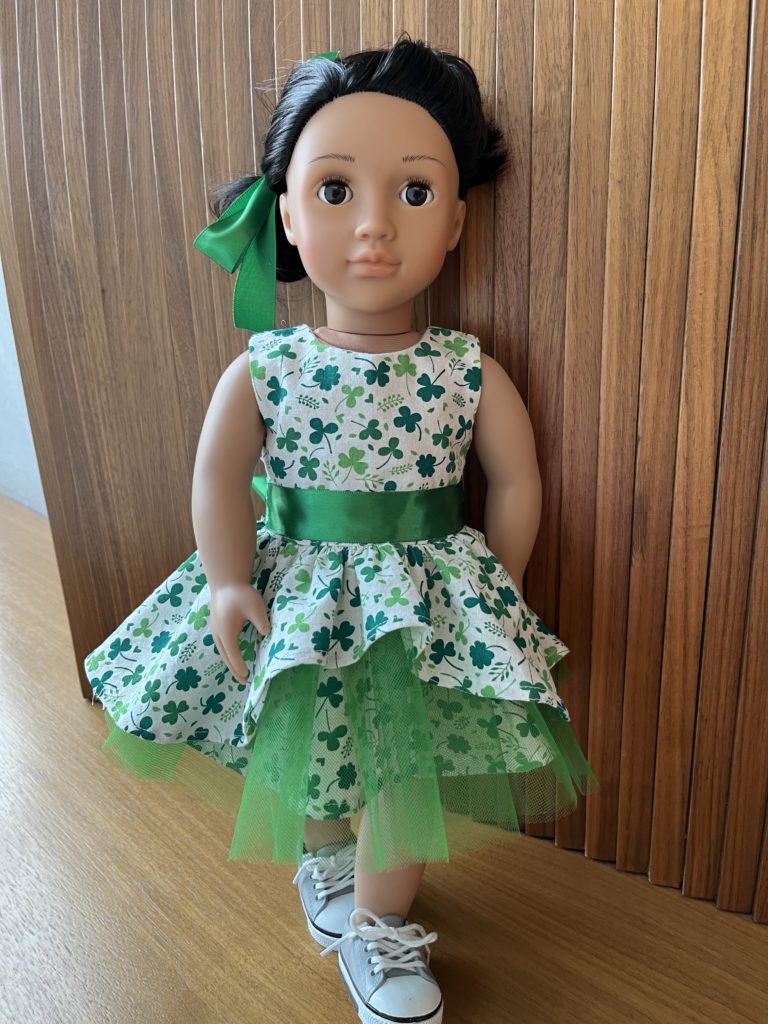
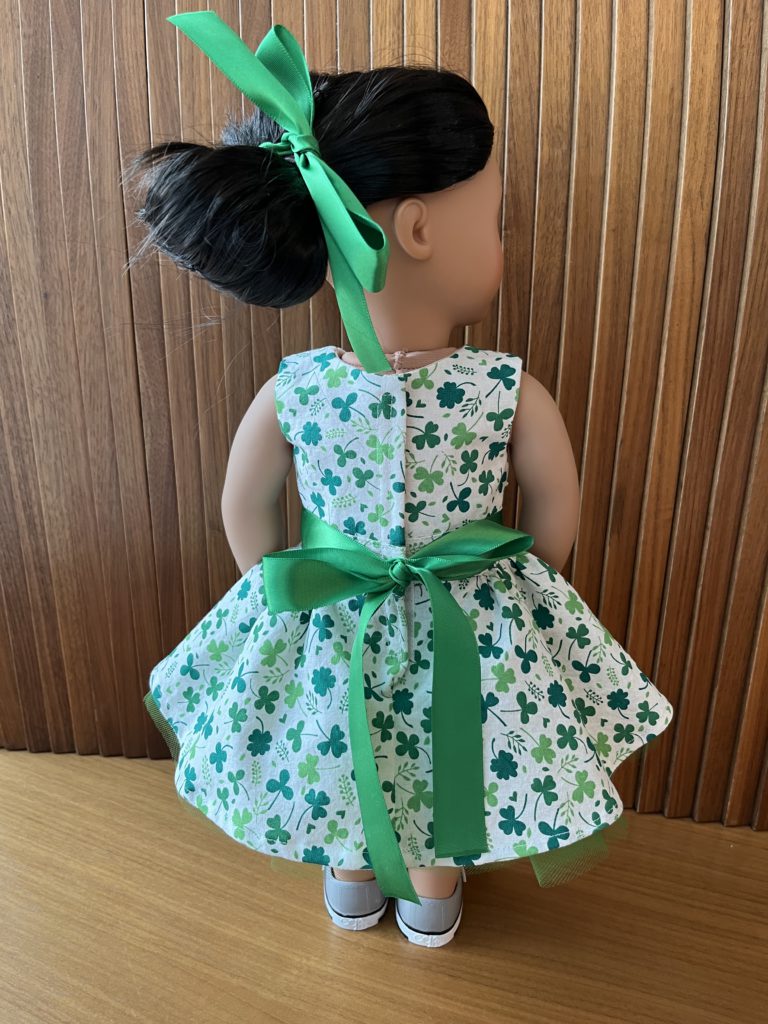
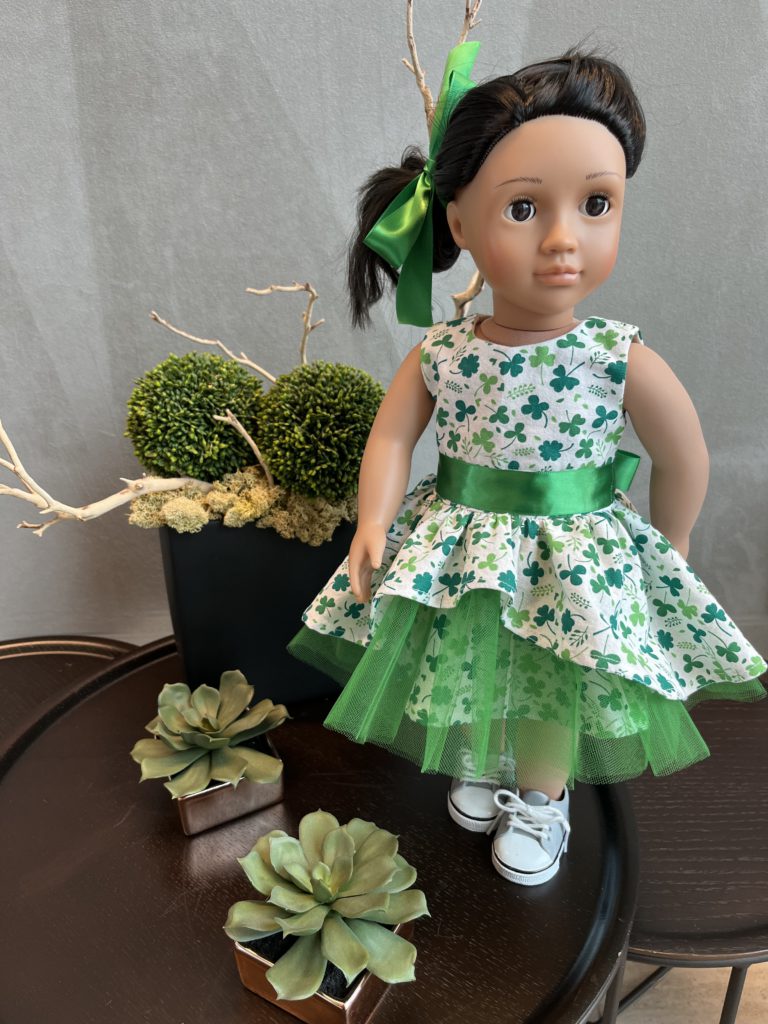
After completing the dress Pia inspected it. We both thought the waistband looked off. I think because there was not a pattern match. To make it look more polished I sewed a ribbon belt to the side seams. This created a cute bow sash in the back. I think it looks better!

The big reveal:
I really love how this turned out but I feel that the pattern instructions could use some rewriting. It just seemed like there were faster ways to sew certain parts AND the font size was super small. So if you’re going to make this, break out your readers, magnifying glass or monocle. 😉
Regardless, I ended up rating it 4/5 on Pattern Review:
https://sewing.patternreview.com/review/pattern/188161
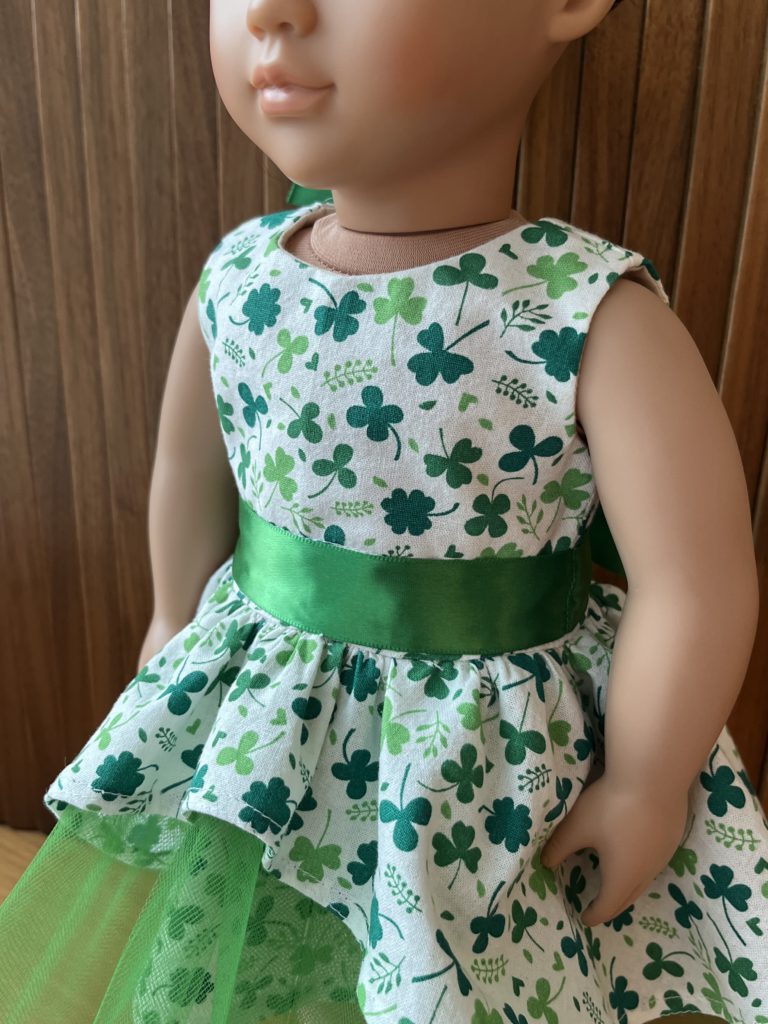
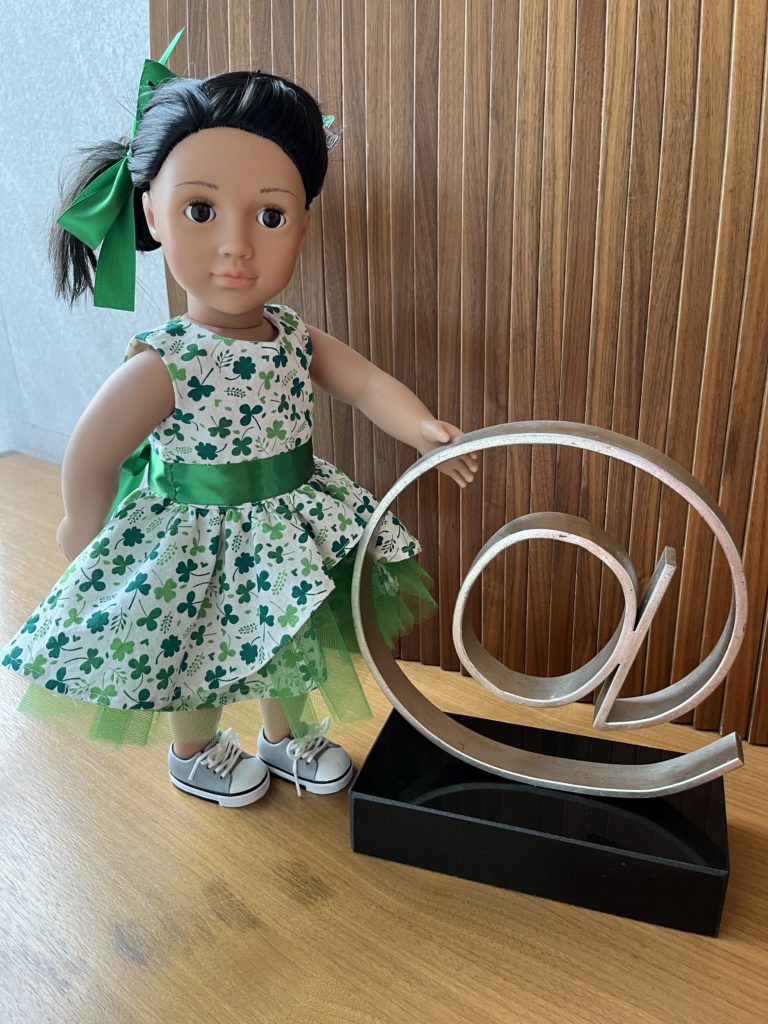
Here’s some extra pics I took during our photoshoot. You can tell the bodice is just a smidgeon too big but that’s ok. A new dress is a new dress, afterall. haha!
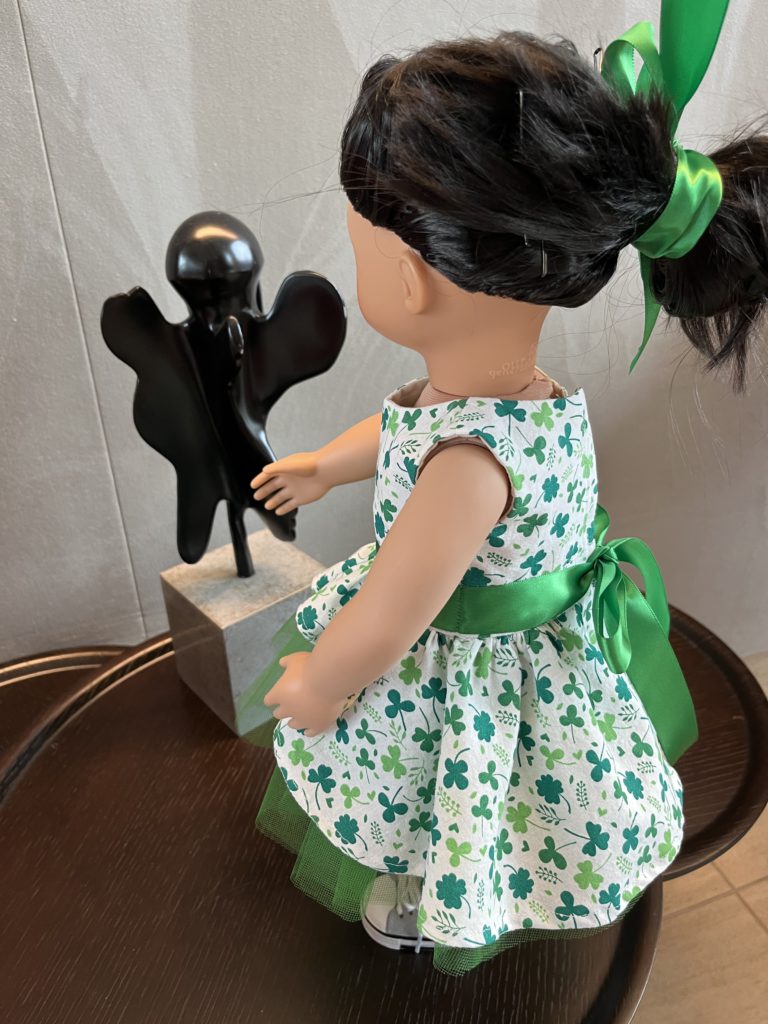
Taking action pictures of this gal is so amusing to me. It doesn’t take much to make me laugh. I pretty much entertain myself, LOL.
Happy St. Patrick’s Day!