Boning Bonanza
One really awesome thing about sewing is that you can build upon existing skills. Over the holidays I was lucky enough to score three Gertie books secondhand for the price of one, patterns included! I’ve been absorbing so much info that I am so curious by her techniques. In true form, I went down the rabbit hole of garment construction and decided to put boning into the dress. It was supposed to be a simple sundress, but suddenly it turned into a more complex project.
Curiouser and curiouser….
In McCalls 7752 I used the readily available plastic boning with casing. Gertie prefers spiral boning due to its flexibility, durability, etc. You can purchase them in precut measurements but I went with the 10 yard roll. Something about cutting it myself looked cool, lol.
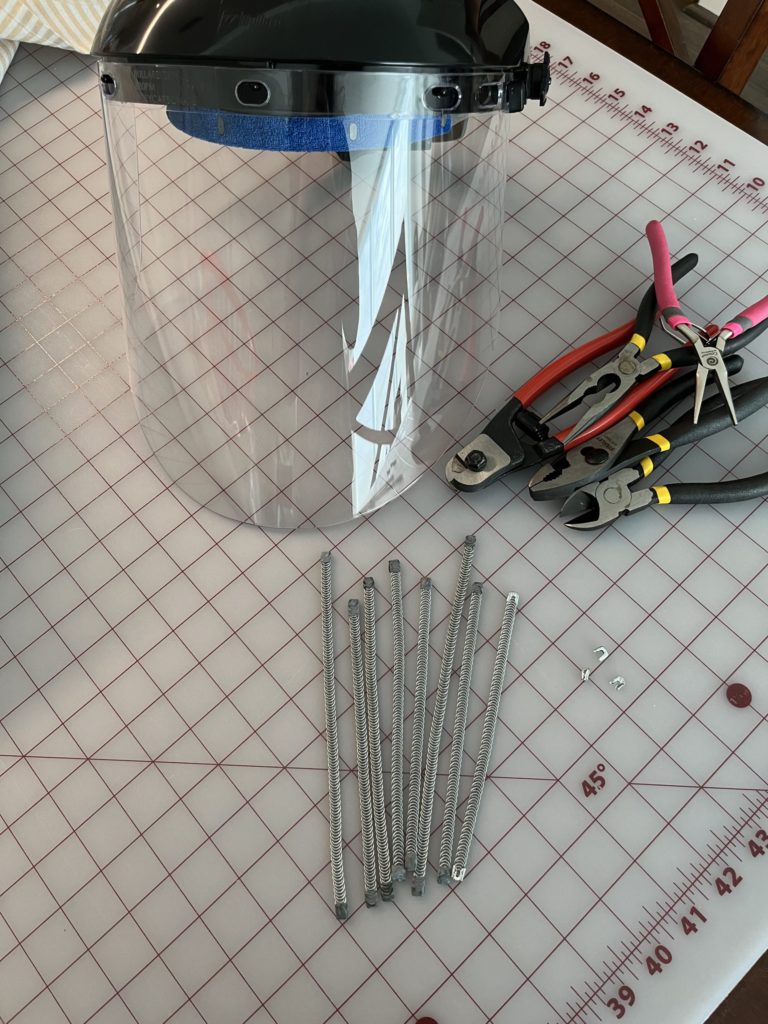
When the stuff arrived, it looked intimidating. Big clunky tools…totally not my element! But one day I’d love to sew a dreamy dress like Teuta Matoshi, so I will learn.
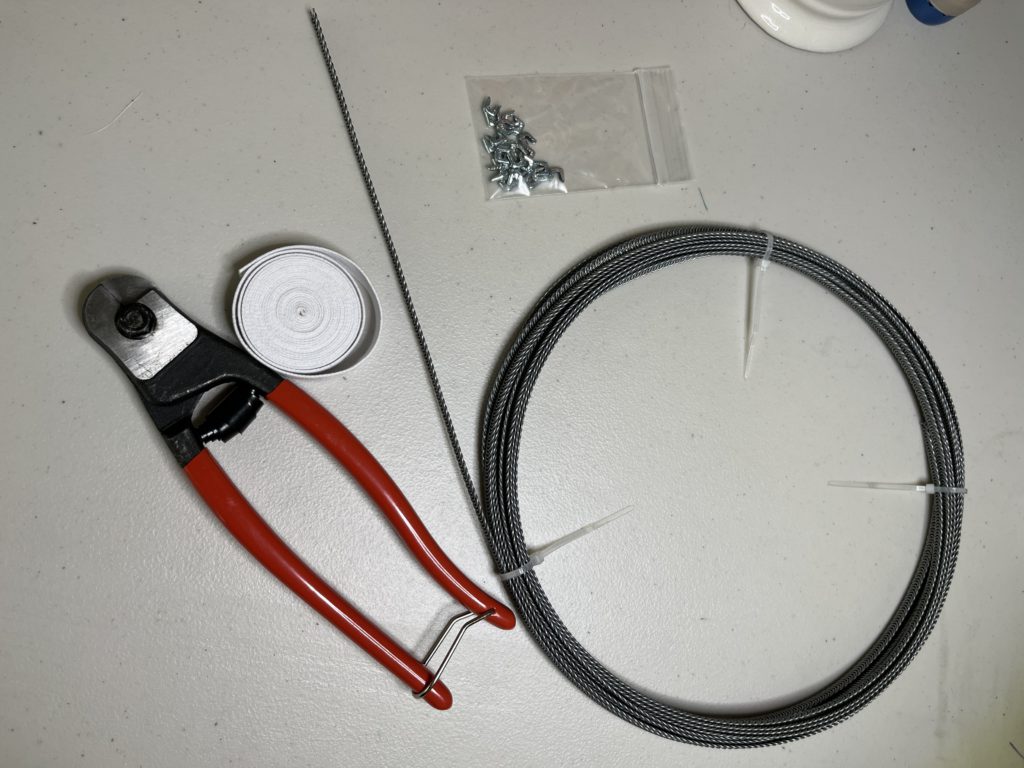
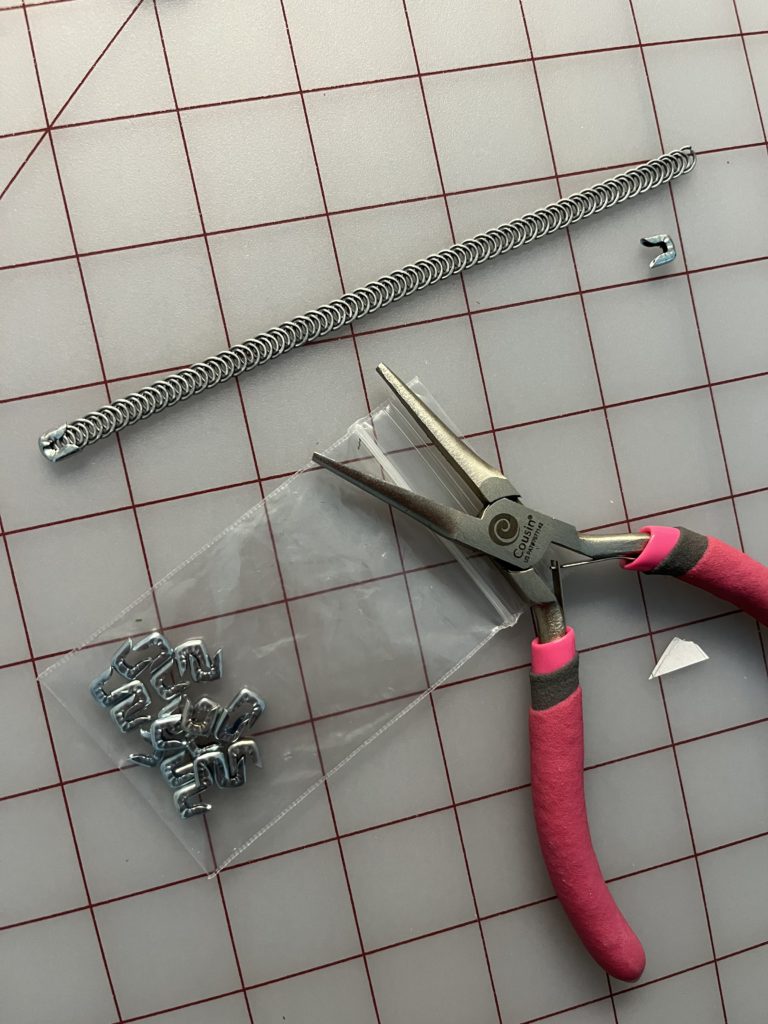
Supplies:
Spiral steel boning 1/4″ wide
Steel boning tips
Metal boning cutter (people have used bolt cutters- I just bought the ones off of Gertie’s recommended website corsetmakingsupplies.com)
Safety glasses. I went all out face shield. It’s great to protect your eyes, but what about the rest your face?!! Lol

There are a couple ways of tipping the ends.
Method 1: Plumbers Tape (Most cost effective and time efficient way)
Supplies: FasTape or Harveys plumbers teflon tape from Home Depot ($0.59-$1.50)
I followed this Gertie video which was extremely helpful.
Skip to 101:12 To see how to use the teflon tape
But also worth watching from the beginning of the segment at 55:27
A few tips I’d add though:
- Lay flat against a table (she does this in the mid-air but I find it easier to keep the tape flushed against the boning when laid flat)
2. Turn and press the tape down using your finger, repeat until about 0.5″ away from end.
3. Once it looks like a flag, flip over top then turn and press again.
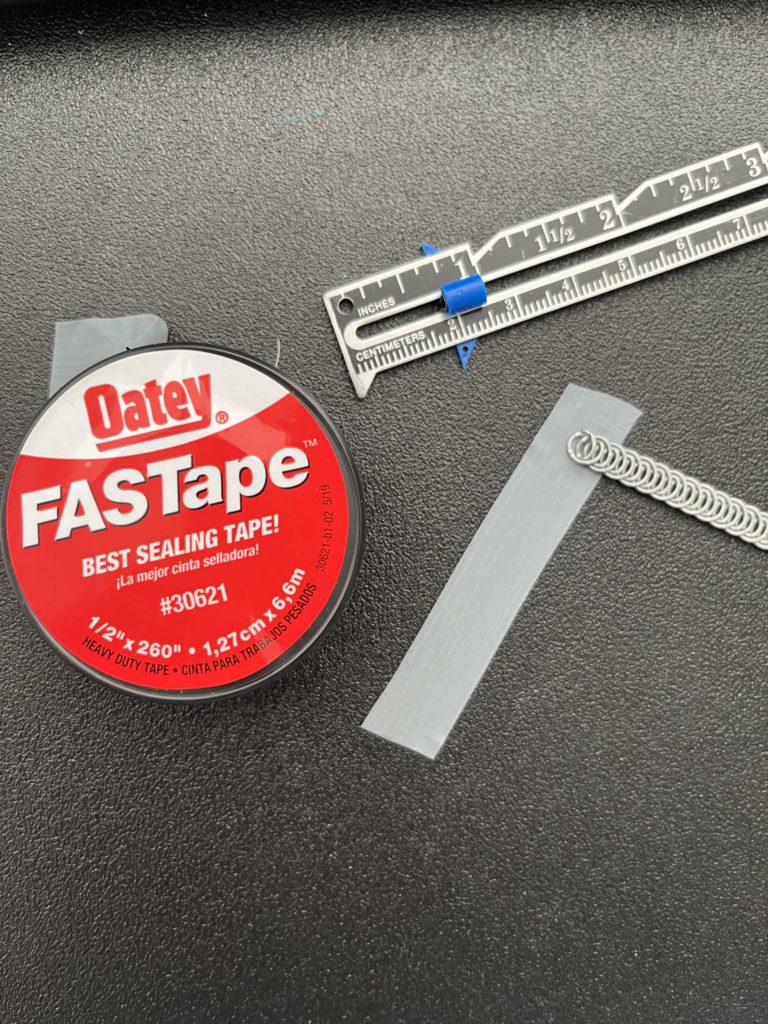
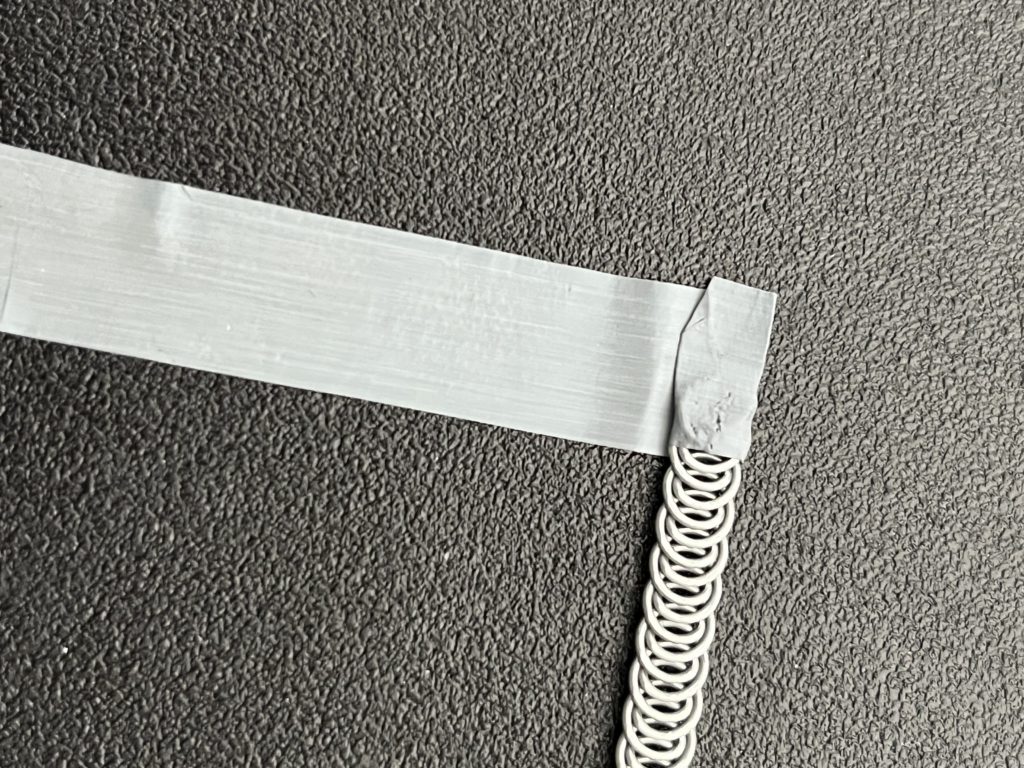
Turn and press. Repeat. 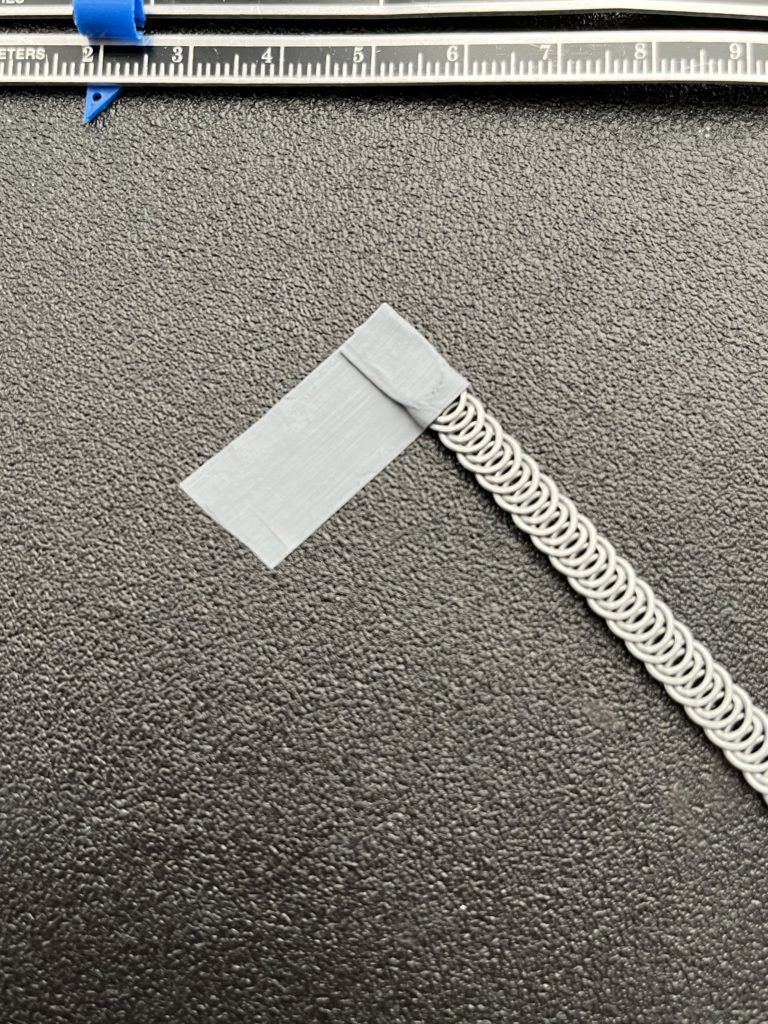
Flag 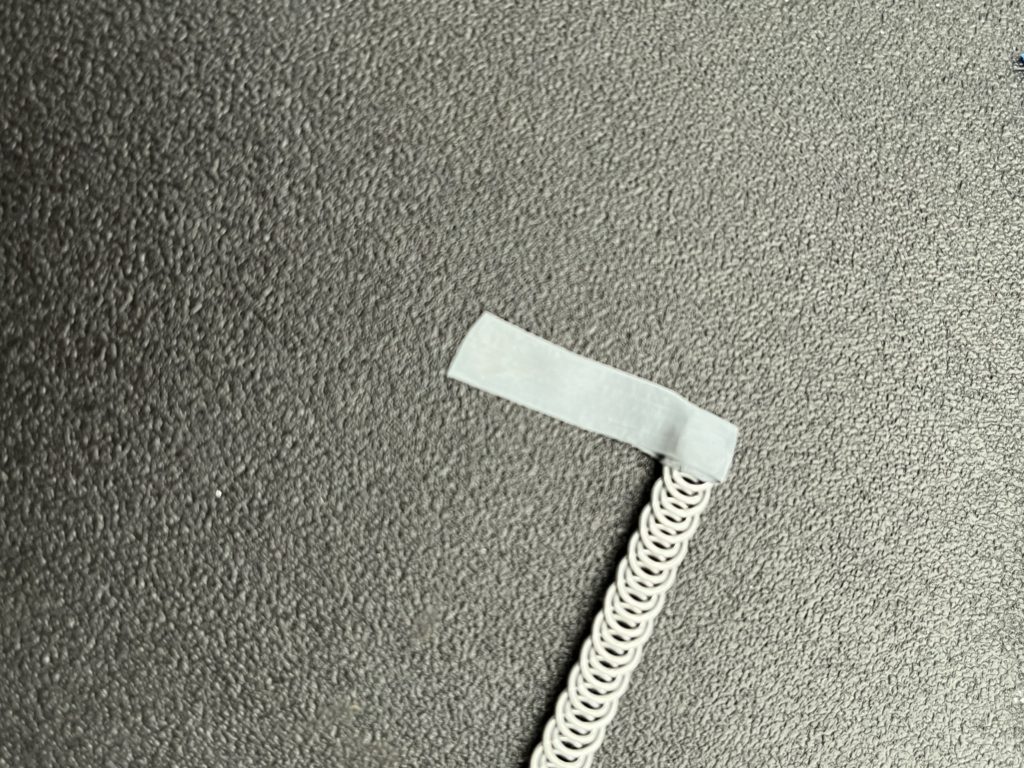
Fold over top and continue. 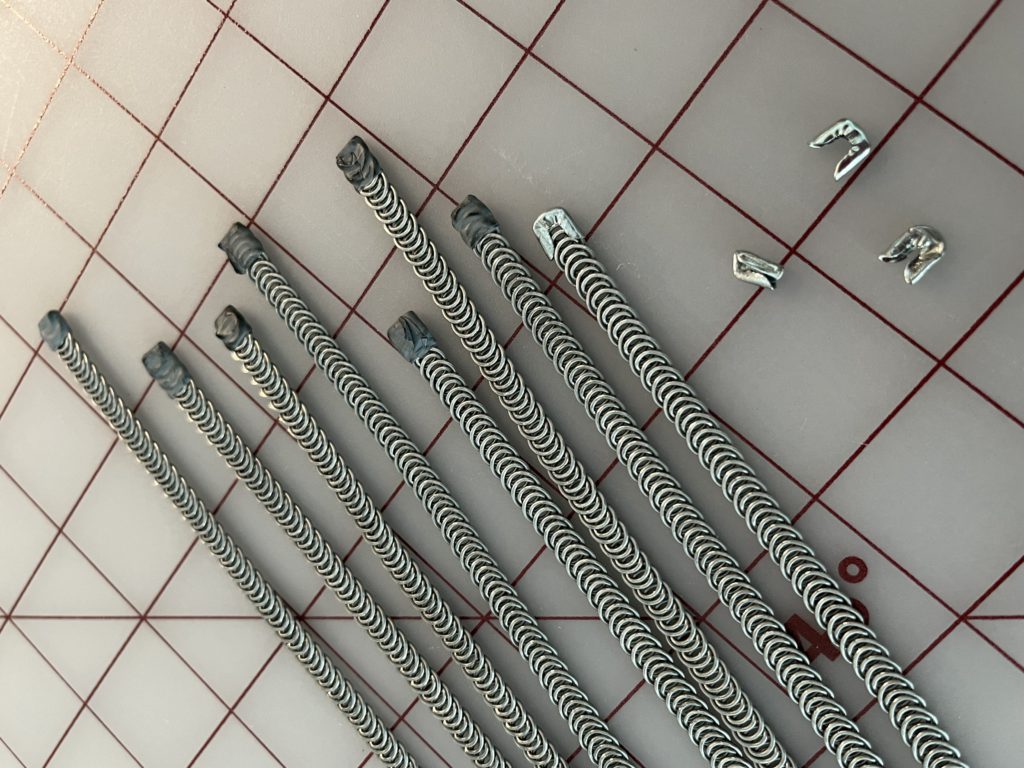
Complete
The FasTape is very thin and moldable. Do you cook? Well it kinda feels like onion skin. I found it very easy to work with and oddly satisfying to smush down.
Method 2: Two Pliers
I did it this way first. It does work but takes some practice. For me it was awkward trying to squeeze everything into place. Needlenose & slipjoint pliers worked best using this method. I also used jewelry pliers and rotated between all of them until it worked.

After successfully crimping on two tips, I decided I expended too much elbow grease. If the plumbers tape takes less work and is just as effective, then that will be my go-to method from now on!
For casings I went with premade ones, 1.5″ wide.
Basically, I’ve been doing whatever Gertie does and suggests in her books and her archived blog. I know she has a pretty big following but I wouldn’t put myself in that crazed fangirl category. I just really like retro fashion and find her conversational tone easy to read (probably because it’s so much like mine 😉). Susan Khalje’s “Bridal Couture” book has given me a lot of boning tips as well. Rather than having a set syllabus and required textbooks, being able to create my own lesson plan a la carte is really what makes this sewing journey so much fun. There is no set way or set person for anything. I consult everything and everyone!