Self-drafting Shenanigans
A big goal of 2022 is to continue to learn draping and patternmaking.
Surely I own a princess seamed bodice somewhere in my pattern hoard, but I am finding that draping is much faster than flat pattern adjustments from a commercial pattern. Mandy the Mannequin is my twin, so I don’t have to do any SBAs, shorten the bodice length, etc. etc…. Yes sometimes the initial muslin will be off but not nearly to the extent of a commercial pattern.
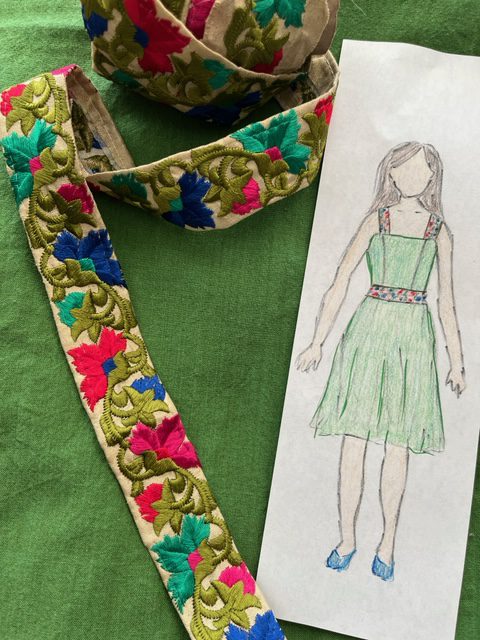
Here is the vision and the fabric. Princess seam bodice with a flared skirt. There is nothing unique about this is style whatsoever, but I’m curious on seeing if I can drape it properly. I wanted a simple design to showcase the gorgeous embroidered trim. This stash quilting cotton is not my normal shade of green (I prefer emerald) but I think they are a perfect pairing. That trim really elevates it! It goes from looking like Kermit to Kermes (Like Hermes, lol.) Looks like I just found the name of my new dress. 😉
Before I get into it, I need to preface this by stating that I am totally self-taught, so my process may not be the correct way. This is my interpretation of what the book is telling me to do. I followed the instructions for strapless princess bodice and flared skirt with increased hemline sweep in the book “Draping” by Helen Joseph Armstrong.
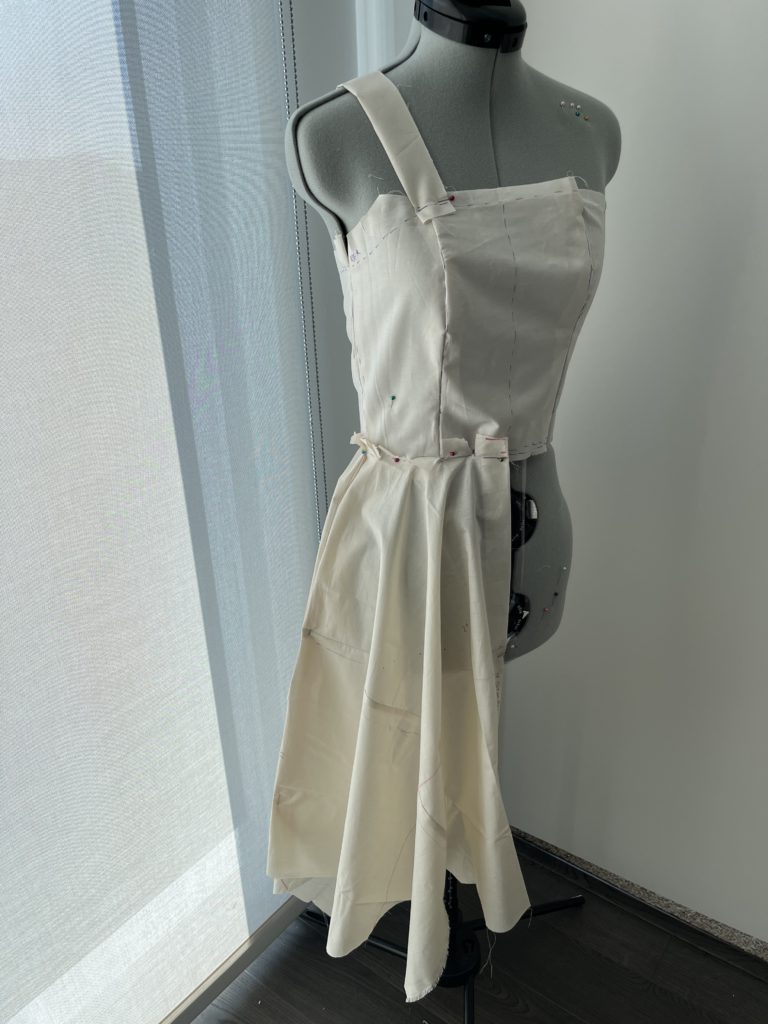
In order to prep the muslin, I measured the bust points, side back panel, length and back of Mandy. From those measurements you can cut out your muslin pieces. I draped this on one side only and later sewed the rest of the bodice.
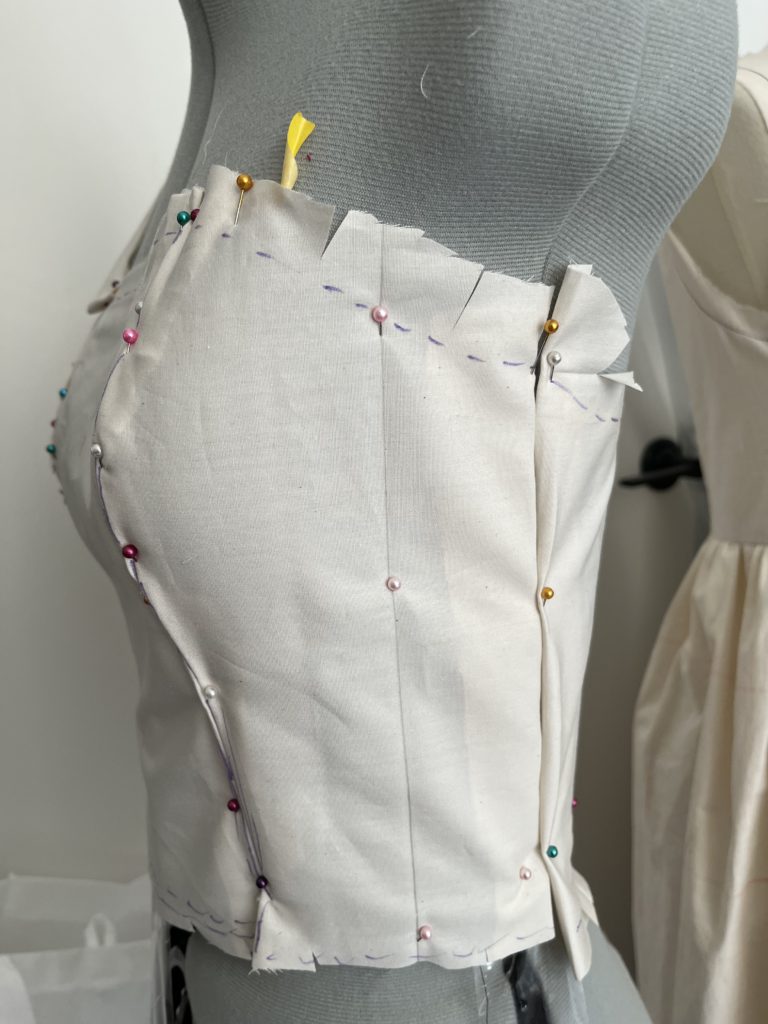
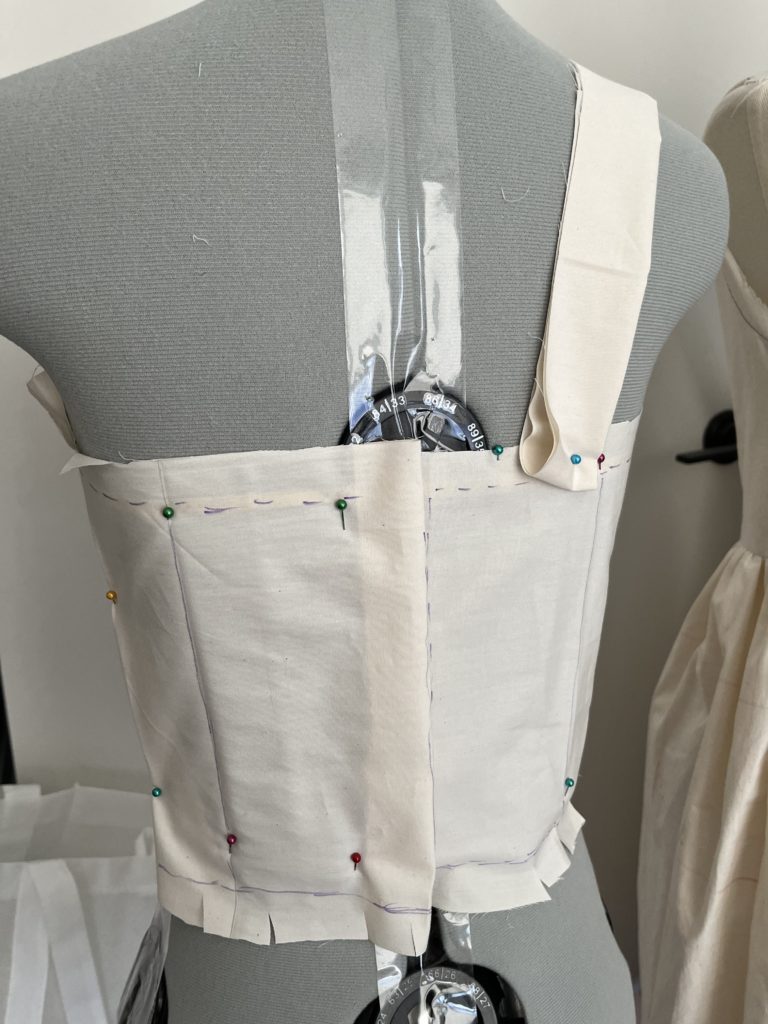
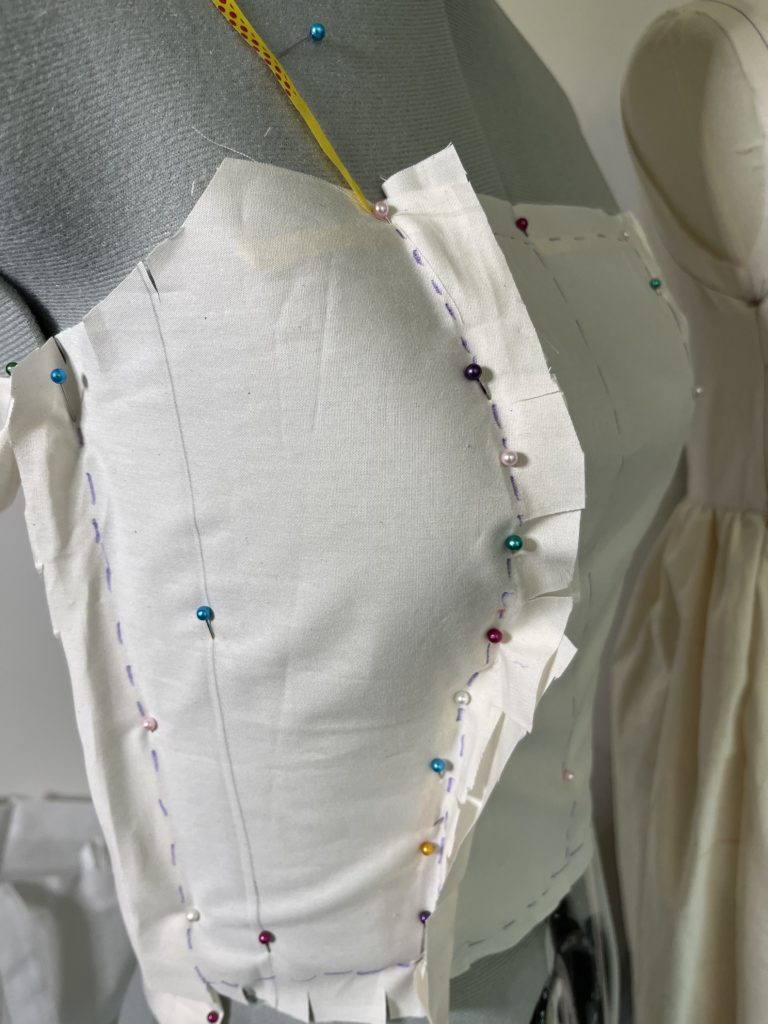
The bust curve gets a little tricky in that it starts to get wrinkly, but if you clip it you will release it and ease will come into play. This is pretty much the same thing you do when you are sewing a commercial pattern.
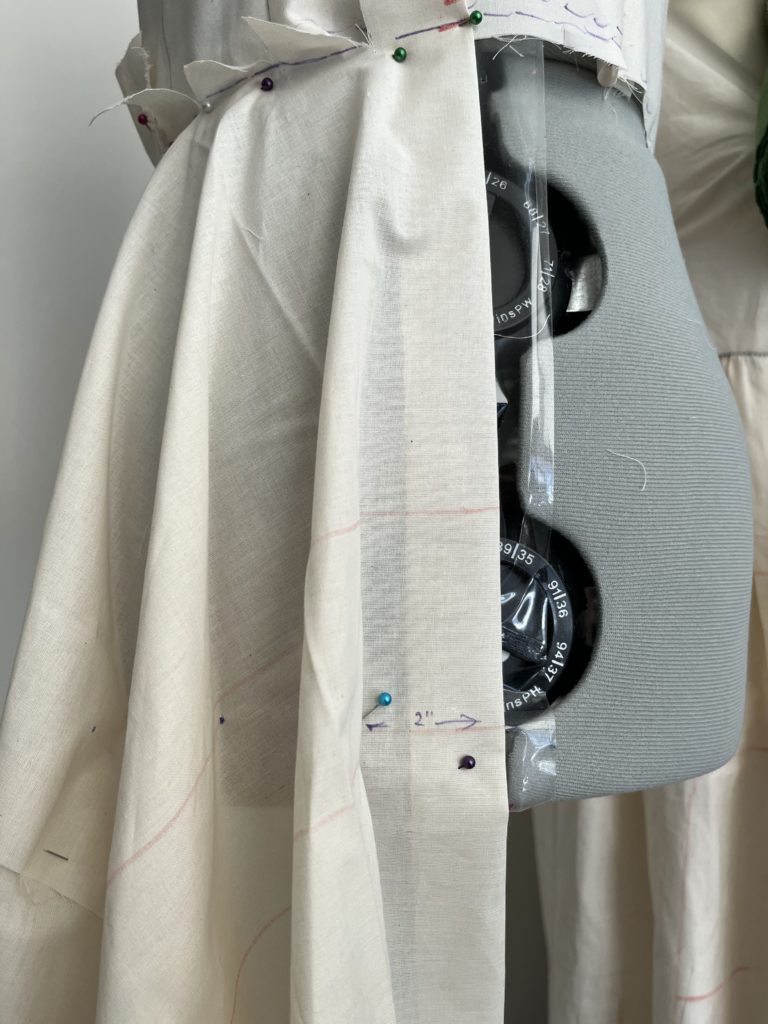
Mandy is one of those adjustable dress forms so her sides are holes! It’s kinda hard to pin there, but I made do.

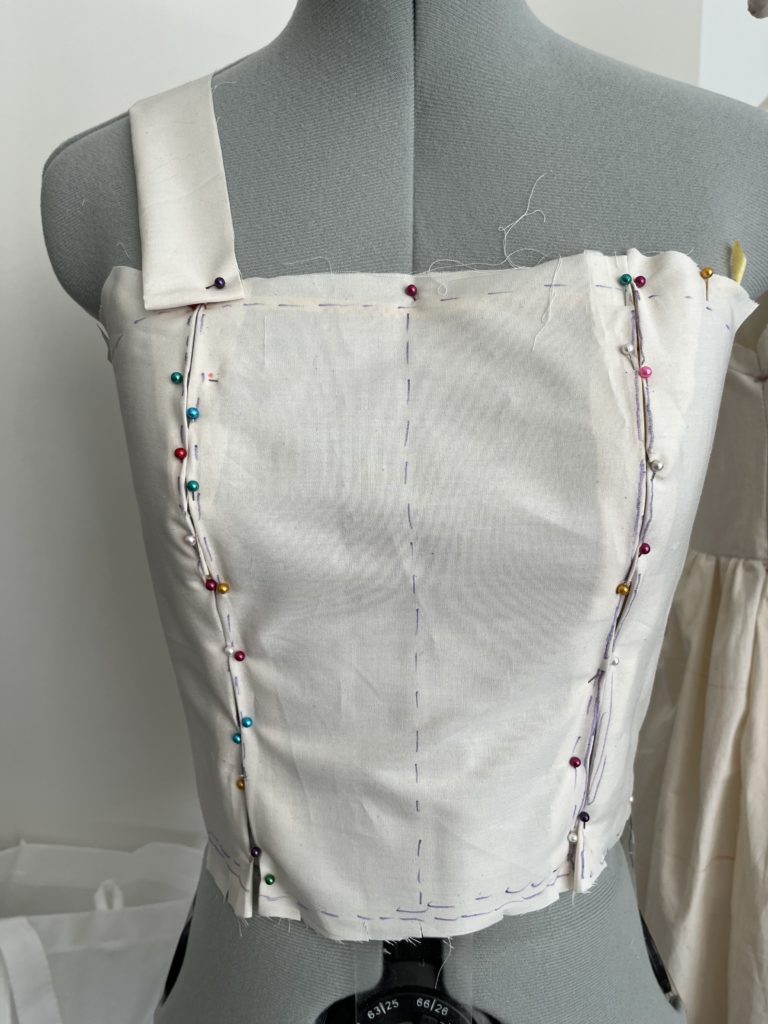
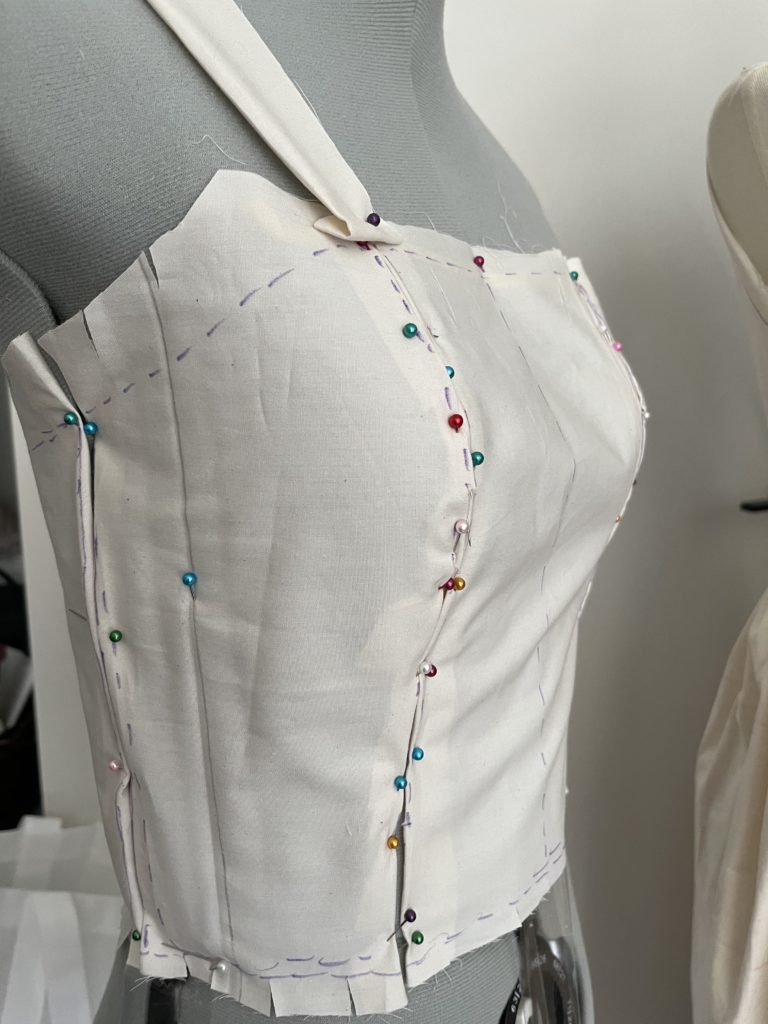
Once everything was pinned into place l I folded the edges under and marked the pieces with lines and dashes. Then I sewed together the pieces and tried it on after installing the zipper. Moment of truth: It was practically a perfect fit. Woo hoo!
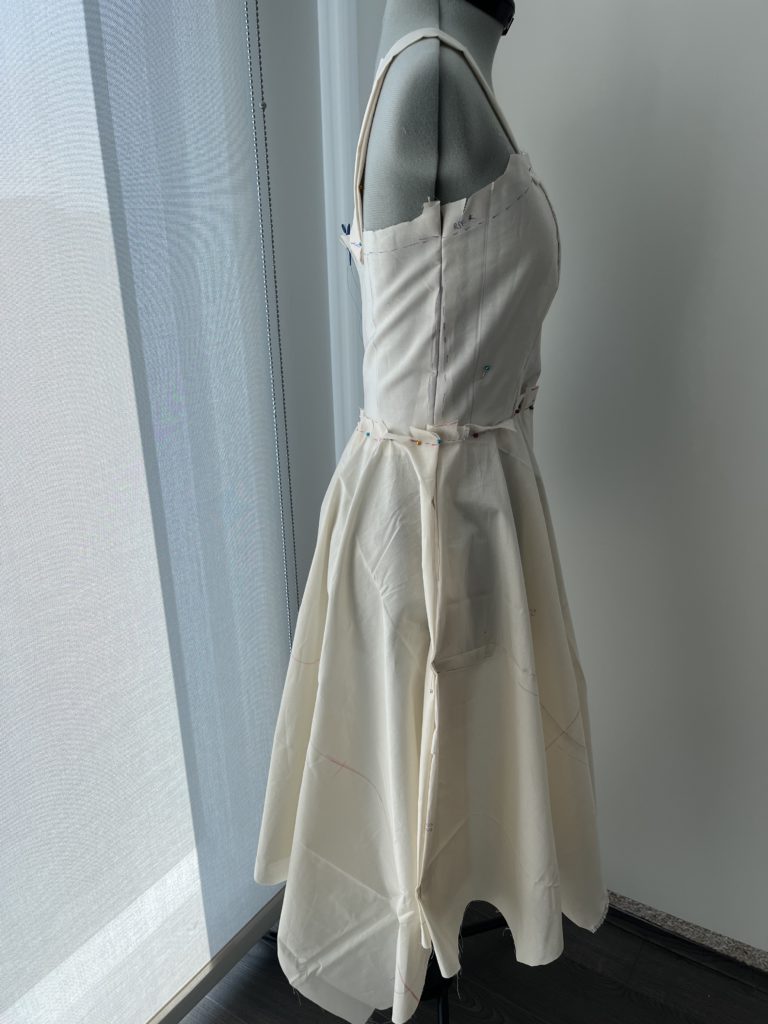
Now for the skirt. This one was a little more difficult in that I mismeasured the muslin and it ended up being too short in length and width. I forgot that the skirt would be cut on the bias so you need more fabric to get it going. You can see my patch job.
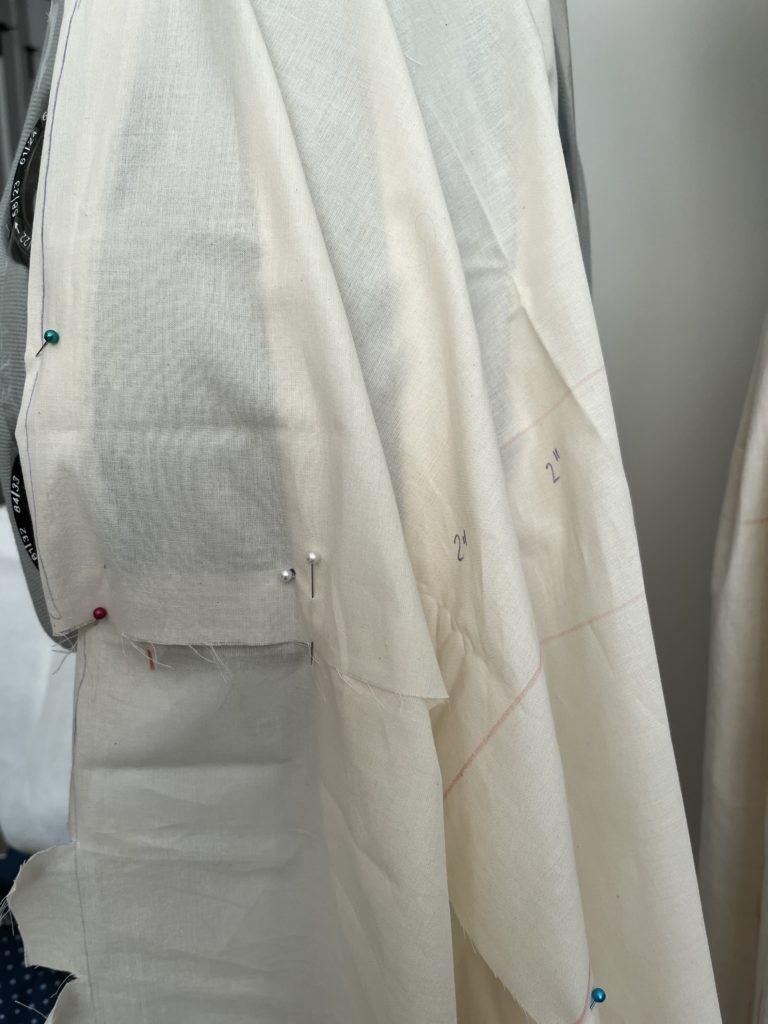
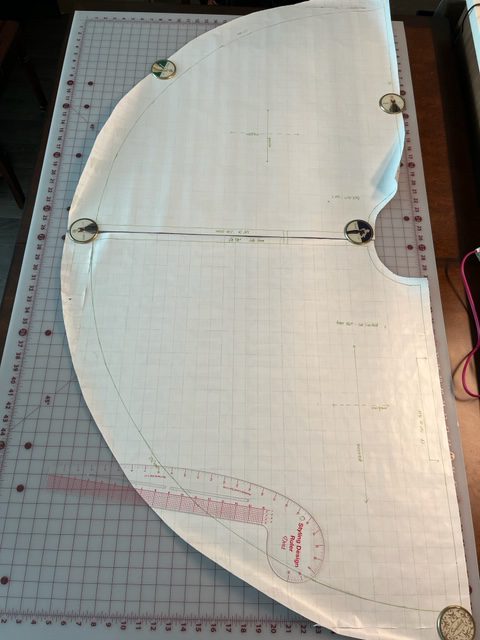
As far as draping goes, it’s pin, slash, pivot. Pivot is also called “drop” in some other books. I did this all around the waistline and created flares in between. Each flare is 2″ width and about 2″ apart. The book wants you drape the front half and then use that piece to create the back half. You’re essentially making a clone. Remove the front draping, lay it on top of the muslin and then cut all around it. Voila! A back piece.
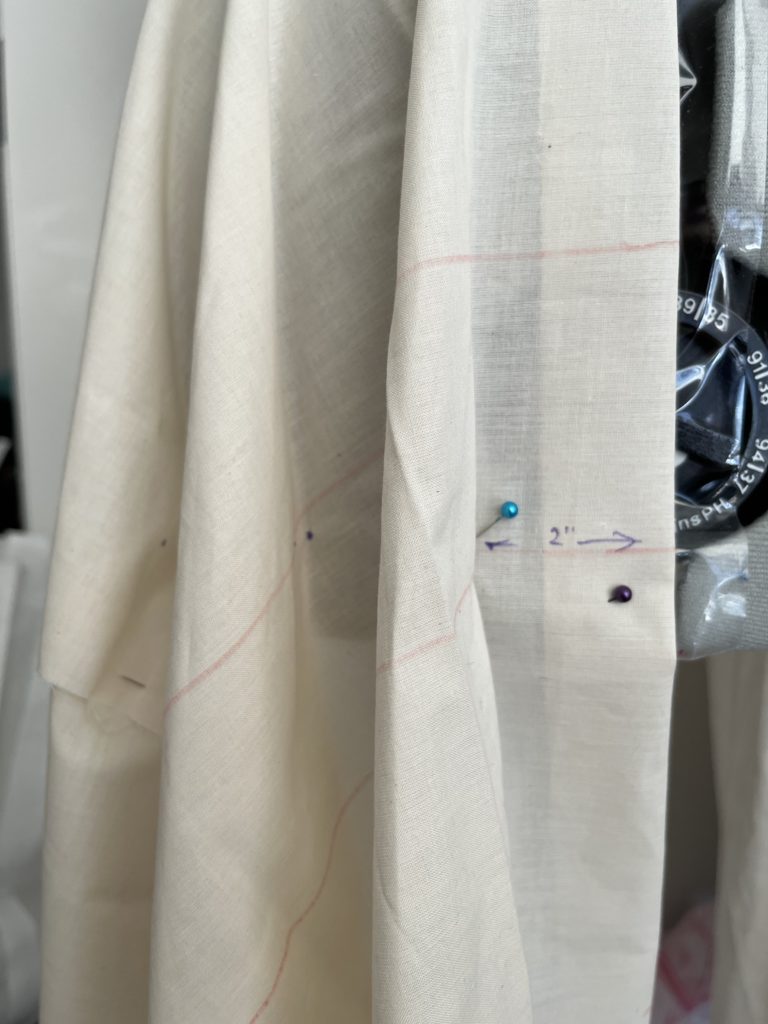
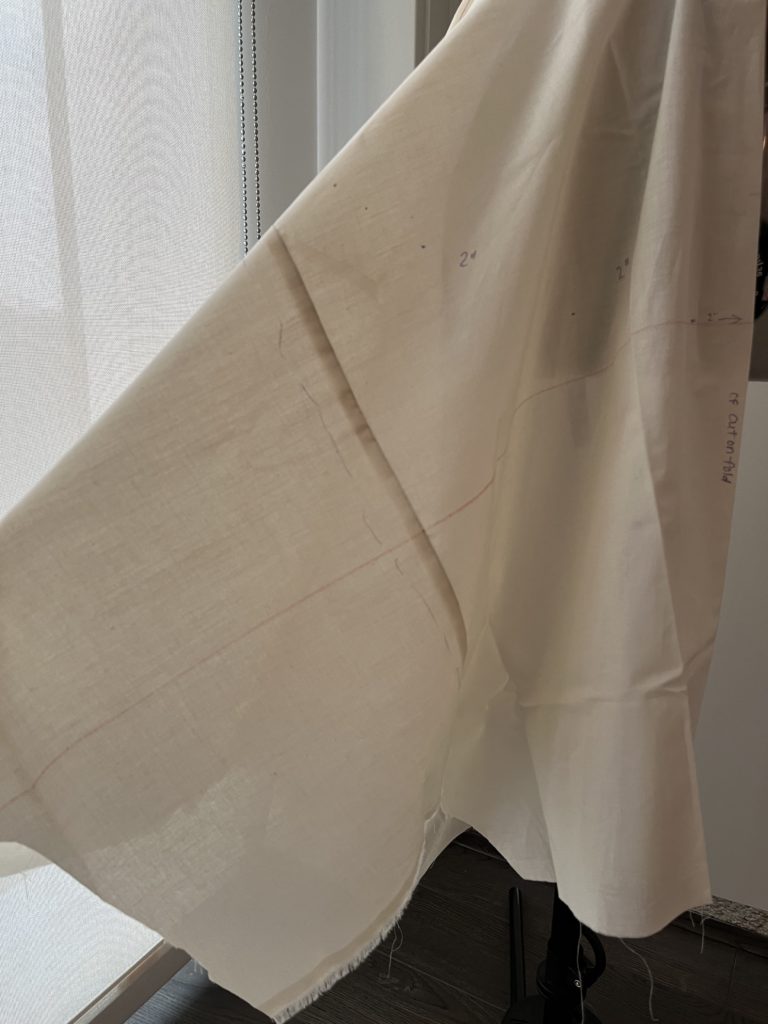
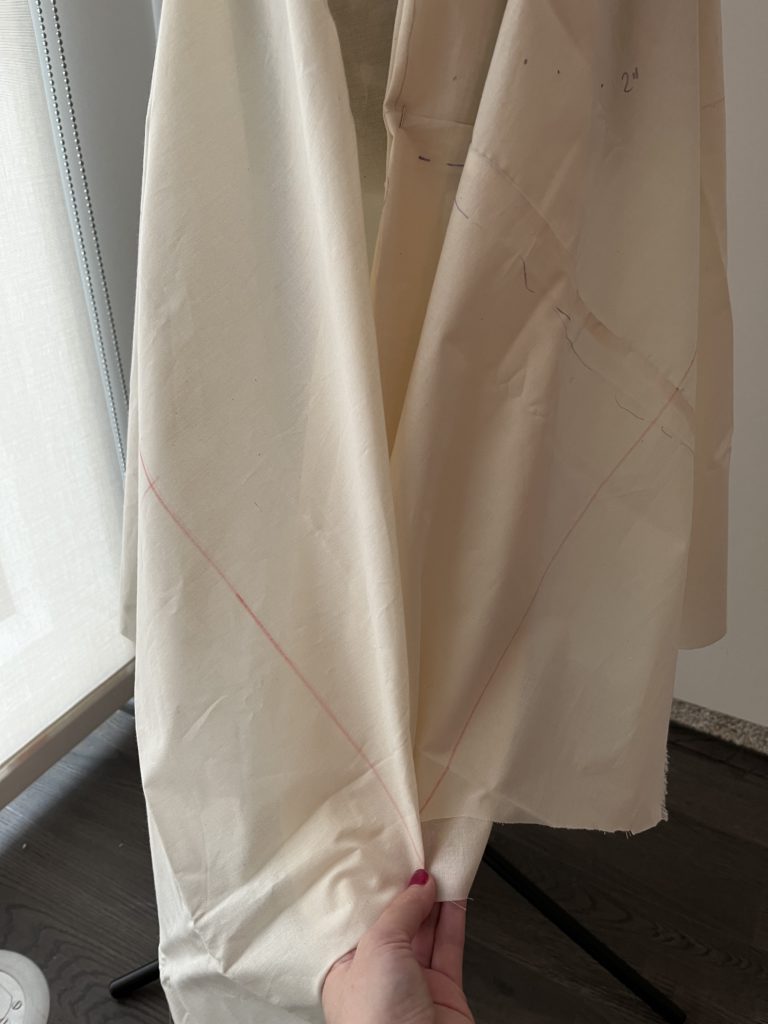
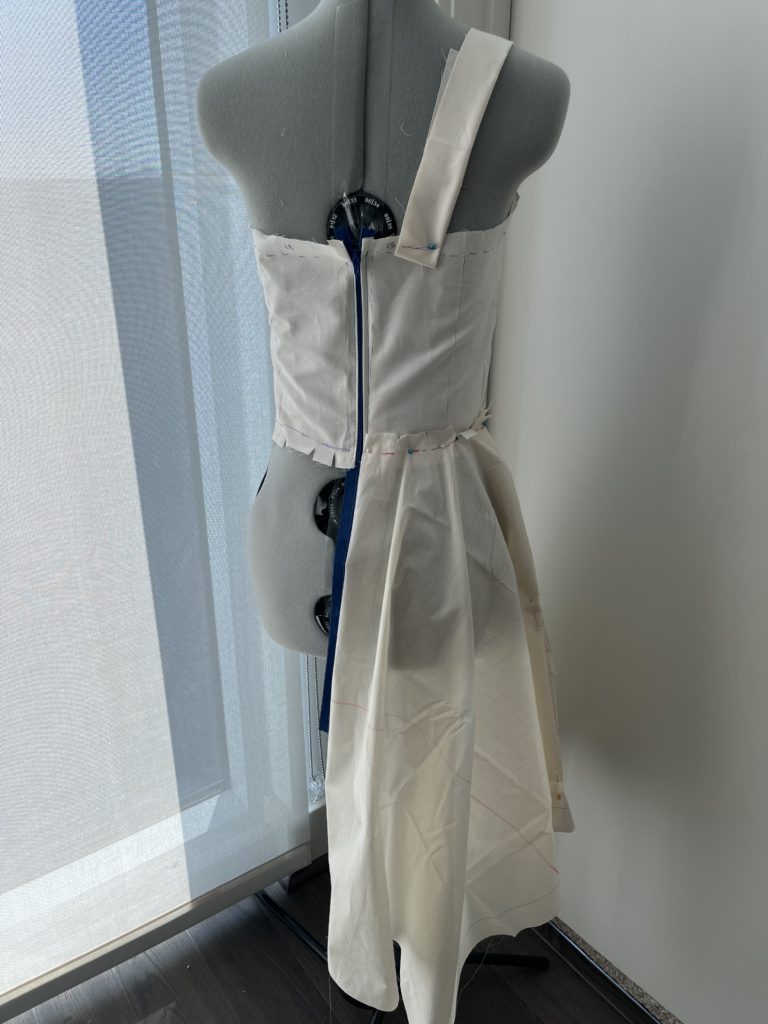
The most important thing I learned here is the HBL- horizontal balance line. I marked this in red during muslin prep. Once you start draping you can see where that red line starts to curve. The back panel HBL line must meet the front panel HBL line, to ensure the skirt hangs properly on the body. This is actually a really good checks and balance. You can see that they intersect here.
Since the skirt is on the bias, Mandy wore it overnight so it would “grow”. The next day I attached the skirt to the bodice and decided on hem length after trying it all on. I’d show you but I’m pretty sure you don’t want to see my naked left leg and bum, lol.
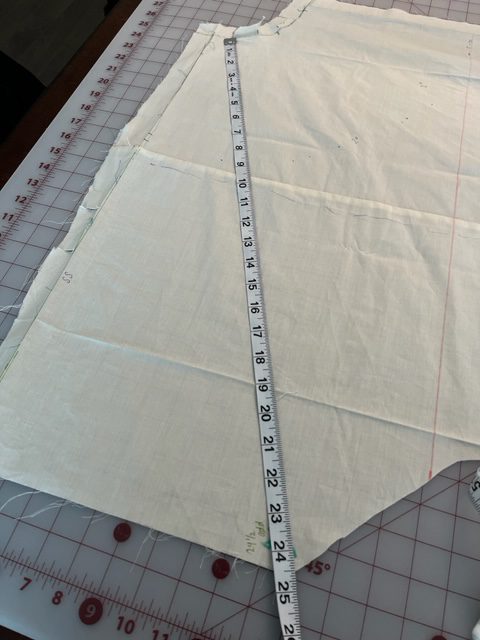
Here are my final pattern pieces after dismantling. I decided to create a side back for uniformity.
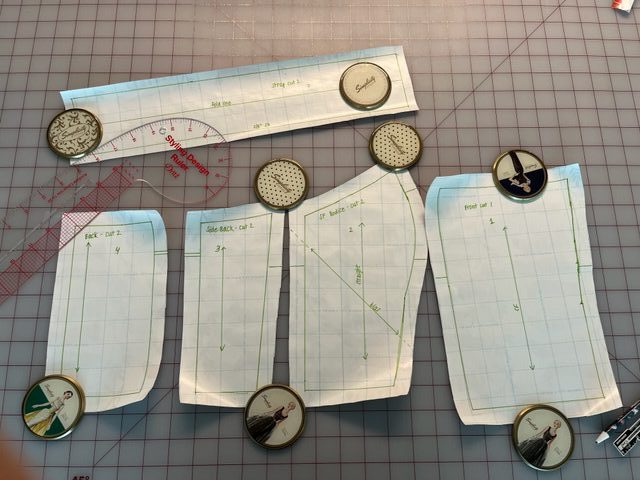
A new fresh muslin will be cut and sewn using the pattern pieces. Muslin #2 will be for the little tweaks here and there. It’s easier to see without all my markups and again, checks and balances everything was done correctly. Then it’ll be time to cut the fashion fabric. I’m getting excited just thinking about it!