
My First Sewing Class: Quilting Basics
I attended a quilting class yesterday! My first real class on sewing. Kinda funny my first class on sewing is on quilting not garment sewing.
The class was held at a quaint shop nearby. I had never been there before or knew it existed! I learned of this shop through a google search. It was like being in a candy store! Imagine going into a candy store and there are walls full of M&Ms separated by color. It was like that. Color walls of fabric, beautiful quilts, they even had sewing and quilting machines there for purchase. I finally got to see all the sewing machine brands I had heard about- Janome, Juki, Babylock & Bernina. There was a quilting longarm machine there. That thing looked intimidating! I also finally got to see and touch fabric brands I had heard/read about- like Cotton + Steel and Robert Kaufman, . I can see why people love this Cotton + Steel brand! It’s so soft! MAJOR difference between brand name quilting cotton vs. stuff I see/touch at Joanns. Like it’s on a whole different level of quality. I think this is what they mean when they say you CAN sew garments with quilting cotton. It looks like it’ll wash and drape beautifully. Obviously my main interest is garment sewing, but I am open to the art of quilting too. So many really intricate designs you can create with the machine! And of course I love all the patchwork and color everywhere. I don’t have any pictures to share but the store is a gem hole in the wall kind of place.
My class was held for only an afternoon so we didn’t make an entire quilt. We just learned the basics. Because of covid restrictions, there were only 3 of us in the class. I actually think this worked out even better because I had so many questions and was just so excited to be surrounded by other people who sew! This was the first time I’ve ever sewn with other people! I wasn’t sure what skill levels would be in the class. One lady had only sewed quilts BY HAND (woah) so she wanted to learn machine quilting. The other lady said she had a bad experience creating a potholder so she wanted to learn how to get better. I said I was there for the opposite reason- I enjoyed my potholder making and it made me interested in learning more. 🙂
First we learned how to choose fabric. Sometimes people have trouble just getting started. My instructor said to choose from the same brand collection because it will definitely match.
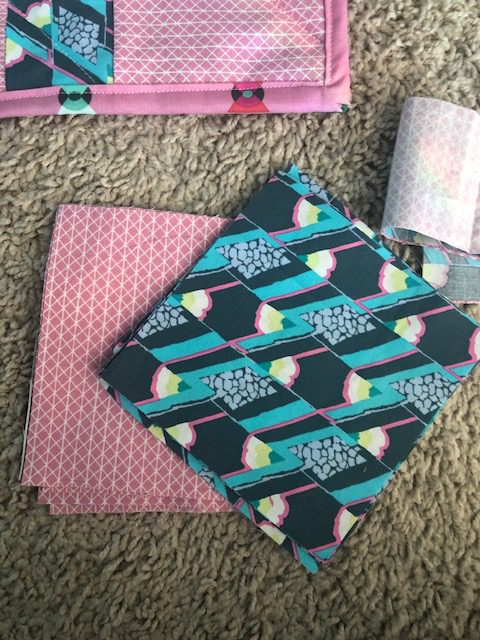
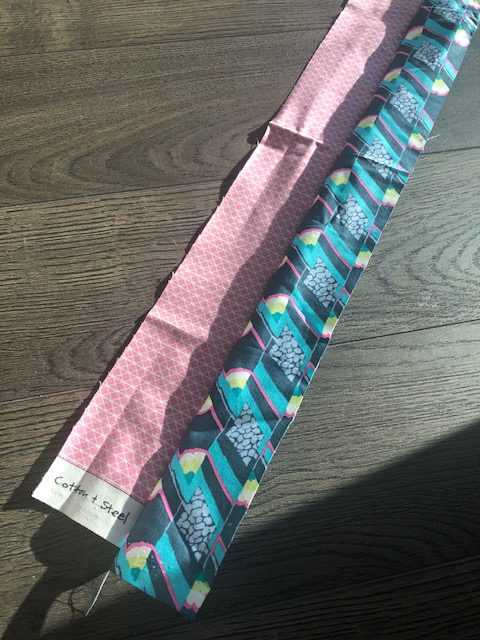
She also said choosing a solid and a pattern will make things easier. Then she sent us out into the store to choose. I- of course- went off the cuff and chose two patterns, lol. I don’t even know what I chose. One is a Cotton + Steel and the other had no brand. They are fat quarter rolls. I couldn’t help myself they just jumped out at me and called my name.
Back into the classroom I seated myself in front of a Babylock. WOW! Compared to my Brother, that Babylock is like driving a Mercedes Benz when you’ve been driving a Honda your whole life, lol. The one I had was computerized. The sewing was so smooth and it even has a button to lower the needle and a scissors button to cut! Using that sewing machine in itself was worth the class, lol. It’s a major difference using a $$$ machine vs. a $ machine, lol.

Then we learned how to cut, measure and sew the blocks. We cut 2.5″ strips from a fat quarter and then cut 2.5″ squares from the strip. We also cut 4.5″ squares. So lots of experience with the rotary cutter. My instructor said this would be the point where we’d learn if we like to cut or not. I’m indifferent. The cutting was pretty mundane, not the most exciting thing but it has to be done in order to make the final product. For the mat sized quilt we did it wasn’t bad. But I don’t think I’d want to cut 1000 squares or strips for a whole blanket, so for a larger project I think pre-cuts are the way to go. I learned that a “charm pack” and “jelly roll” are terms that pretty much mean the same thing but is the name dependent on the brand.
The biggest thing I learned is that when creating the quilt you should go by the rule of 2. Sew blocks in twos. So instead of sewing an entire row left to right (which is what I would normally think this is how is to be done), then sew bottom row to top, instead do it in TWOs. Sew the left 2 blocks together, the right 2 blocks together, then join them to create your row. This is supposed to help keep alignment. It makes sense to me. My instructor said everyone does things differently but this is the way she teaches.
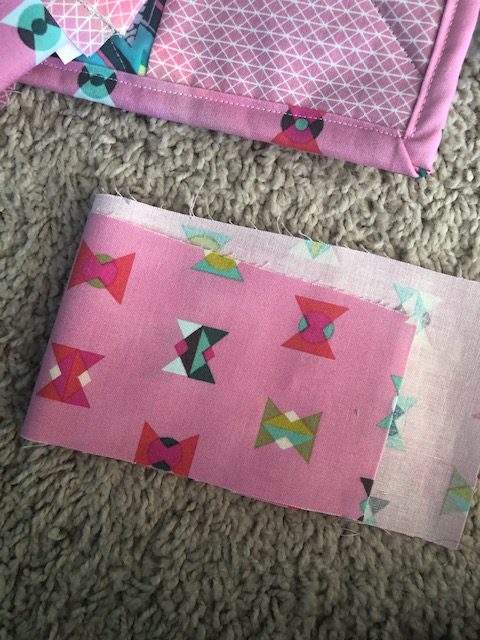
We were running out of time so my instructor ran out and chose backing fabric for us. I would have chosen navy but she chose a pink for me. Then she showed us two different ways to bind the quilt. One with mitered corners and 1/8″ top stitching and the other way using binding strips. One thing that the instructor said that surprised me is that you don’t have to cut the self binding on the bias. The stretch is not needed for a quilt-definitely needed for garment sewing though! That’s great news since I was creating my own bias tape for those darn potholders, lol. Talk about time consuming! I will probably do mitered corners for smaller projects from here on out- looks so clean. And for a larger quilt probably self binding strips.
My instructor told us to use the quilting basting spray to make things easier and to use a frixon pen to create the lines for quilting. The frixon pen lines can be removed by the heat of the iron. This I knew about because I used these things for the holiday potholders. But I learned that there is a right side and a wrong side of batting! The right side is the side that looks more crater-ish, and the wrong side looks fuzzy. Mind blown, lol…they both looked the same to me when I was making those potholders.
My favorite part of the quilting class was arranging the blocks into a design. I had a lot of fun rotating the blocks in such a way that was pleasing to my eye. I know I had a lot of lines and patterns going on but it was fun. This is how I know I won’t have a lot of patience for all the cutting if it’s for a blanket sized quilt. The final product isn’t my favorite but the class was more about learning technique than anything.
All in all it was pretty neat to see the quilting techniques I had learned on YT and in my Kwik Sew pattern all matched up to the ones we used/learned in class, so it was familiar and I wasn’t completely lost. It was nice to have an instructor to ask questions and I think I could definitely benefit from more classes. It’s nice to be self-taught and learn things on my own through videos and books but there’s nothing like having a professional telling you what to do and show you time saving tips. I will likely take the Garment Basics class to see what other tips I can learn. I didn’t sign up for it this time because I think the project is pajama pants (very basic) but I think I could still benefit from in-person sewing instruction. Plus it’s really fun to be around other people who sew! It’s also really convenient that the class is held in a storefront too so you can easily pick up what you need. Who are we kidding- what I really mean is what you want, lol. I am already envisioning a cotton sundress in a quirky quilting cotton print. 😉
I had an enjoyable afternoon and am happy I found a shop nearby as an alternative fabric supplier. They are family owned and operated- the instructor was the owner- so I am happy to support them! There were some indie sewing patterns there so once I sew through some of my stash I will check those out. A larger quilt is definitely in my future but for now I need to finish my peplum top! I’ve really been taking my time and it’s been fun but with the arrival of my new petite dress form (yes I bought one!) I’m itchy to start a new project this week.


That must have been a fun class!!! I love the pink and navy and I agree with you about the background navy too!☺️☺️☺️☺️