Grainline Studio Field Bag
Why is it that whenever you start something new, it becomes a domino effect of stuff? Not only do you need the tools to do it, but you also need the materials and a holding cell to wrangle it all. This could be anything- Camping…need the tent, sleeping bag, etc., Baking…need the pans, utensils, mixer,.even Makeup…need every shade of red lipstick possibly ever made. (joking)
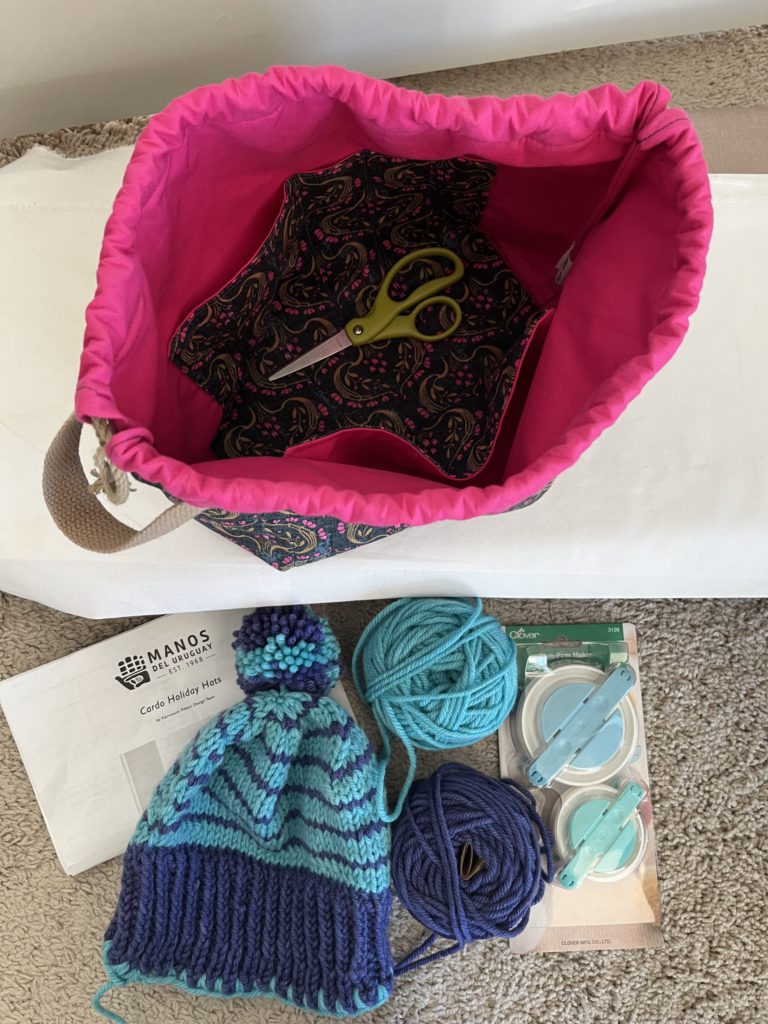
This has happened with knitting. I need a place to put my works in progress. Ziplock bags won’t do. Yes, I want something more fancy.
I’ve had the Grainline studio Field Bag pattern for awhile now, with the intention of making it for my crochet stuff. But Pia’s crocheted doll sweaters didn’t take up that much space. But I tell you what- a human hat does! So now that there is a need, it is time.
I’m pretty particular about my bags. They have to be:
- Structured. I can’t stand floppy bags.
- Lined with contrasting fabric. The feeling of pawing around in a black hole trying to find your stuff ranks up there with merrily sewing along only to find out your bobbin has been empty for the last 10 min. YES, that’s how much it gets to me. Y’all feel me?
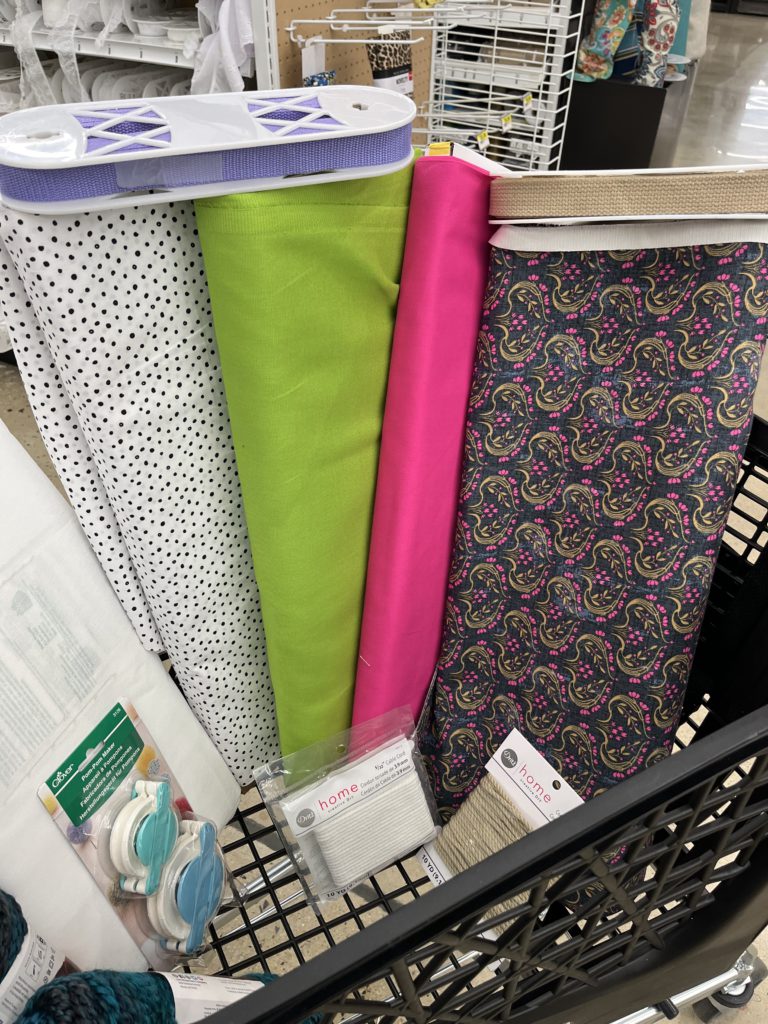
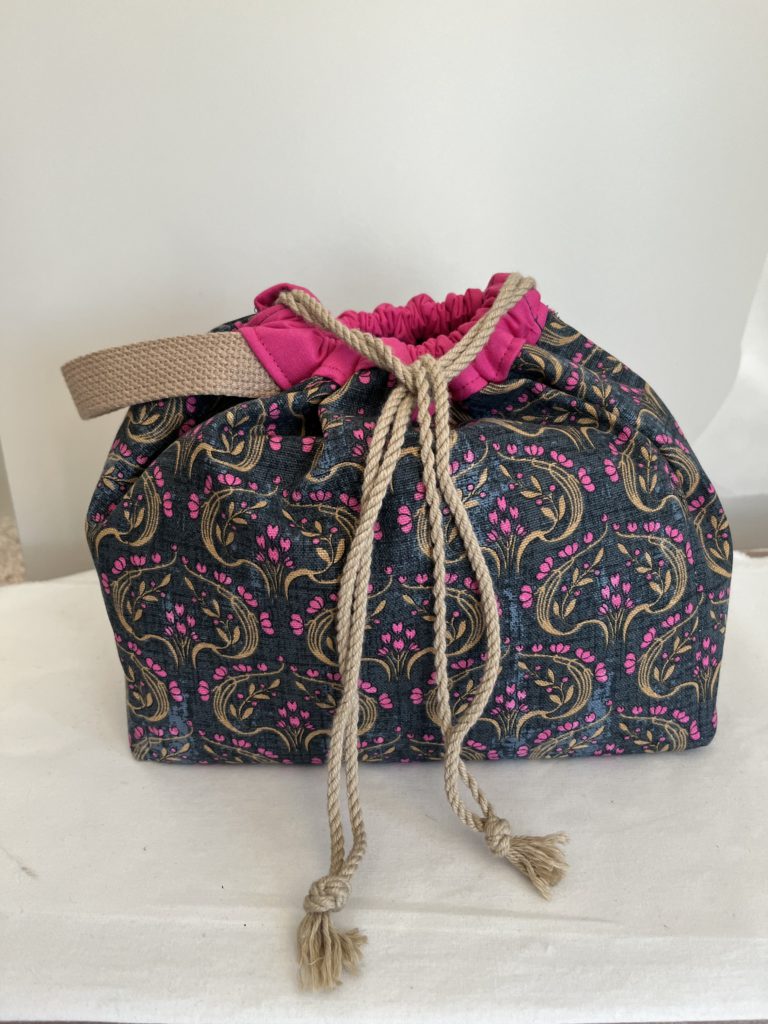
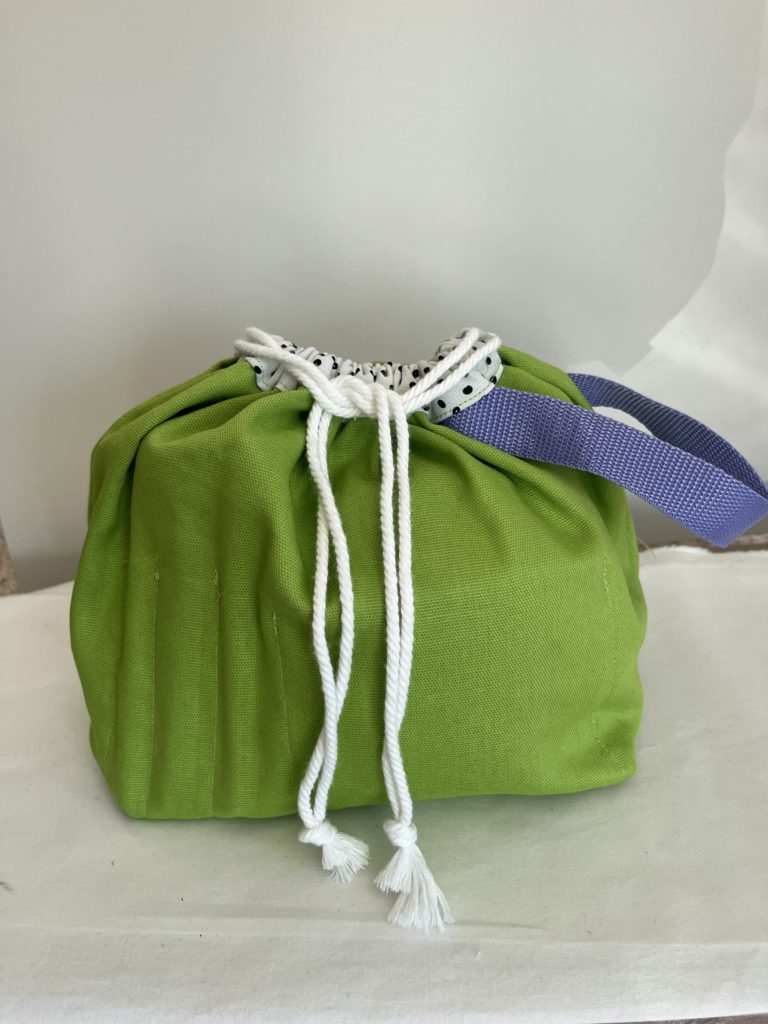
The pattern calls for 8-10 oz canvas and is unlined. I have no idea what weight my canvas weight was so I sandwiched Pellon 911FF interfacing just to make sure it had some heft to it. Out of curiosity I made it again in lime green withOUT interfacing. The interior pocket gives it some structure but obviously the interfacing gives it that extra oomph.
There is a YT sewalong for this bag. I’m linking it for you. I didn’t watch it so I cannot comment on if it’s good. (It probably is, haha) I was feeling bold so I went purely off the booklet instructions. I don’t know if that was a good or bad thing because to be completely honest, I spent SIX hours on this thing. Just being real.
A lot of that time went into thinking out the lining.
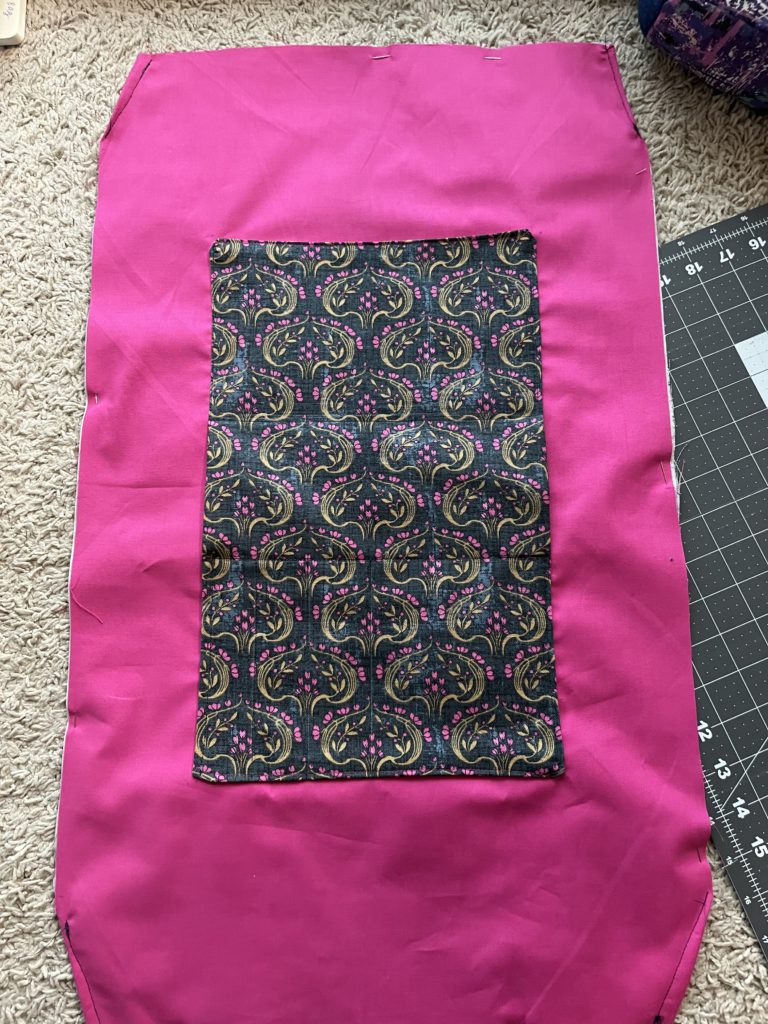
Sharing is caring y’all. If I can help you save that 6 hours thinking it out, I’ll gladly do so. In addition to what the pattern calls for, cut the following:
Pattern piece #1: Cut 1 lining fabric and 1 interfacing. You are going to sandwich the interfacing between the main fabric and lining fabric. (I trimmed the interfacing corners to eliminate bulk)
Pattern piece #2: Cut the main fabric here OR contrast lining
Everything else should be the same.
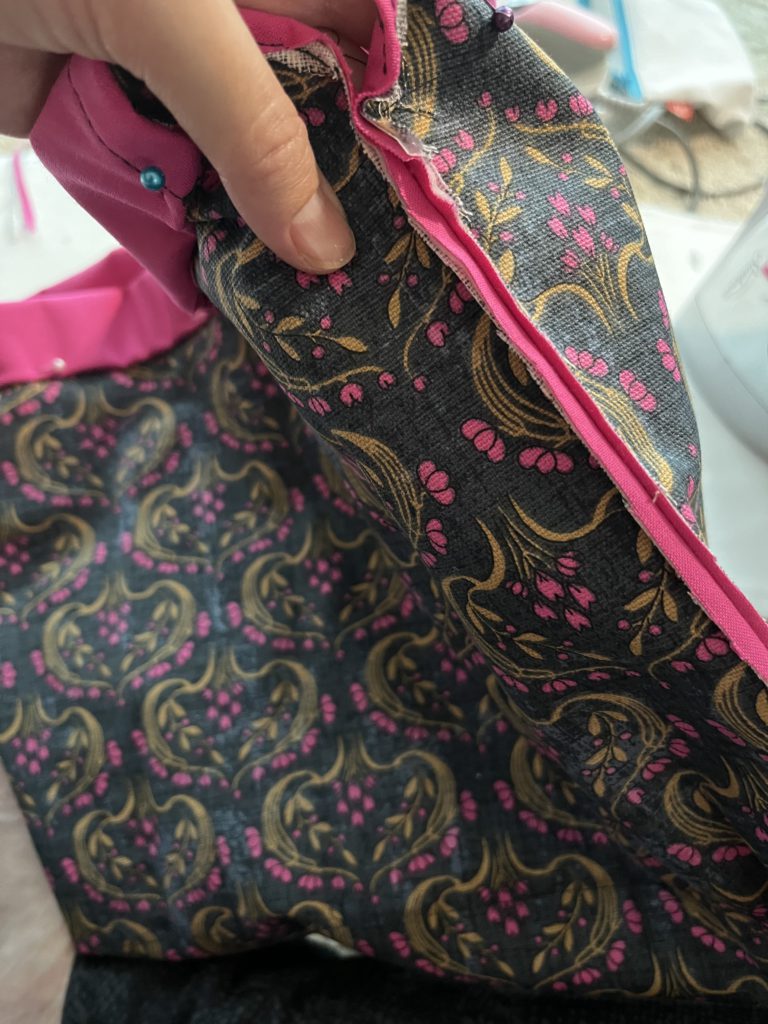
The rest of the construction is straight forward. The only part that got me was sewing the seams on the outside then sewing them again on the inside. I had to read that a few times because I thought it was a mistake! It dawned on me this is what I think is called a “French seam”. YES, I’ve been sewing for awhile now but I’m still learning!! Another keepin it real moment.
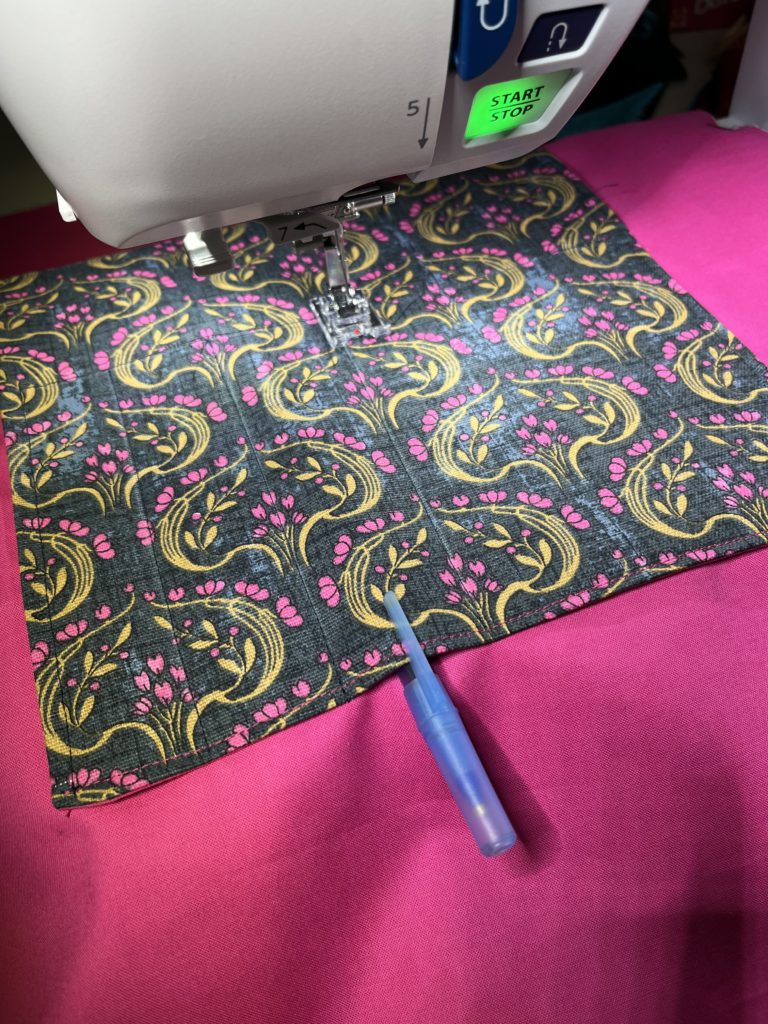
I do like how everything is so clean on the inside, eliminating the need for binding.
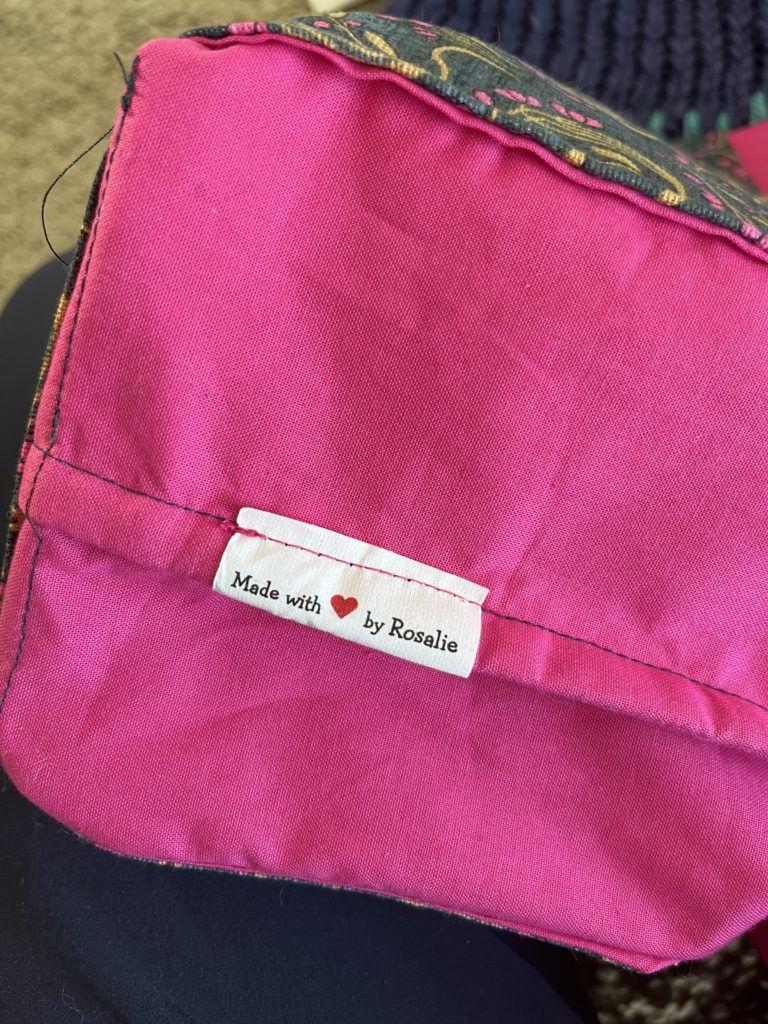
This version still ended up with a dark bottom- I meant for it to be pink! All good, I can still see my things.
The interior grommets are designed for colorwork but I omitted them. This bag is purely for transport and organization.
I like the angled strap design but I am not sure about carrying my bag on my wrist. I’m undecided if it is functional for me. I see where people use it to walk and knit, or stand and knit, but my preferred method of choice is parking it on the couch, lol.
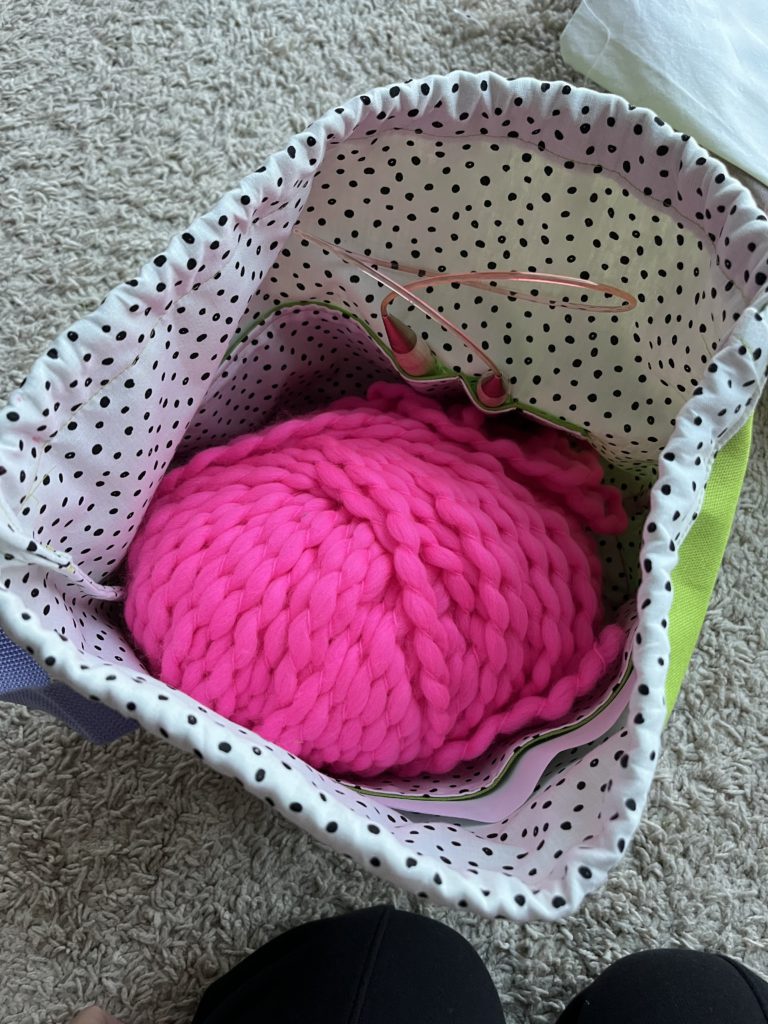
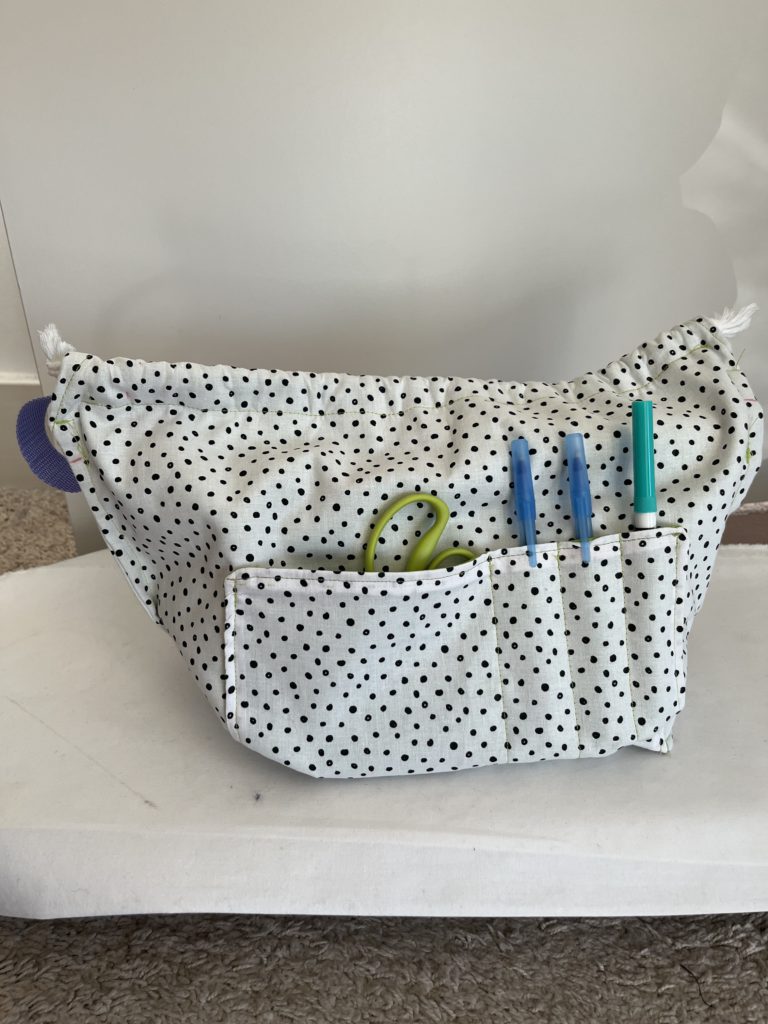
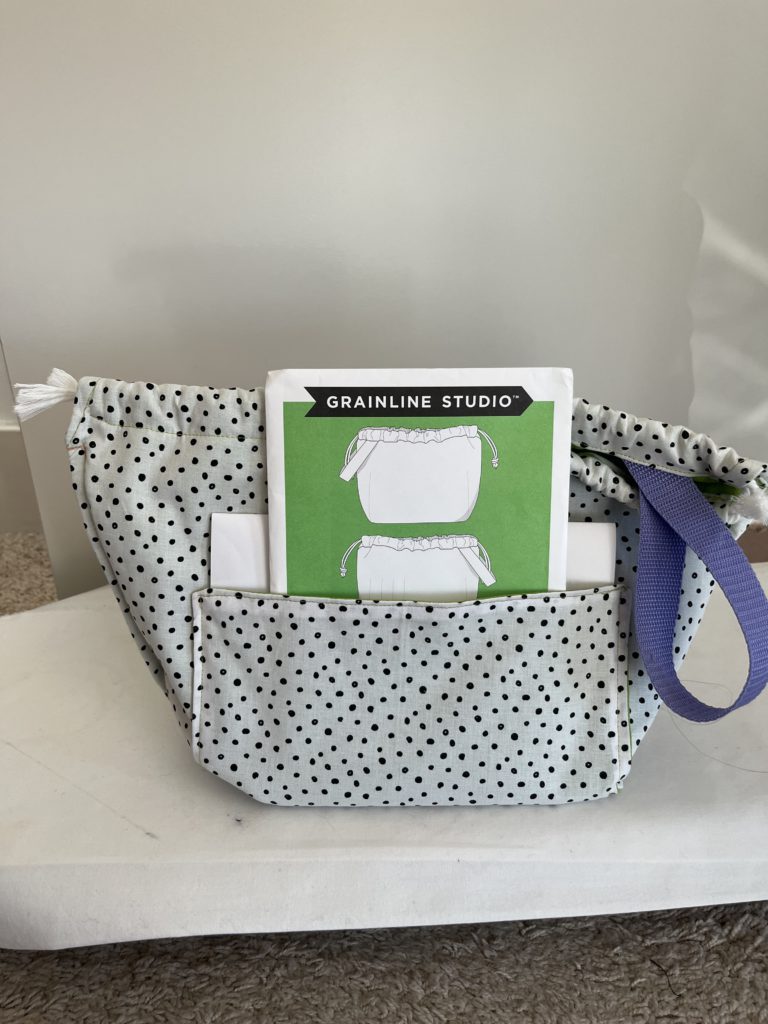
Y’all I love this bag. Look how much fits! It is the ultimate Mary Poppins Bag.
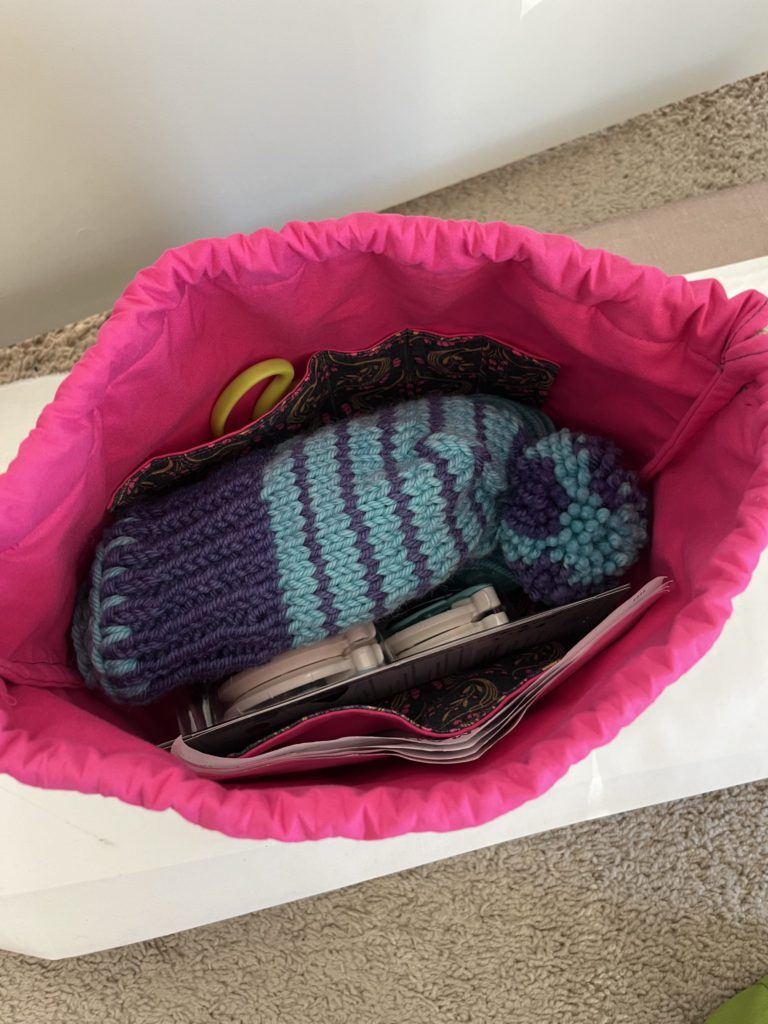
There is a pocket for your pattern, slots for pens and a smaller pocket for whatever! I keep a small notions case in here. This pattern is well designed.
Folds flat for easy storage!
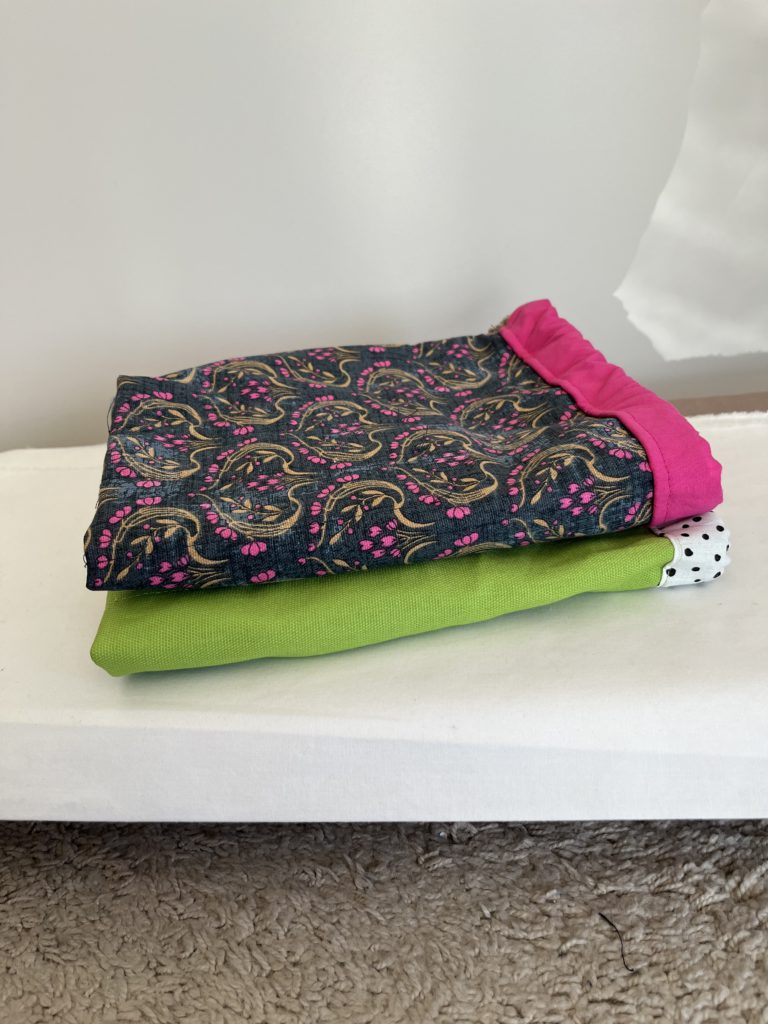
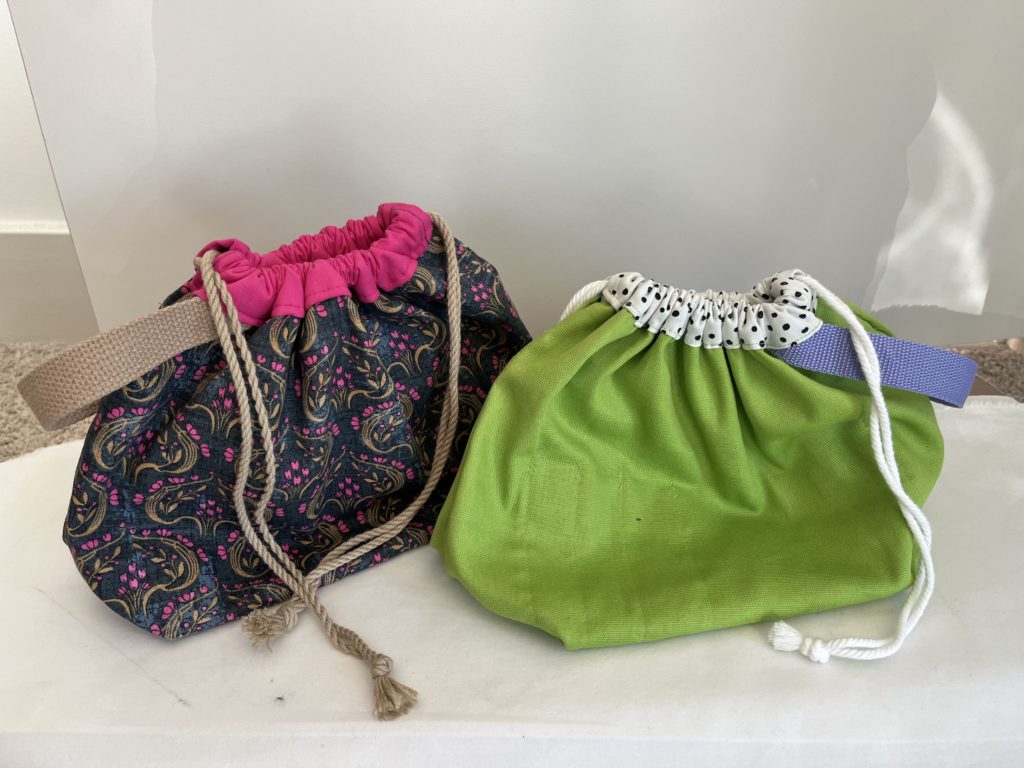
Finished Field Bags
The Field bag is easily a 5 star pattern. The bag is well designed for works in progress and makes a great gift for your fiber arts friends.
My official review on PR: https://sewing.patternreview.com/review/pattern/194291
Now that I’ve successfully completed a knitting project, the floodgates have opened and I’ll inevitably have more projects. More projects = more bags!