New Hobby: Rosie Knits Too
Last month, my friend- a knitter- asked me if I wanted to take a “Knit Your First Hat” class with her. The opportunity to hang out and “speak the same language” motivated me to become a knitter too. As per usual, I learned off of YouTube. By the time the class came around I was ready. Youtube is awesome!
Now y’all know I tend to go from 0 to 100 pretty quickly so I invested in the Clover Takumi circular interchangable needle set. This won’t be my last knitting project. I have to say I’m very pleased with Clover products…especially my Amour crochet hooks. The knitting needles didn’t disappoint either. This isn’t supposed to be a review post, but Clover = 5/5 for me.
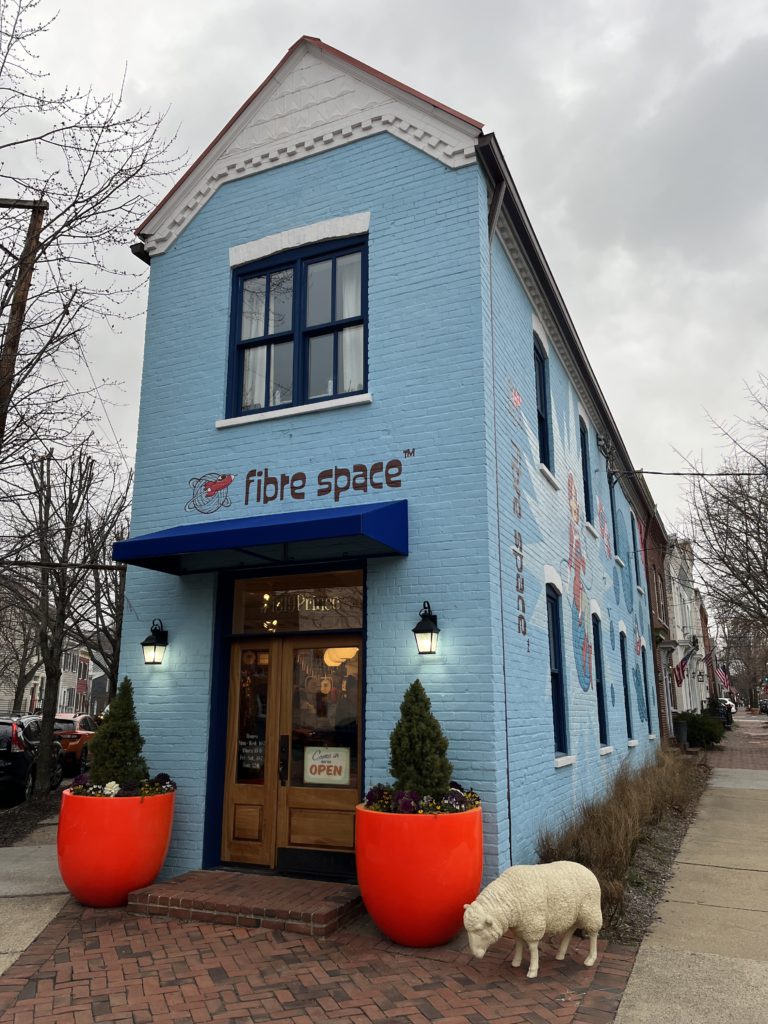
The hat class was at Fibre Space in Old town Alexandria, Virginia. The class was a 2 parter at 2 hours each. What a cute shop! Everyone was super cool, patient and encouraging. It was the first time I’ve been exposed to fancy (aka expensive) yarn. I’ve always just crocheted using “Big Box” store yarn out of price and convenience.
However, too many Mom and Pop stores don’t make it these days so I try to support local. It is a bit of a drive, but the experience of using 100% wool vs 100% acrylic does make quite a difference. (Ok yeah, you got me- I’m just trying to justify spending $$ on my new hobby 😉)
Pattern: Cardo Holiday Hats <– FREE pattern
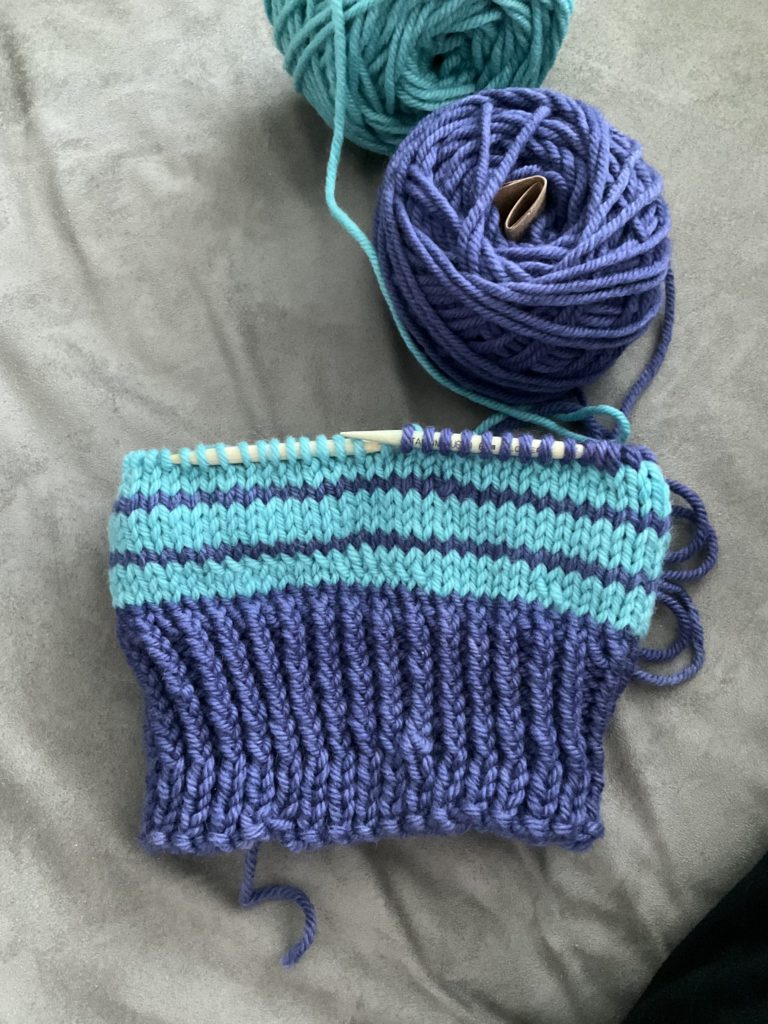
There are 5 stripe patterns. I followed the 1×3 stripe pattern.
Yarn: Manos del Uruguay Cardo- 100% Corriedale wool
Colors: Very Vivid (purple/cobalt?) and Helium (Turquoise)
Knitting Needles:
US 9/5.5 mm 16″ circular needle
US 10/6 mm 16″ circular needle and double-pointed needles
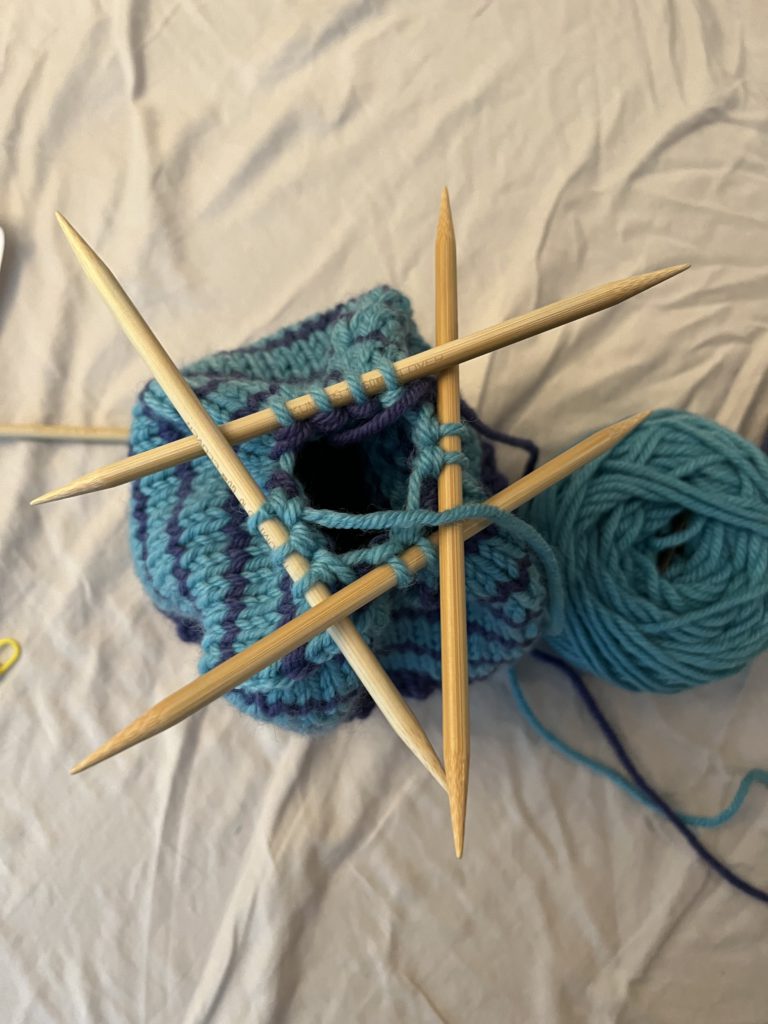
Here are some progress photos:
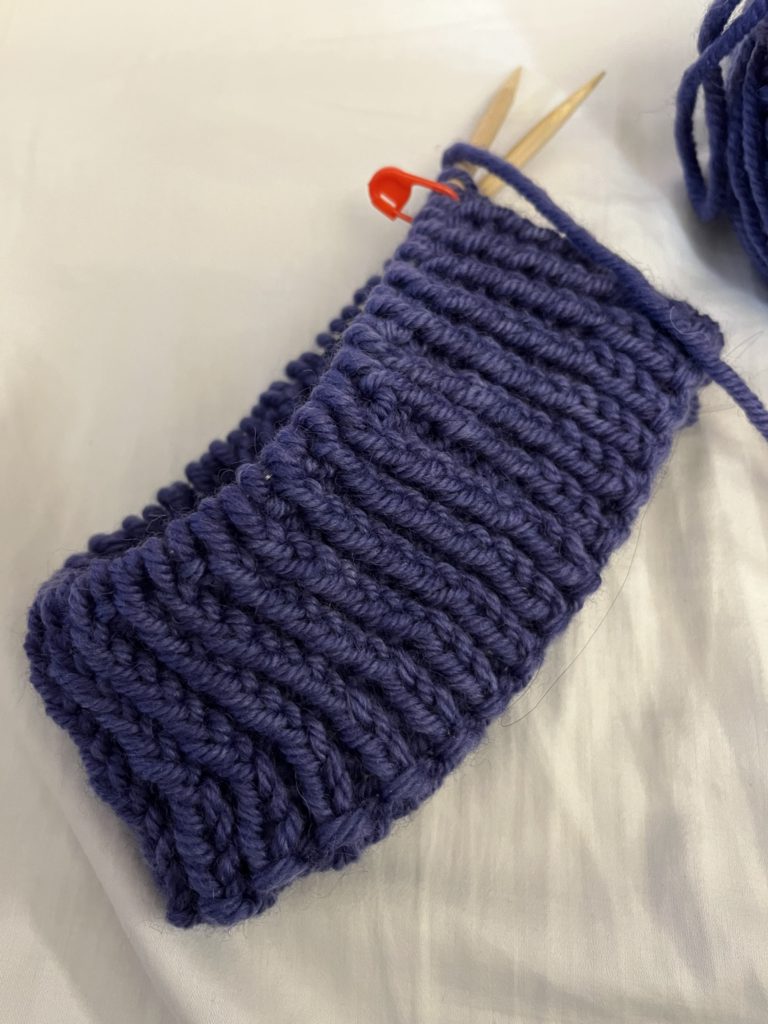
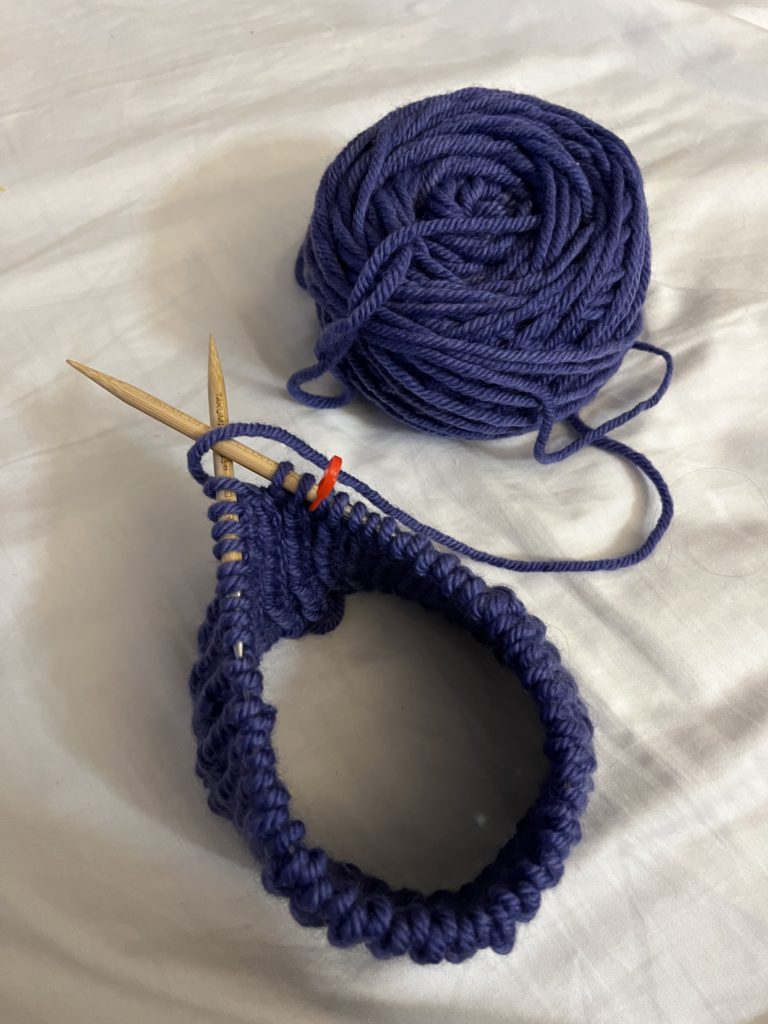
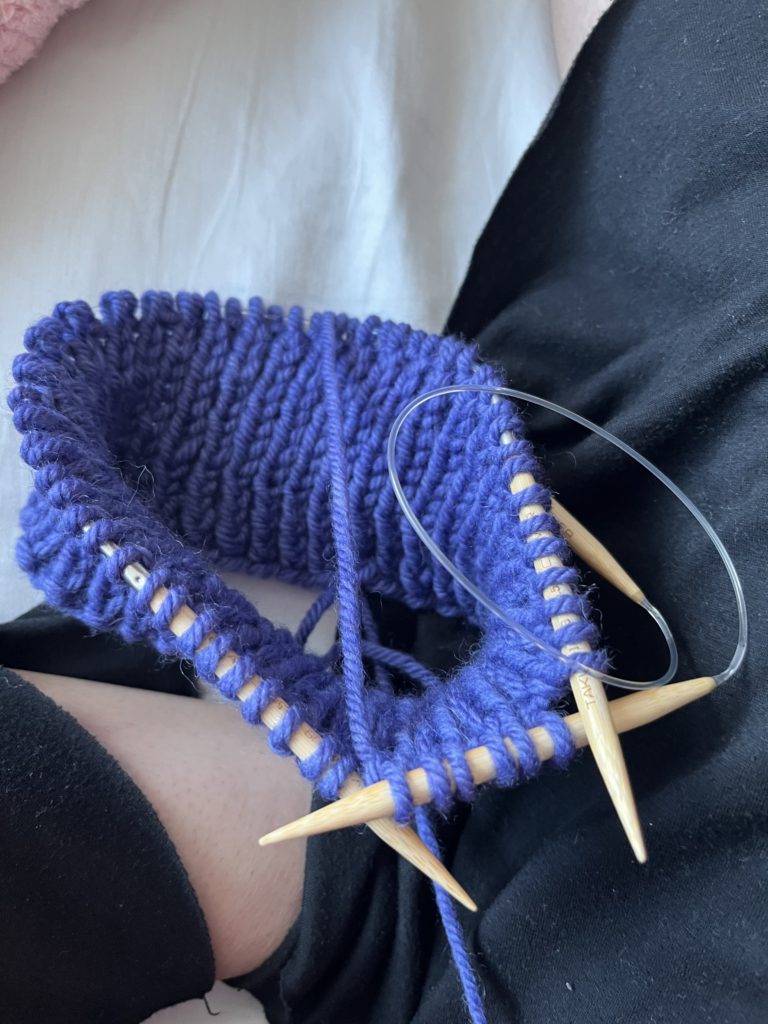
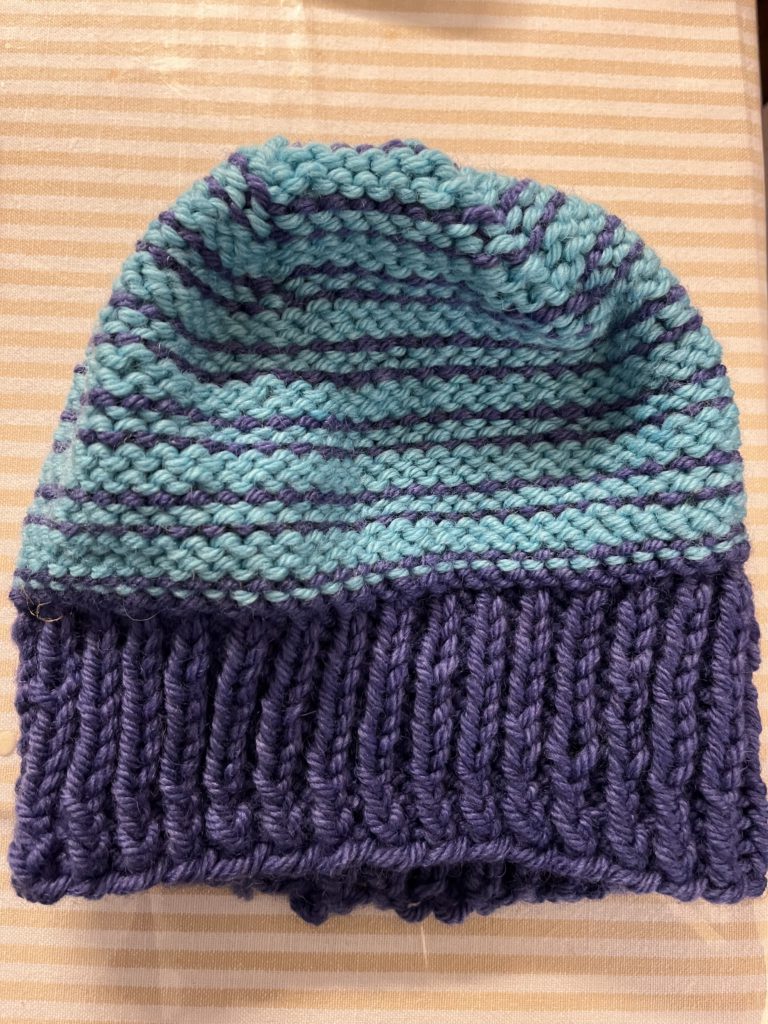
The pattern has a 4″ folded brim but I deviated and made the brim 3″. I wanted the focus to be on the contrasting stripes and was going more for a skull cap fit. Next time I will make it only 1 inch. At 3″ it is not proportioned and looks too headband-ish. Plus I can hardly see the stripes, and that’s my favorite part! I really don’t know why I didn’t try it on while knitting it to make sure it was to my liking. I do this all the time with sewing. Fit is key! Rookie mistake. Alas, next time.
Once I got to the double pointed needles to decrease at the top it was looking all kinds of crazy and complicated. But it wasn’t that bad.
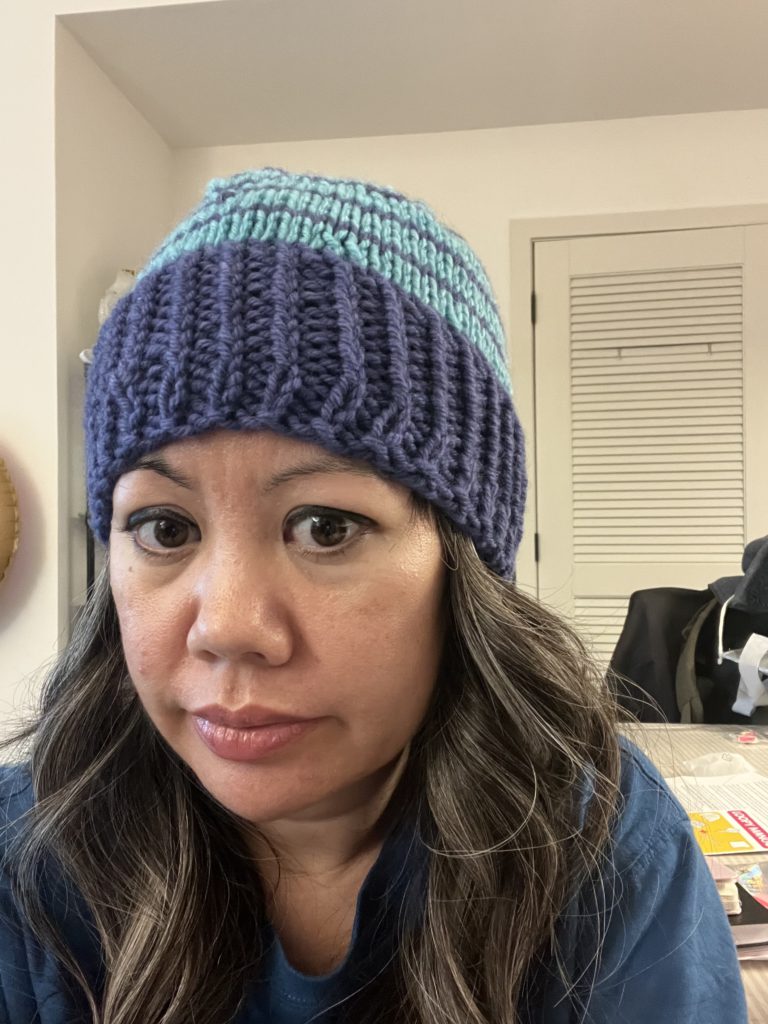
Here’s the completed hat.
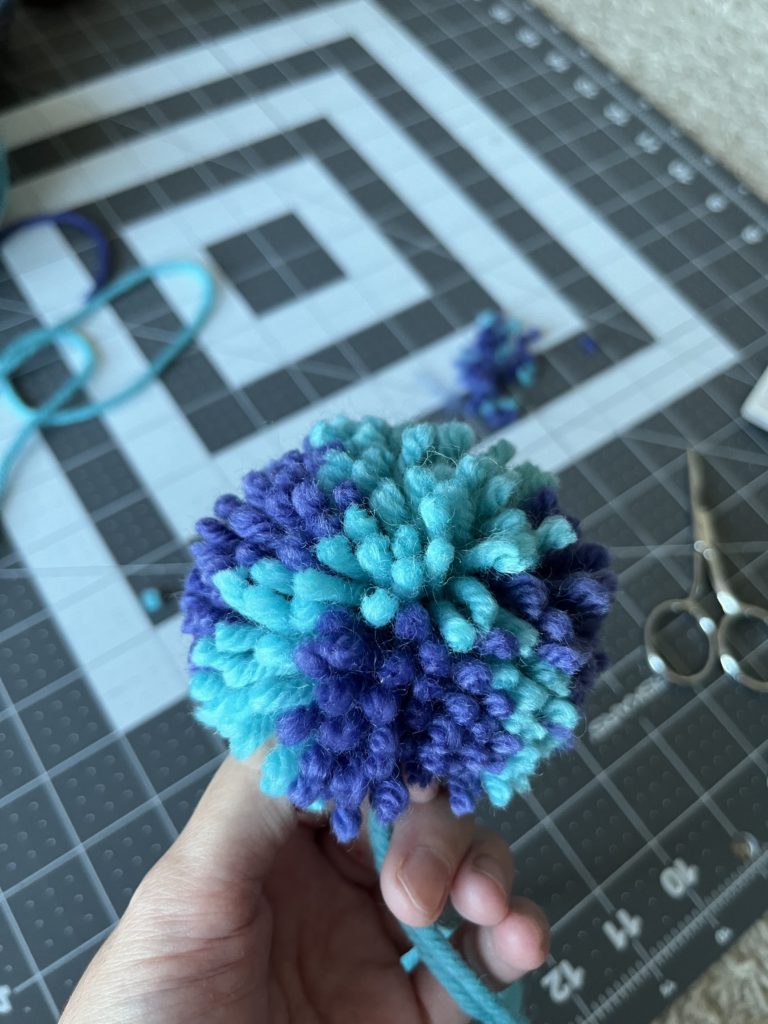
It definitely needed a pom-pom so I used a 2.5″ Clover pom-pom maker. This made my life easier and it was so easy to use. Clover has never let me down! I could probably go up in size next time. You really don’t need a special tool to make a pom-pom though. Cardboard can do the same thing.
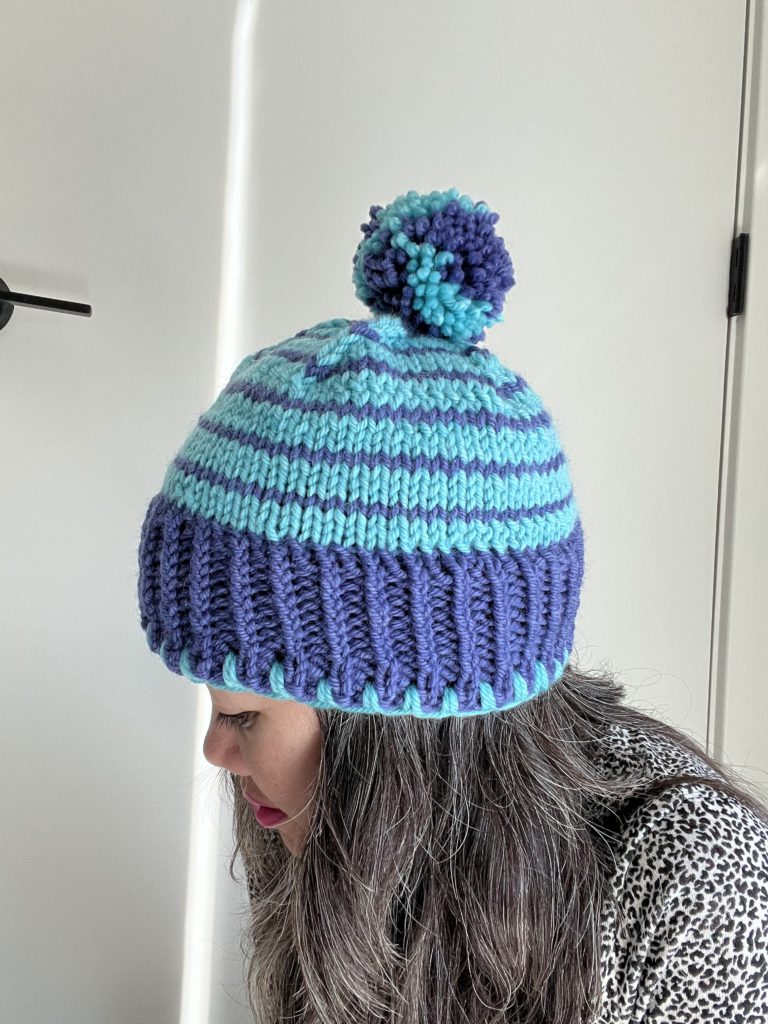
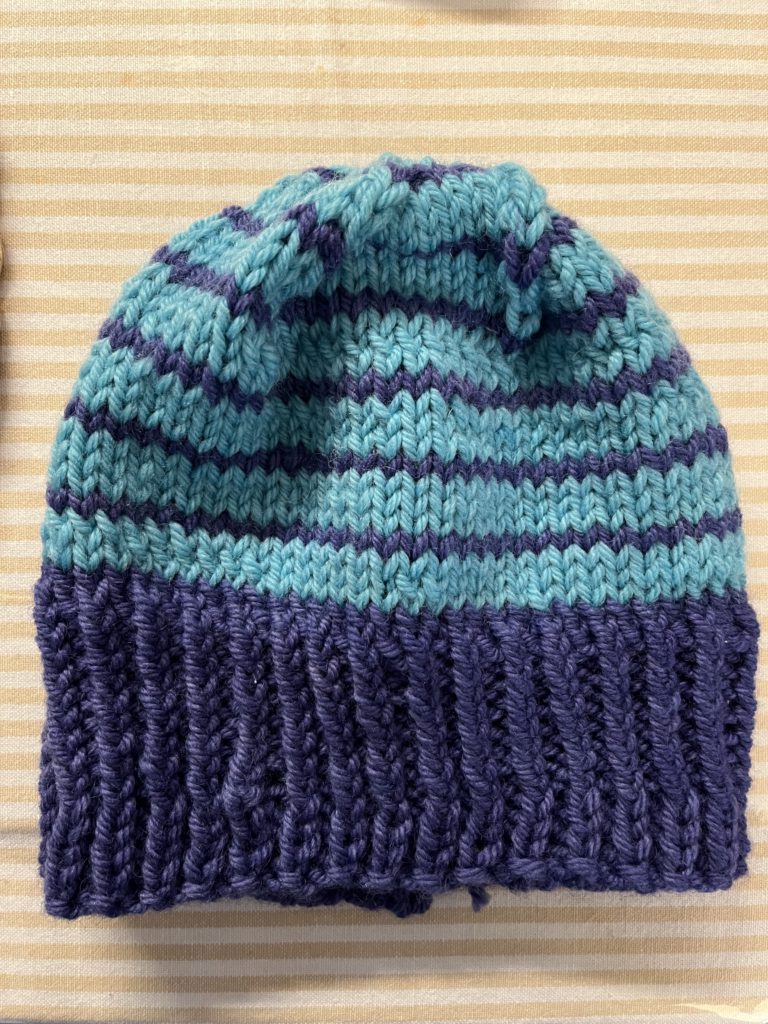
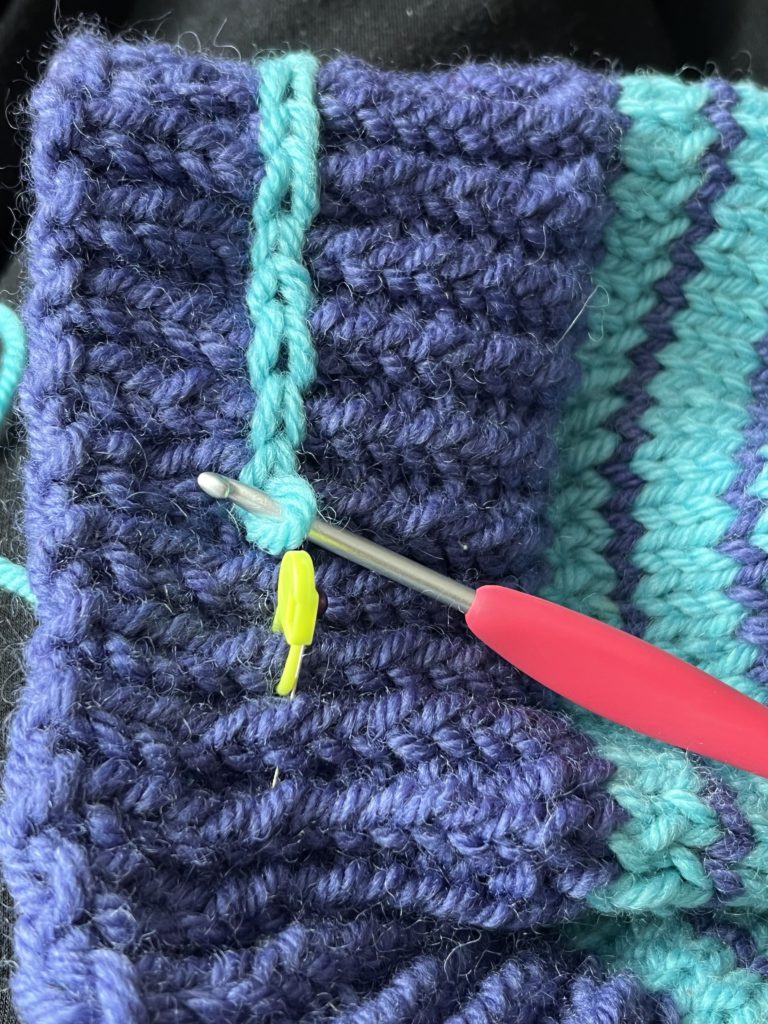
The headband look was really eating away at me so I tried doing a chain surface crochet stitch to break up some of that dark blue. The stitches made the hat too tight and wouldn’t stretch anymore. My solution was to finish the edge with a line of single crochet. I think it looks better. Anything to make it look proportioned!
I’m really happy with my first completed knitting project. I wasn’t sure at first but after fixing the proportion issue it is now a hat I’d actually wear!


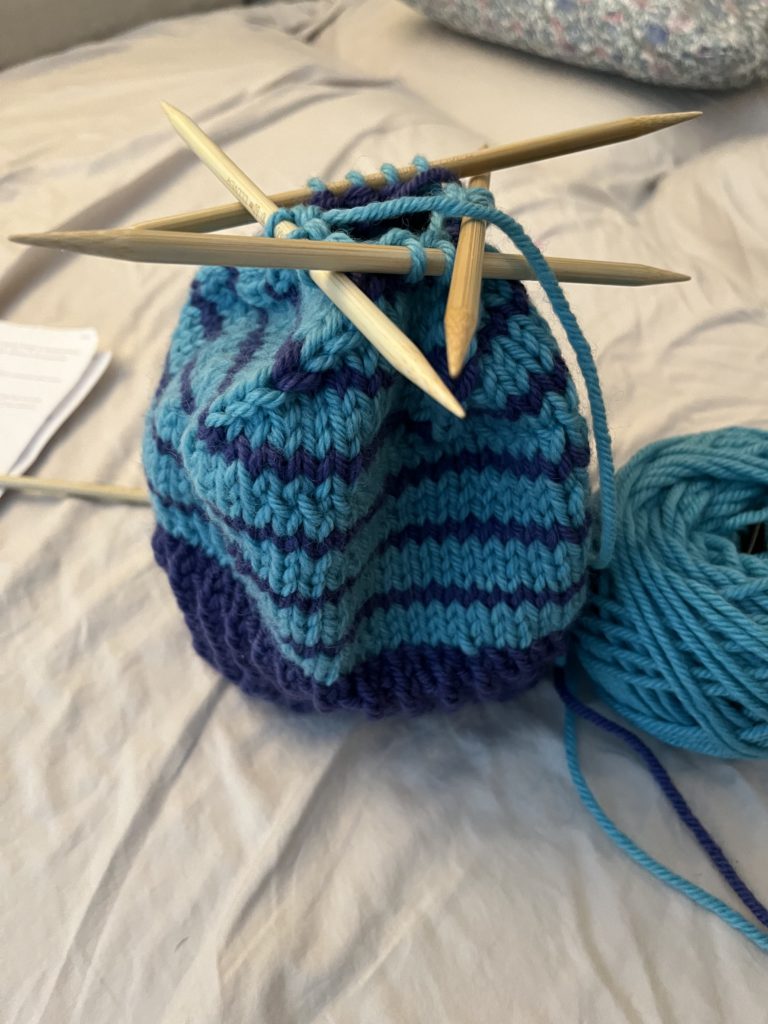
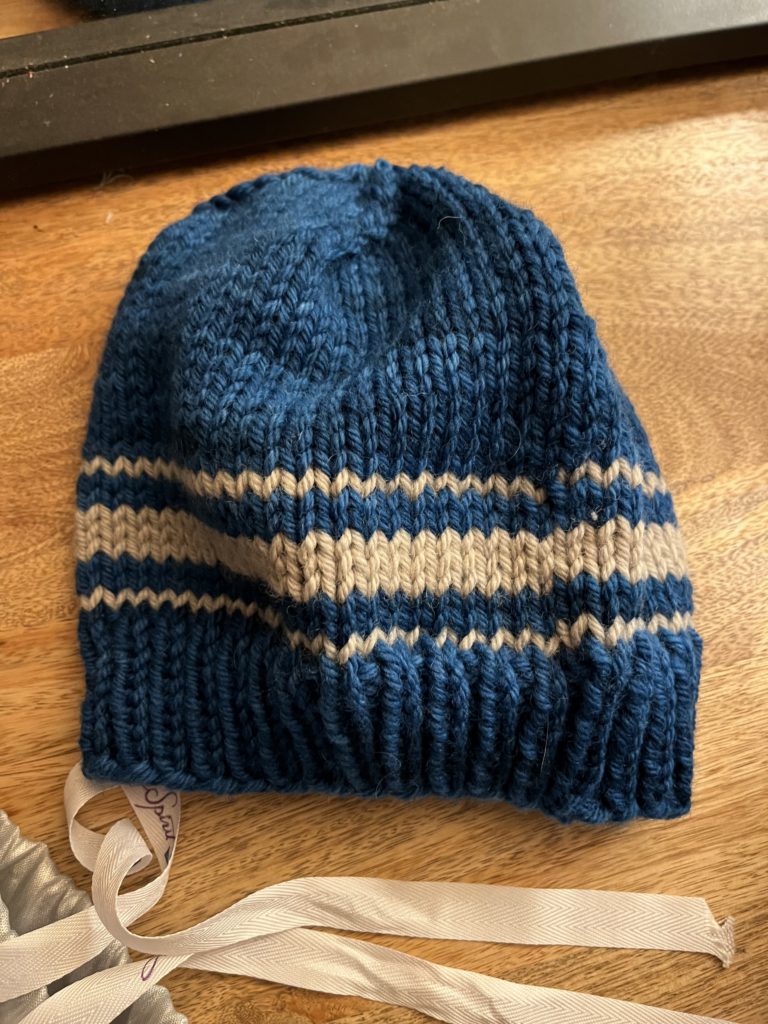
Here’s my friend’s finished hat. She created her own stripe pattern. Looks so good. It gives me vintage vibes…like something Kevin McAllister would wear in Home Alone, haha!
Hat Pattern Rating: 5/5
Class Rating: 5/5
Stuff we learned:
Knitting in the round
Using circular needles and double pointed needles
Decreasing stitches
Changing colors
Entire experience: 10/5
Being able to knit and talk knitting with my friend is just wonderful! It’s different than crochet (I’ll get into that in another post) but now my friend and I speak the same yarn language. Soon she’ll be crocheting and we can both be bilingual, lol.
Sometimes it’s not so much about what you’re making but who you are making it with. These are the life experiences we remember. The finished product is just a bonus. 🙂