Anniversary Contest Celebration Dress: A Long Tale
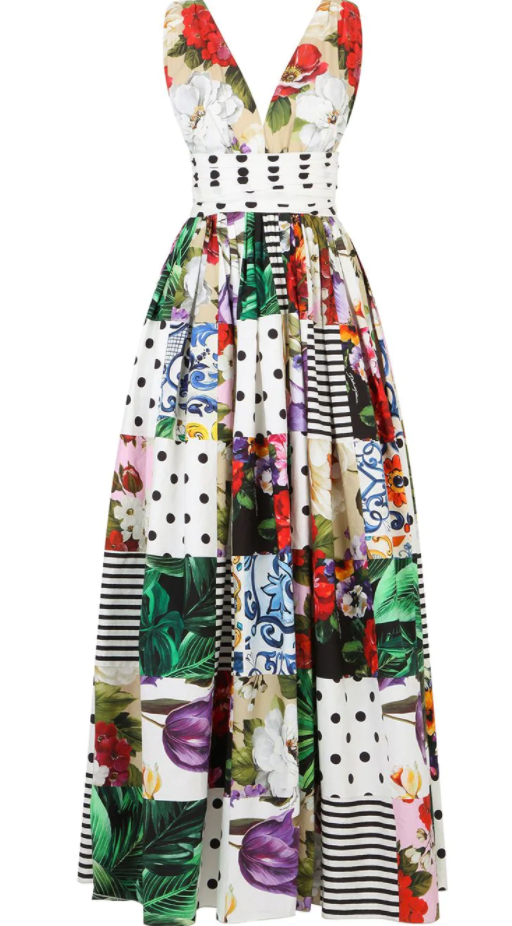
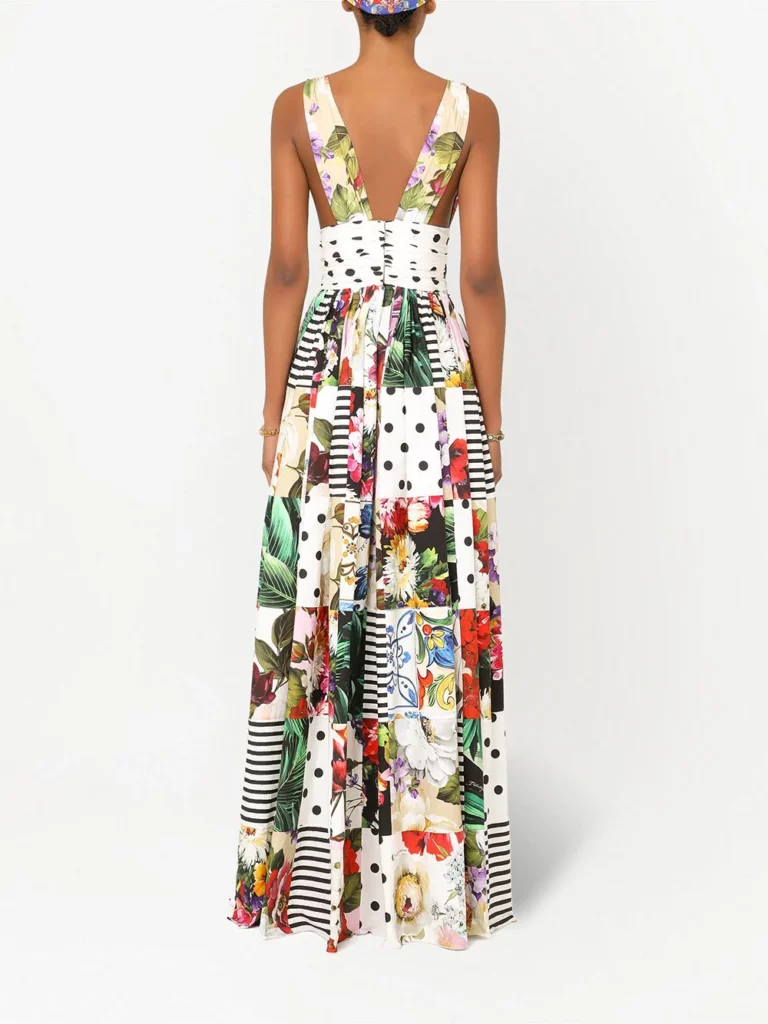
My inspiration for the Anniversary Contest comes from the Dolce & Gabanna Summer 2021 Runway, first seen in the Inspiring Fashion Forum on PatternReview. I wrote about this back in December and since I’ve been into quilting lately I knew this designer dress would be perfect for a Barginista Fashionista challenge.
My Celebration Dress is my favorite thing I’ve made so far. It’s just so fun and colorful! This dress also tops records in that the fitting stage took about a week and a half. I learned so much on this thing- the biggest is that I really need to sew more and get more practice, as I had brain fog on some of the construction.
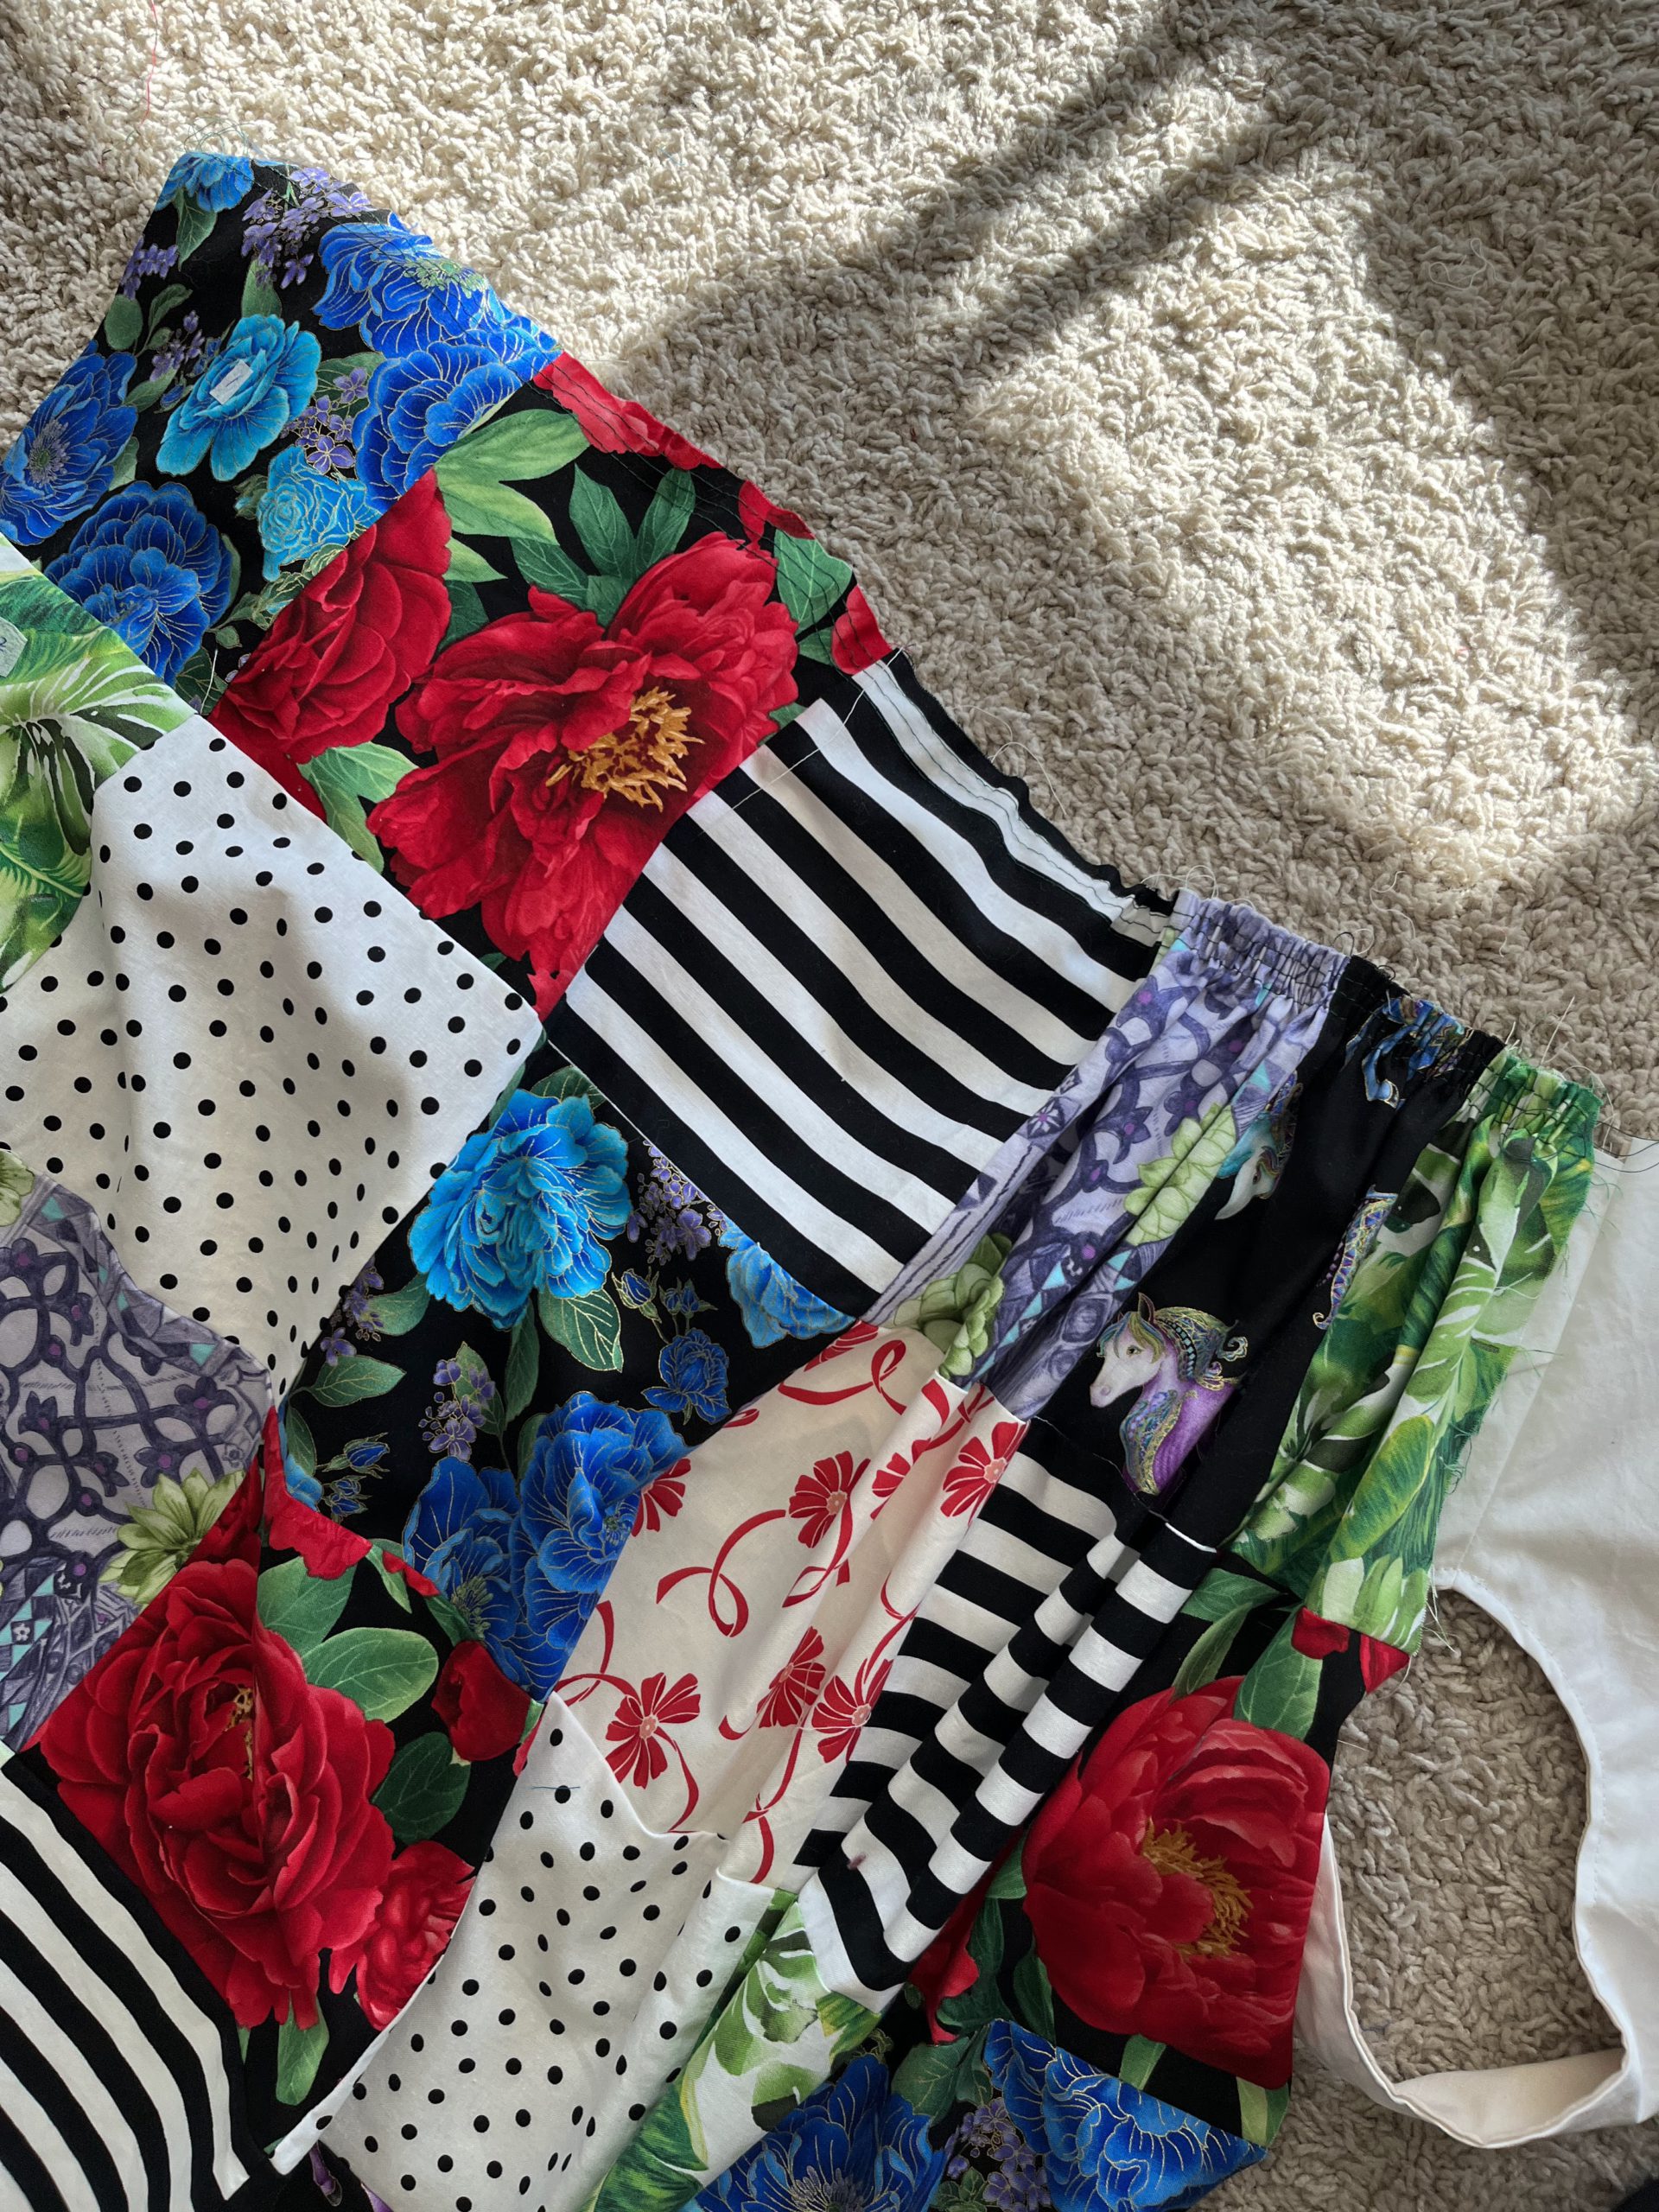
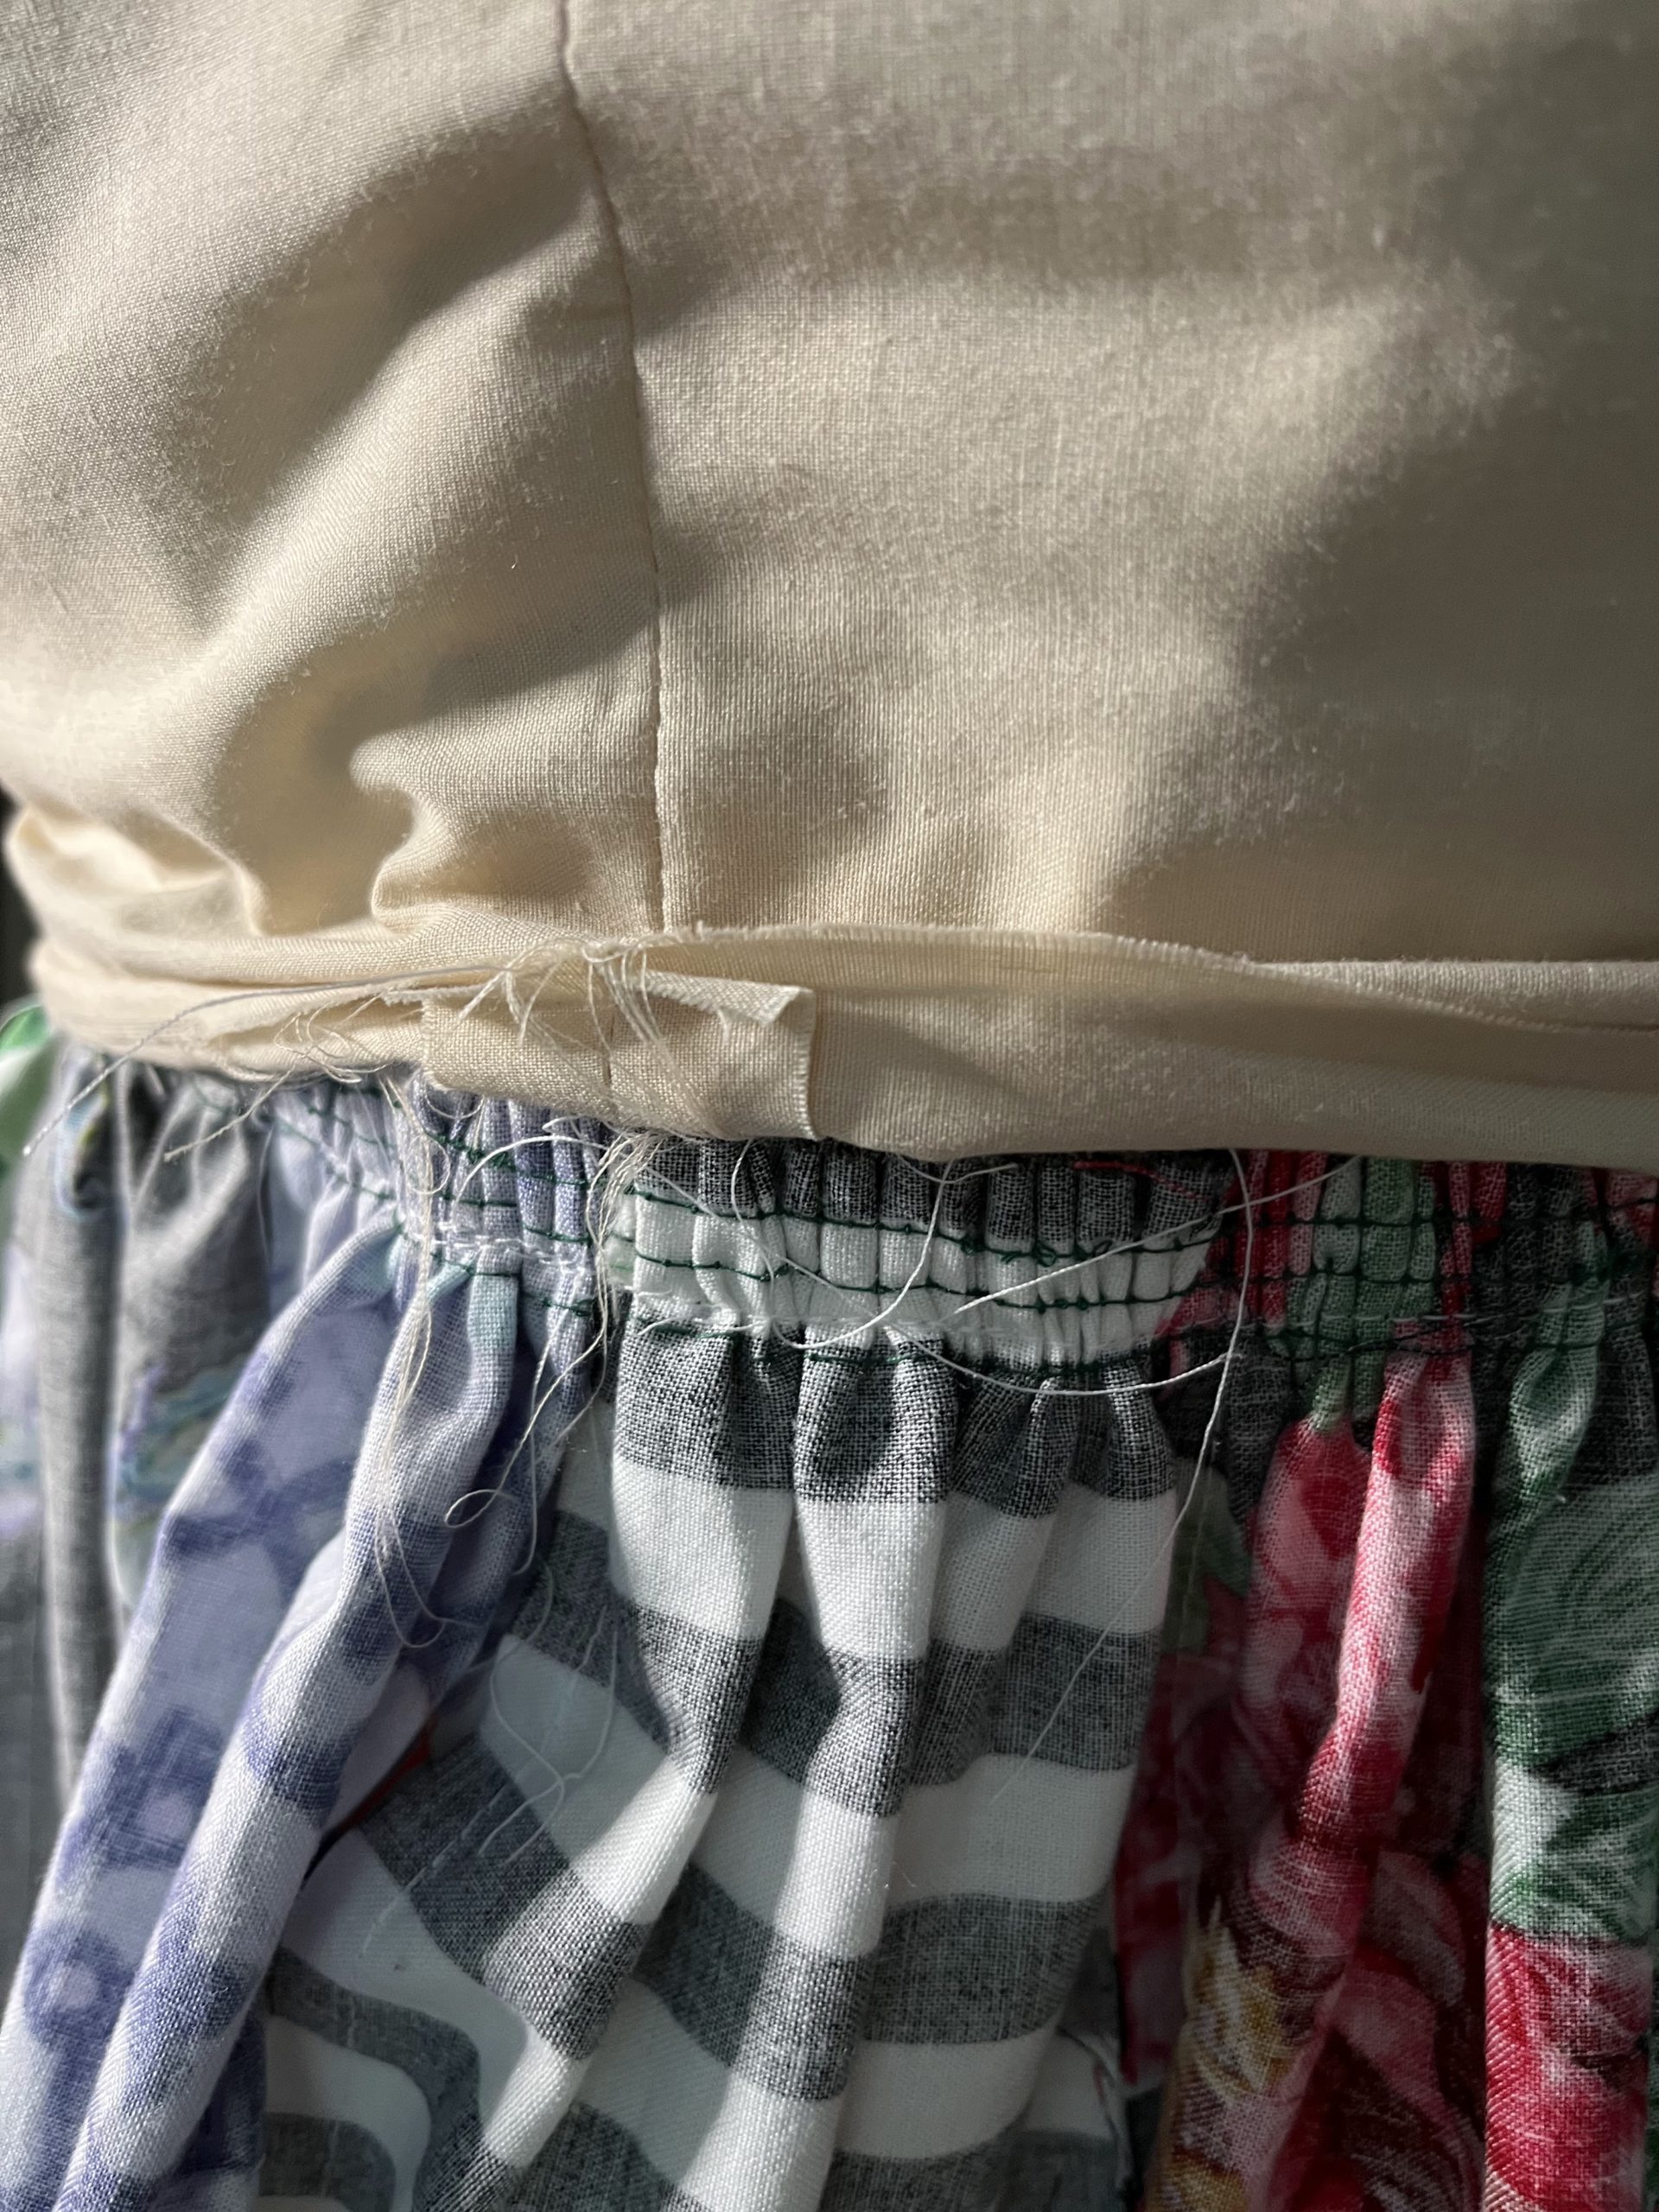
I started with the skirt. Given my experience with the Rosie skirt, I didn’t want it too full so I cut seventy-two 7″ squares (2.4 yards) and sewed them together with nesting seams, patchwork quilt style. Why 7 inches? A quilting charm square is 5×5 and layer cake is 10×10. I went for right in the middle and drew this out on my muslin to visualize how big the print would look on my frame. There are 3 panels- 1 front and 2 back. I even created 6 tiers like the original D&G dress! Picking out all those fabrics was such a fun adventure. It was a mix of a trip to Hobby Lobby, Joanns and some quilt shops on the other side of town. I don’t normally like large prints since I am petite, but one of the rules of quilting is that when you take a large print and cut it down it will look completely different- this was so true! Case in point: red peony. Having different sized prints will really add depth to your quilt- and in this case, a skirt. I think it worked out really well.
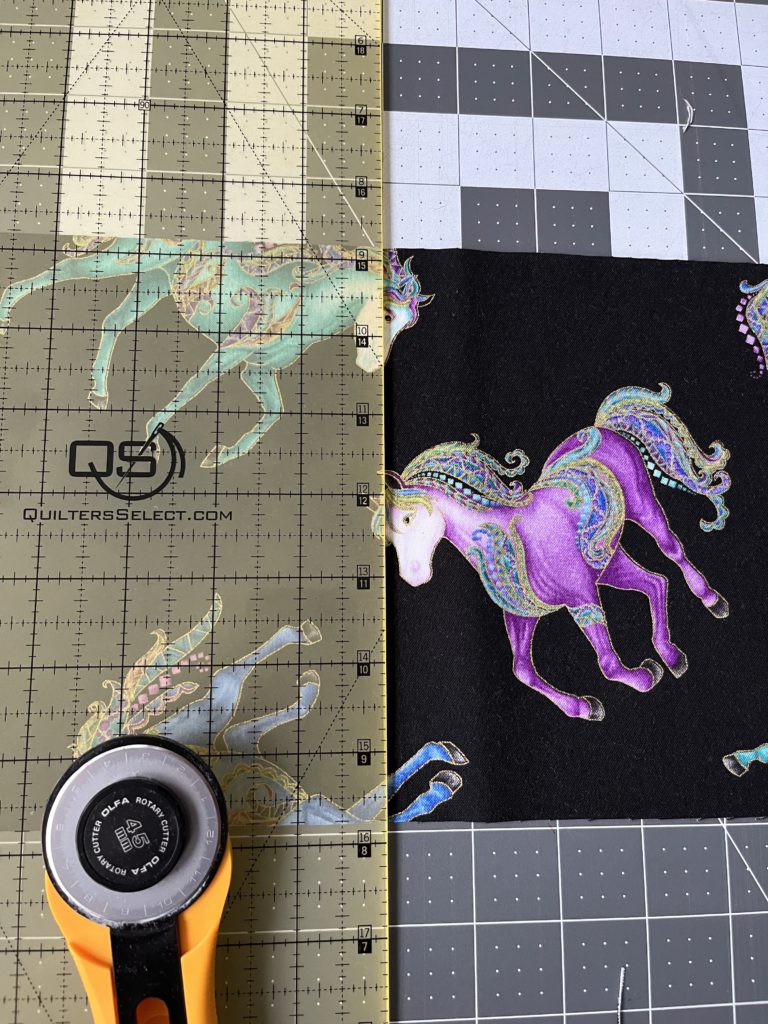
Sorry Mr. Horsey for cutting your head off. I will not fussy cut you. 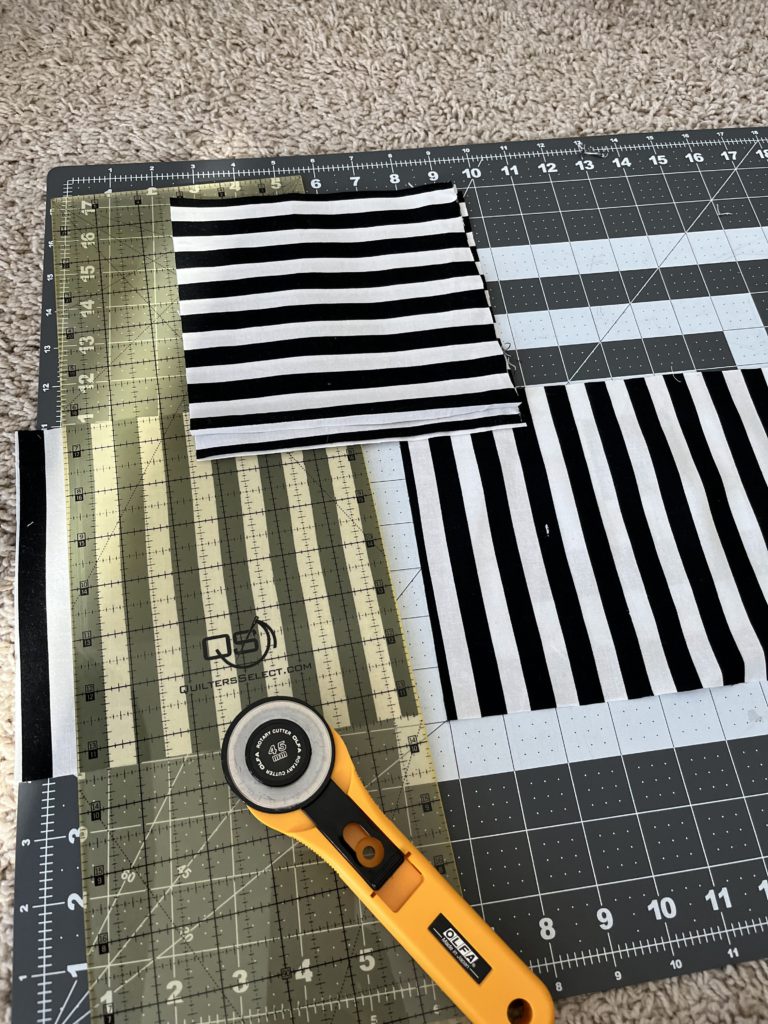
Optical Illusion overload! 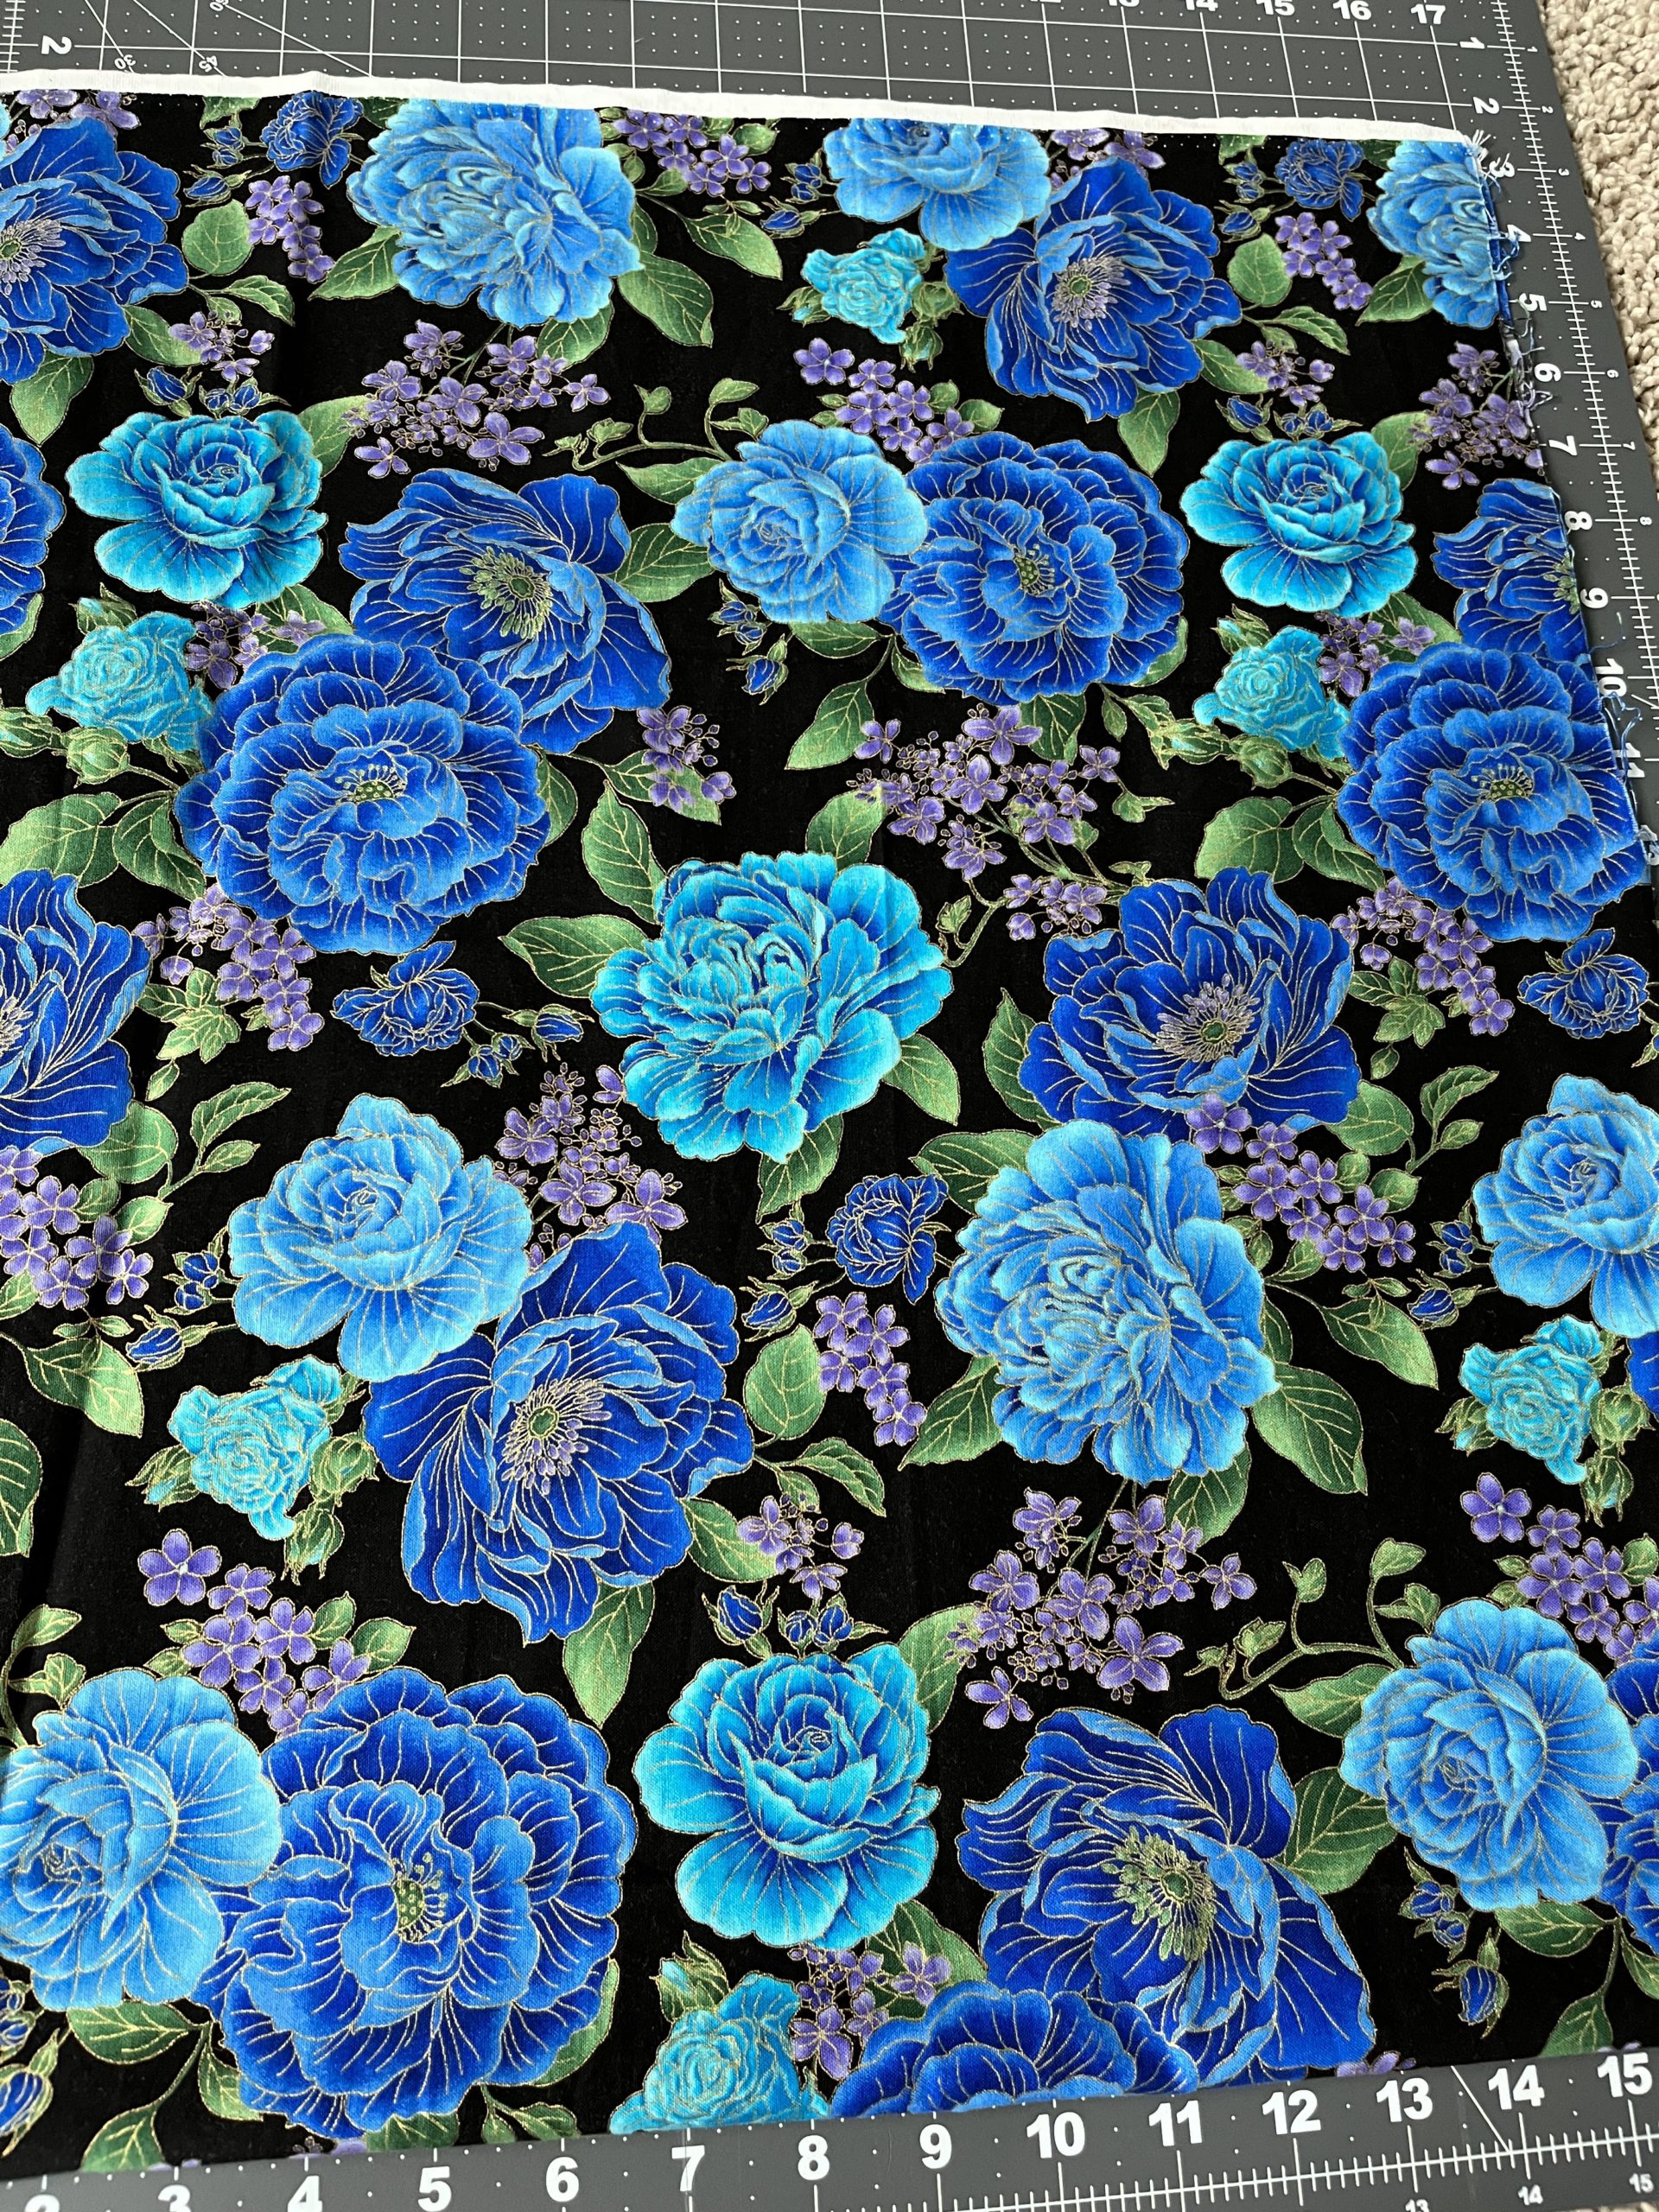
Beautiful blue roses 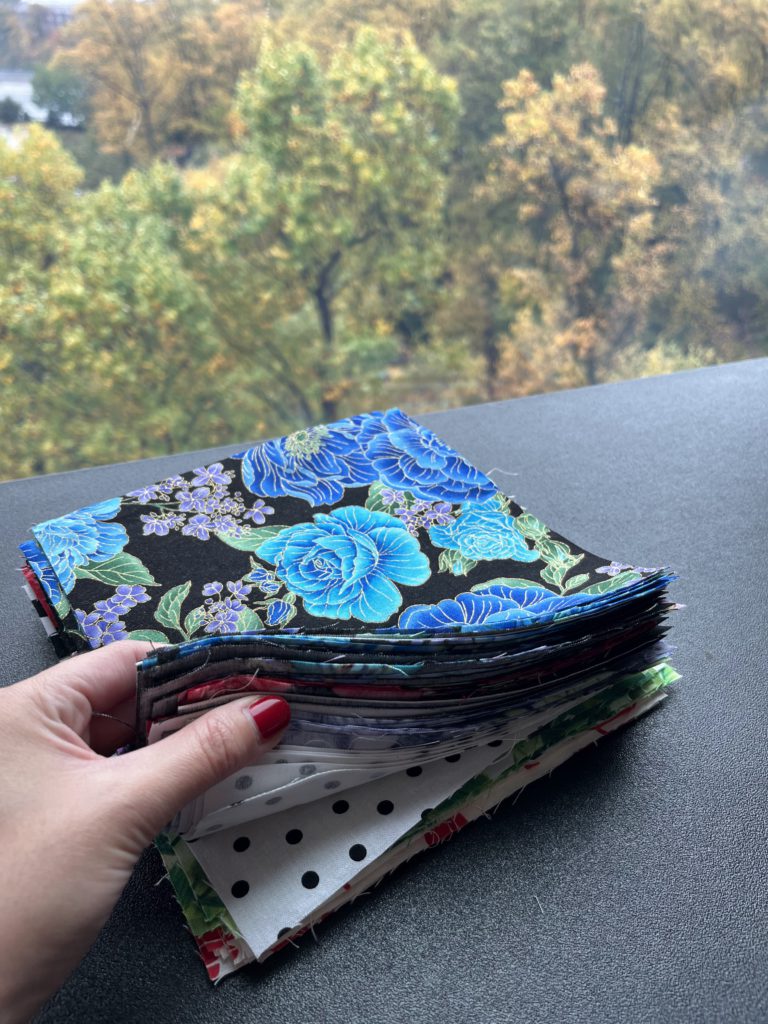
72 stacked squares ready to be sewn
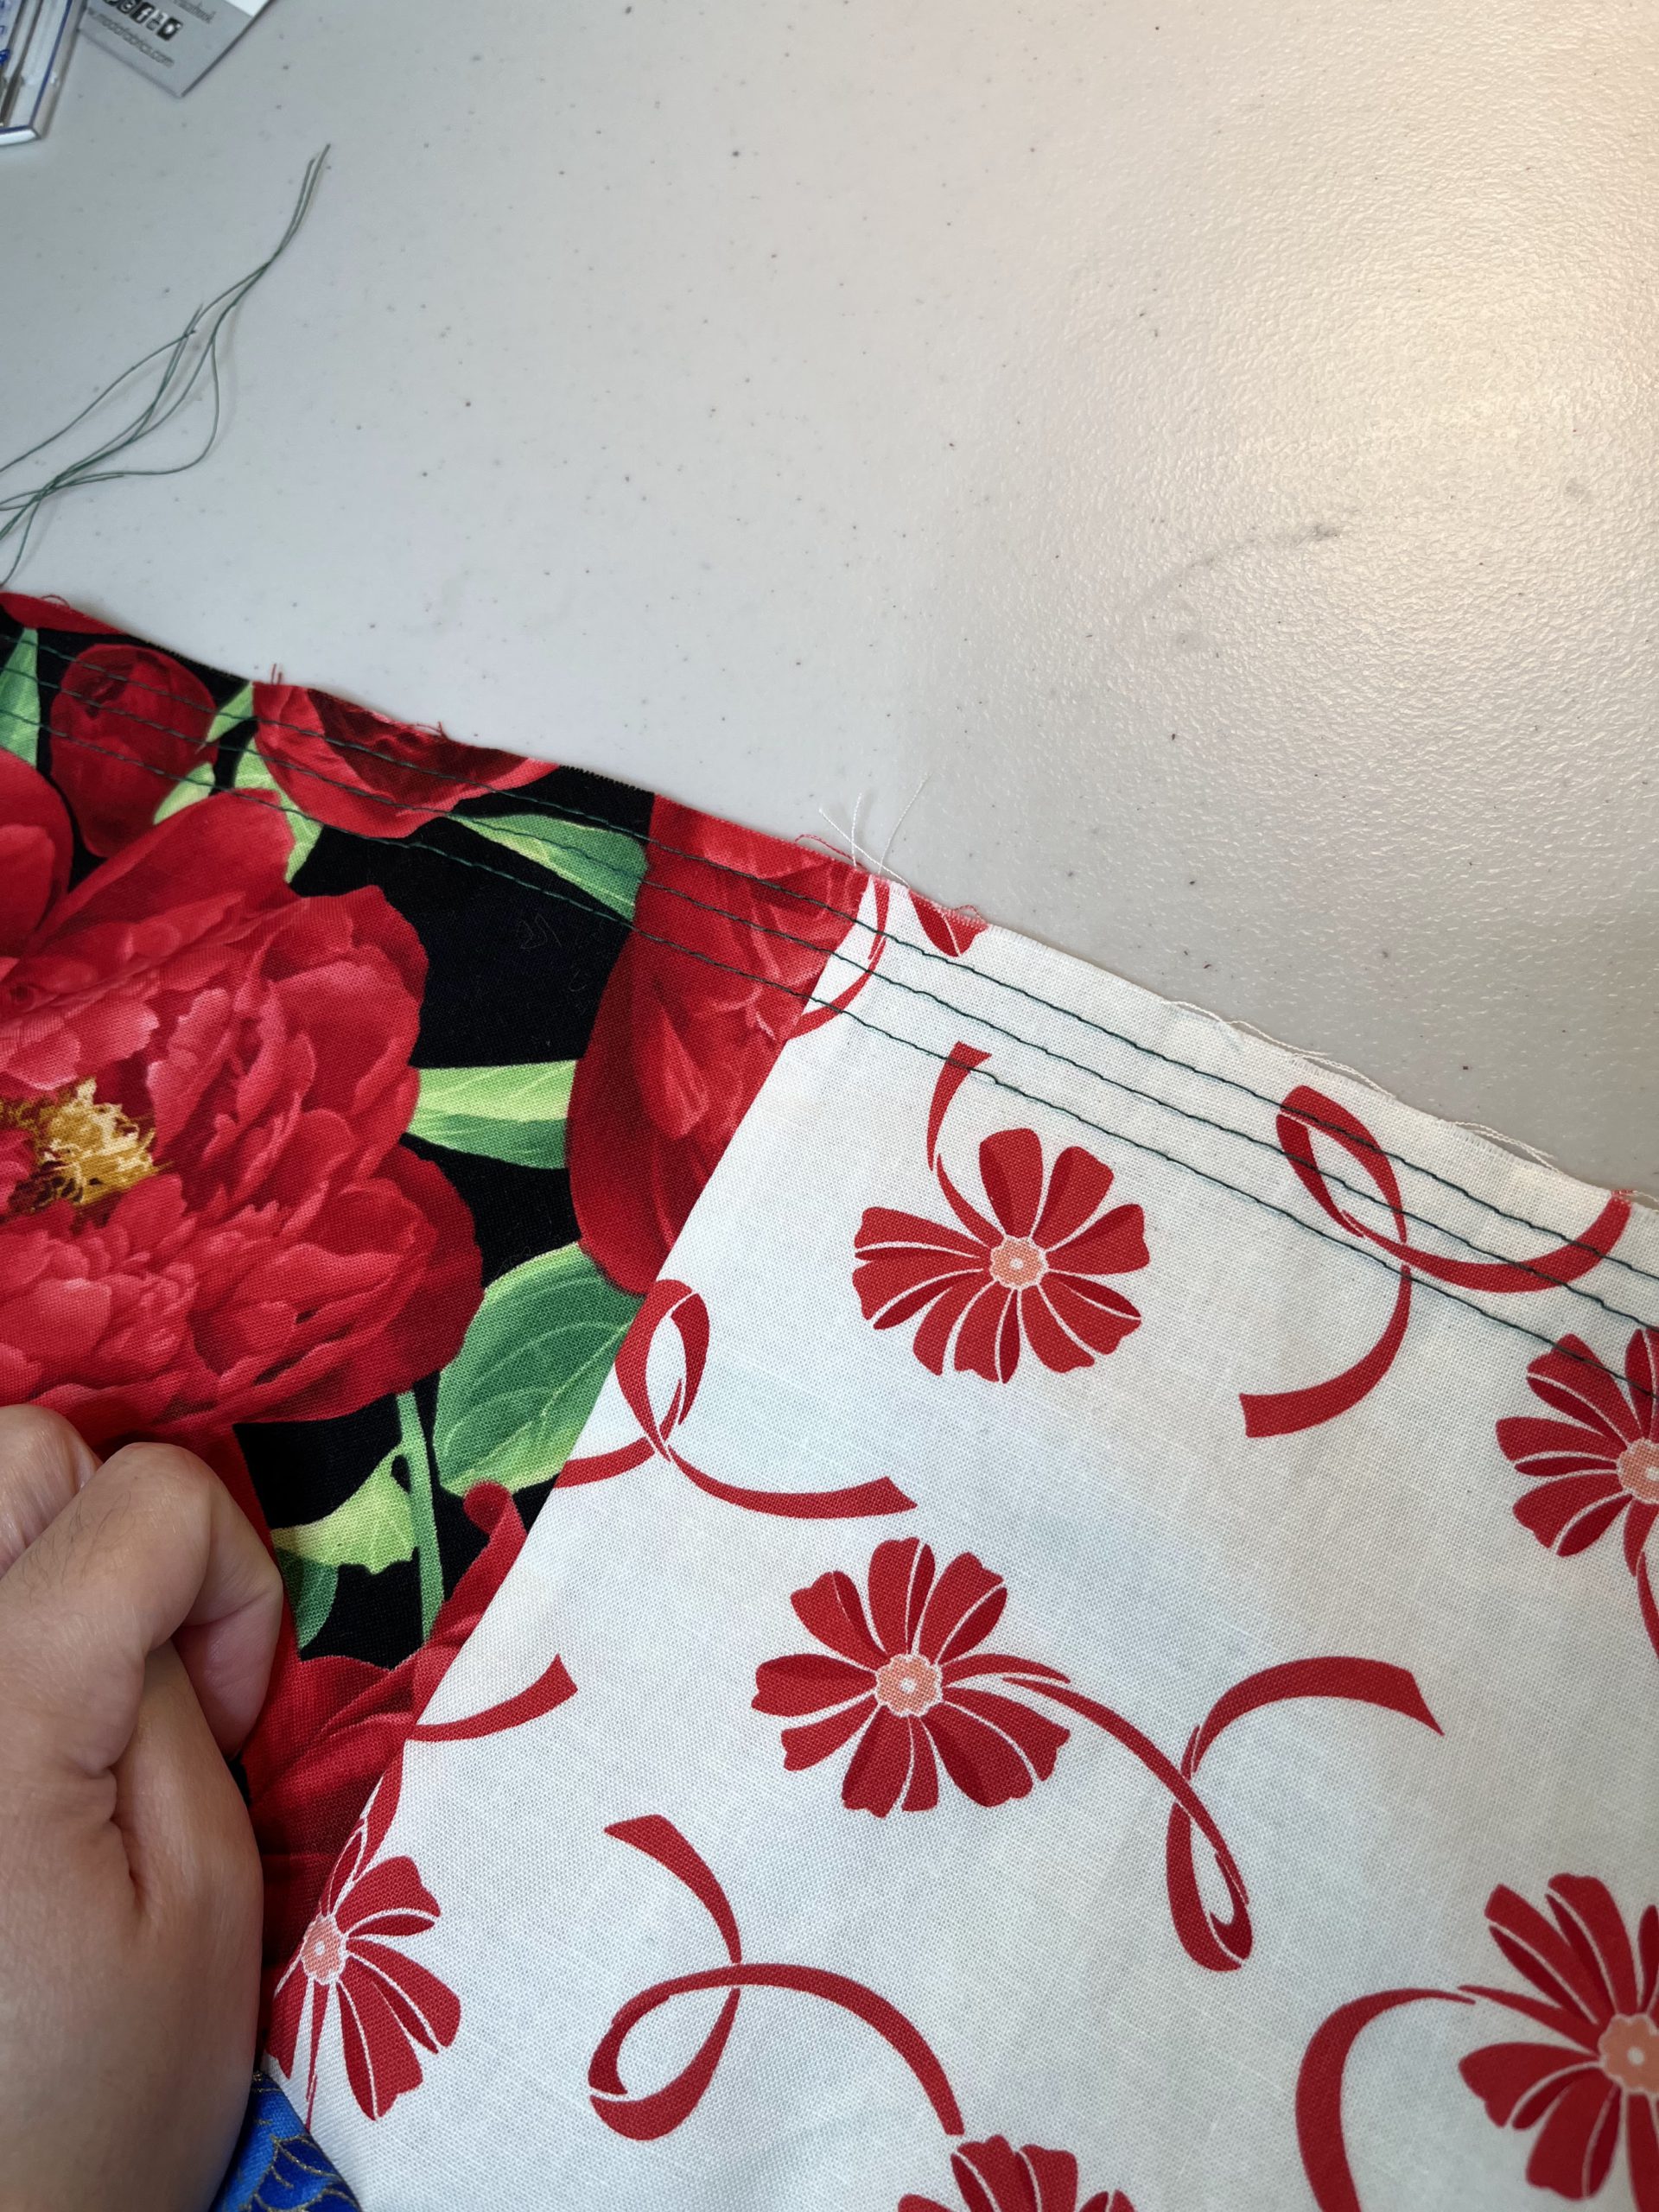
Sidenote: The beautiful blue rose print has particular significance. Last summer, my mom and I visited a local quilt store to purchase mask fabric. This was a remnant on the table. I deemed it too beautiful for a mask and just kept it. This was even before I knew how to sew clothes! I found it in my stash and thought it had the perfect colors to be in this skirt, but admittedly I had some trouble making that first cut. I’m so sentimental. But that’s what quilts are- taking your sentimental fabrics and turning it into something else.
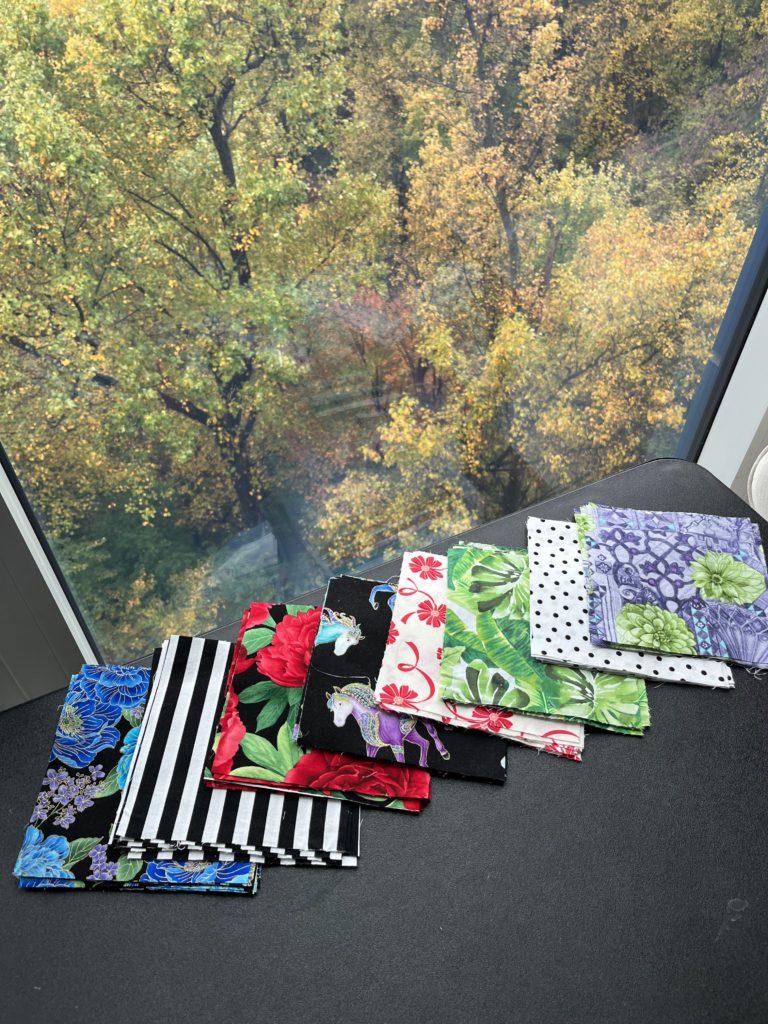
Loving the color mix! 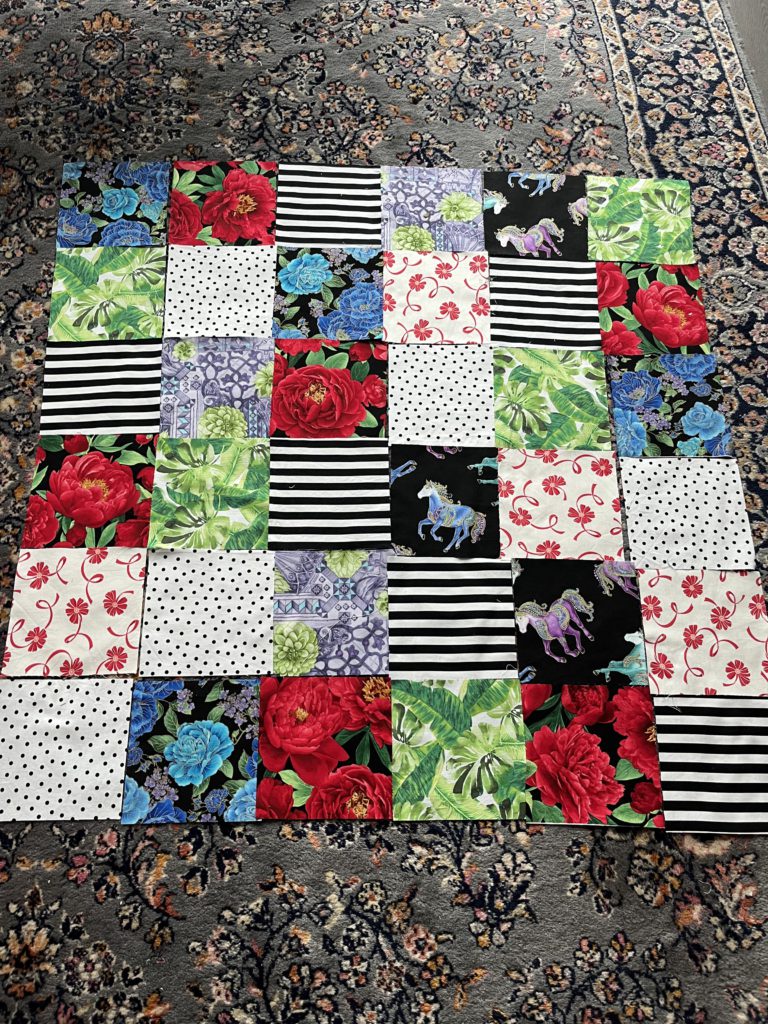
Skirt front panel. Should I stop here and just make a quilt? It’s already so pretty!
Gather gather gather 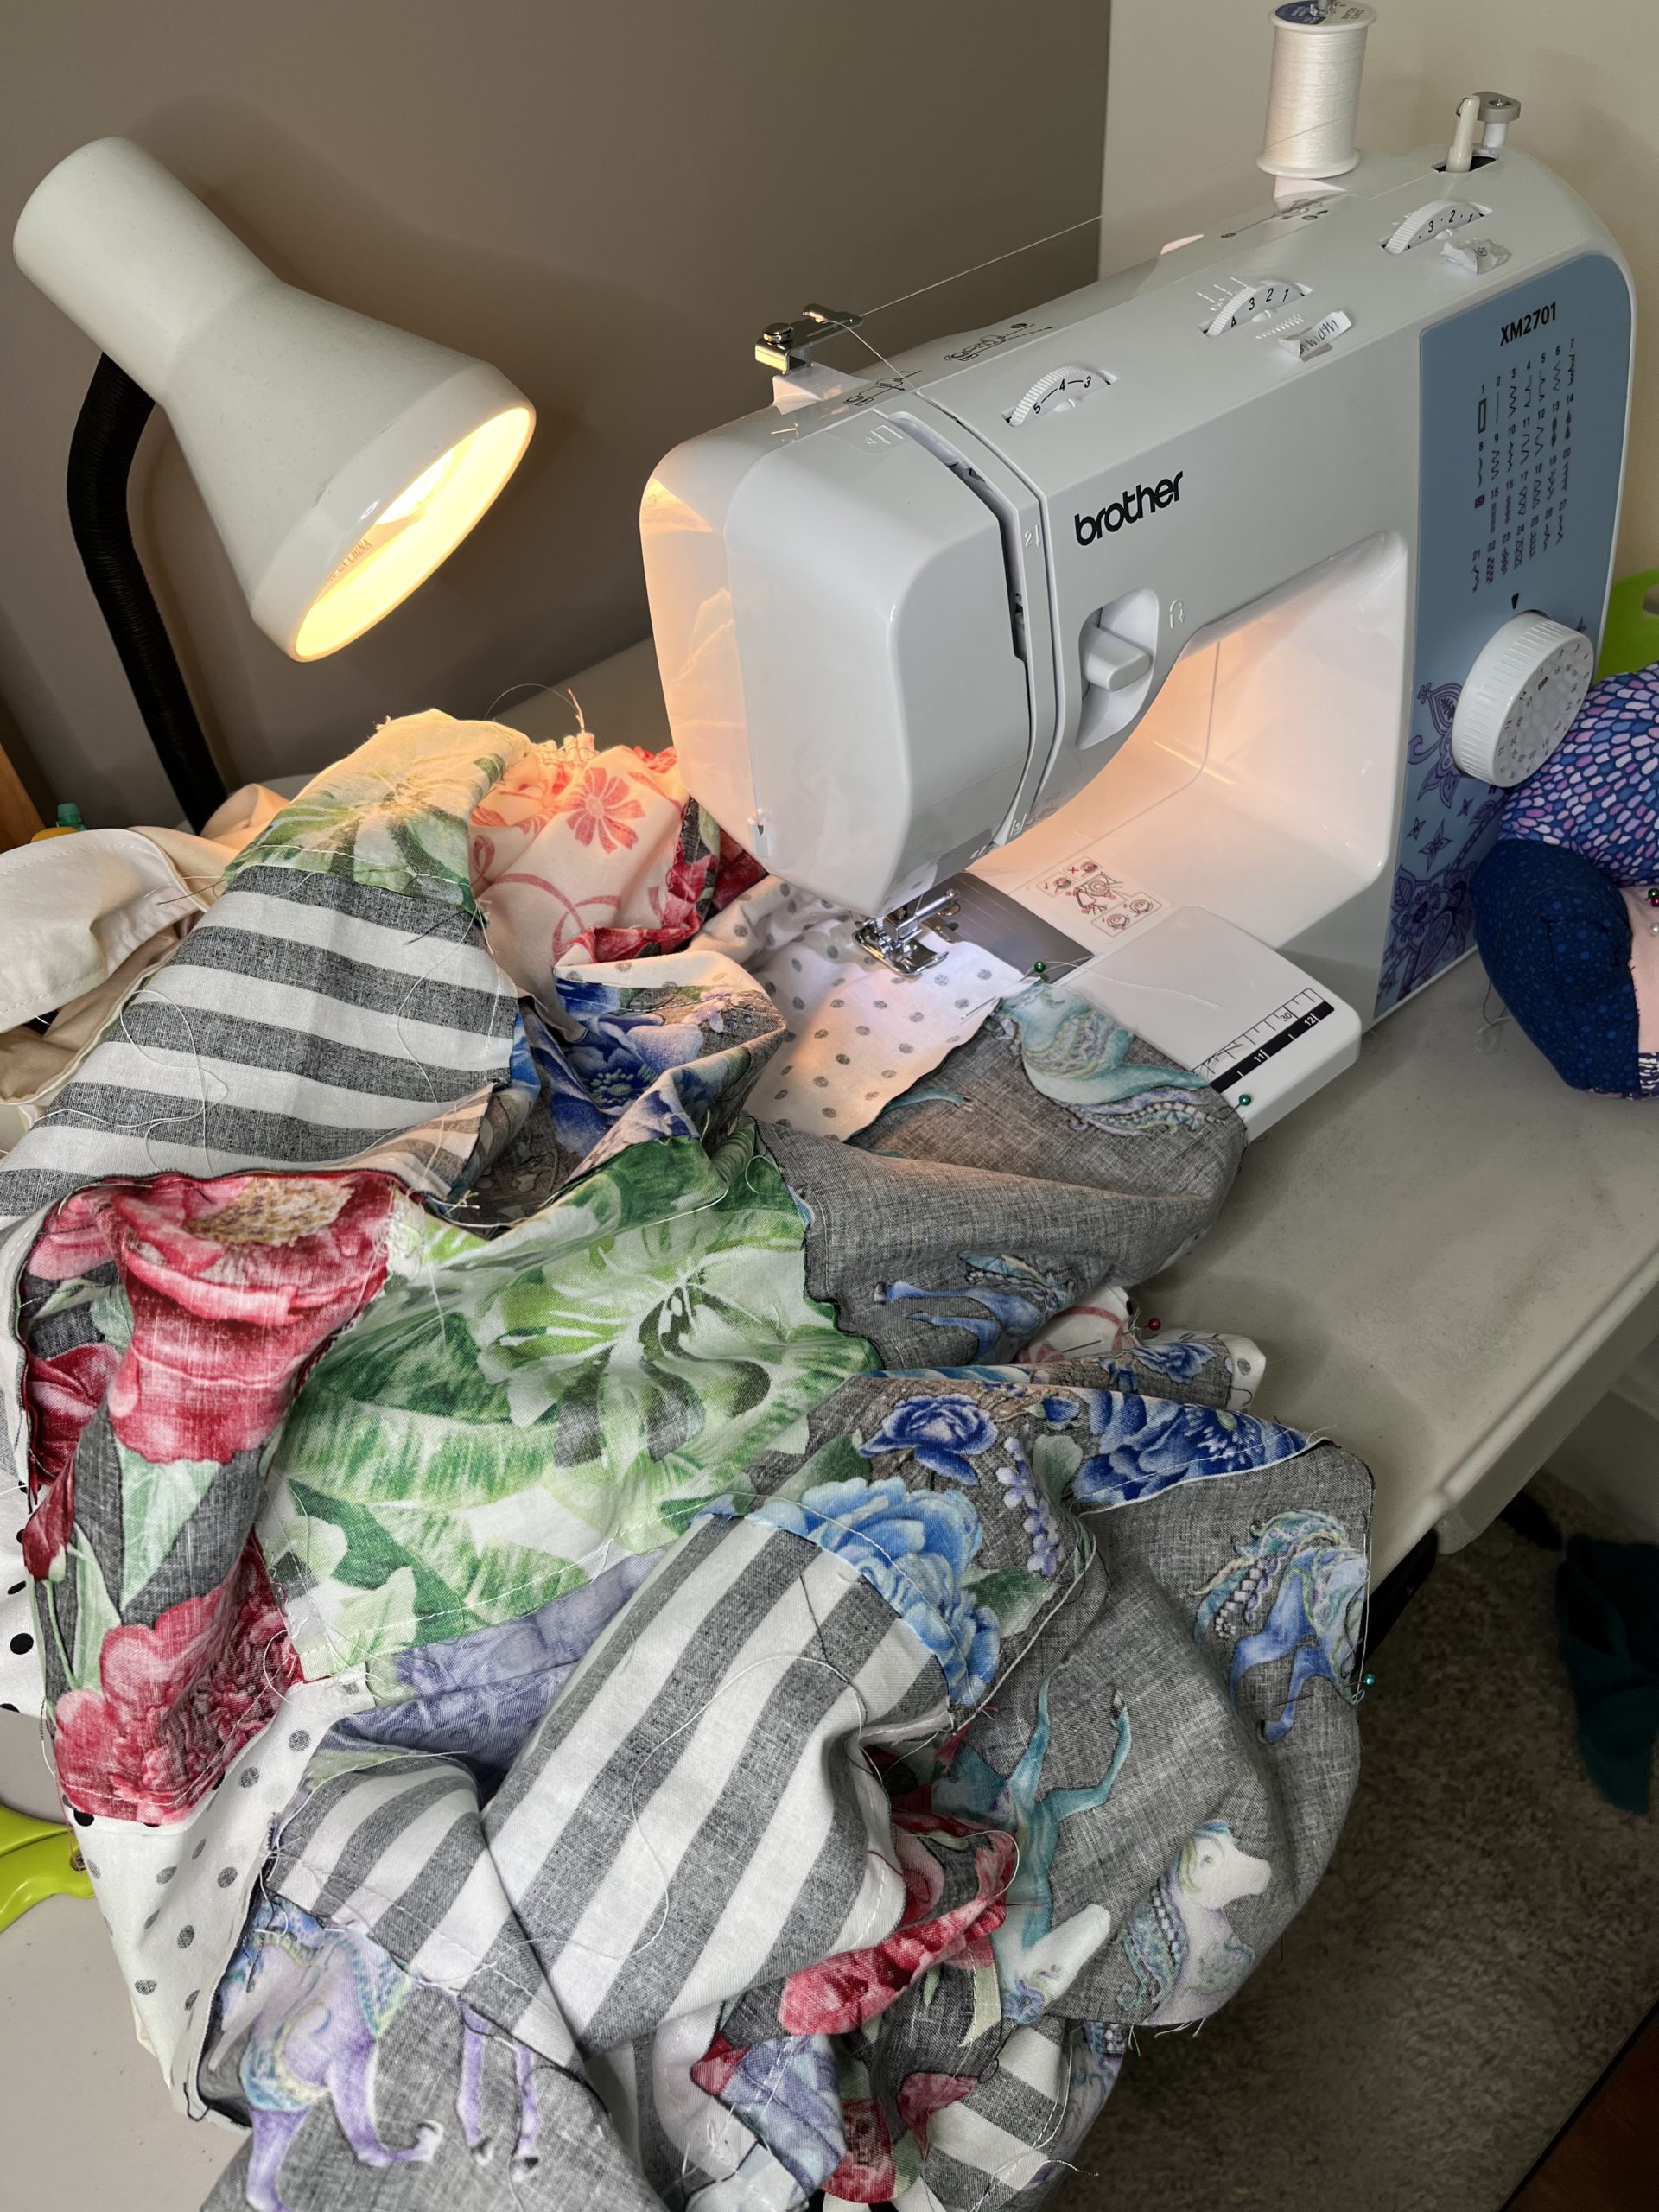
This sure was a lot of dress!
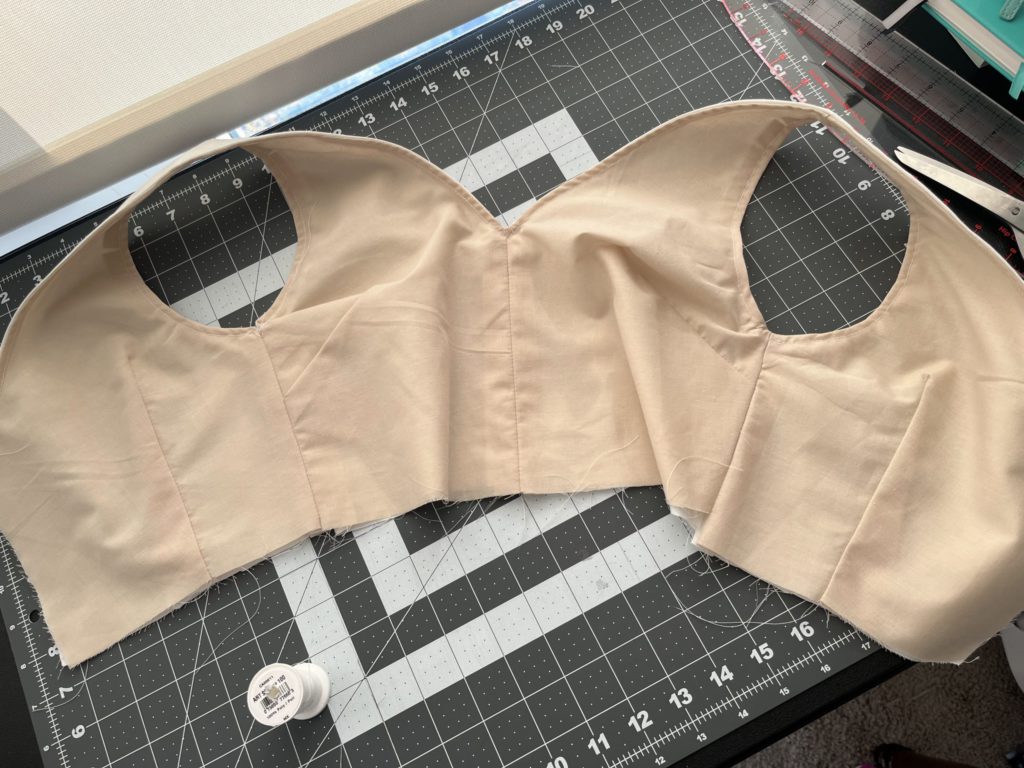
Now for the bodice. Oh was that a doozy!
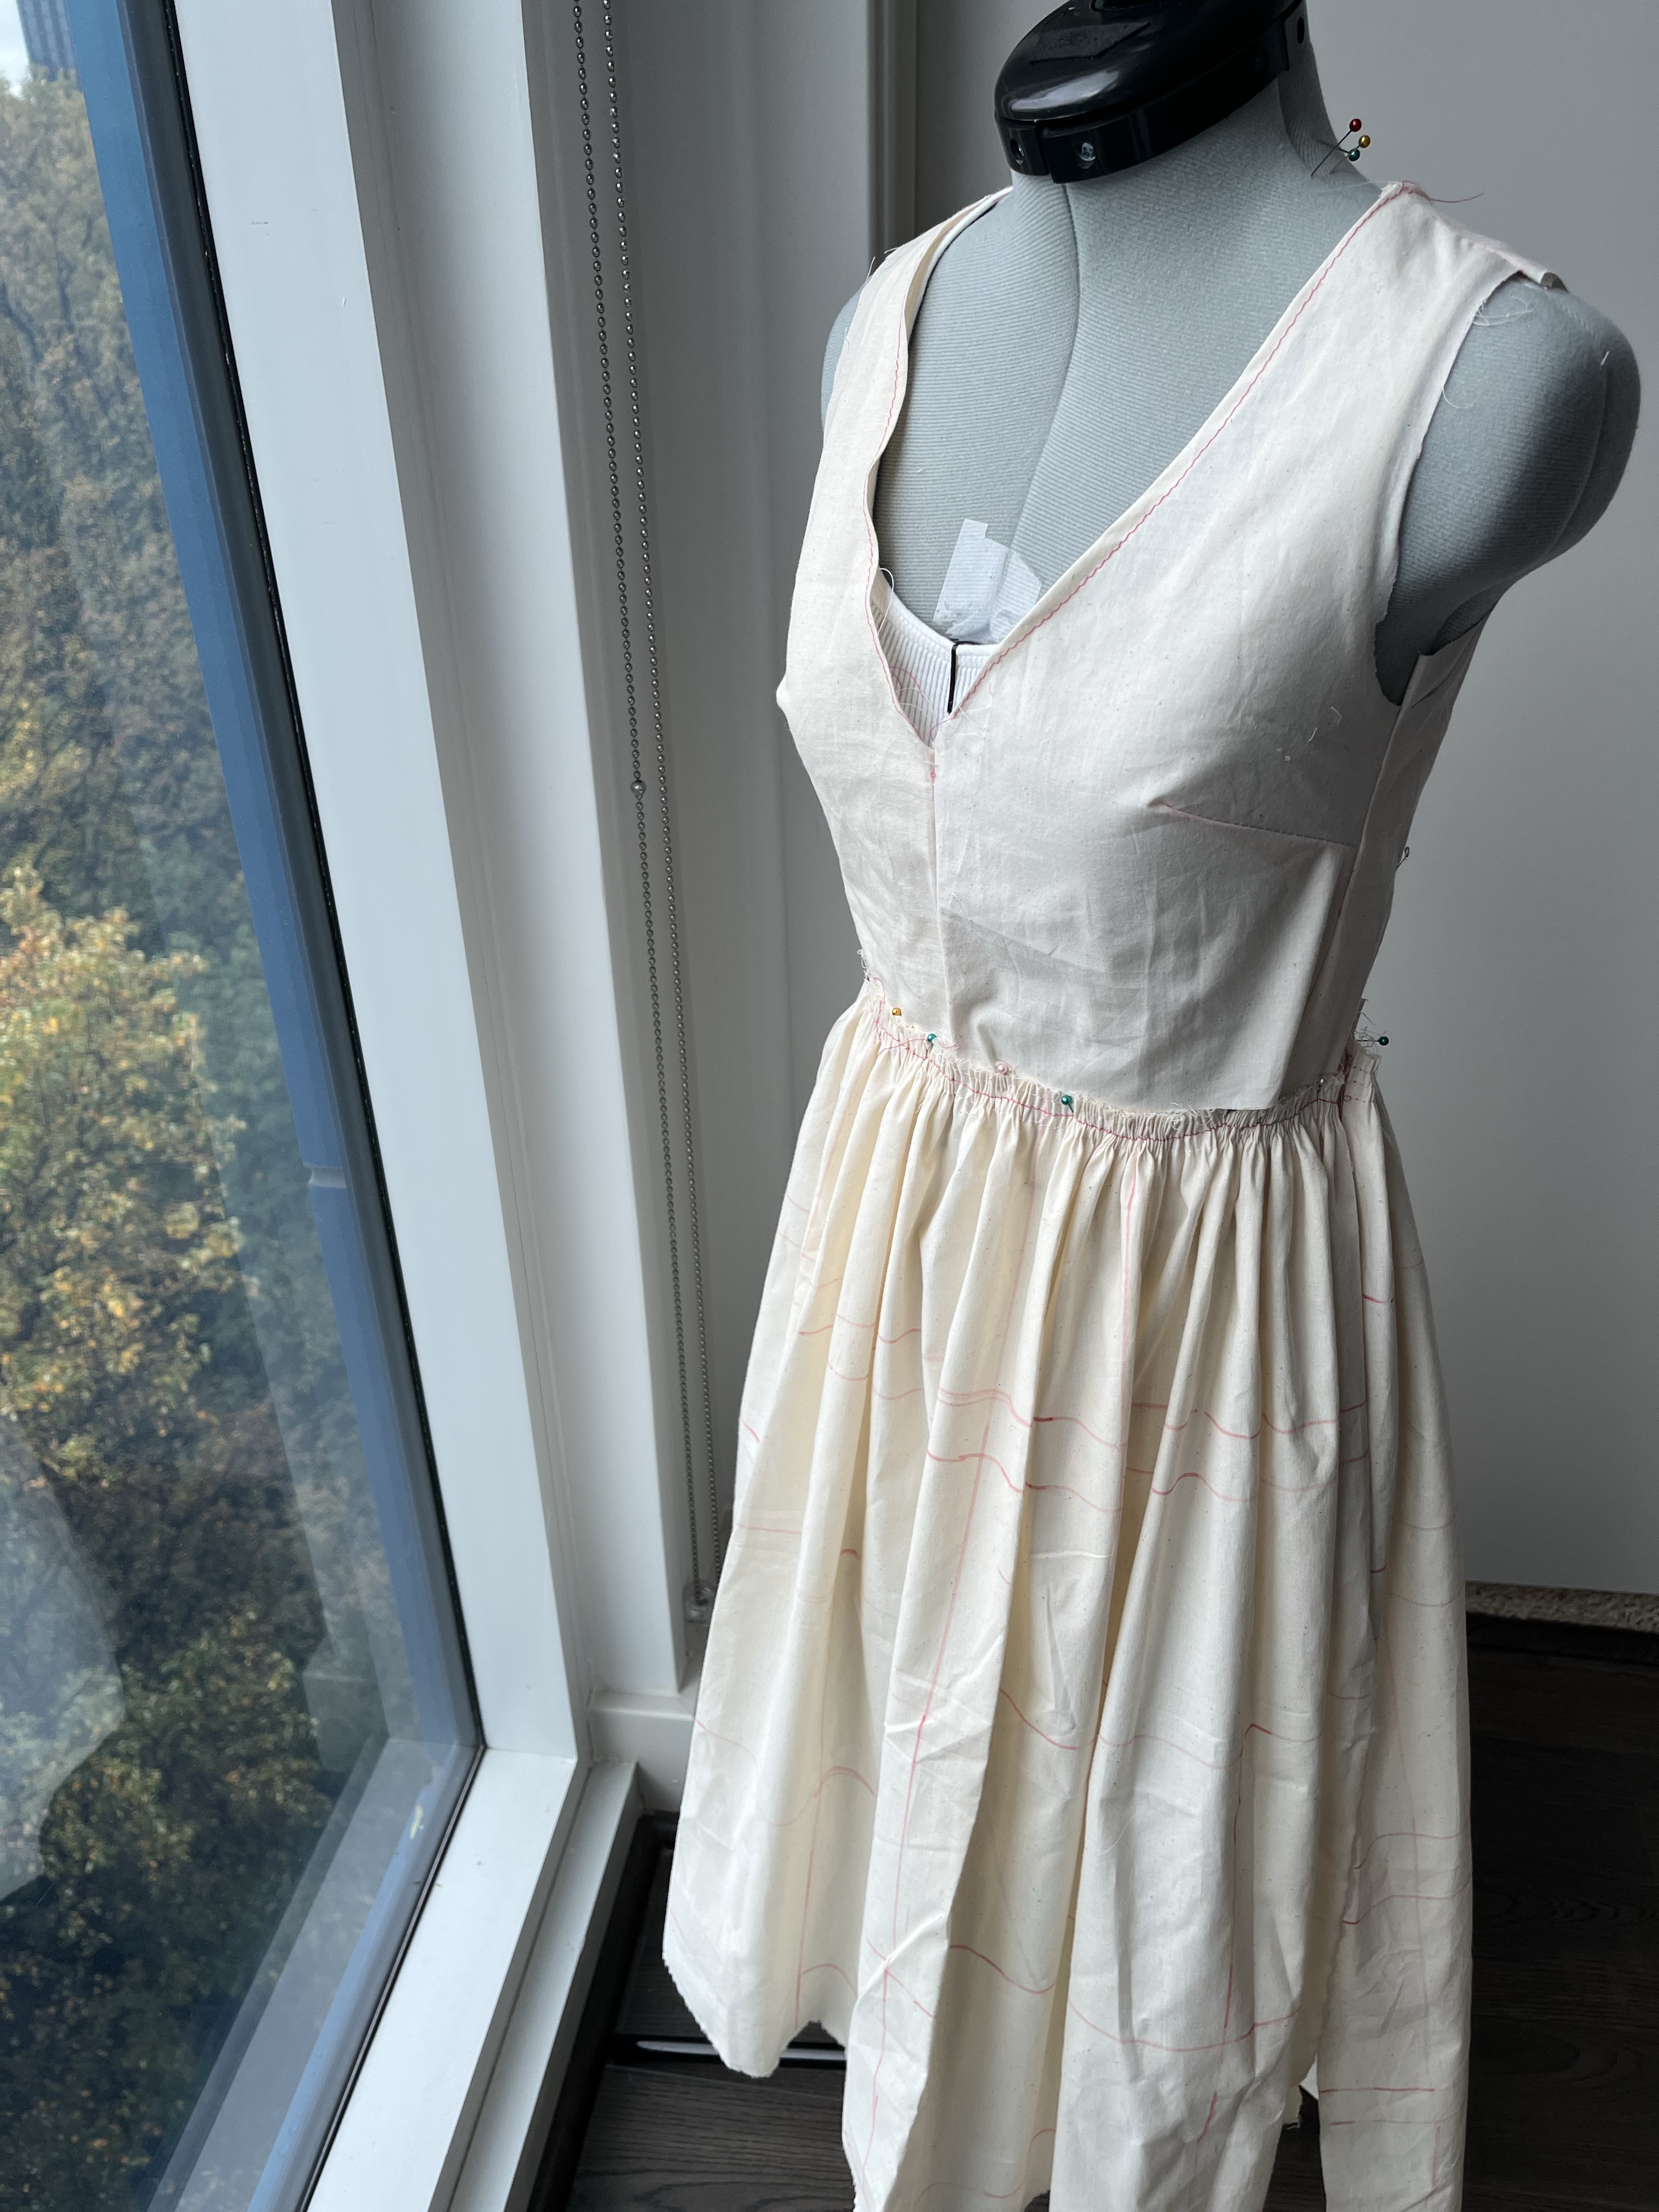
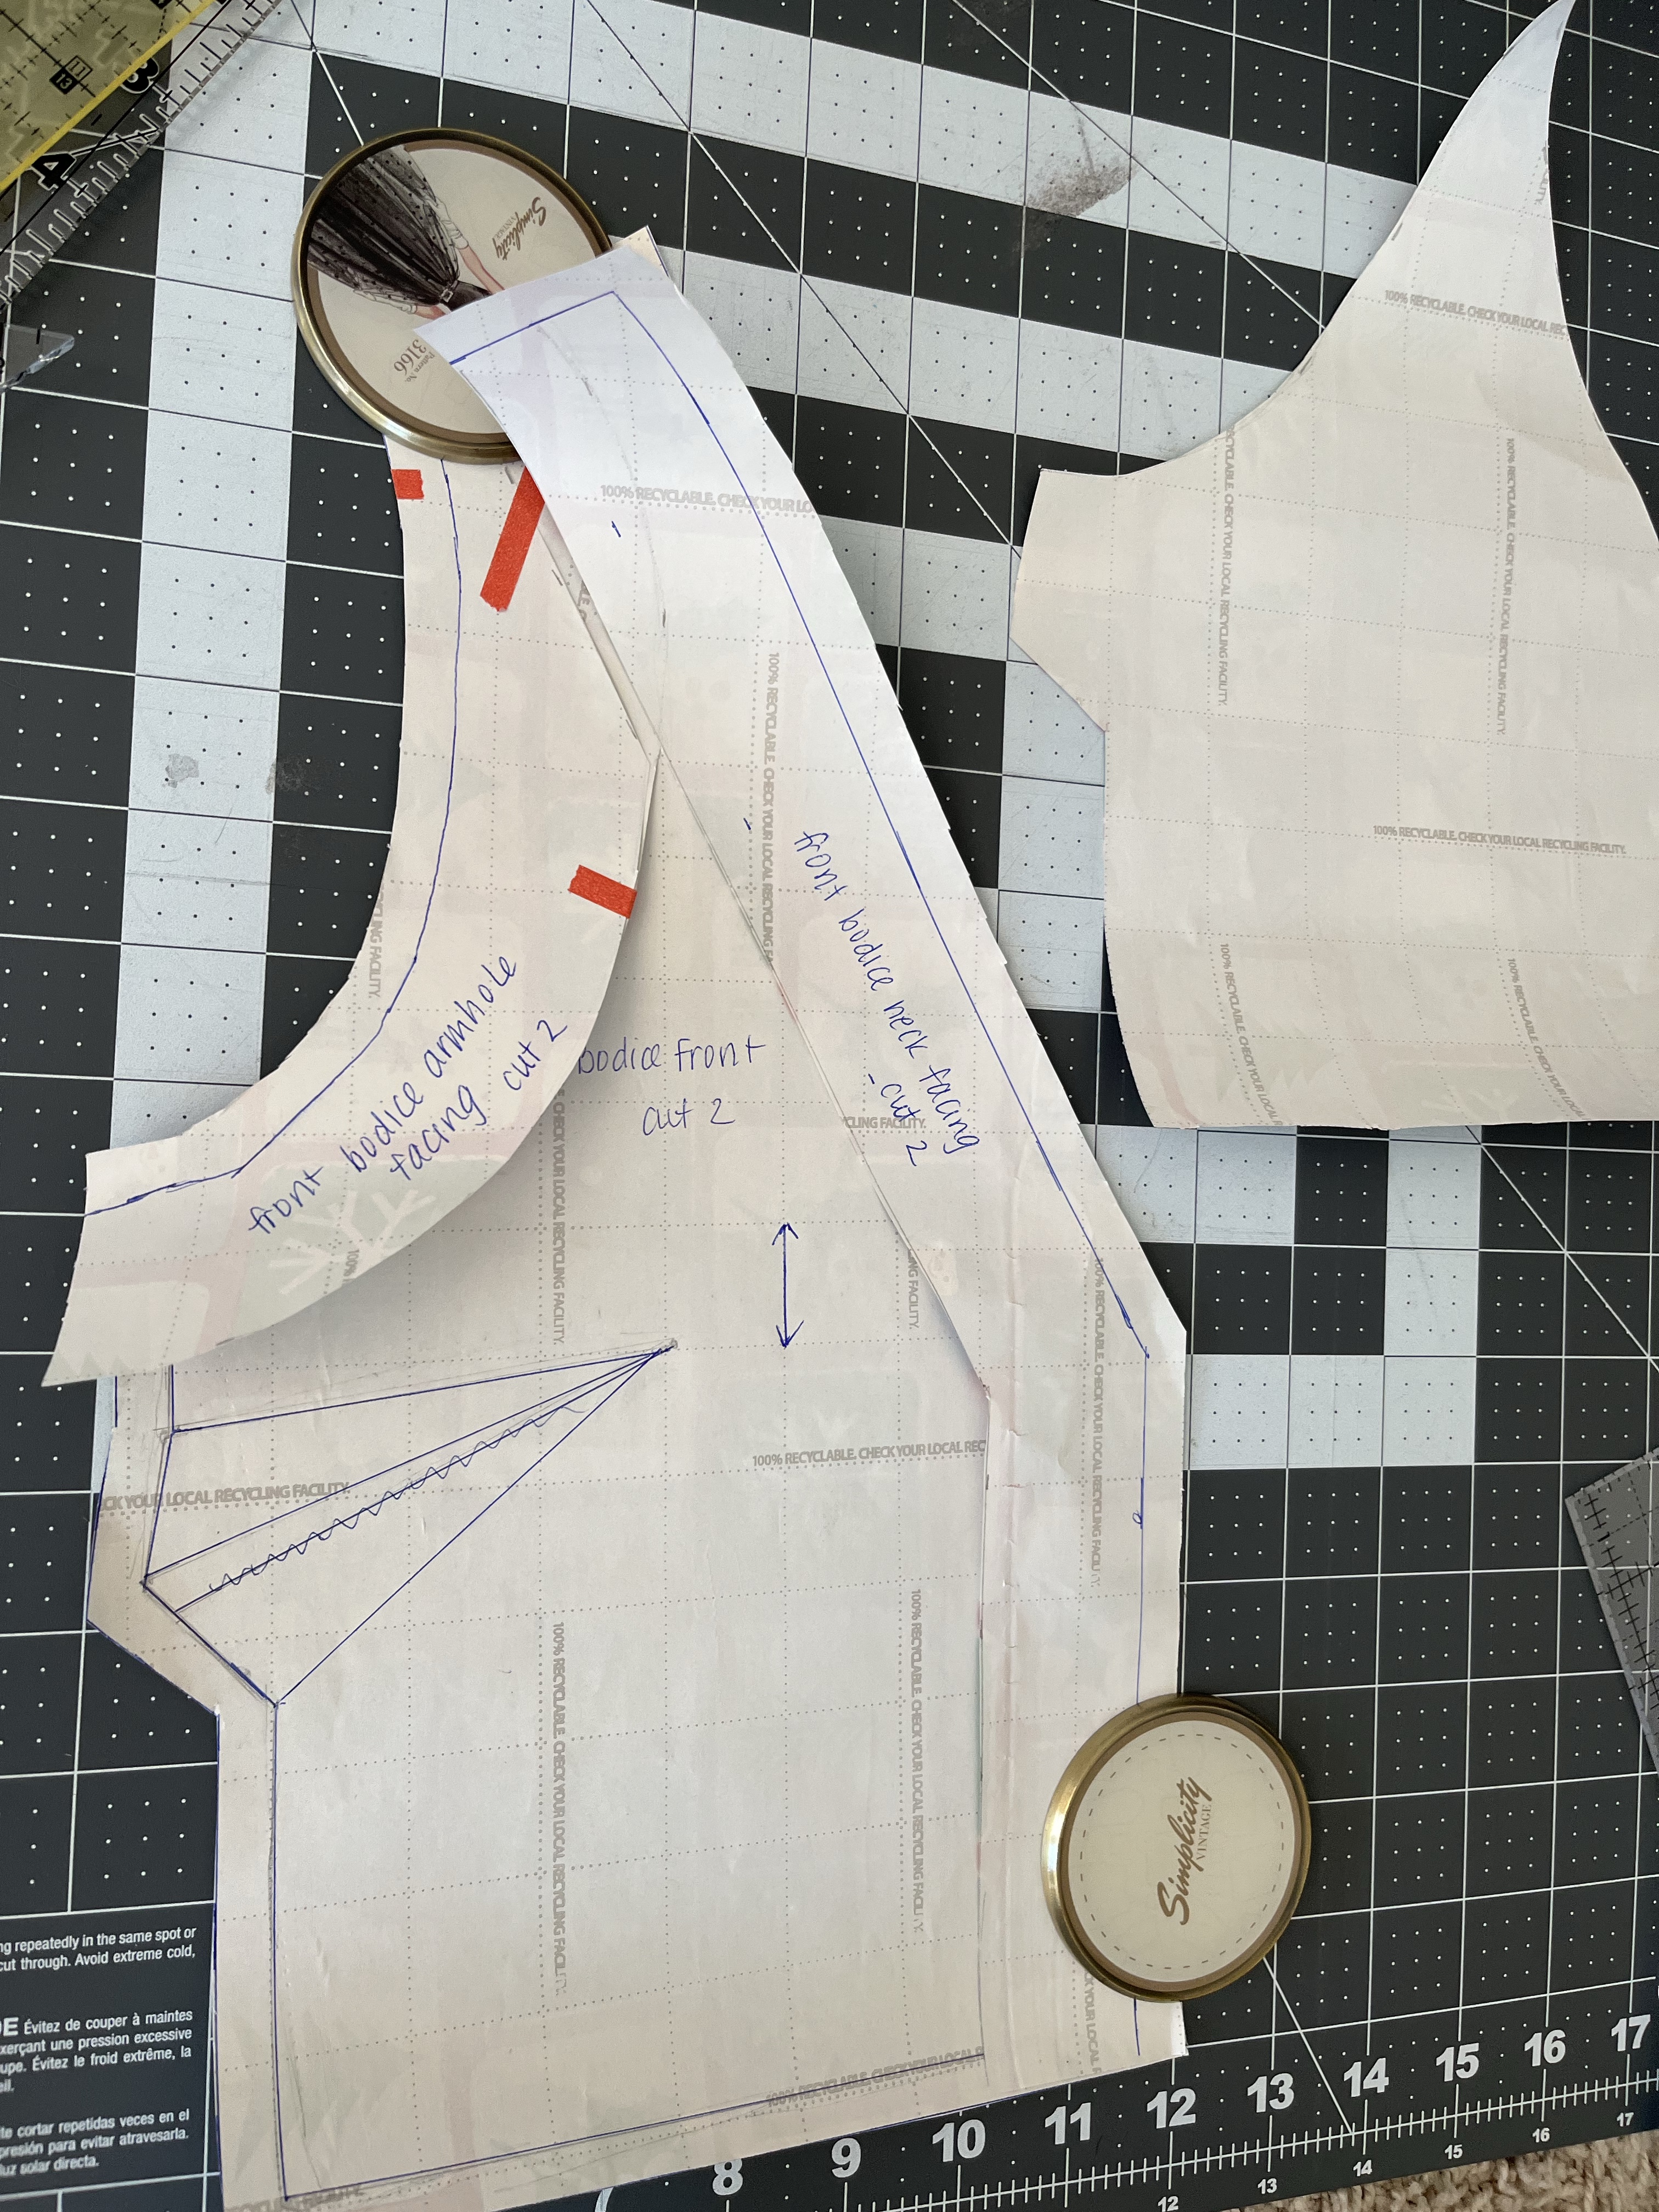
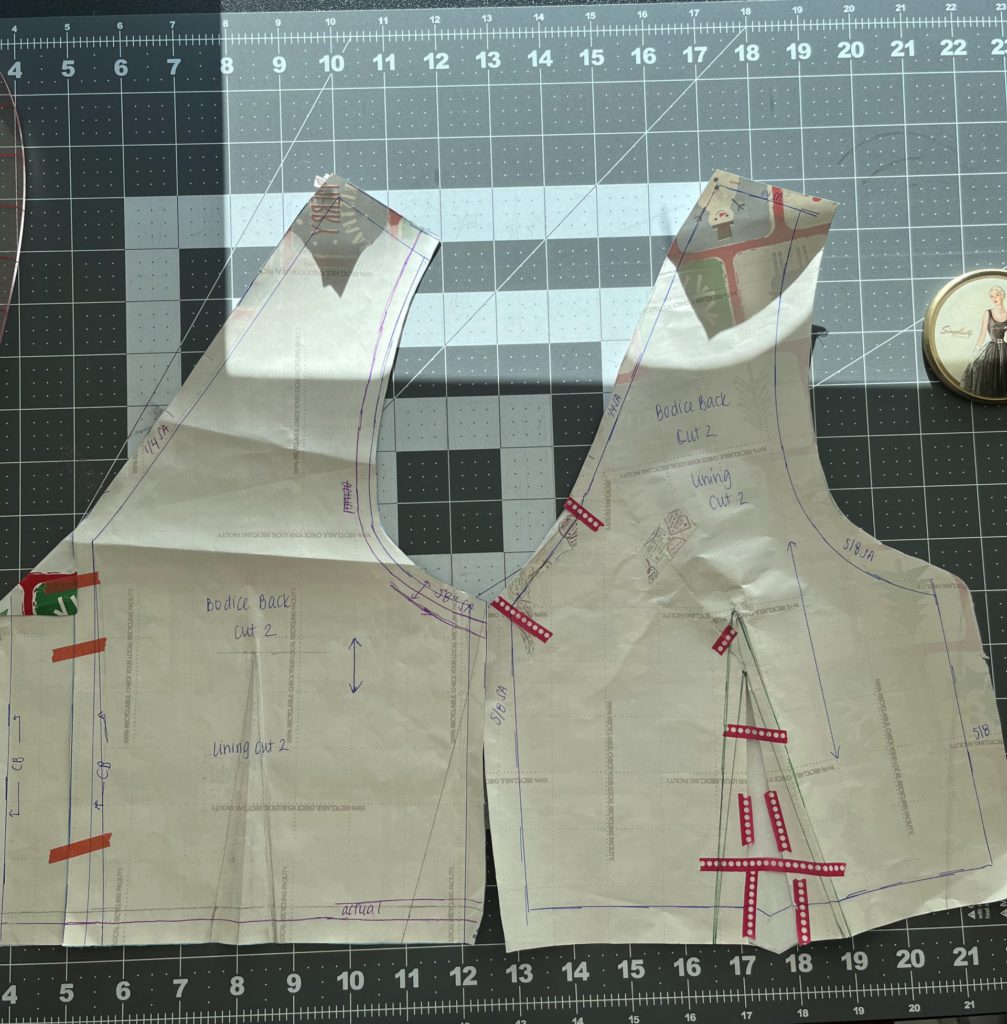
The original D&G dress has a plunge neckline and strap back but I opted for a more modest V neck and V back. I took inspiration from Elizabeth Taylor’s white dress in Butterfield 8. I draped this on the mannequin with side darts and did the usual process of creating the flat pattern. First draft was done but the Celebration Dress had more lessons in store.
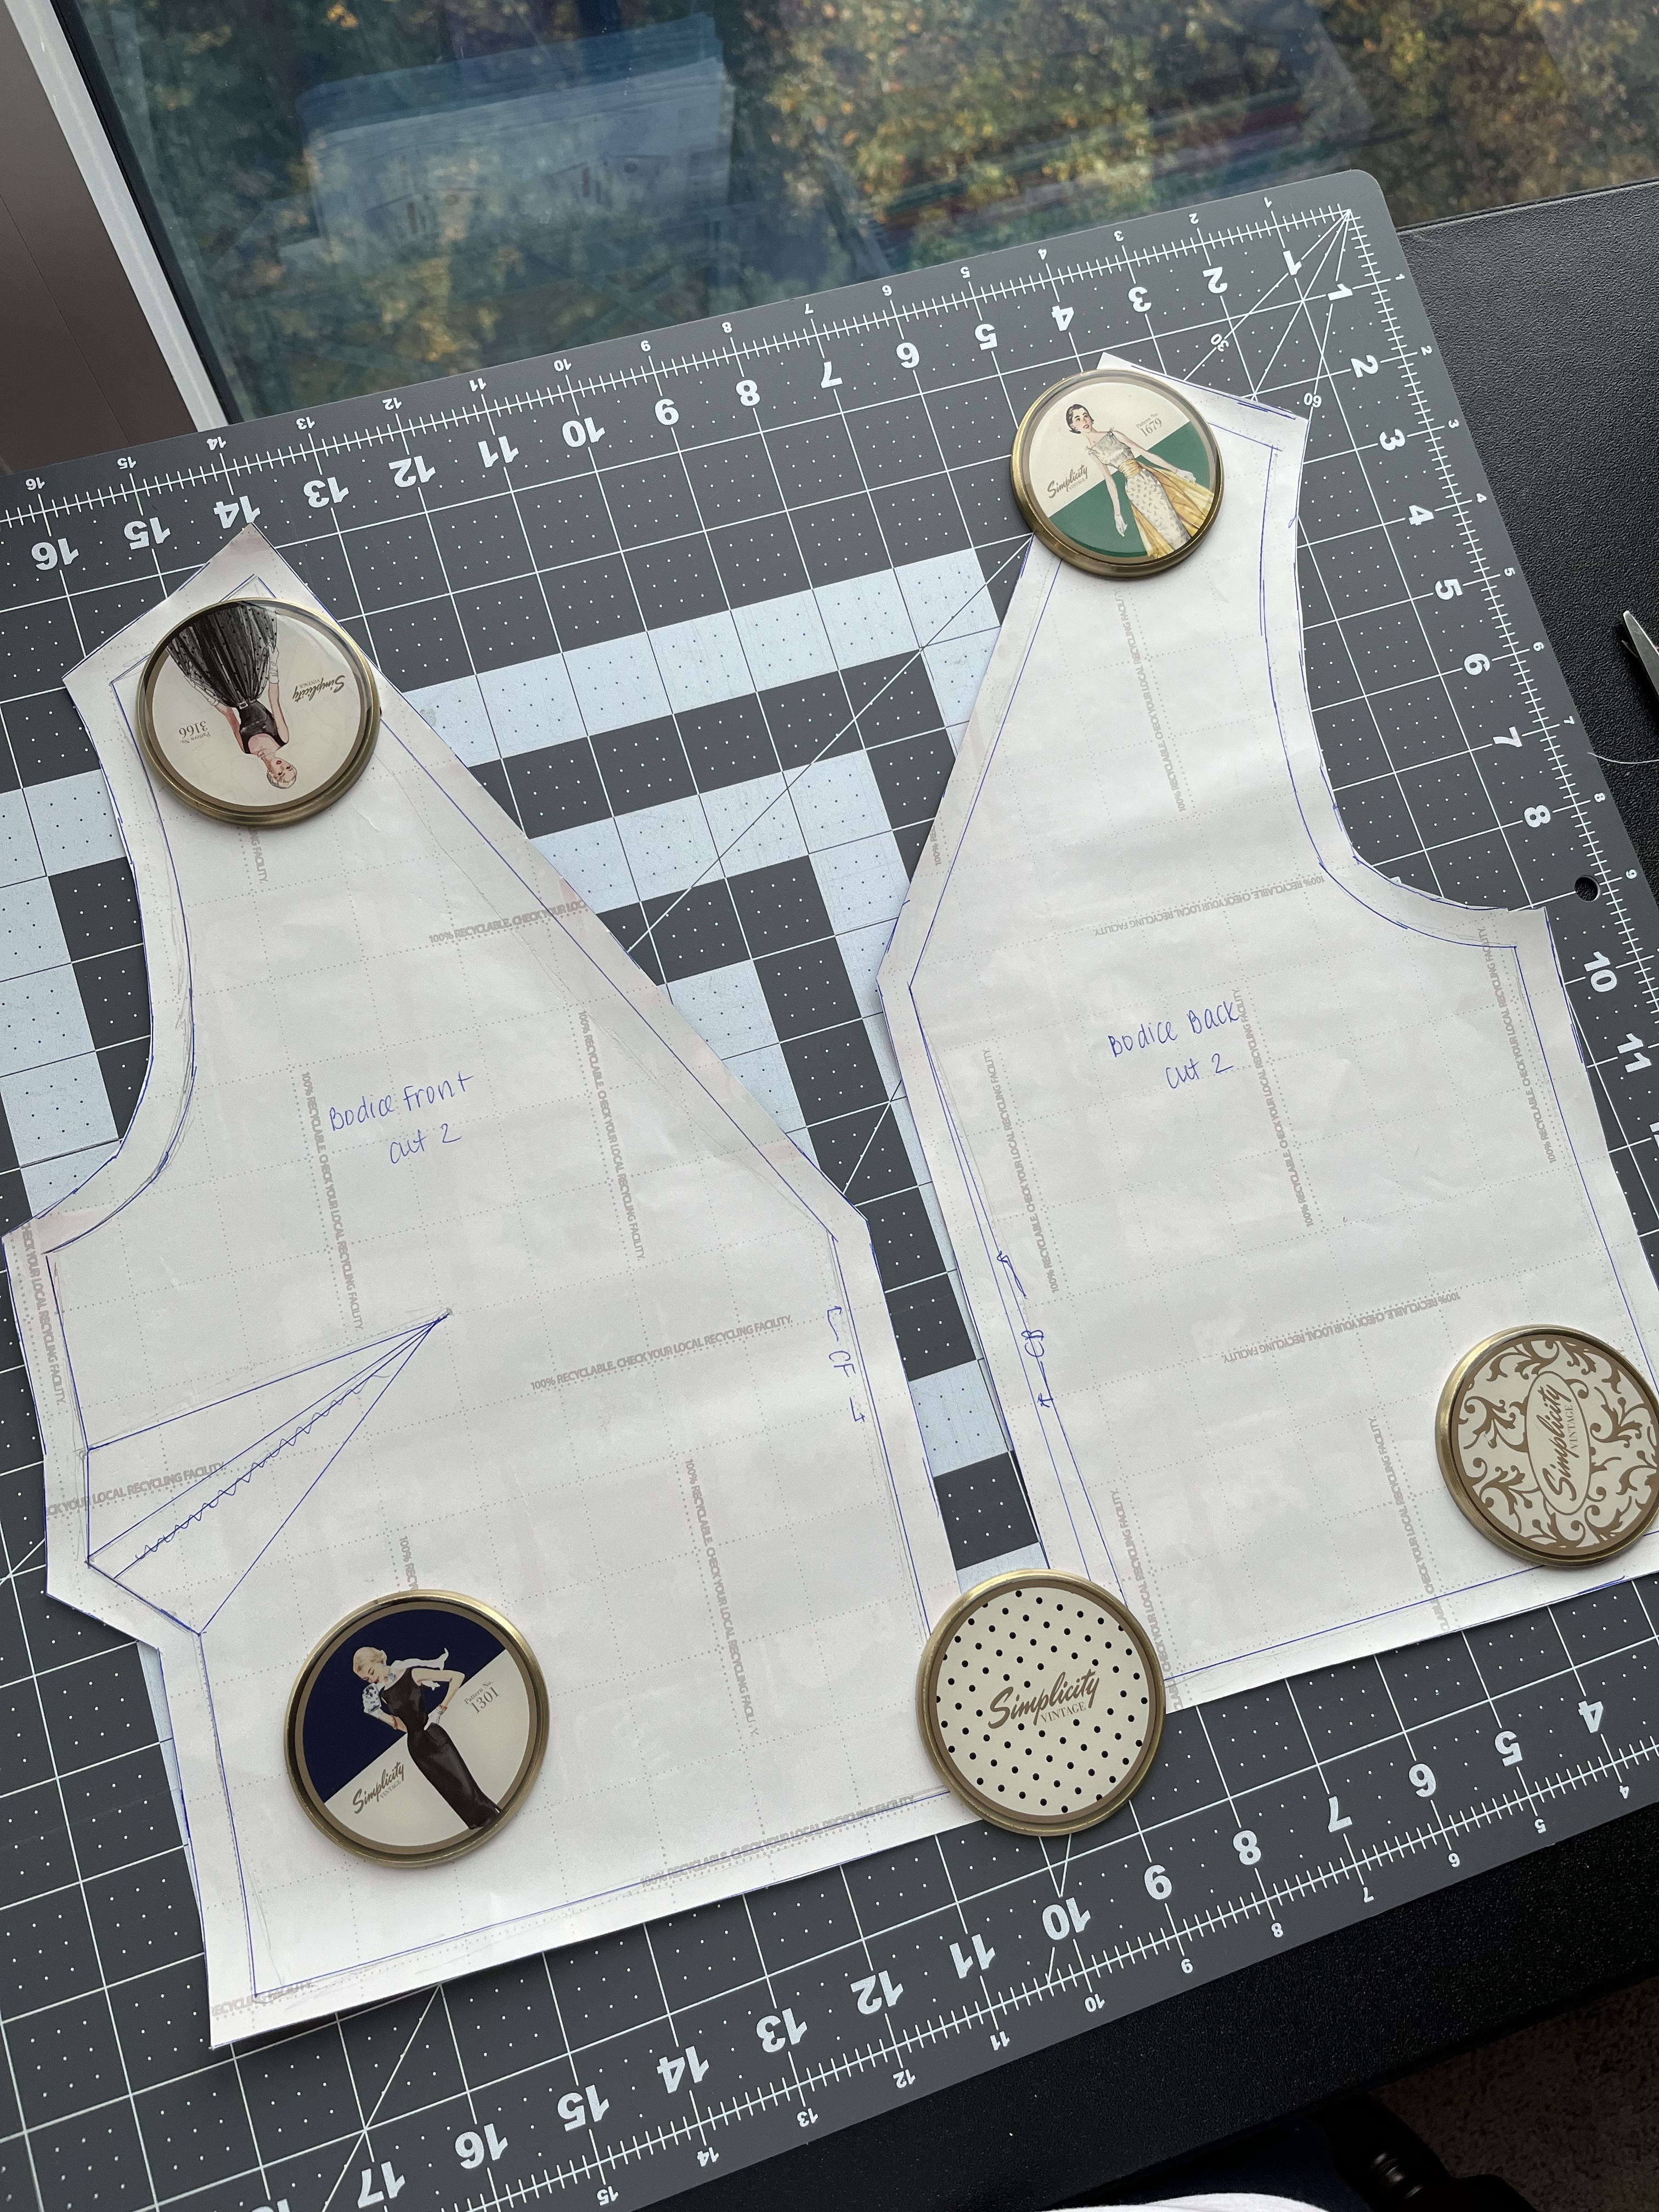
Clean looking pattern 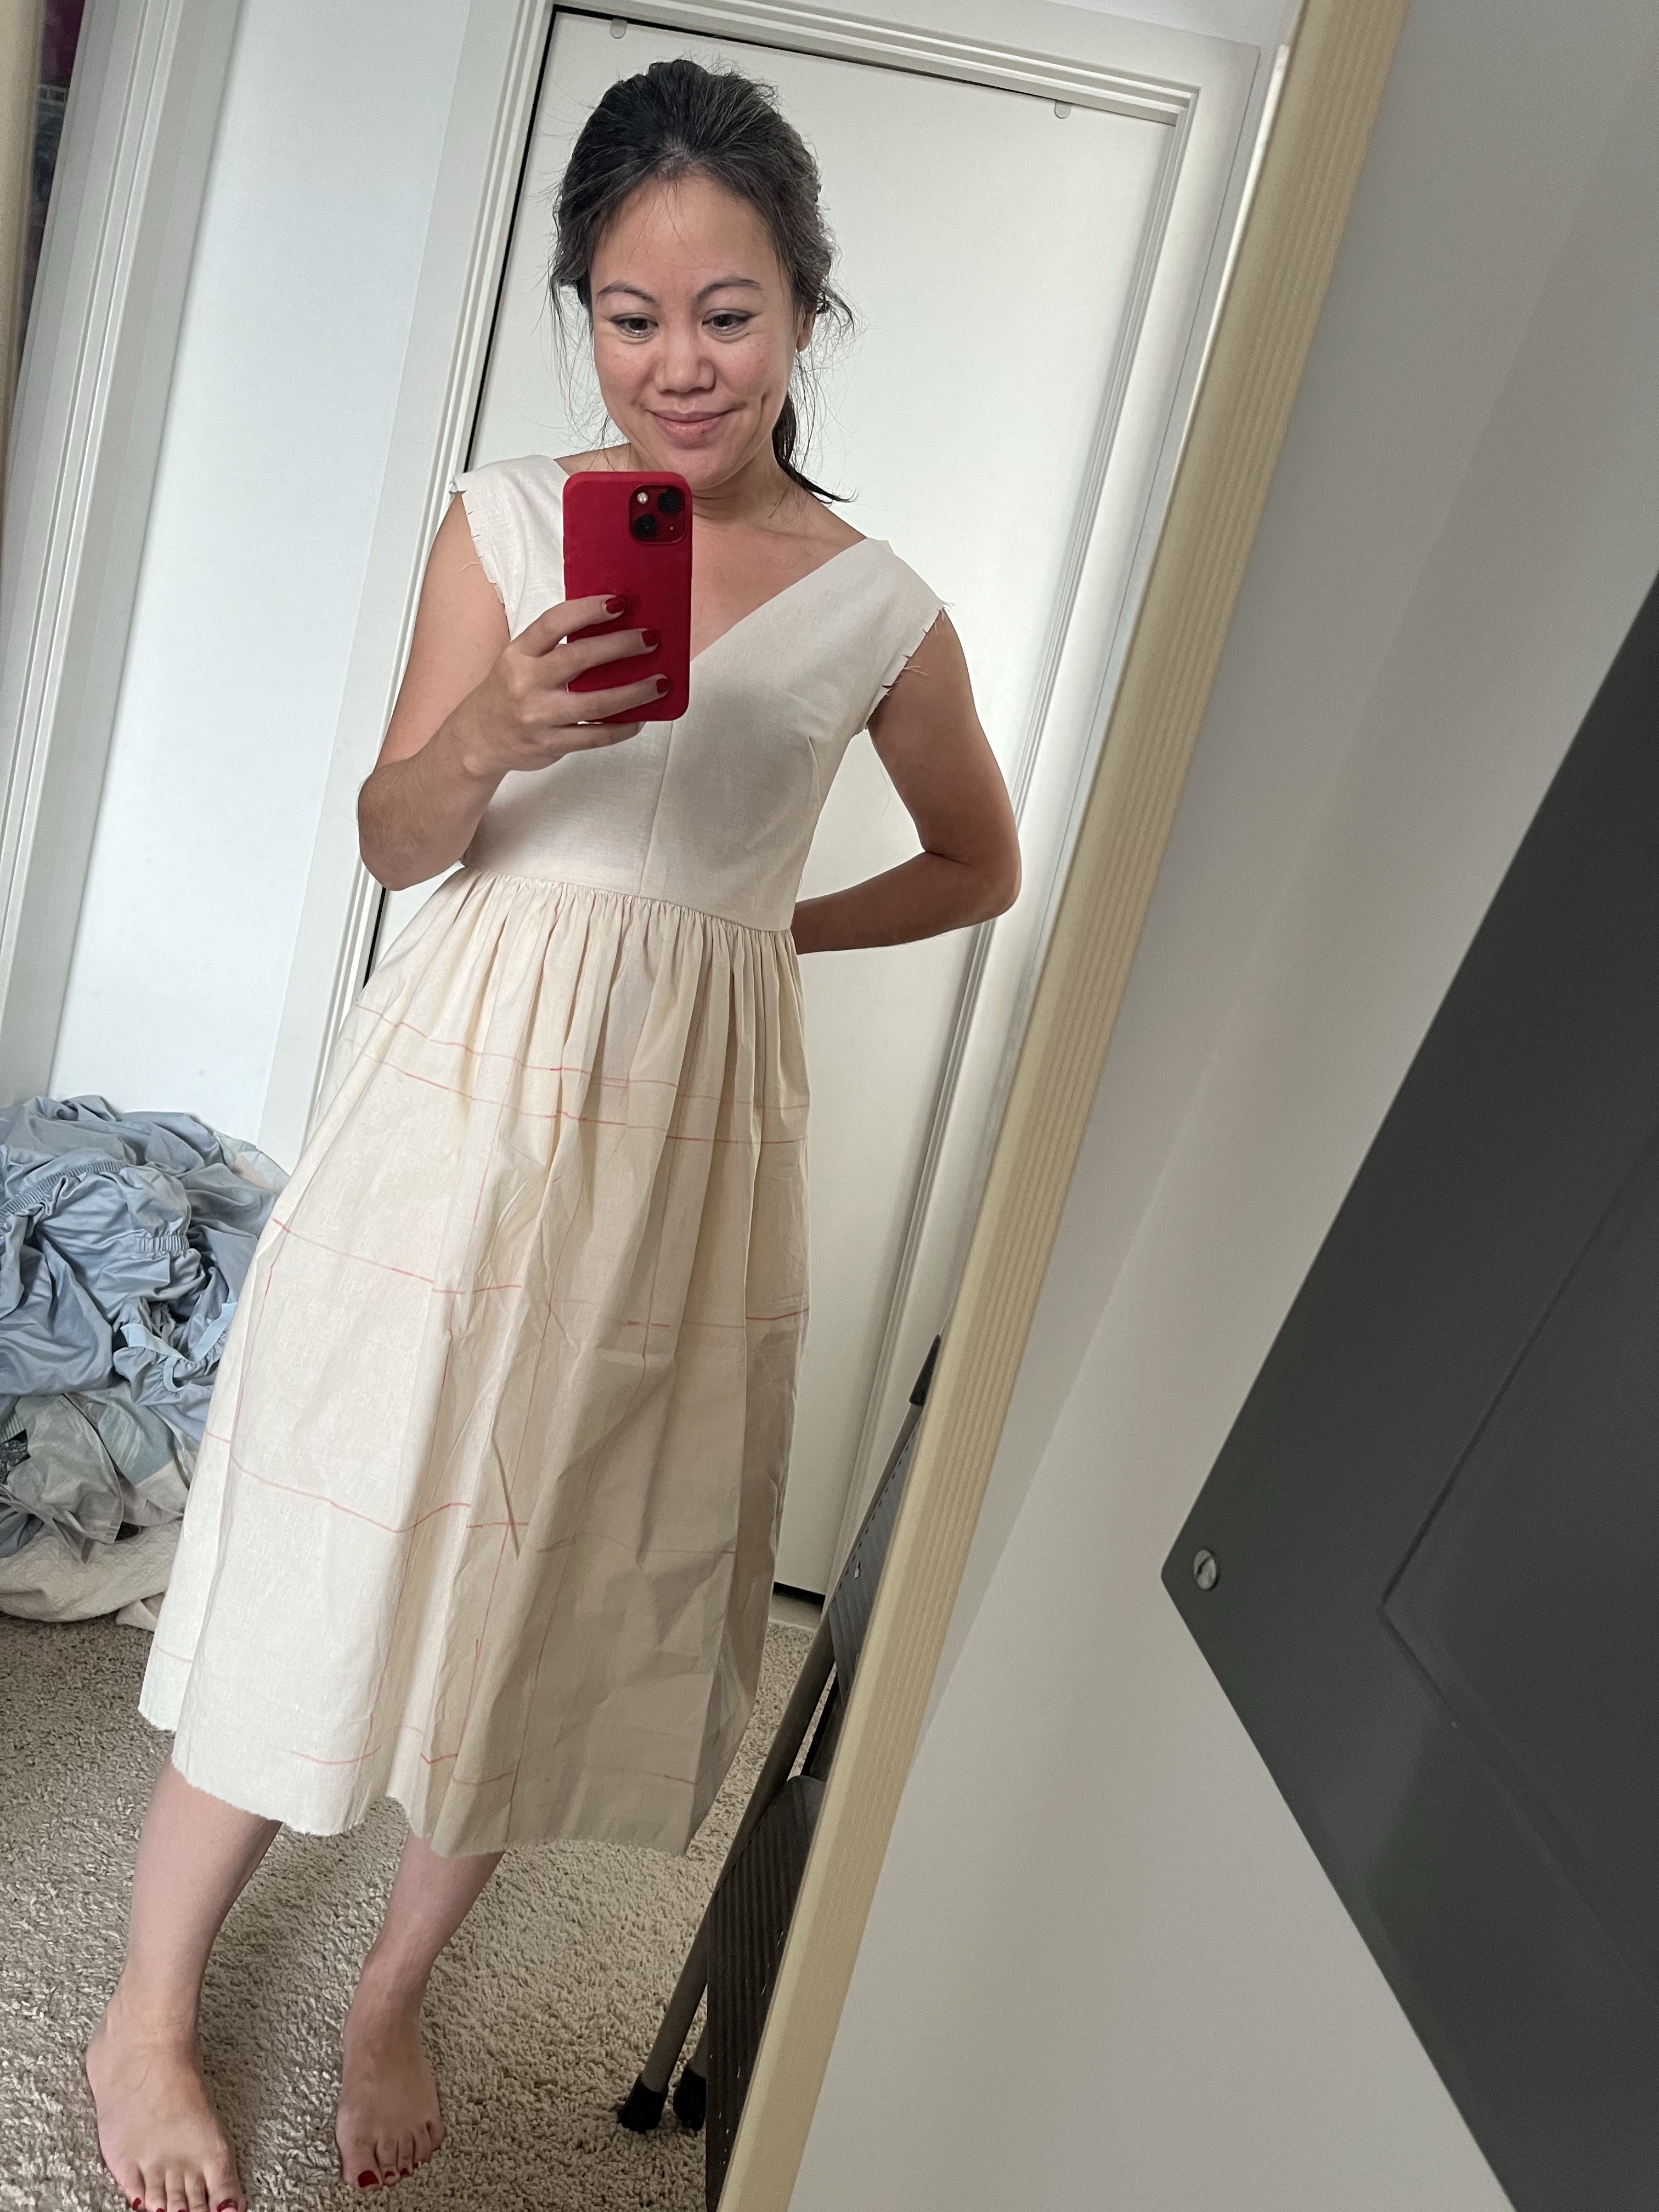
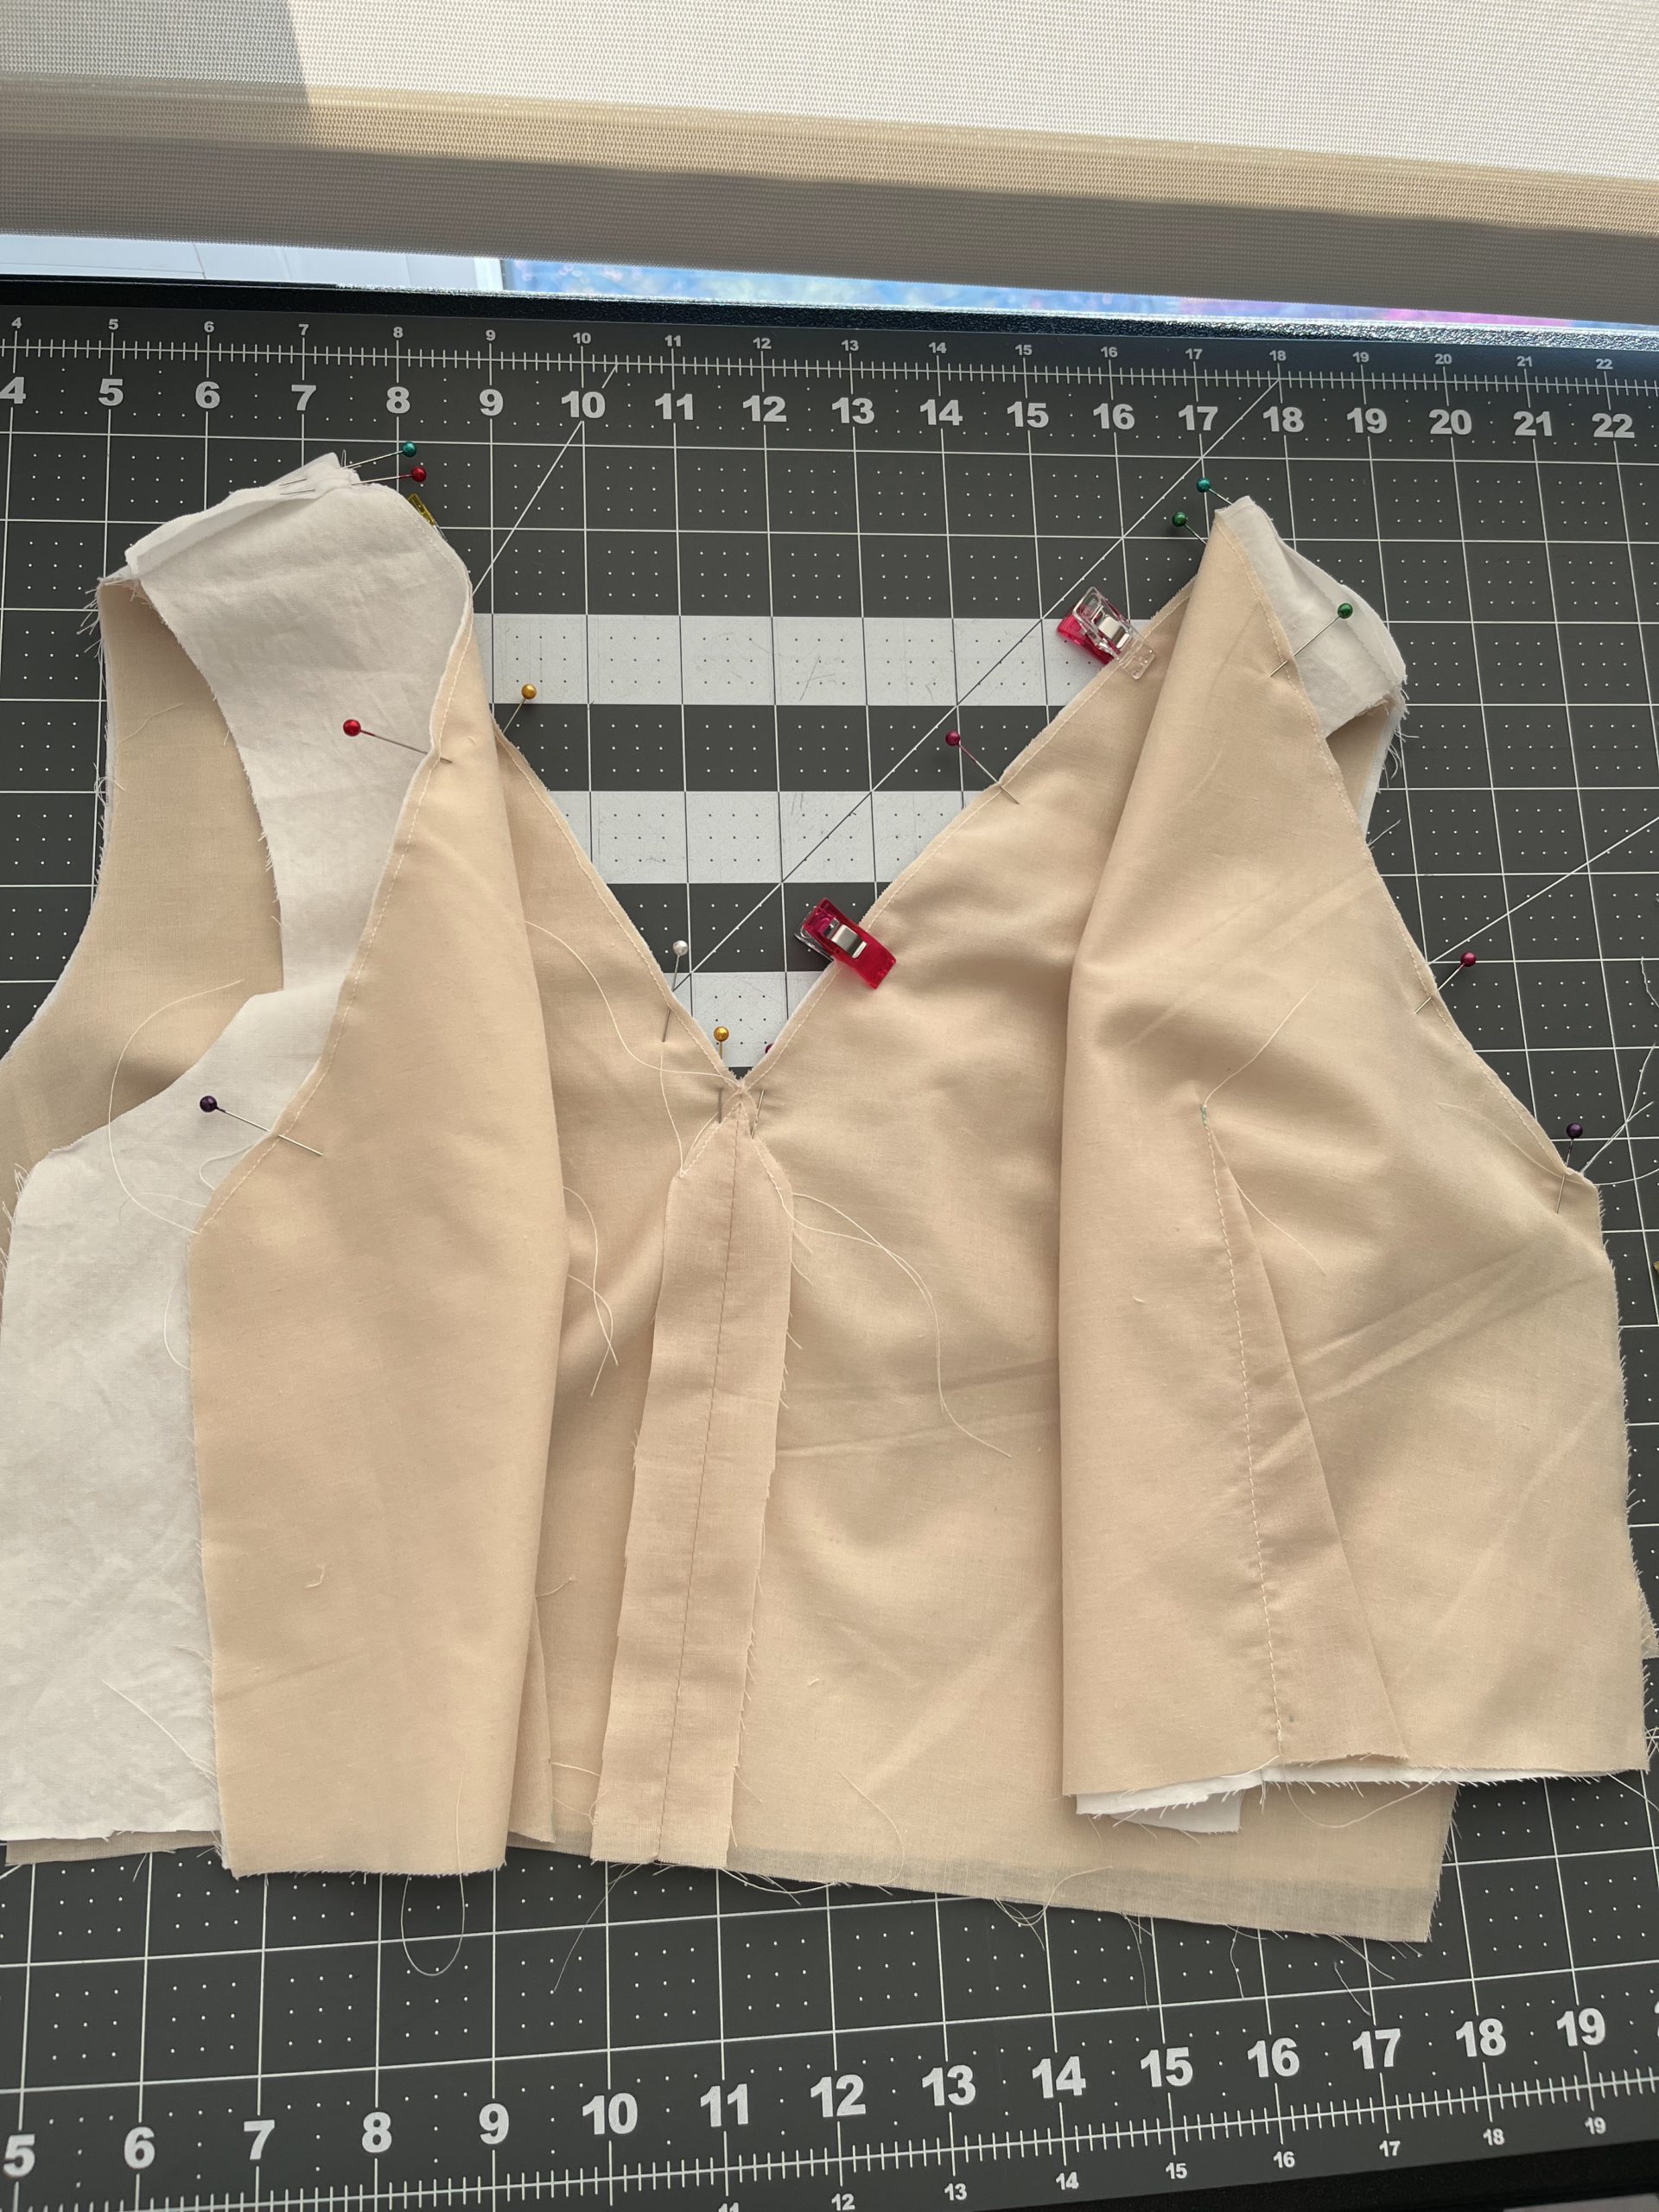
Muslin without the zipper. Ignore my dirty laundry!
I knew I definitely wanted the inside to be lined so I practiced that next. I really wanted the skirt to be lined too but it was heavy enough and since the original D&G is partially lined, I gave myself permission to forgo it. But wow, couldn’t wrap my head around some of that construction. I used this video to help me visualize:
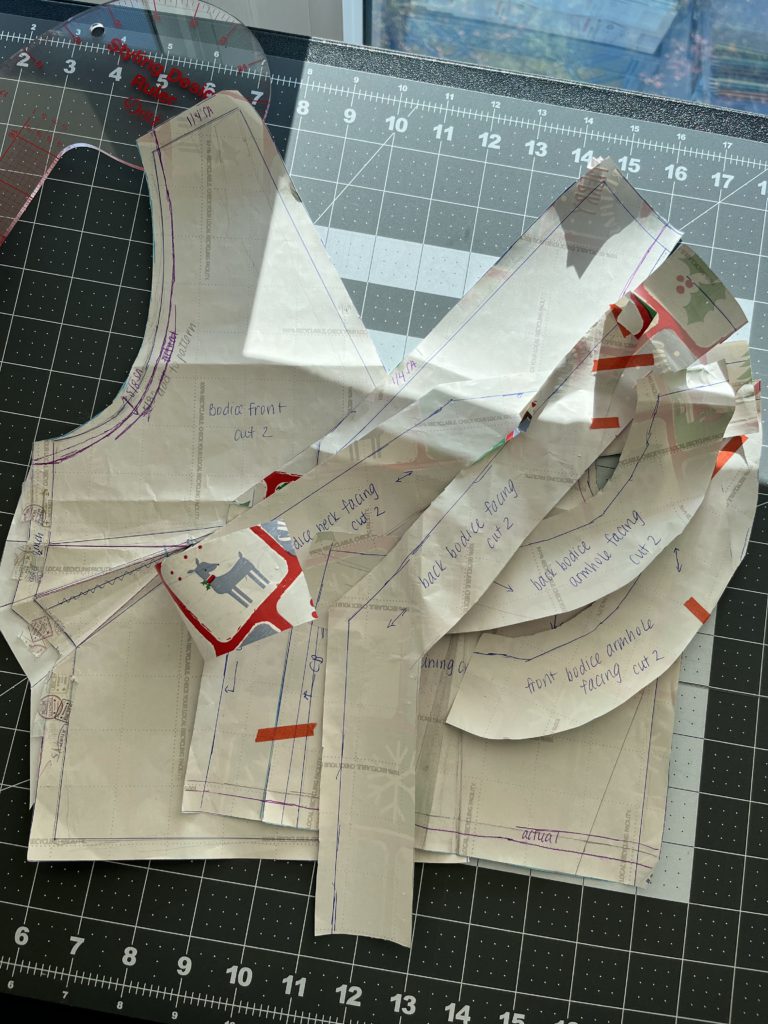
Then I went a little crazy and fell down the rabbit hole of construction. I drafted a facing for the neck and armhole with the idea that it would be more structured. Oh my, it was structured all right! Felt like body armor putting that thing on. Instead of just cutting out a new muslin, I ripped all the facings out and kept going with the zipper. (Apparently I like taking the long way of doing things.) This is when I realized the darts were NOT in the right place, giving me the pointy Madonna bra cone effect. Gosh darn mannequin isn’t a real person afterall. My shoddy dart sewing didn’t help either- puckers everywhere. Furthermore, the back was too tight!!
Back to the flat pattern to add more fabric to the back and to edit and true the darts. Then (of course) the back was too big! The whole thing was a major Goldilocks saga.
I used this YT video to help figure out the gaping V back problem:
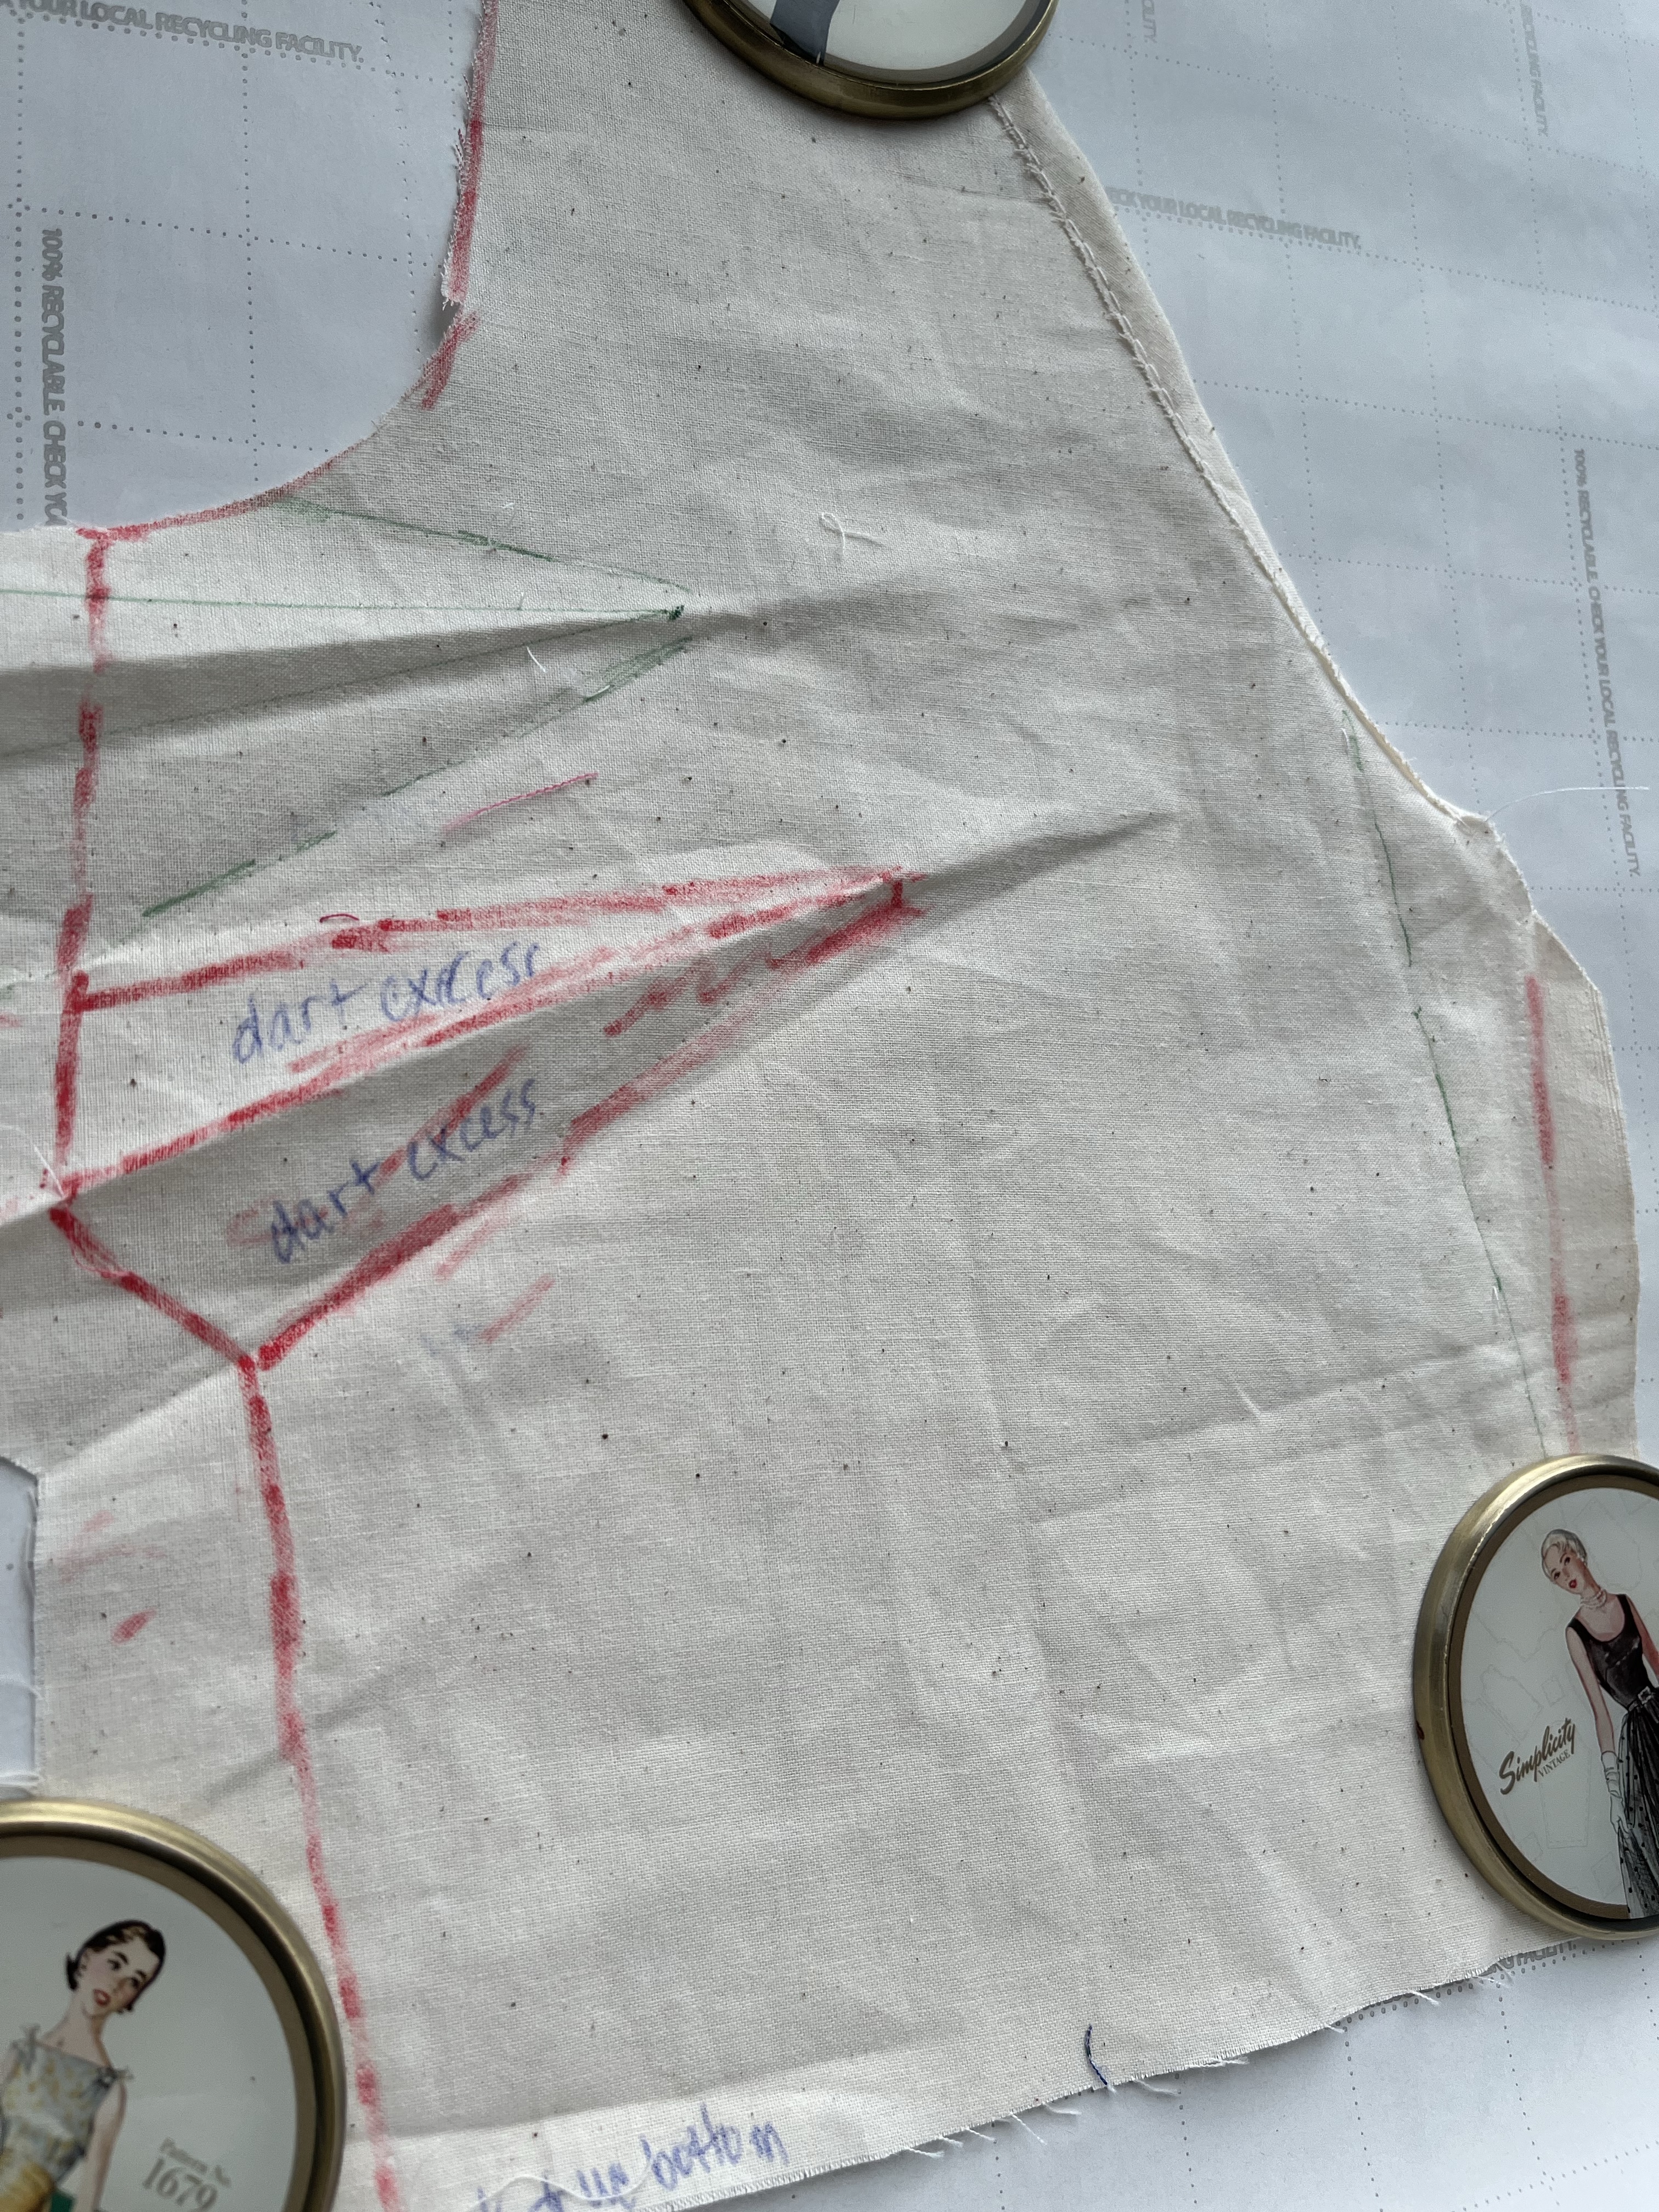
For some reason, trueing a dart on the flat pattern gave me a lot of trouble. Honestly it took me about 2 days to figure that one out. TWO FREAKIN DAYS! For DARTS!! (Lol, not shouting- just emphasizing) Seems simple enough but it was really hard for me to get that one right. I tell you, those darts pushed my limits, lol. There were times I wanted to throw that bodice out the window. I almost gave up and used a pattern. But I kept pushing through to get it right because I will surely use this bodice pattern again. I just love the simple design.
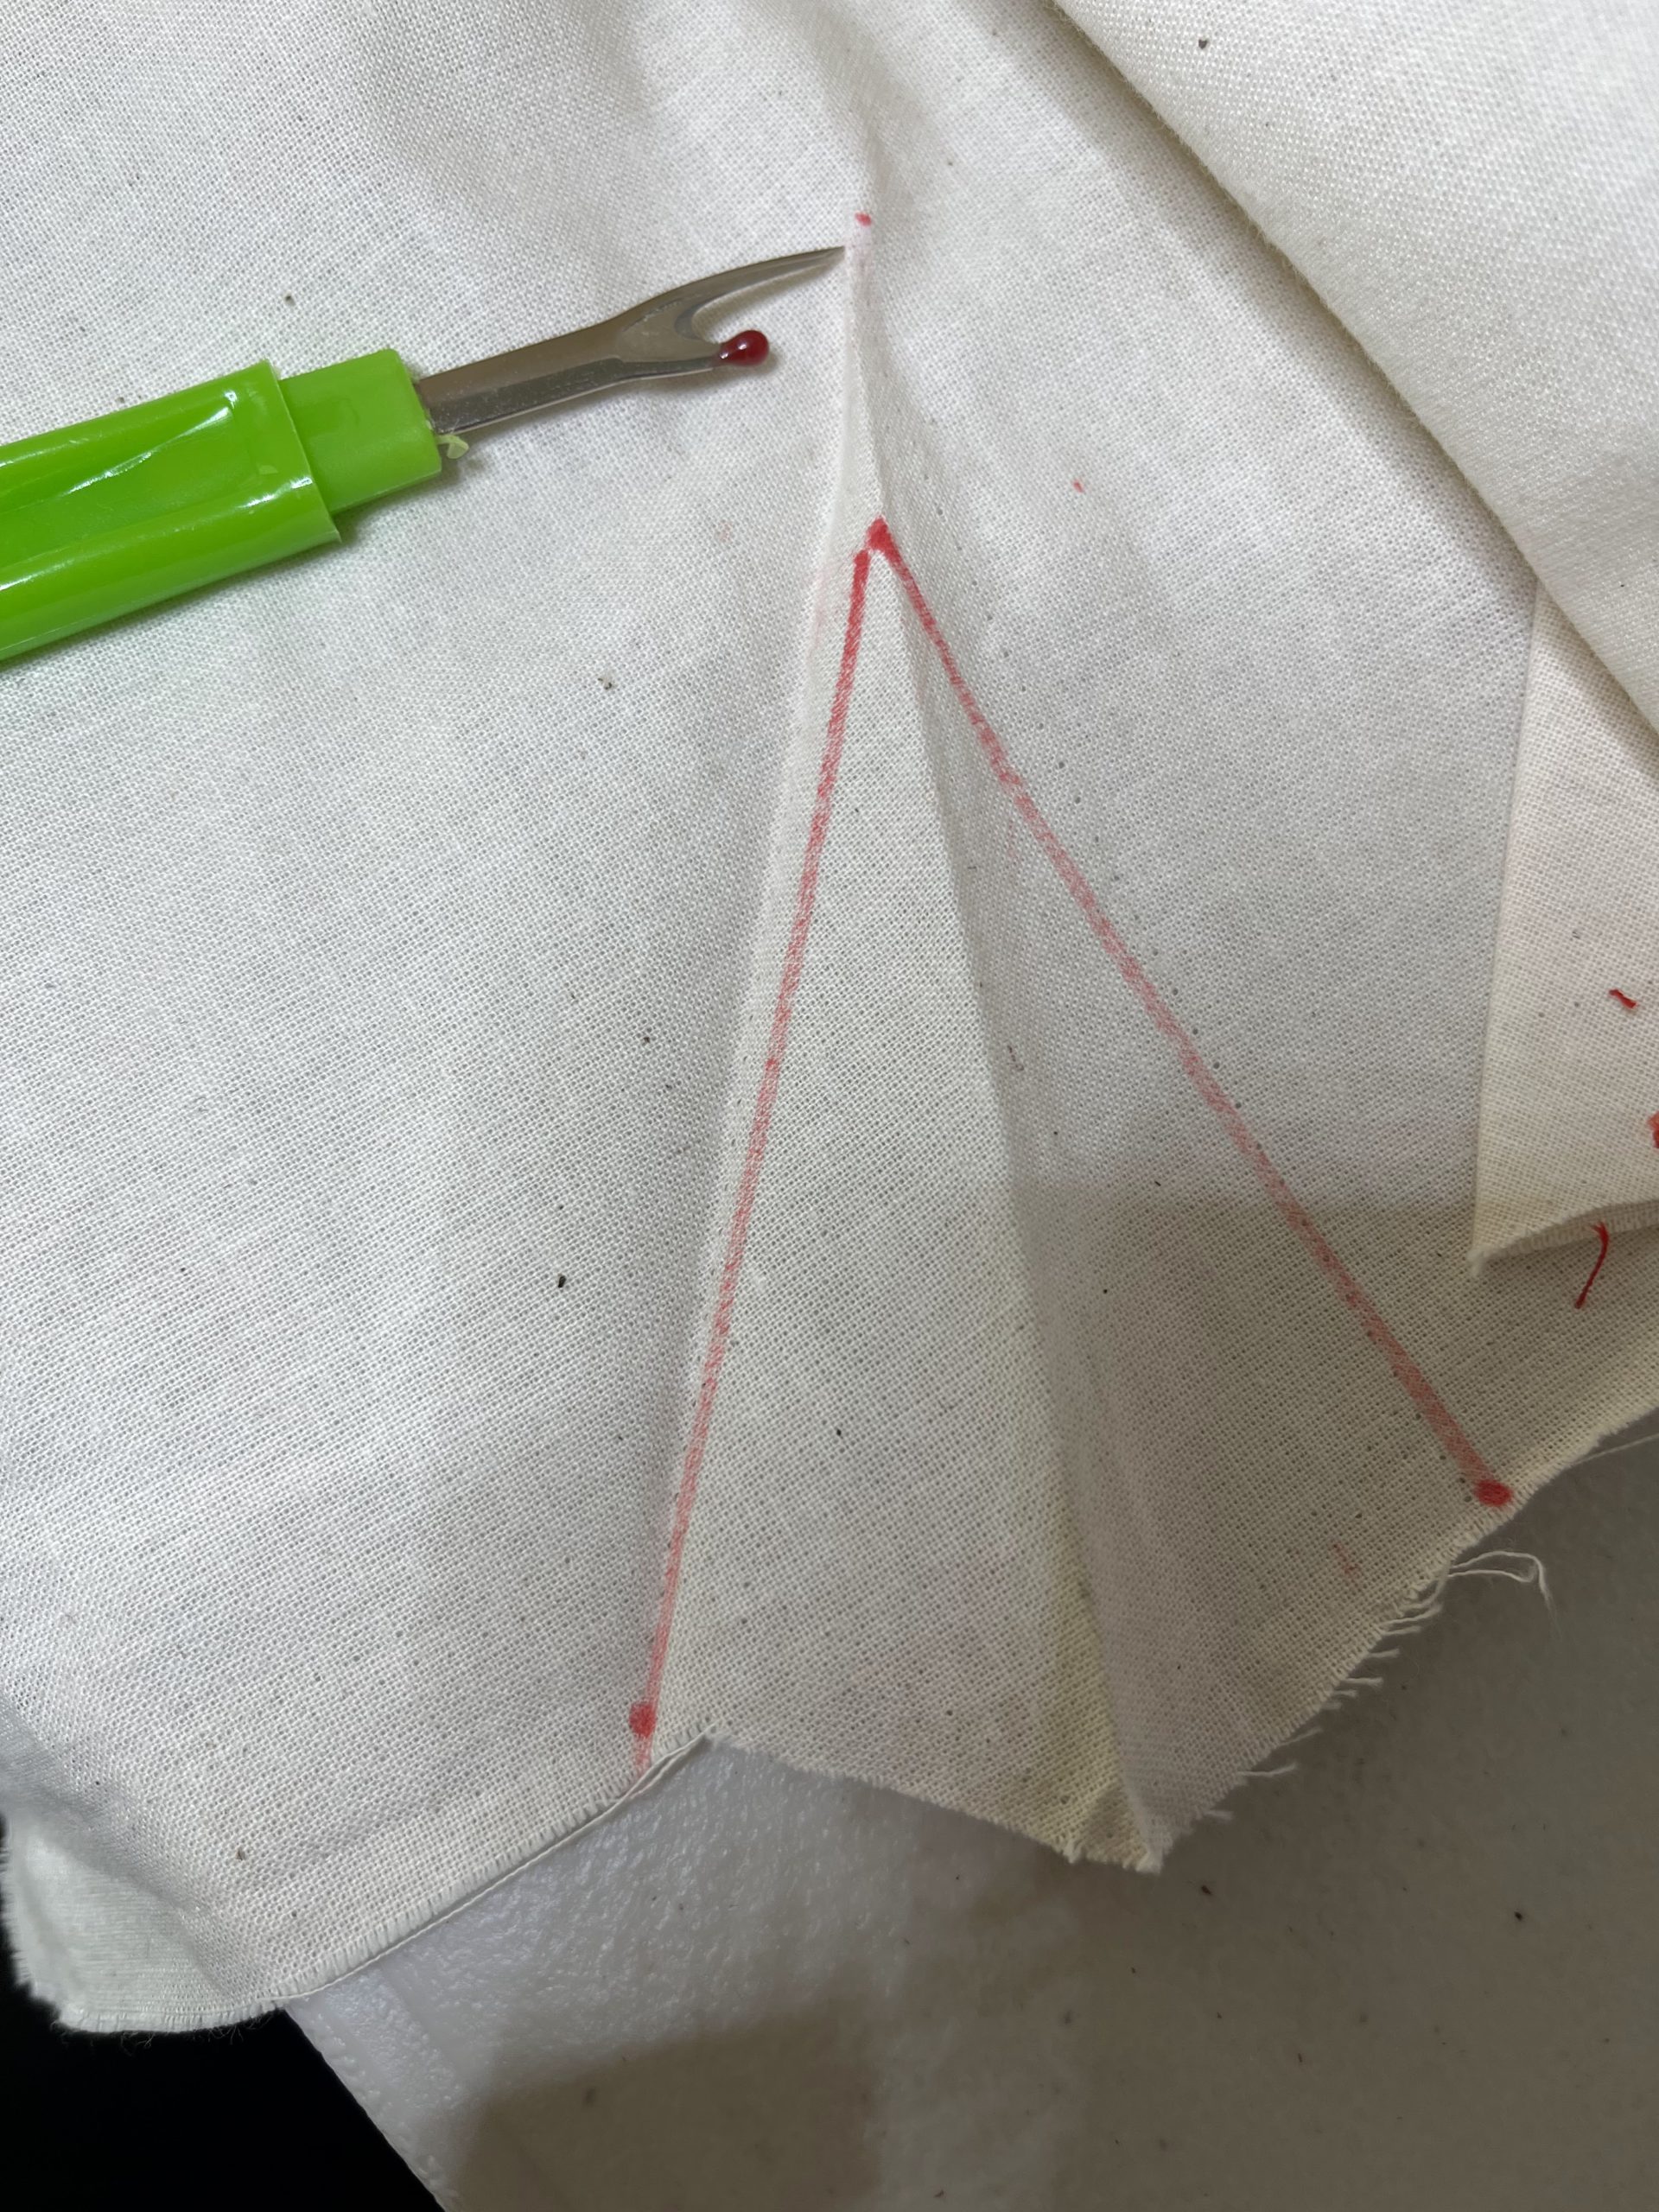
Shortening the dart 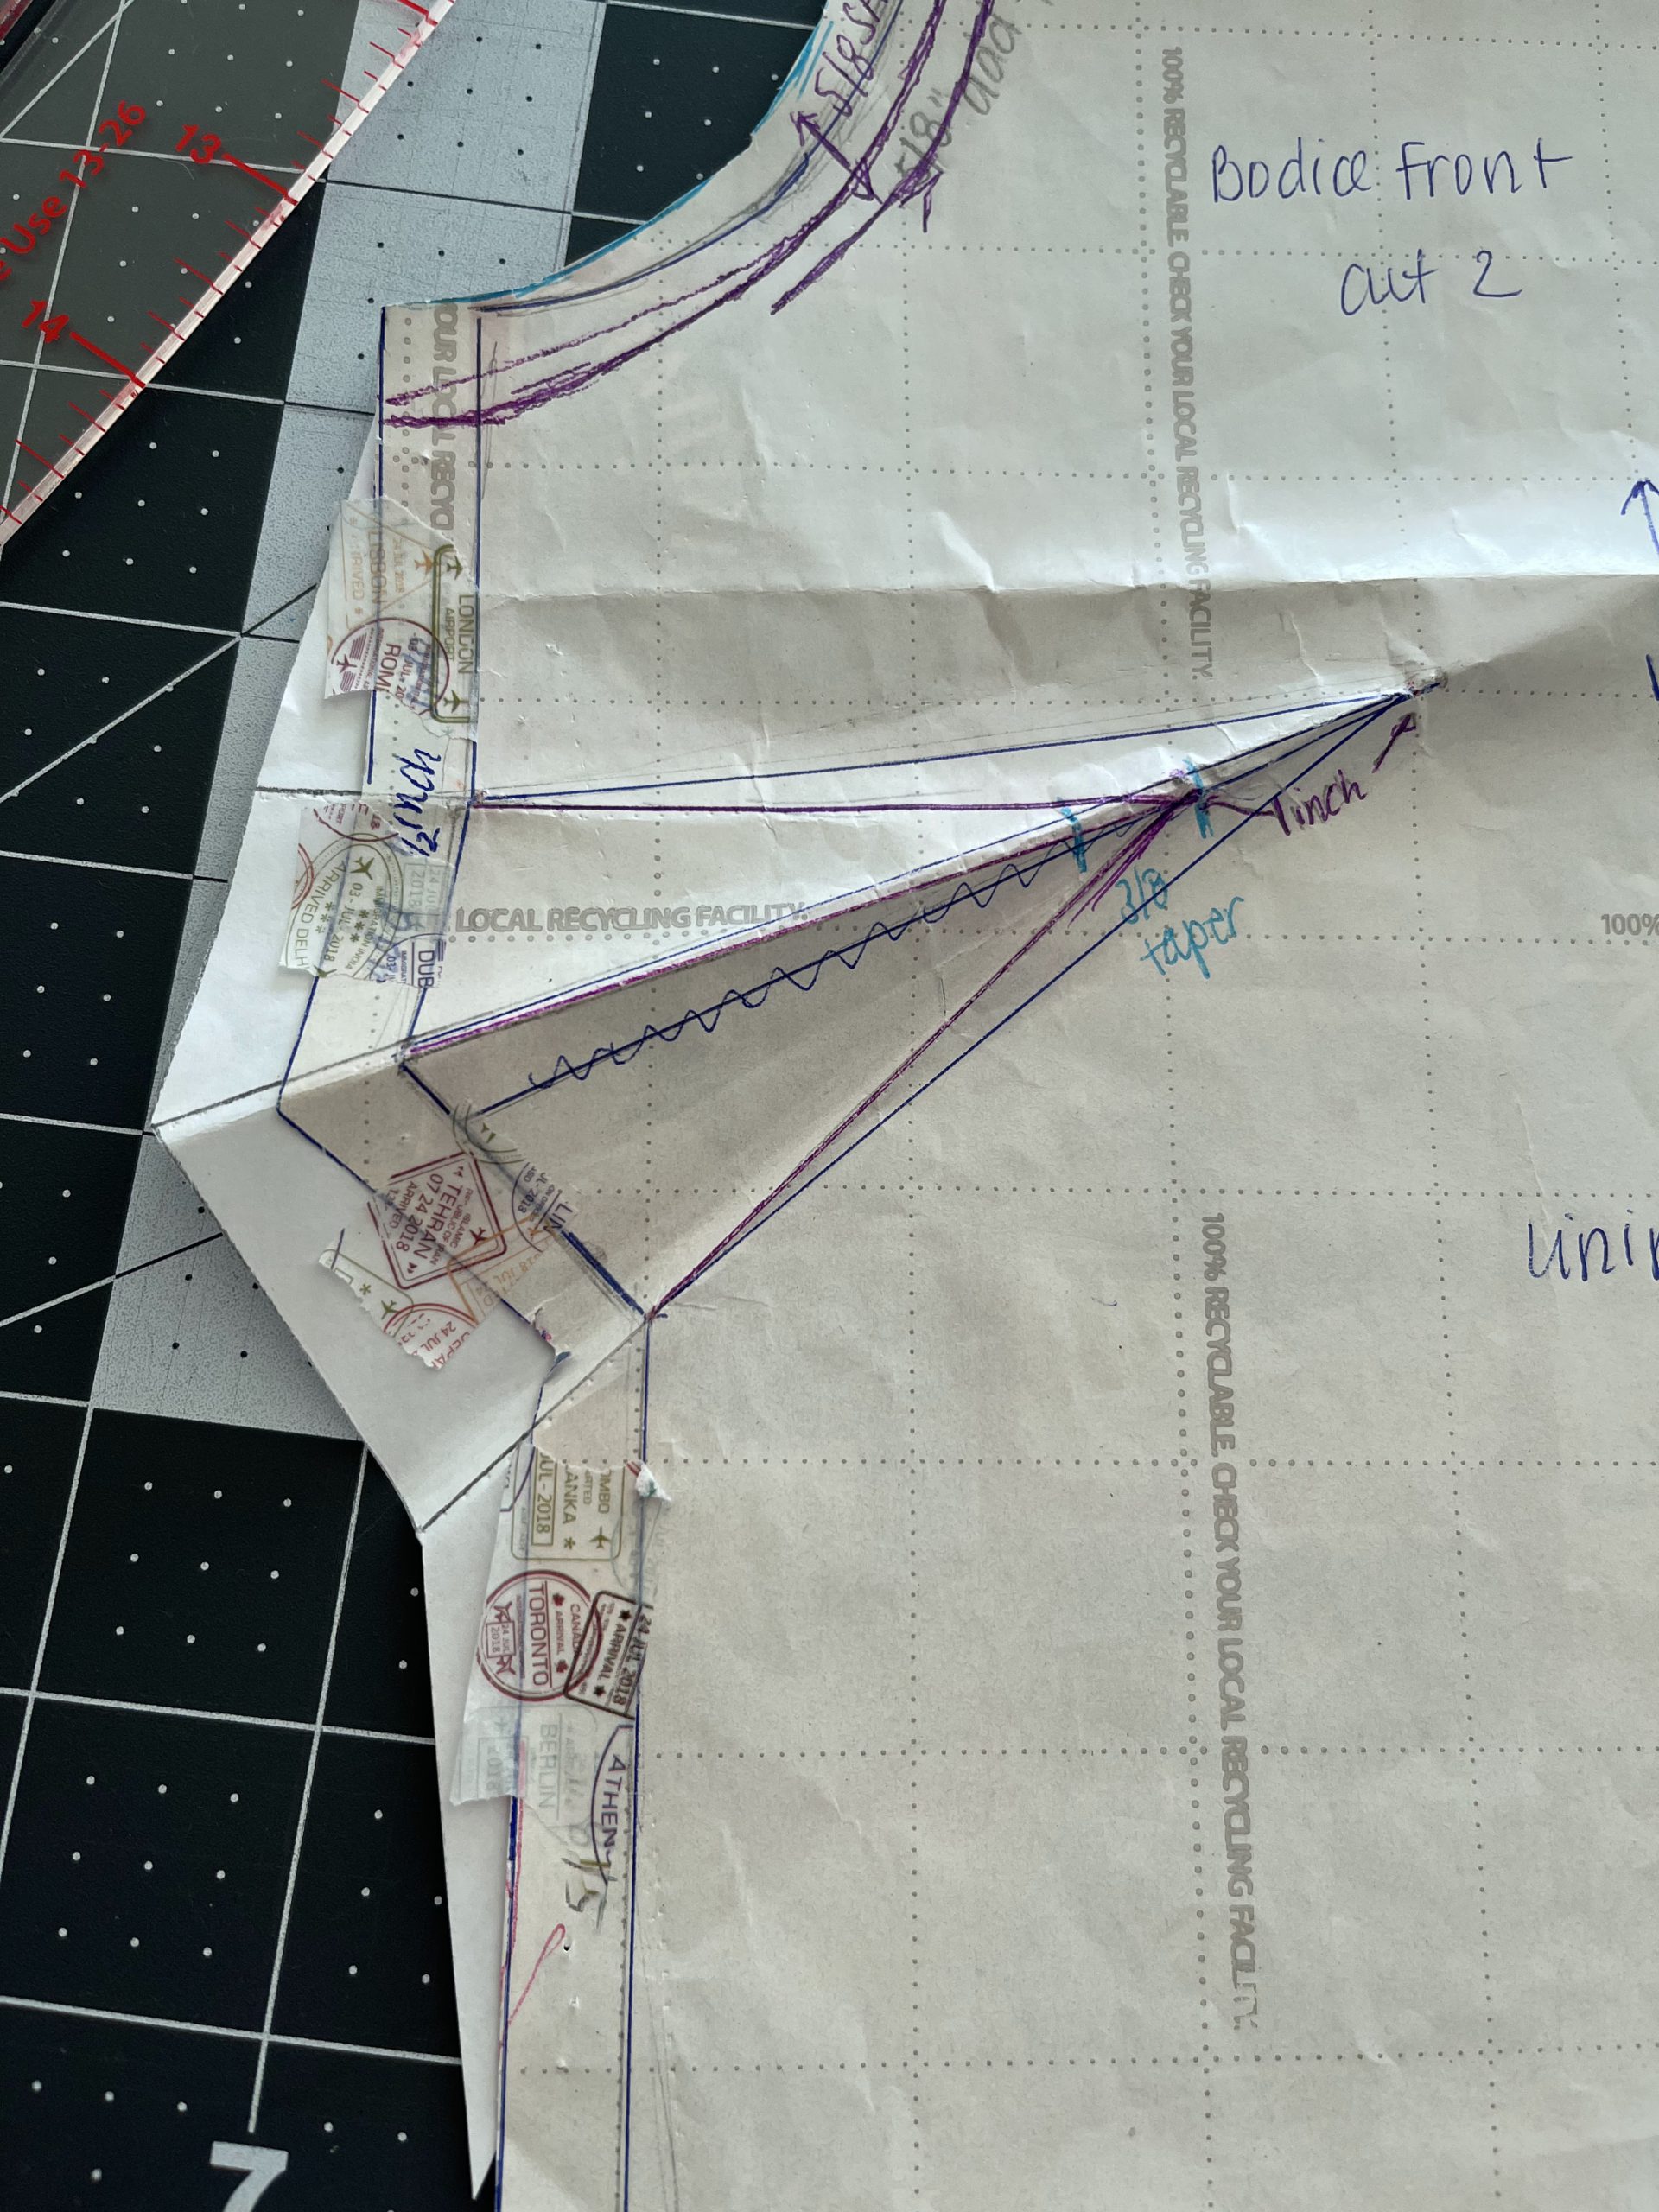
Adding more seam allowance 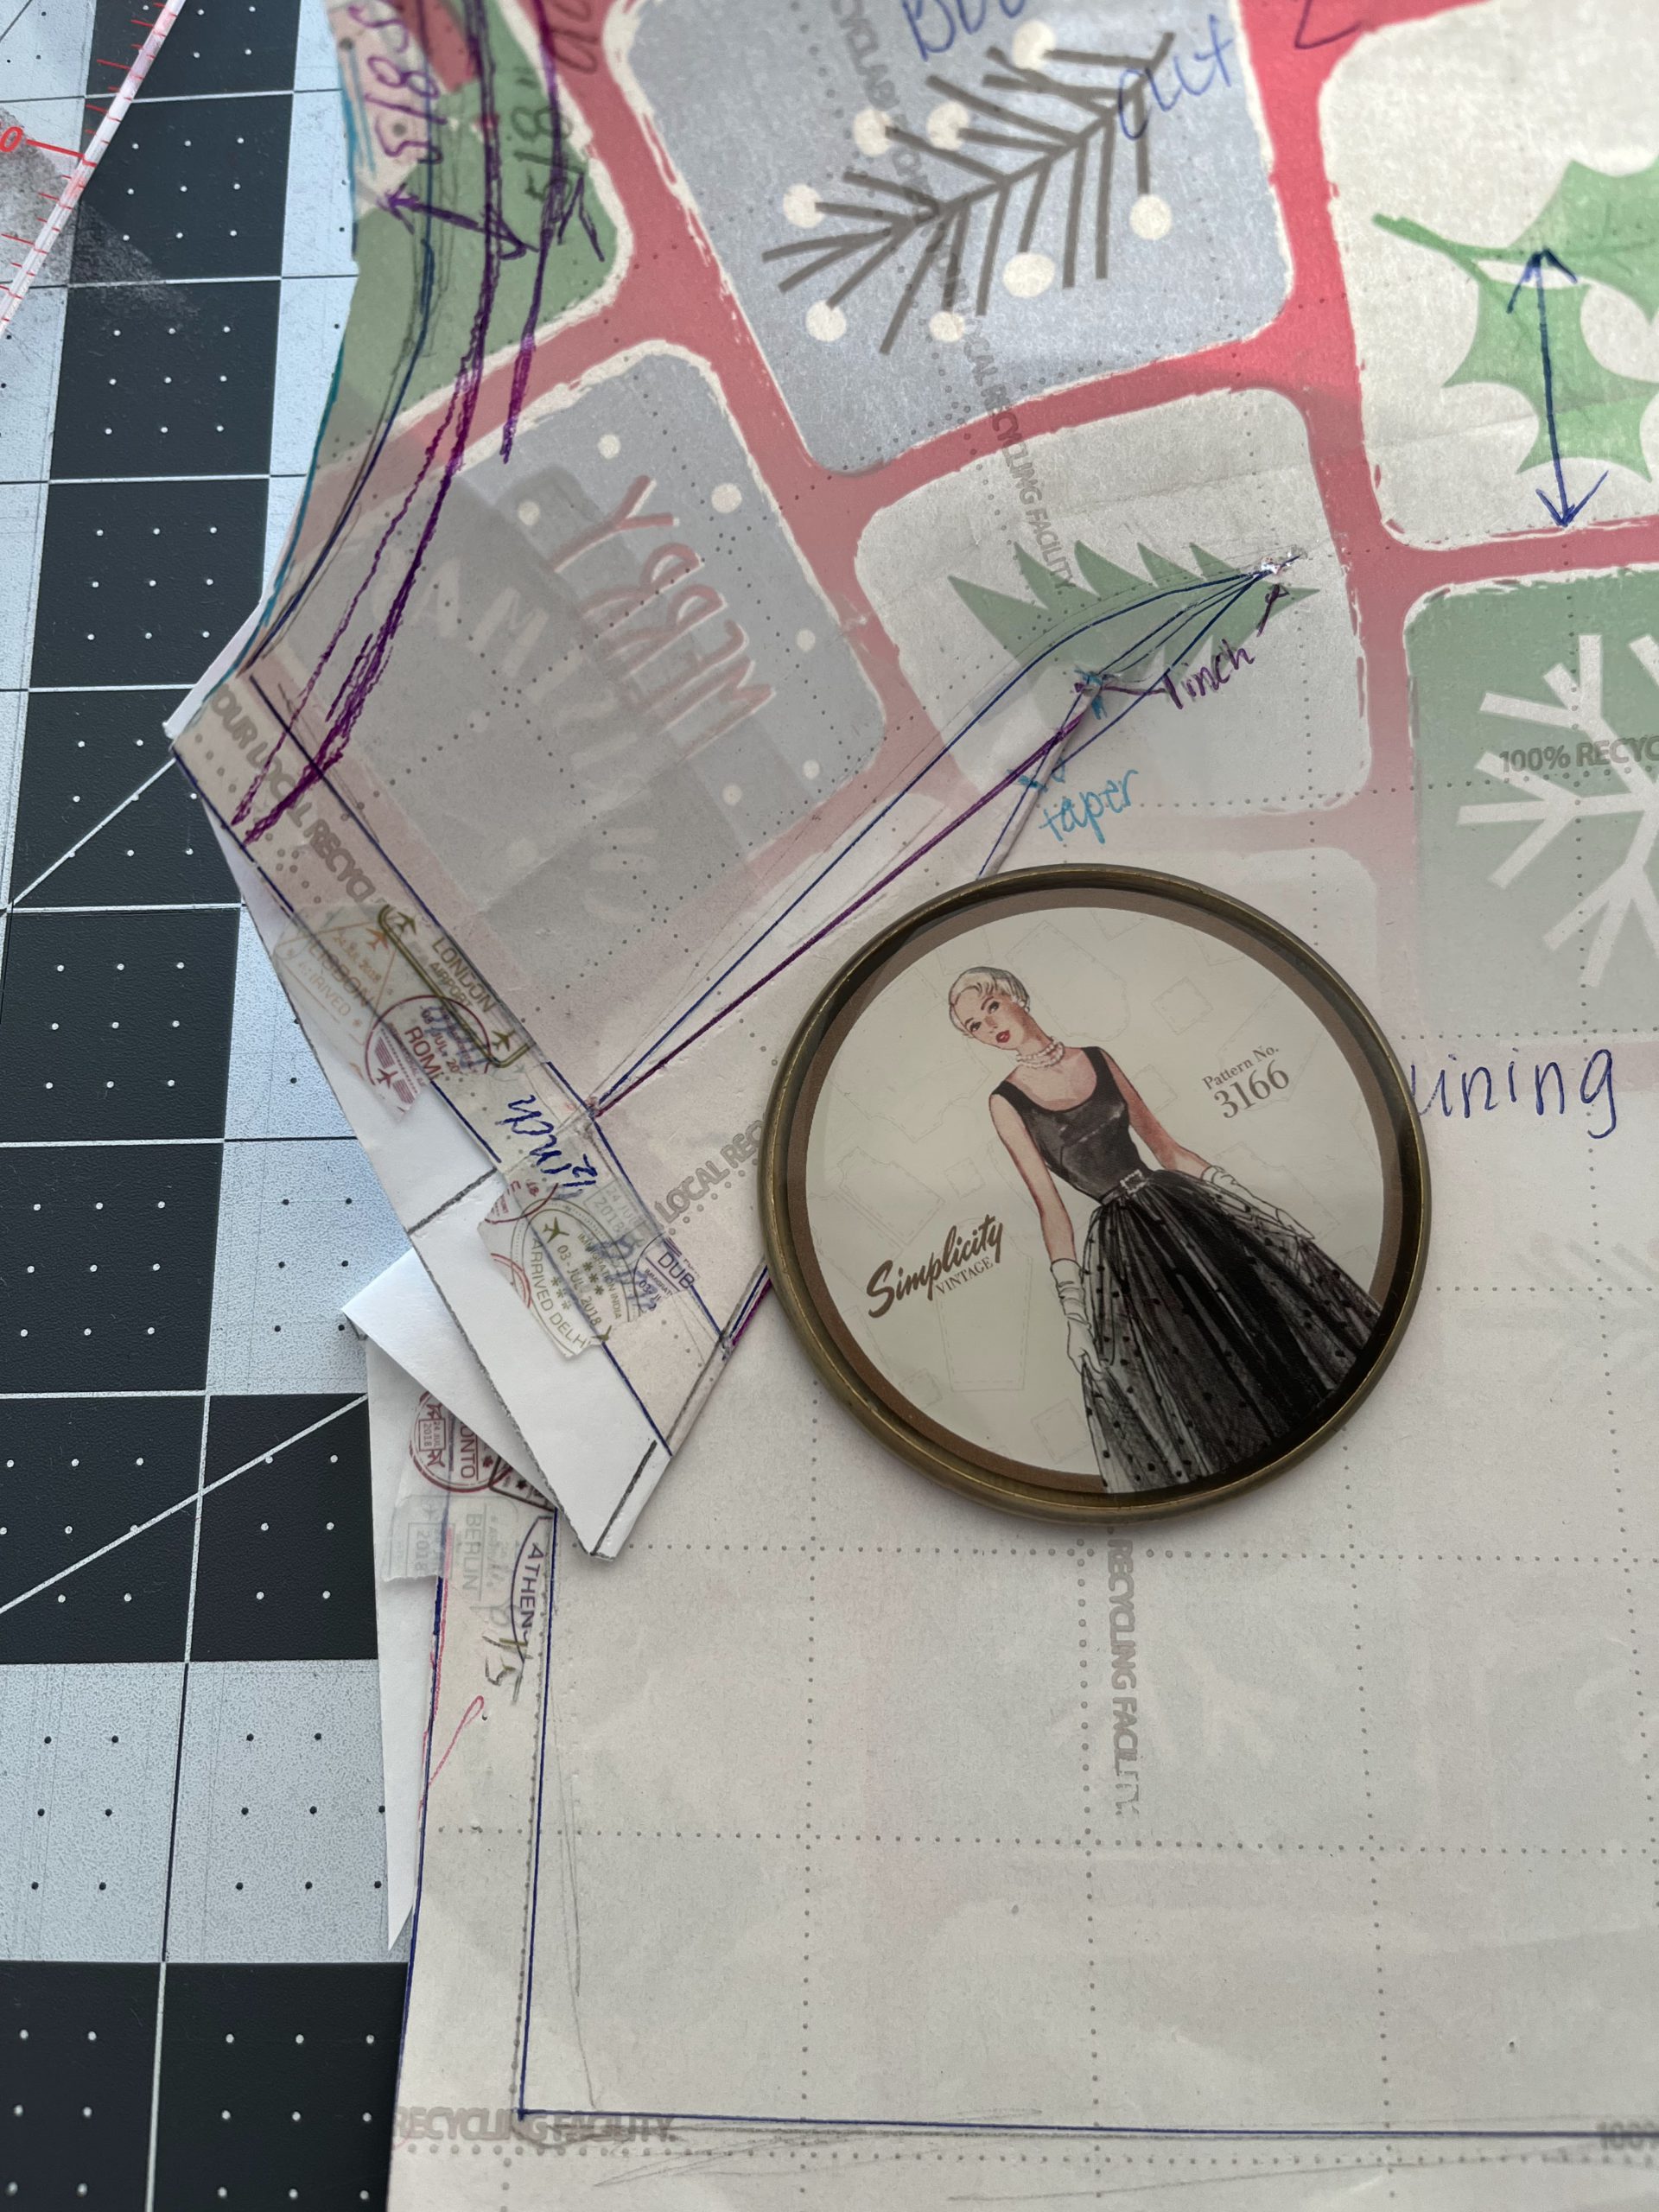
Fold up the dart, crooked seam allowance. More edits…. 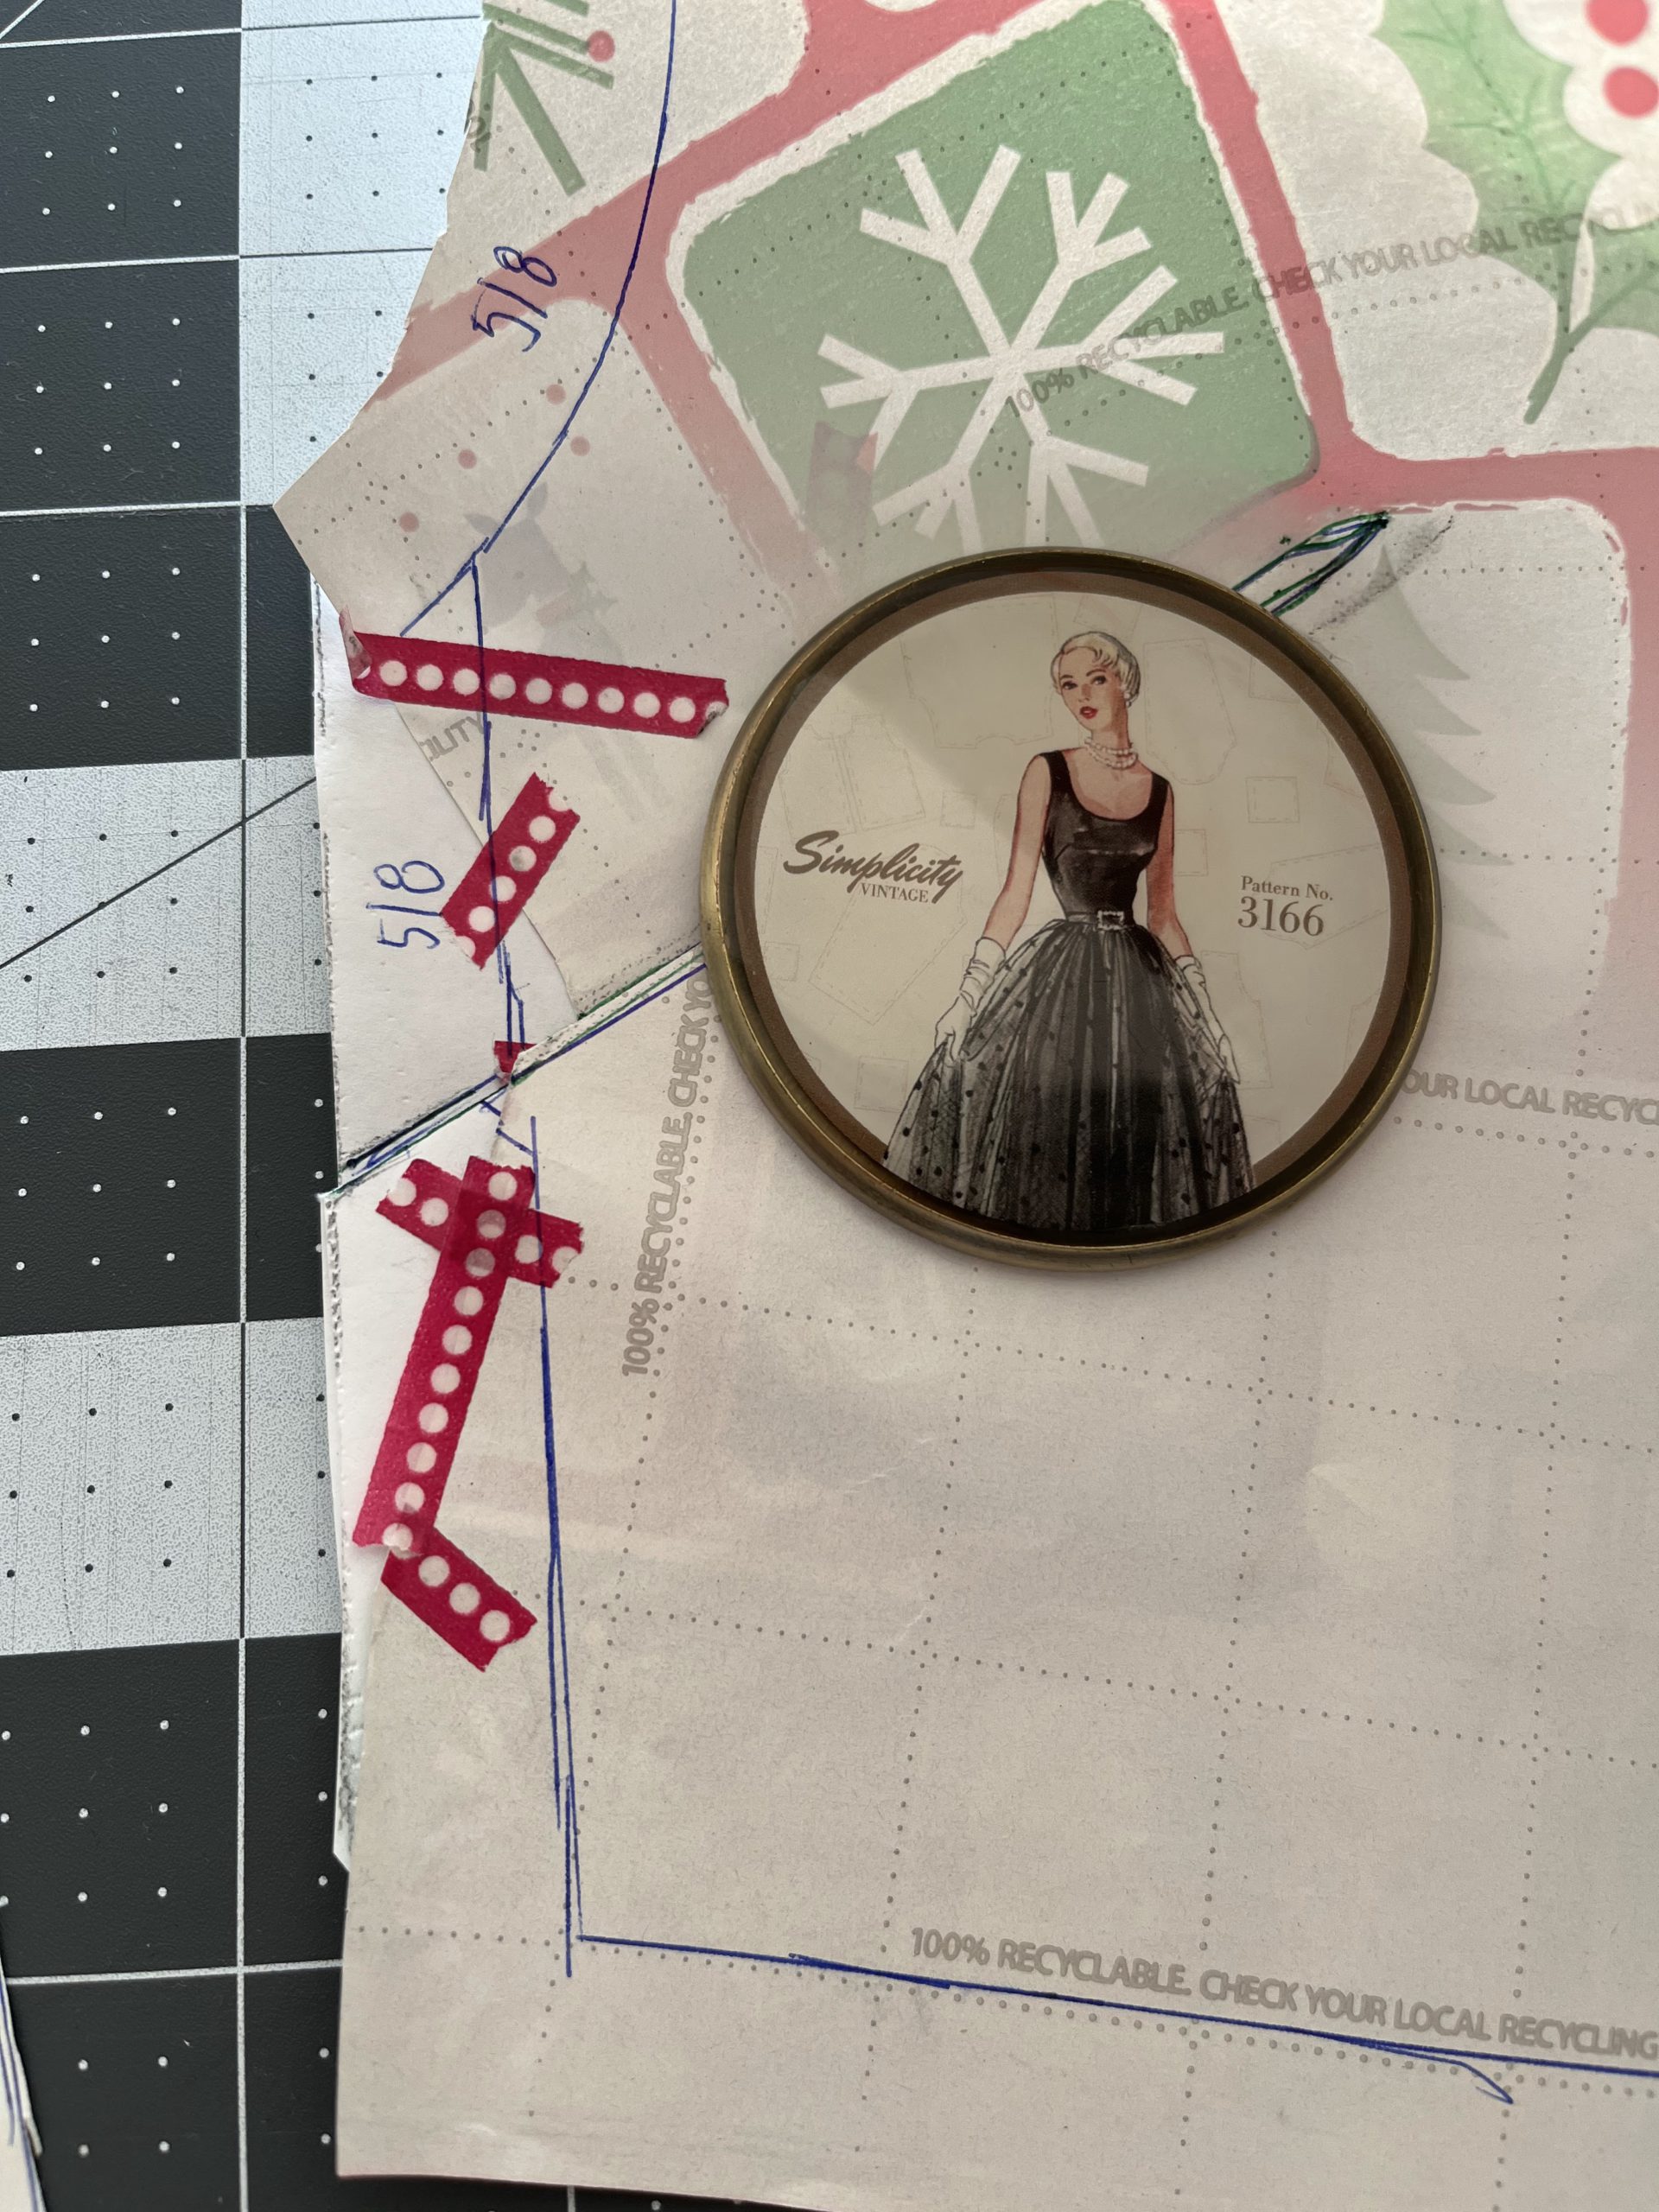
Boom! Folded and straight. Success!
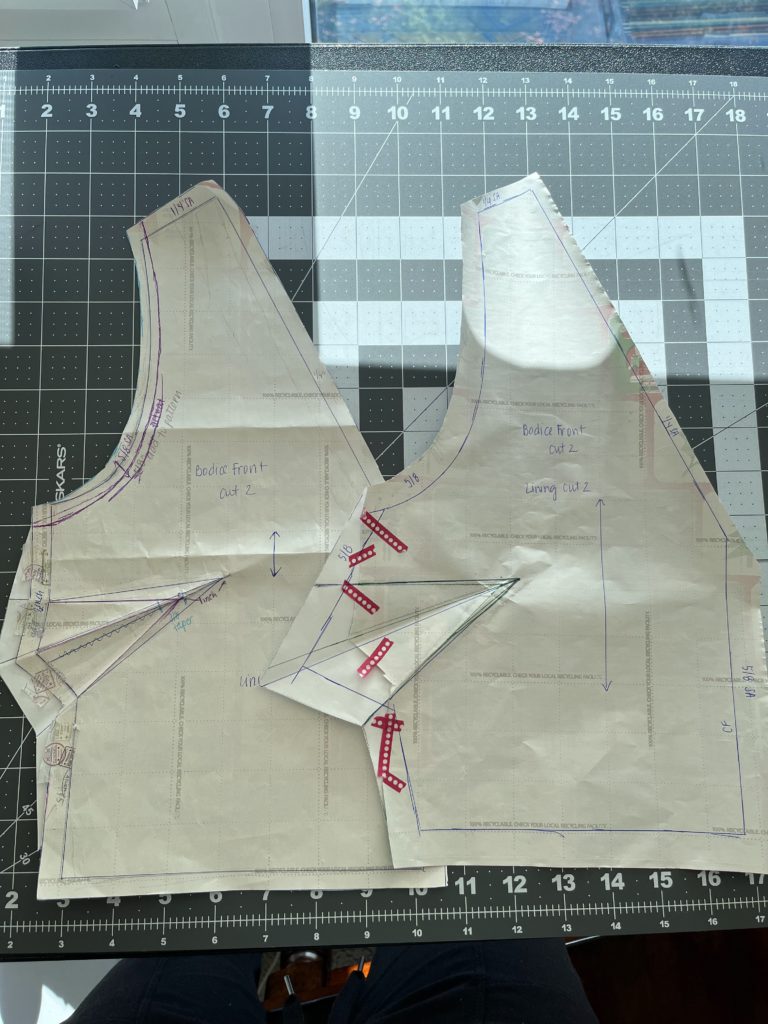
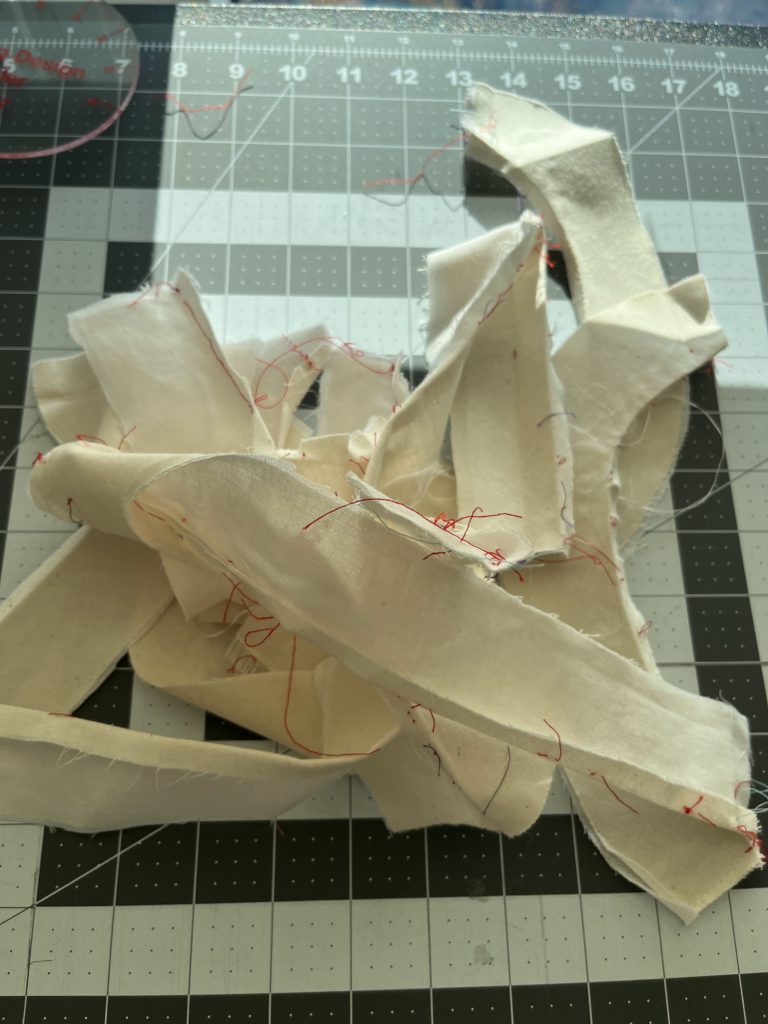
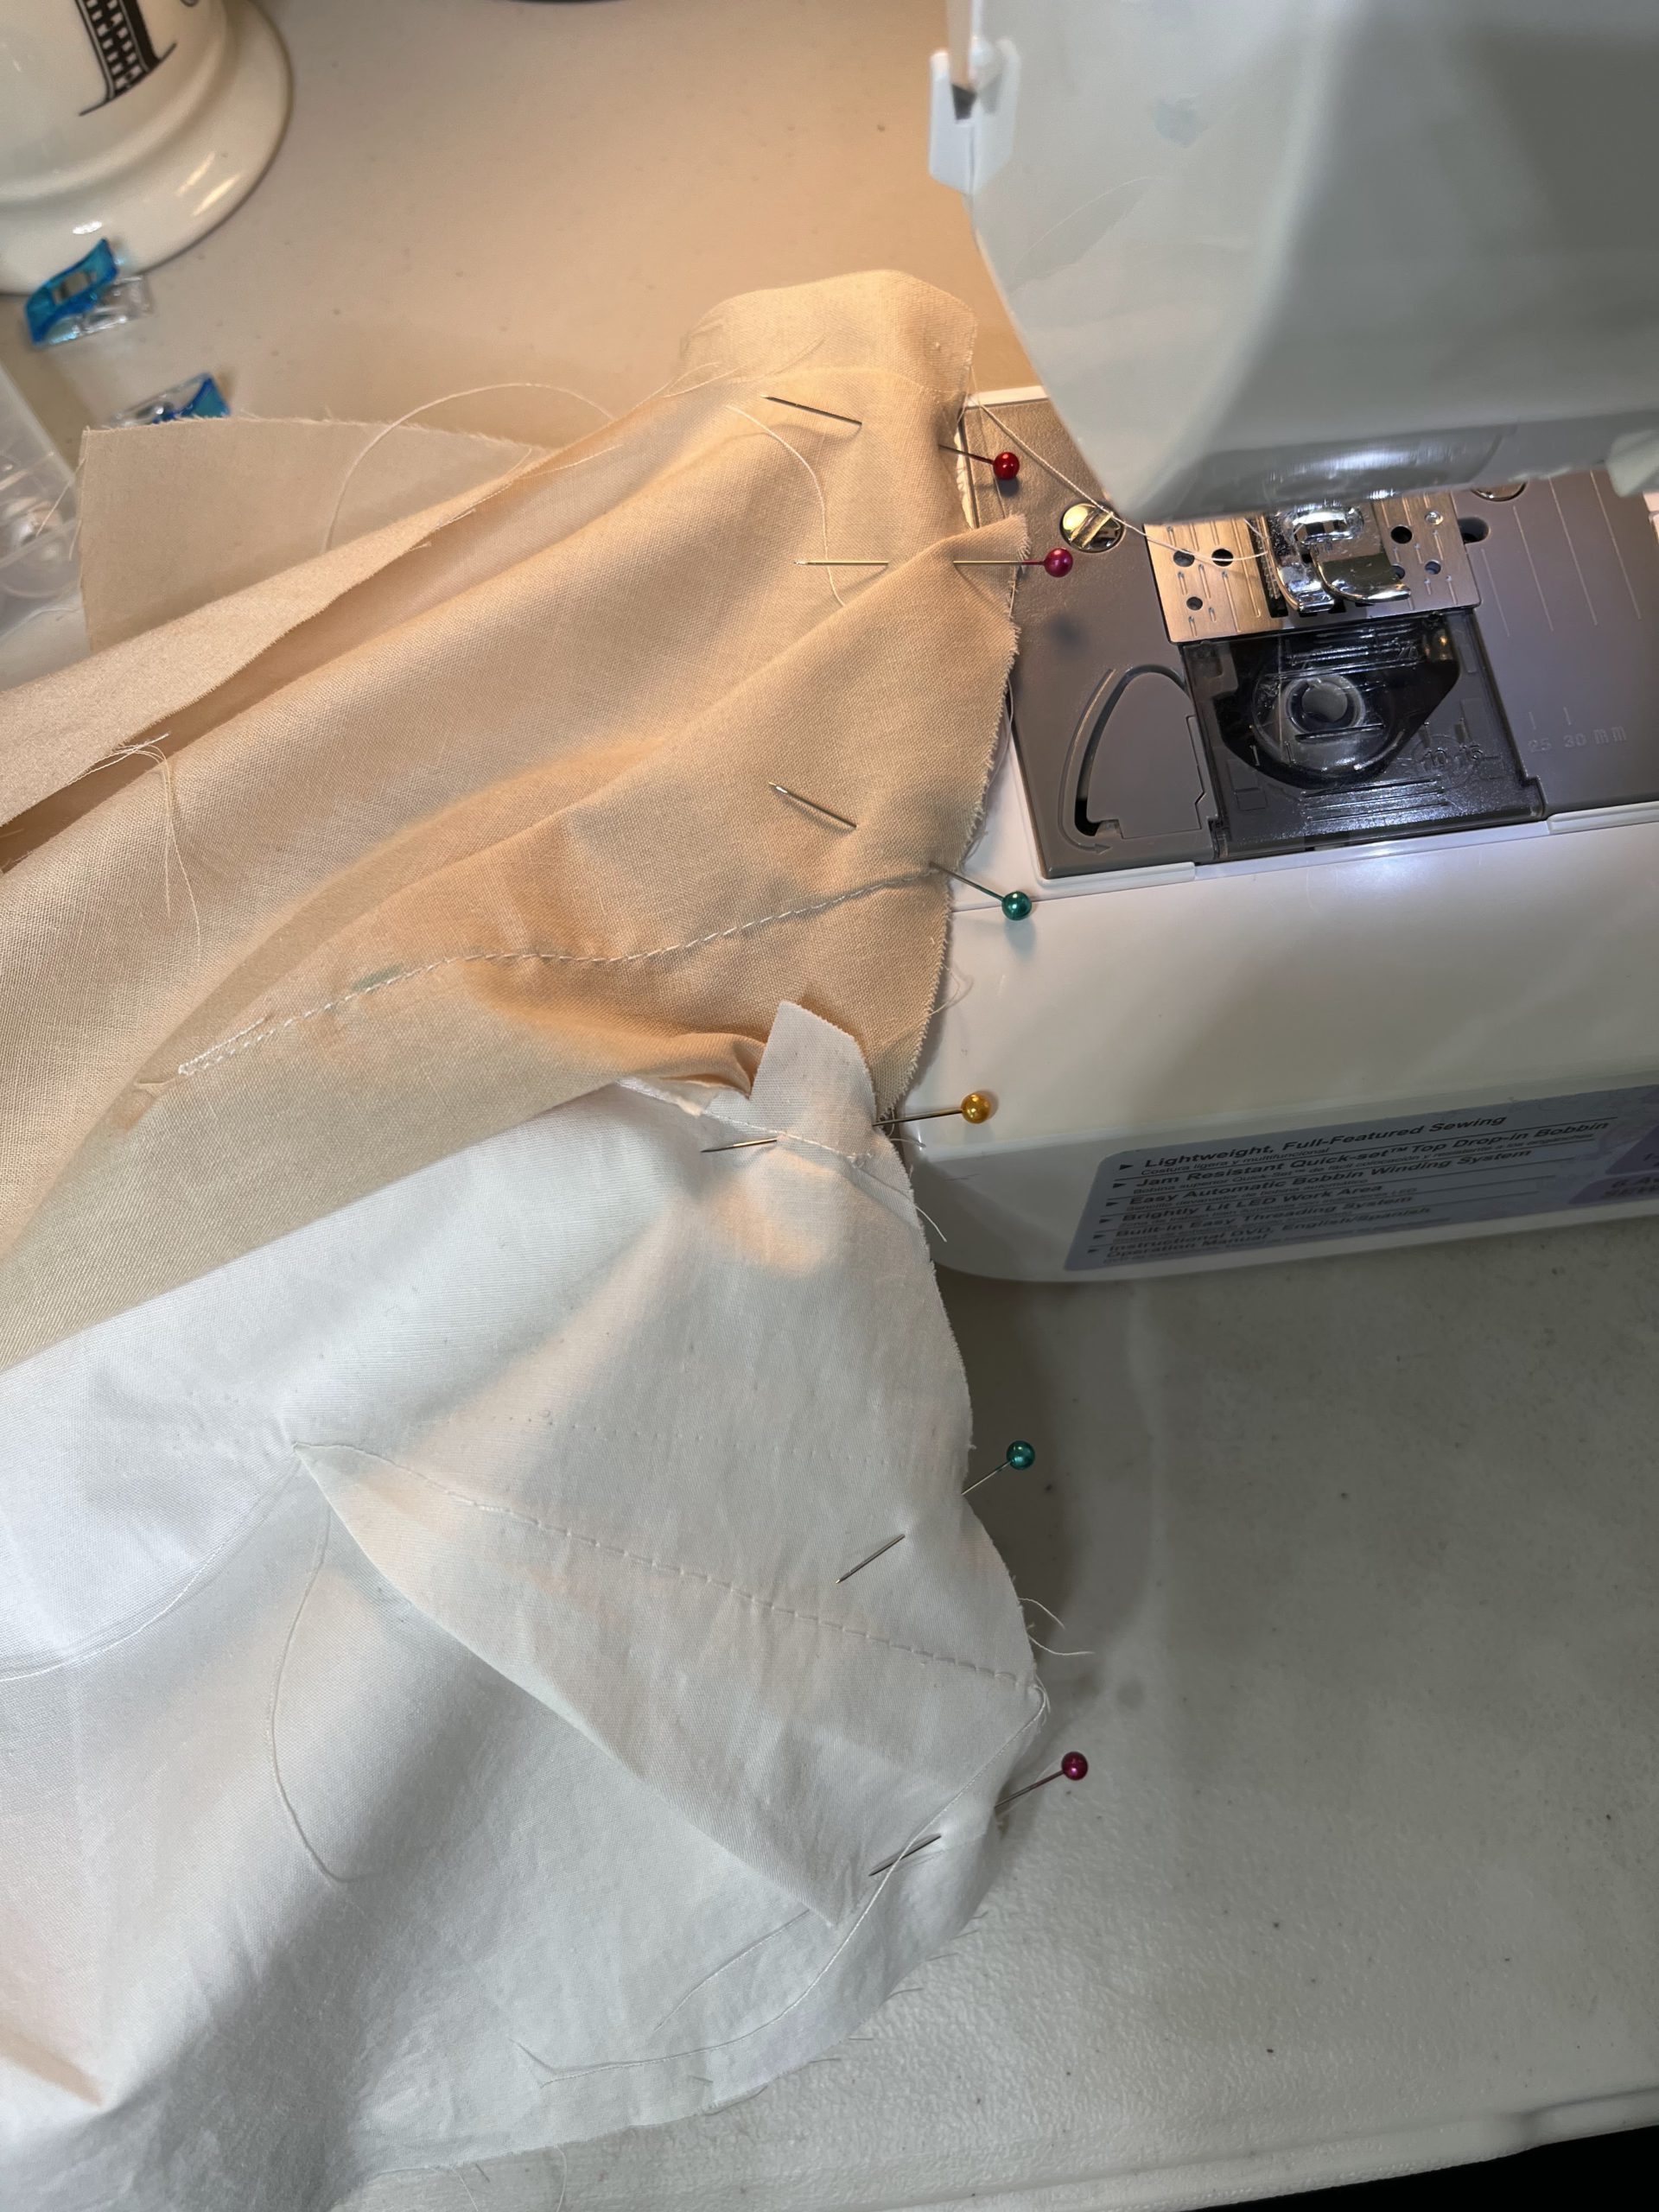
The funniest part is that I had to sew darts 8 times. The very thing that was giving me trouble I had to do over and over again since the bodice is lined and you’re basically making two tops. Oh the sewing gods have a great sense of humor. *shakes fist at sky*

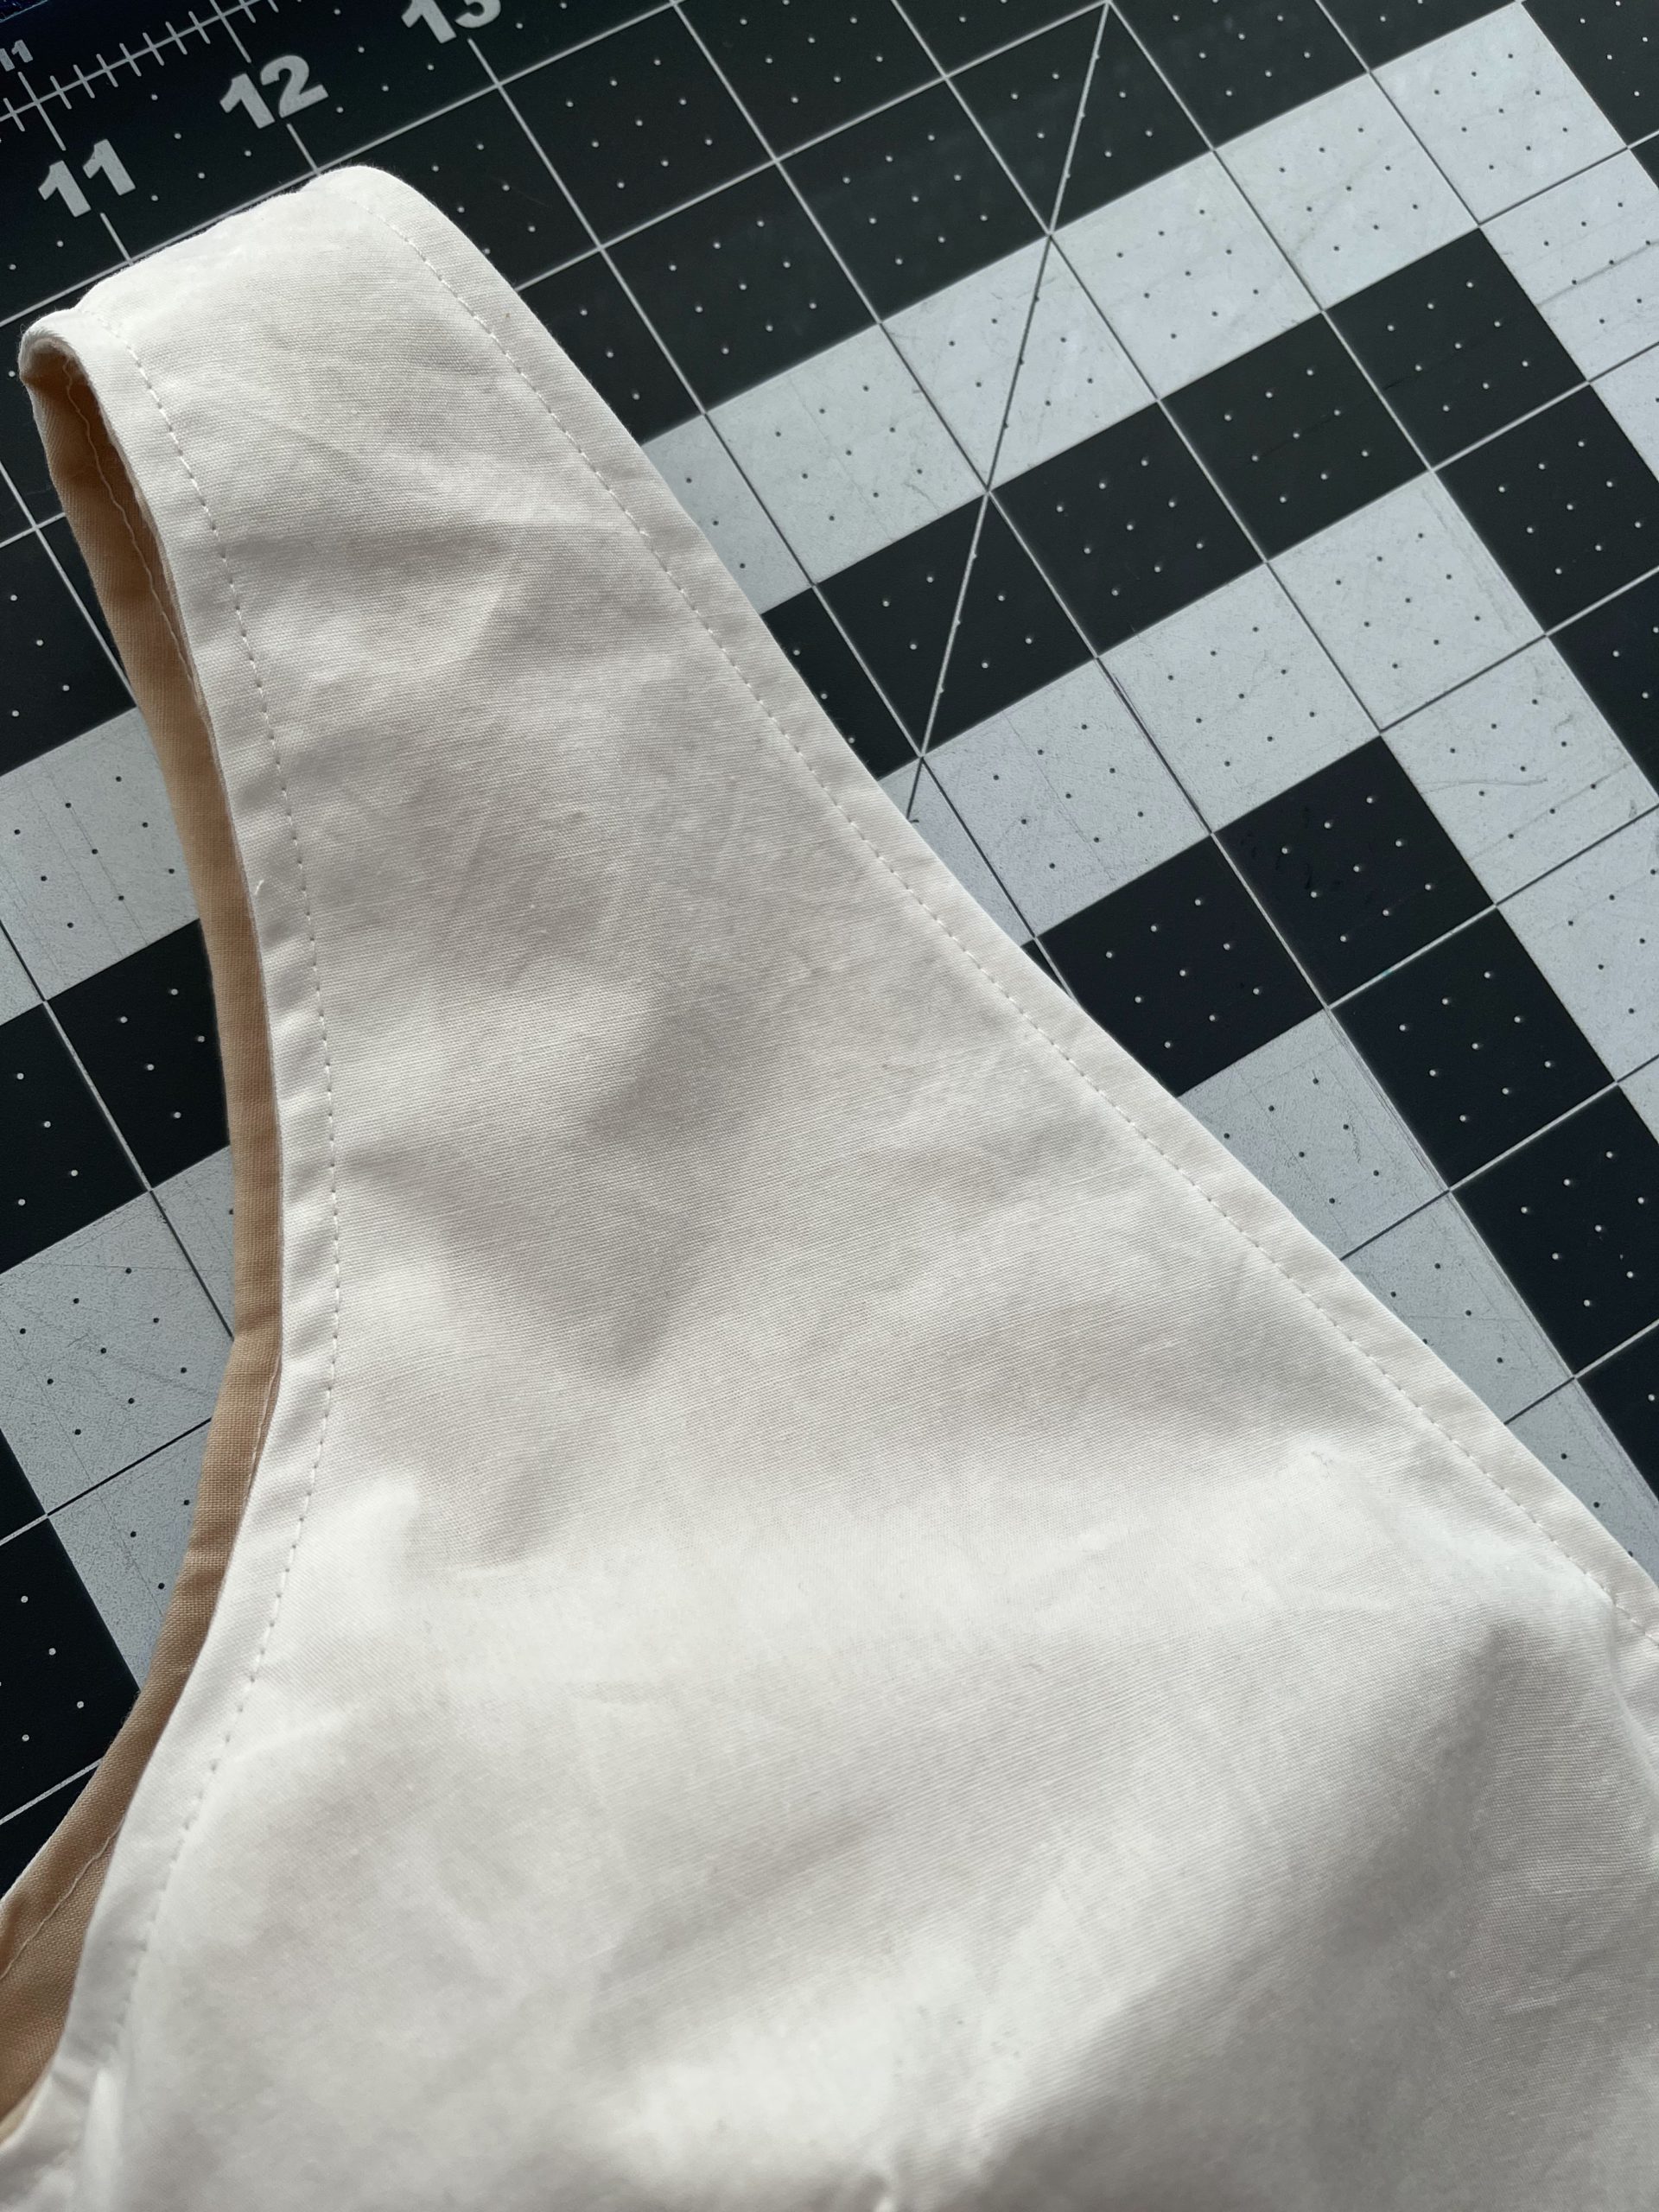
Gotta love that clean inside.
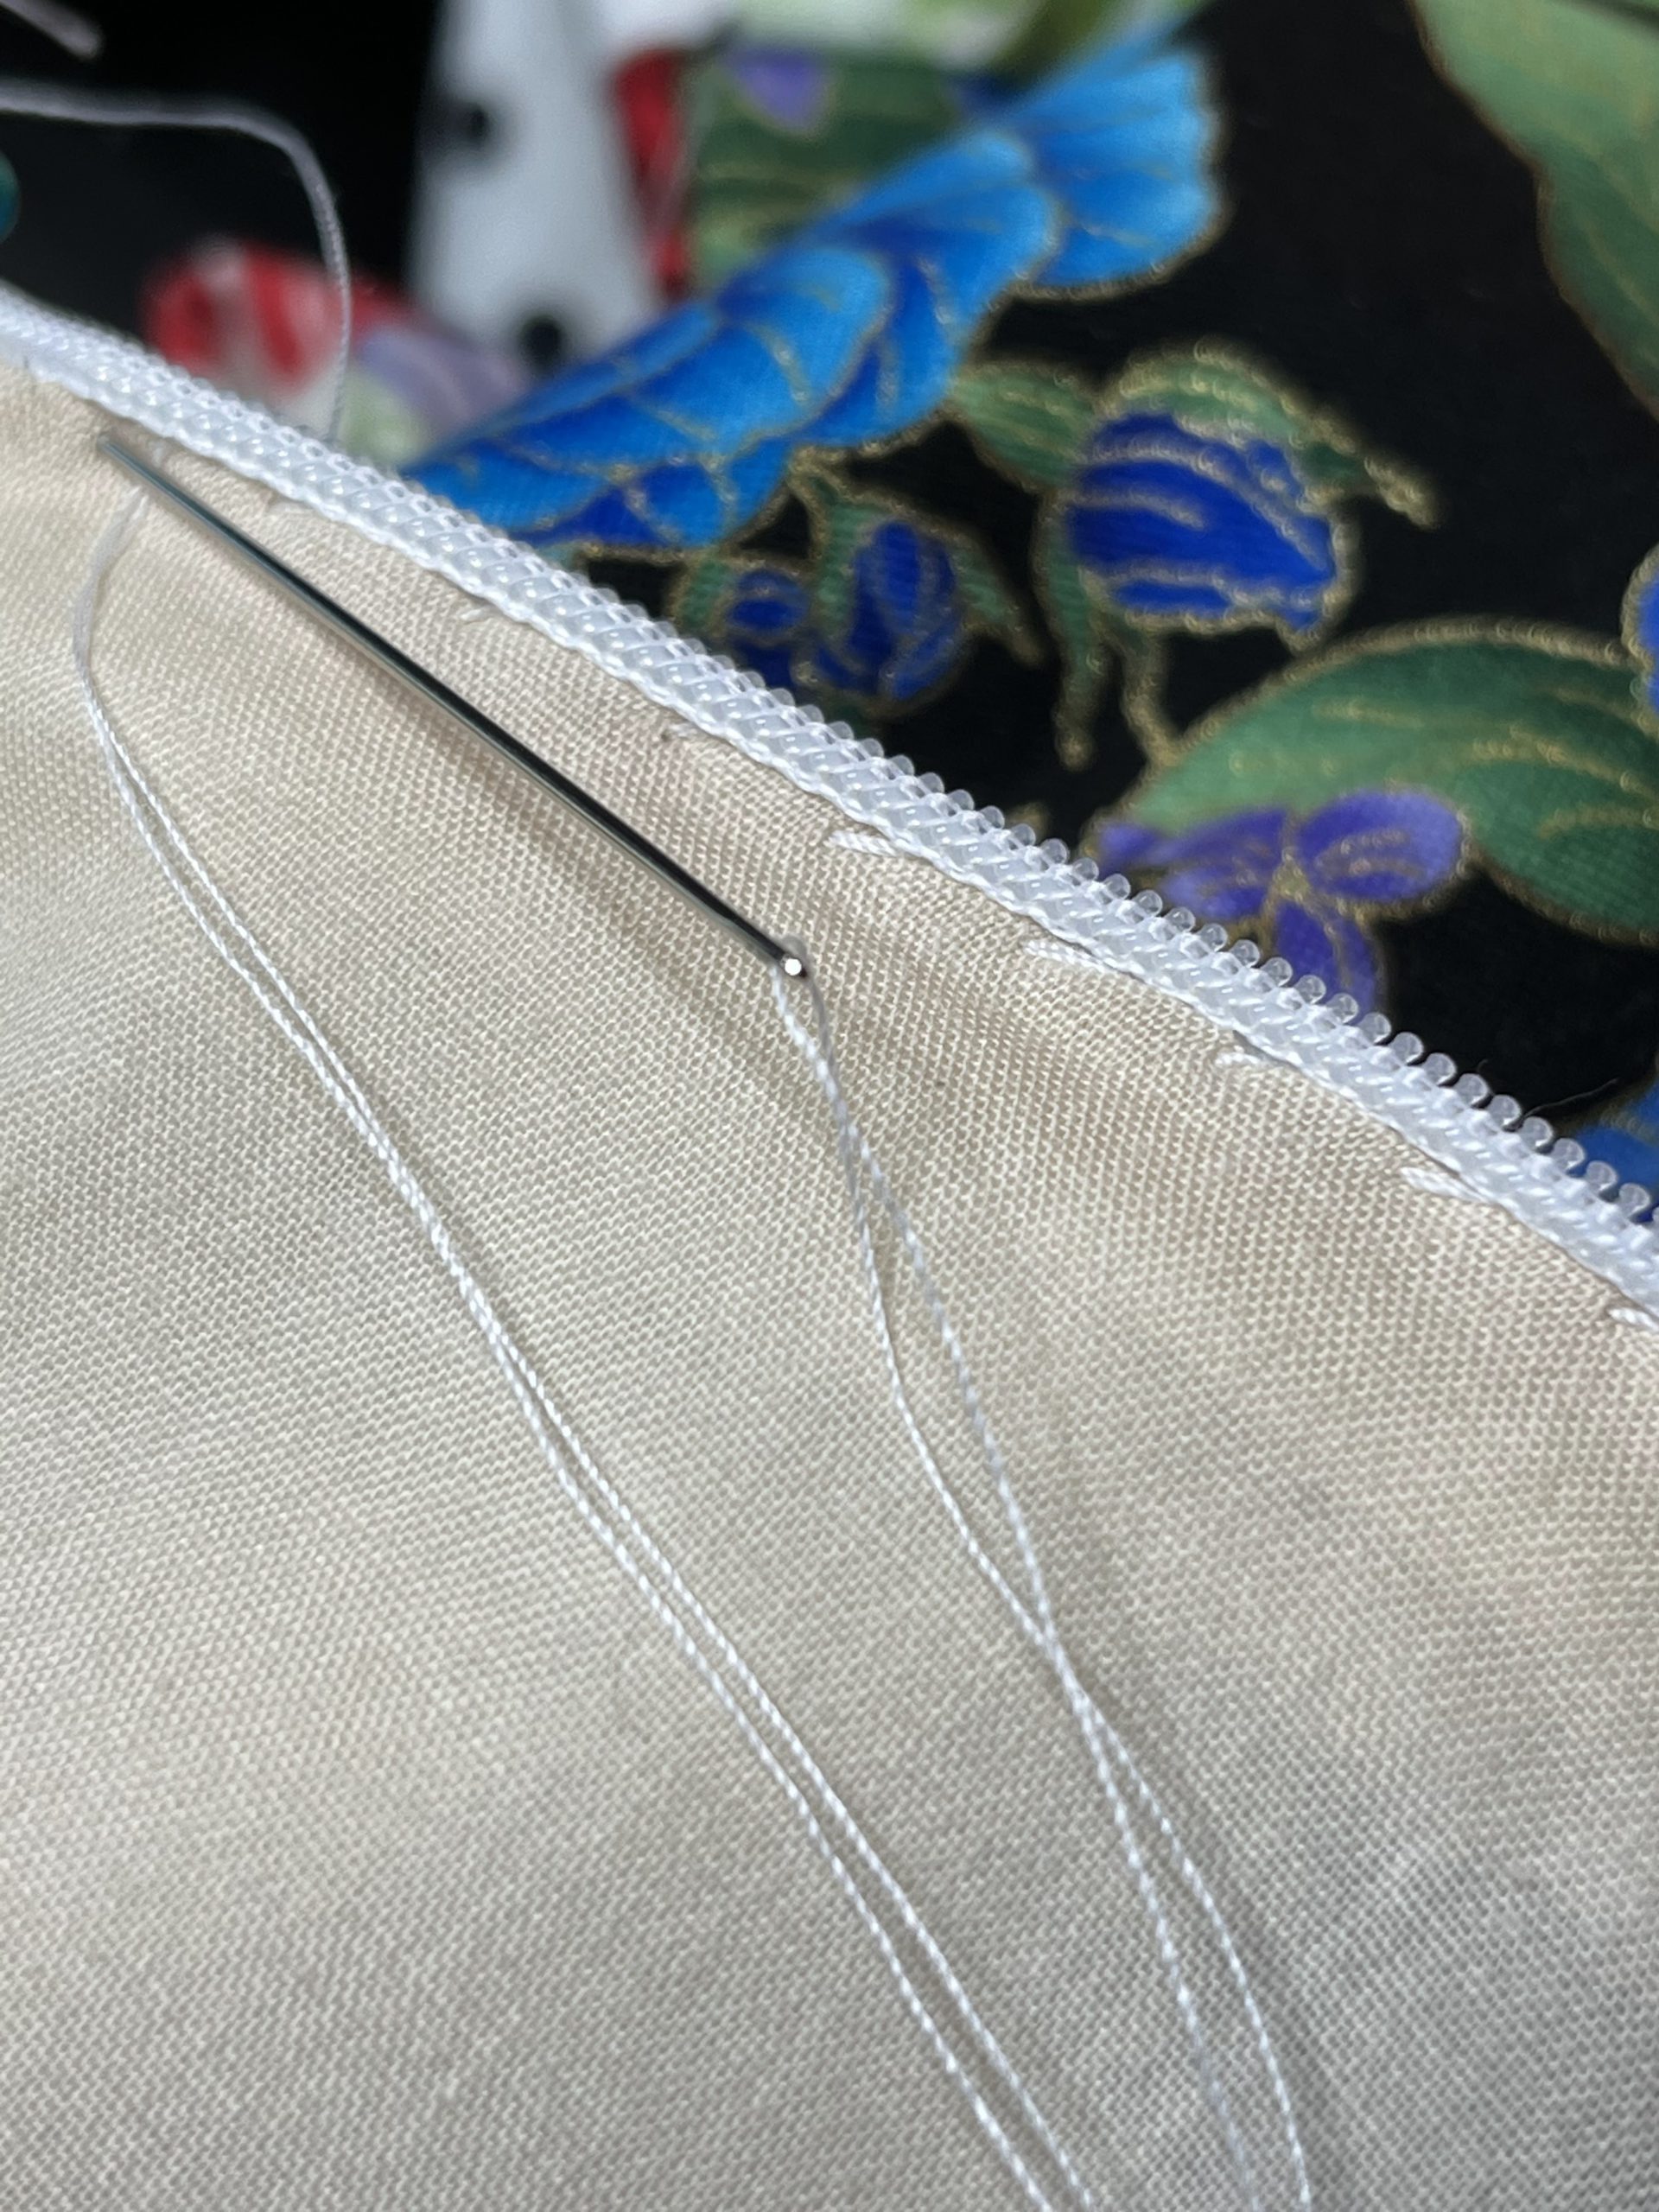
This Celebration Dress is supposed to be “designer” so I added some special finishings. Couture = lots of handsewing. I did so much that my thumb joints hurt for 8 days! (And even now as I type they still feel weird.) Never saw that one coming! It’s been so achy I’ve been having to ice my hands and take Tylenol to finish out the dress.
The culprit: Slipstitch/whipstitch the lining into place on the bodice and all these itty bitty hardware pieces. Snaps on the bra guard, little hooks, little eyes. Two hooks on the belt to adjust for eating, haha!
Let’s hide the mess 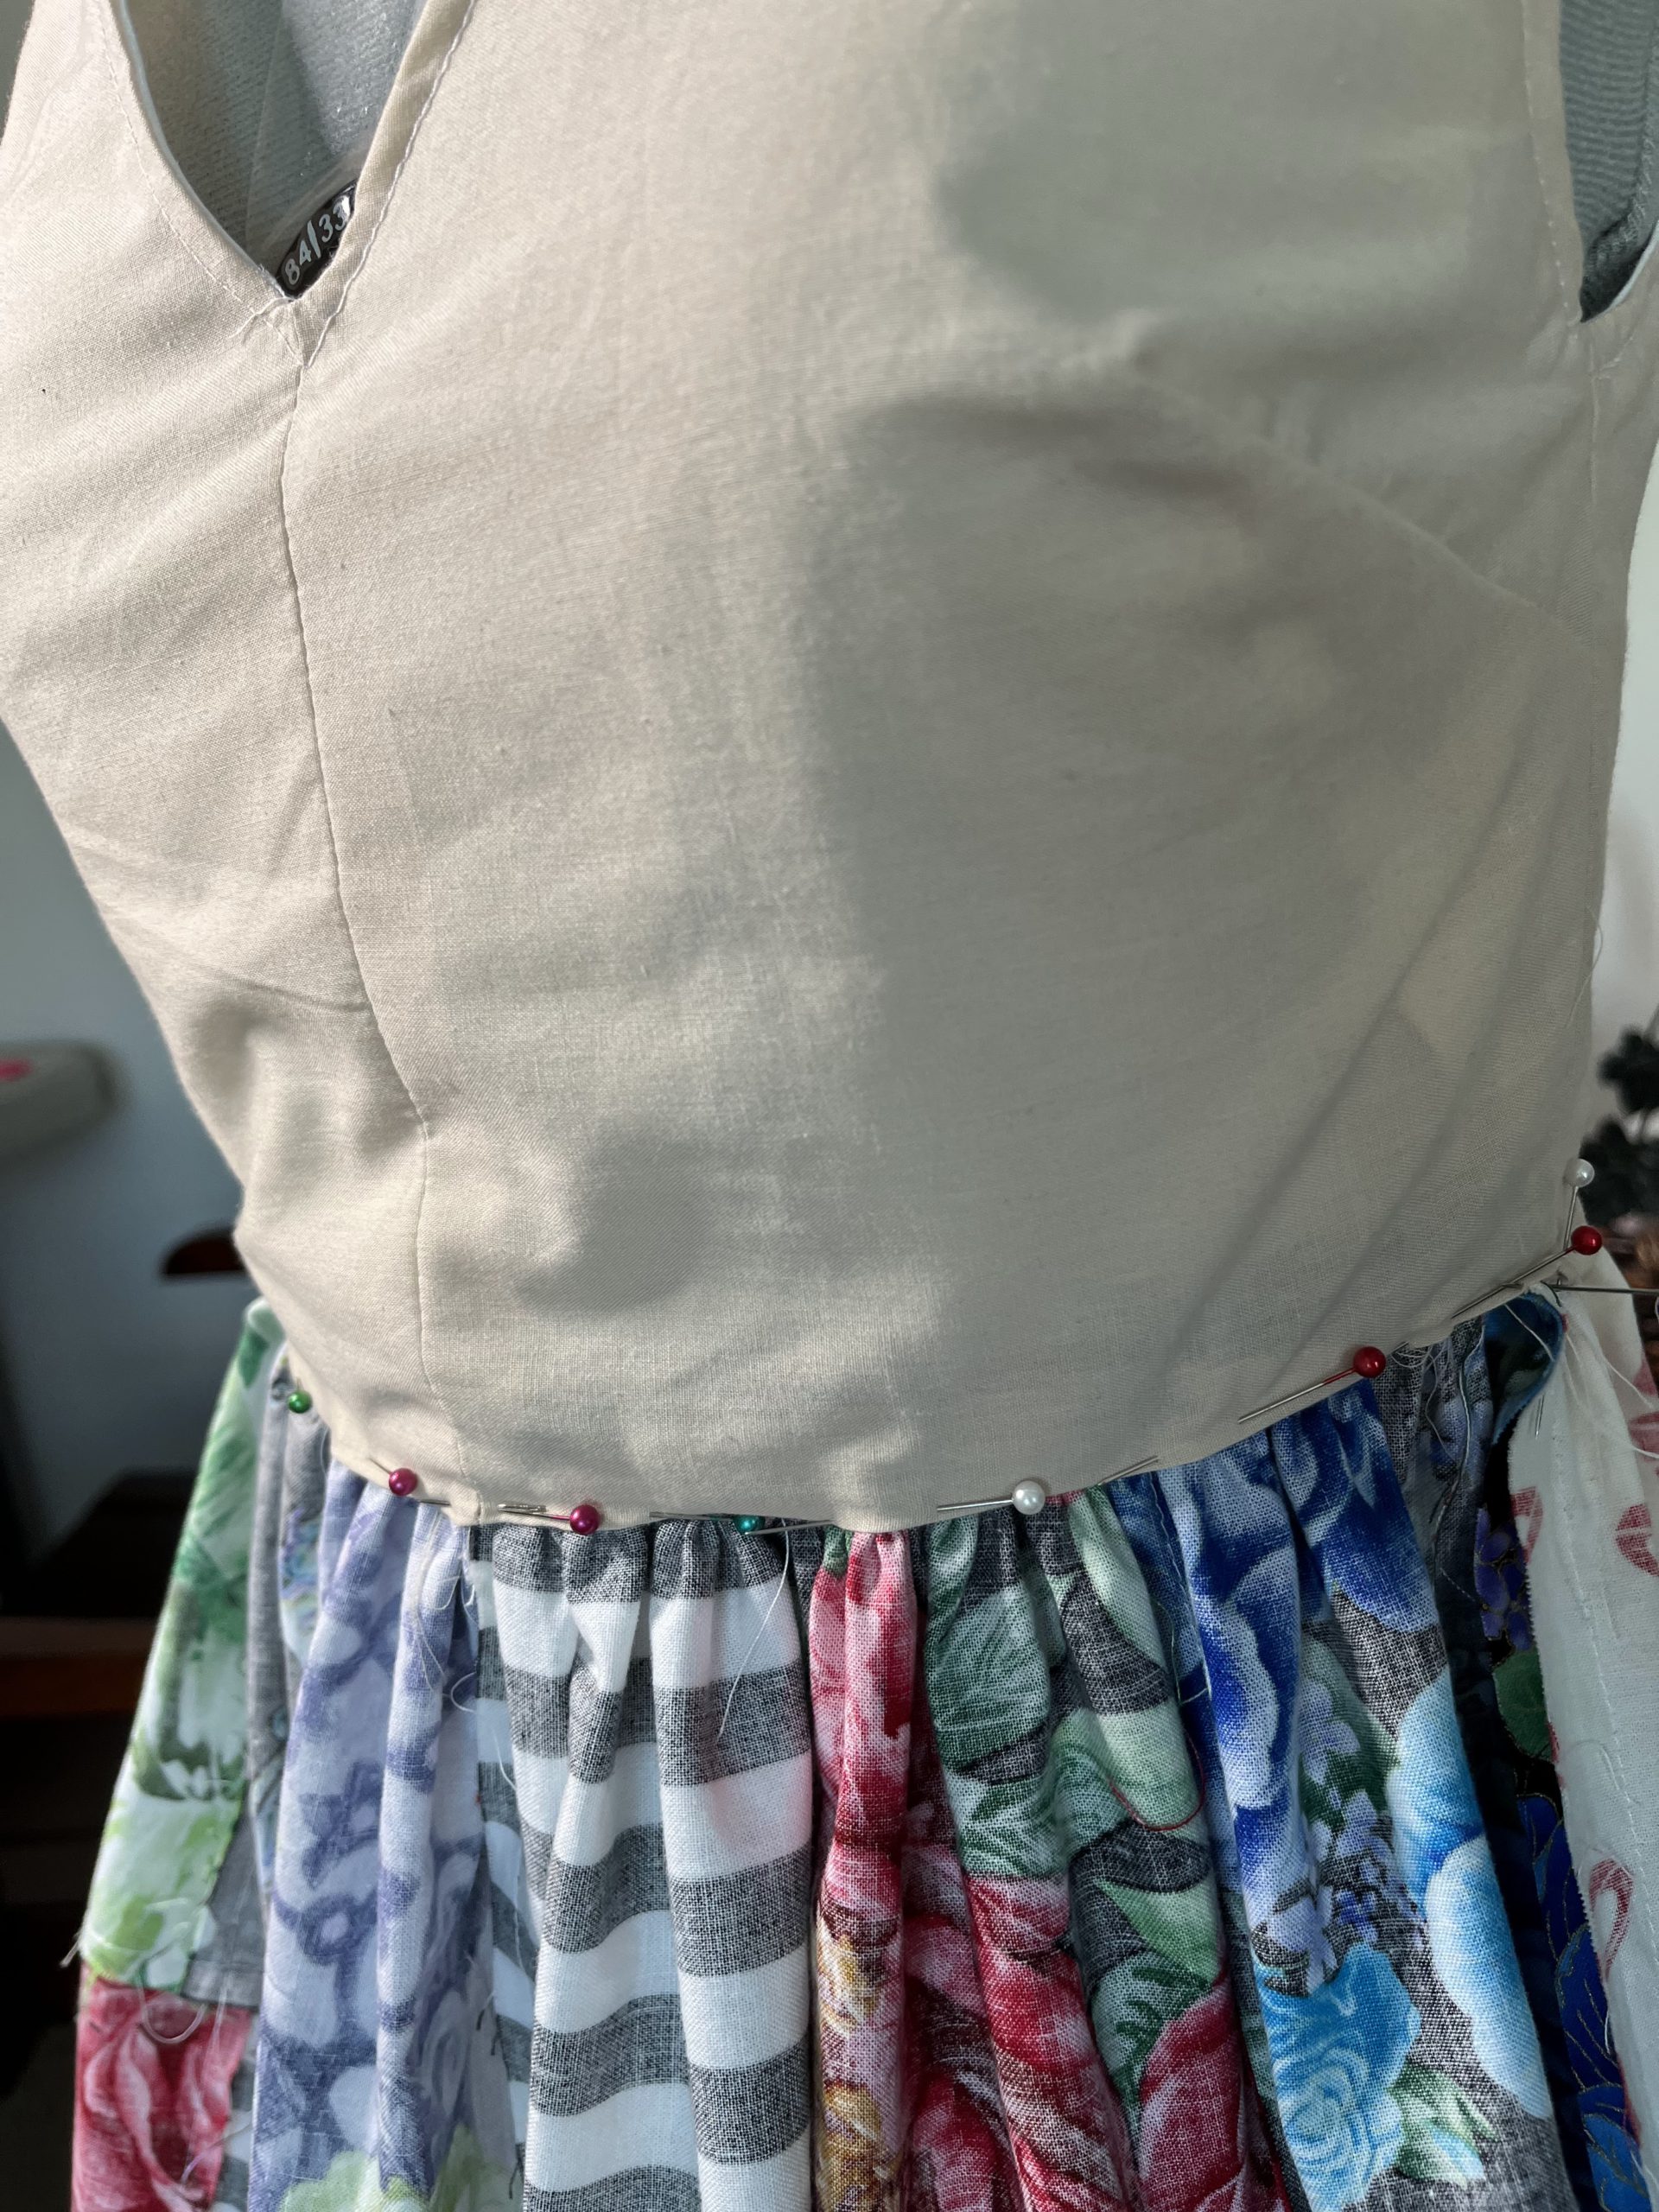
Whip it good!
And because I’m a sucker for punishment, I used lace hem tape and blind stitched all 2.5 yards of the hem by hand. I’m 4’11” tall and the dress is floor length. Nobody is going to be seeing a machine finished hem for crying out loud, lol- but I know that I need as much practice as I can get with hand sewing.

I also learned how to chain stitch a belt loop. Took me 5 times to get it right! I used this video for help:
Later I got smart and started taping things down, reducing the need for “death grip”. Bought some Thread Magic too which lived up to its name. In addition to the Vogue Sewing Book and Claire Shaffer’s Couture Techniques book, I found this pdf online which was extremely helpful as well. Microsoft Word – Hook Eye Snap Fastners 1.23.18 (uky.edu)
Wow, now I know this is a super detailed post, but I like to share helpful links to document for future reference. We all know a lot goes into making a dress from start to finish! It’s no wonder a real couture designer dress is so special. I truly did enjoy the entire experience – even the frustrating ones- because that is really how I learn. It’s like when you’re learning to ride a bike. You’re wobby as heck, fall down and skin your knees and elbows a couple times, but you still try. Before you know it, you’re cycling all down the street! Remember I said my brain needed a workout?! Well I certainly got one.
Every mistake is an opportunity to improve.
Check out Part 2 to see the finished Celebration Dress.