Stand N’ Stow
With sewing there is always a new pattern to sew or a new technique to try. It’s never ending.
I had this grand plan on starting a new quilt for myself, until somehow the Stand N’ Stow bag pattern by Atkinson Designs snuck into my queue.
A friend has been raving about this bag. She said it only took her 2 hours and she’s addicted to the construction. She made a bajillion of them in one sitting. 2 hours huh? That sounded like a challenge so although I didn’t *need* a bag, I went ahead and made it.
First off, this mofo didn’t take 2 hours. LOL. But it probably will be the second time around. My biggest tip for sewing this bag is that it’s sewn together RIGHT SIDES OUT. It felt so unnatural! Although my friend cautioned me in advance to do this and the pattern clearly states it in BOLD, I still sewed it the wrong way. So 1 hour flew out the window while I unpicked all the thread lines, lol.
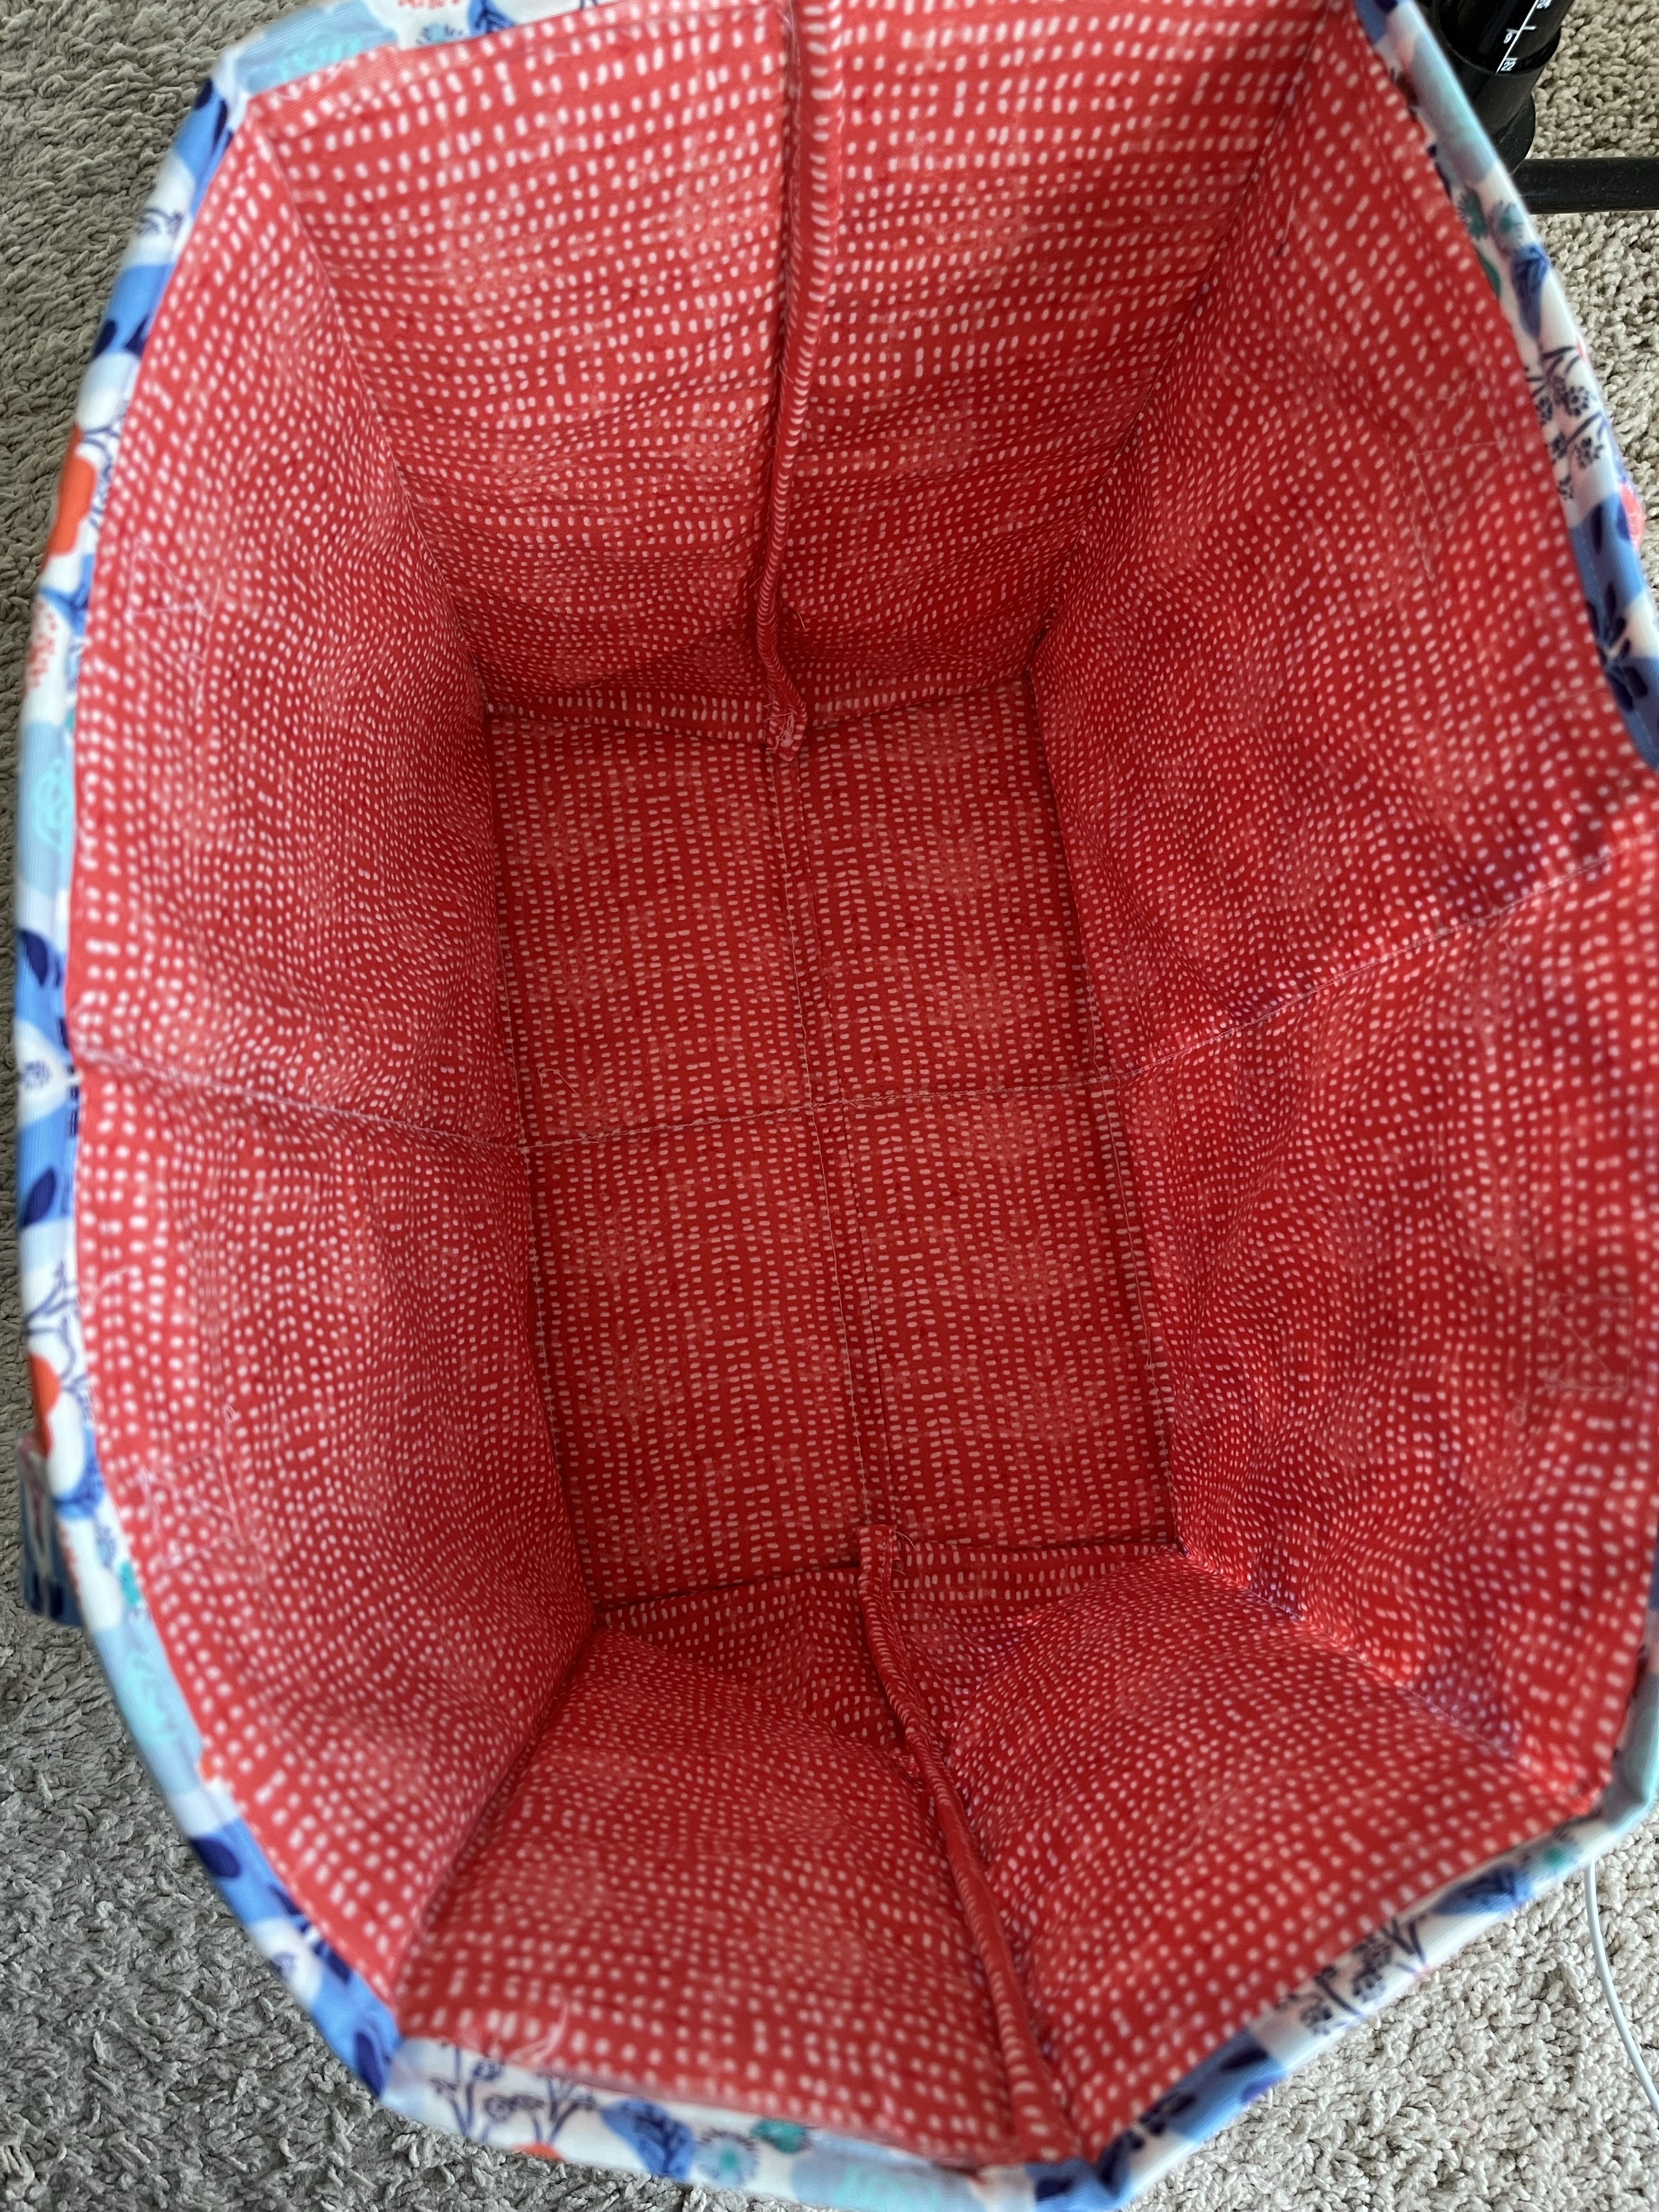
The only bag I’ve made so far is Kwik Sew 4288. Compared to that one, the Stand and Stow was really easy. You don’t need to turn anything inside out and press. Just sew pockets (aka channels) for the Peltex to hang out in, which gives it some major structure. (For my non-sewing readers, Peltex is some special material that has the thickness of cardboard.)
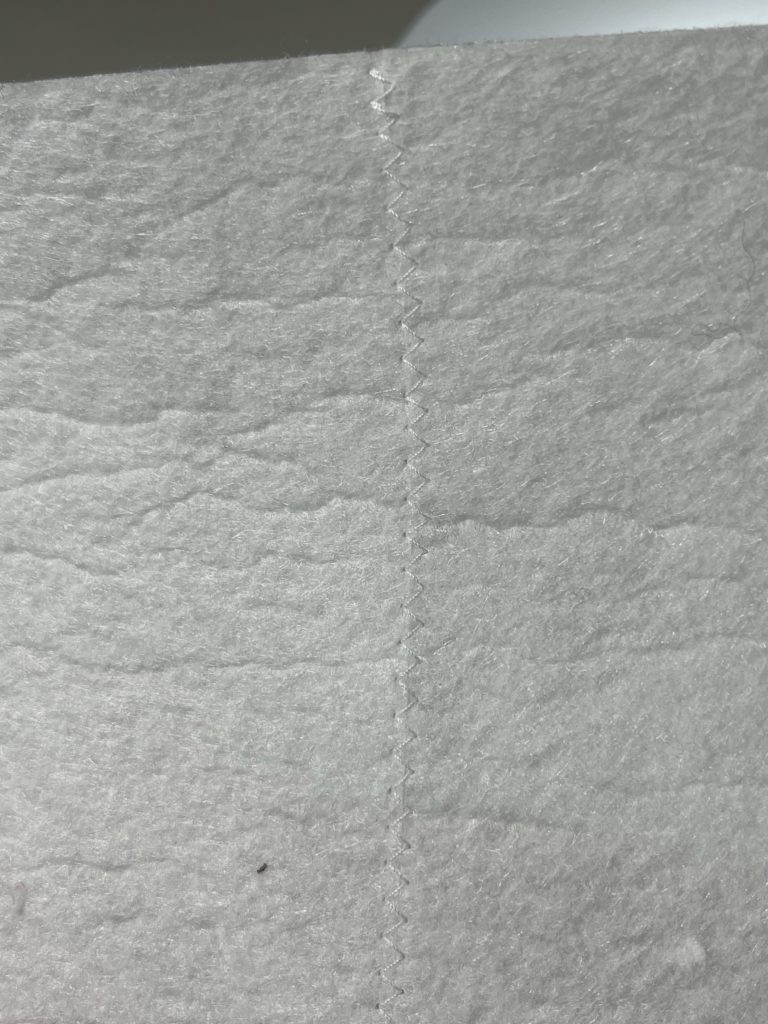
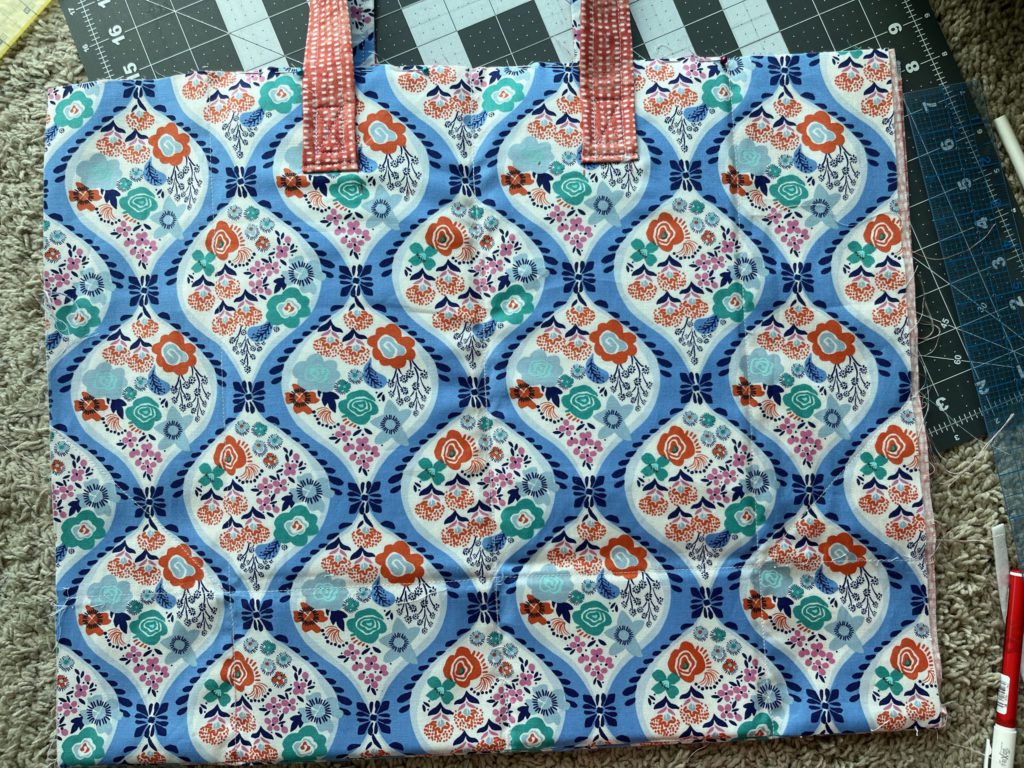
I sewed the medium size which has a generously sized rectangular base. The only major change I made to the pattern is that I used Peltex 70 instead of Peltex 71. There was a significant difference in price and it was less work. No fusing. As I said before- it’s just pockets! The pieces really don’t move around in there since they are cut exactly to size.
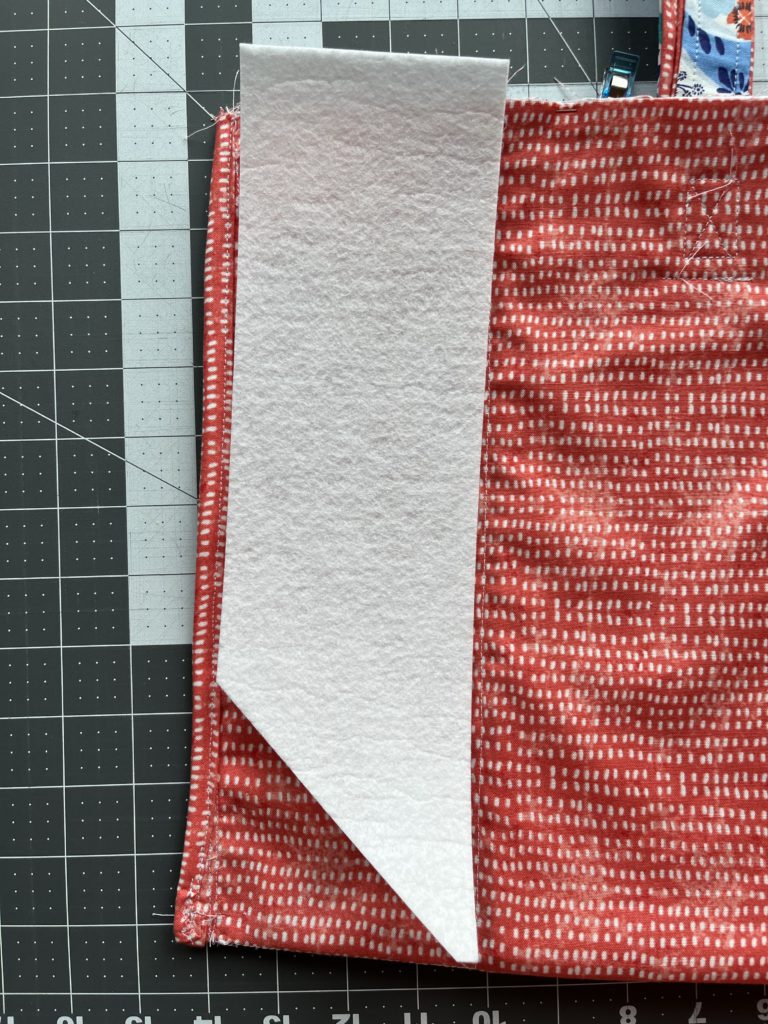
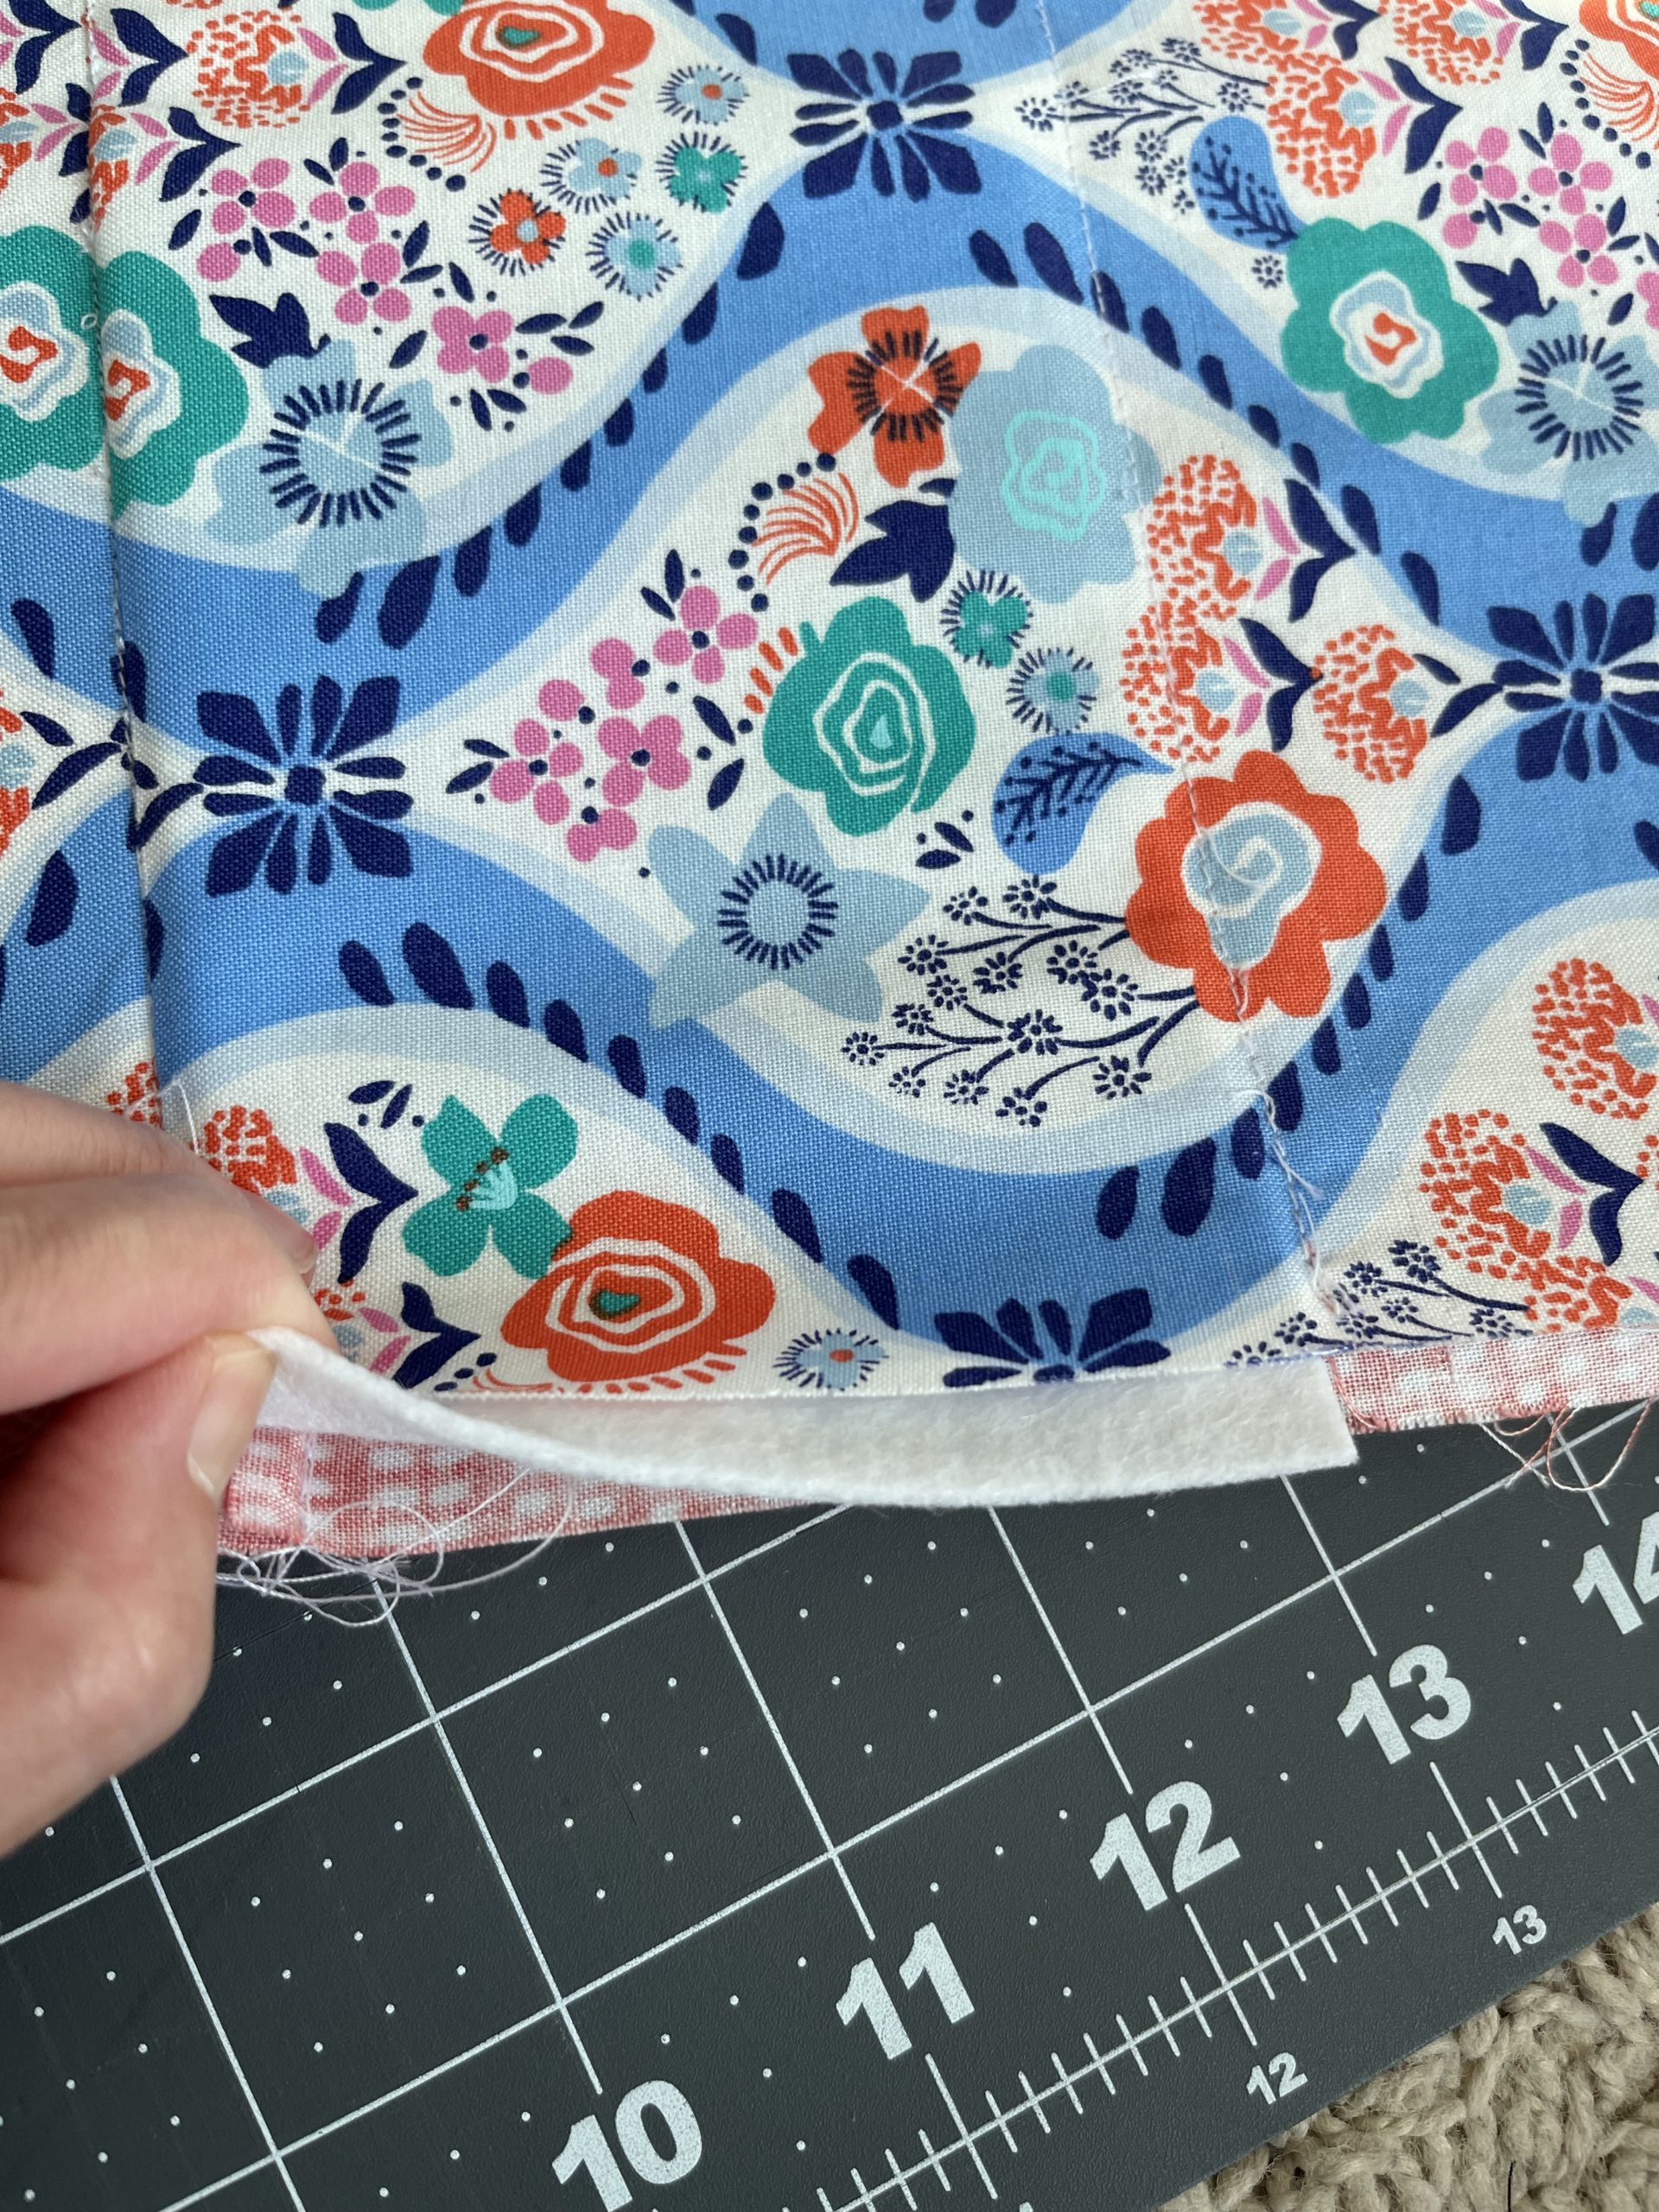
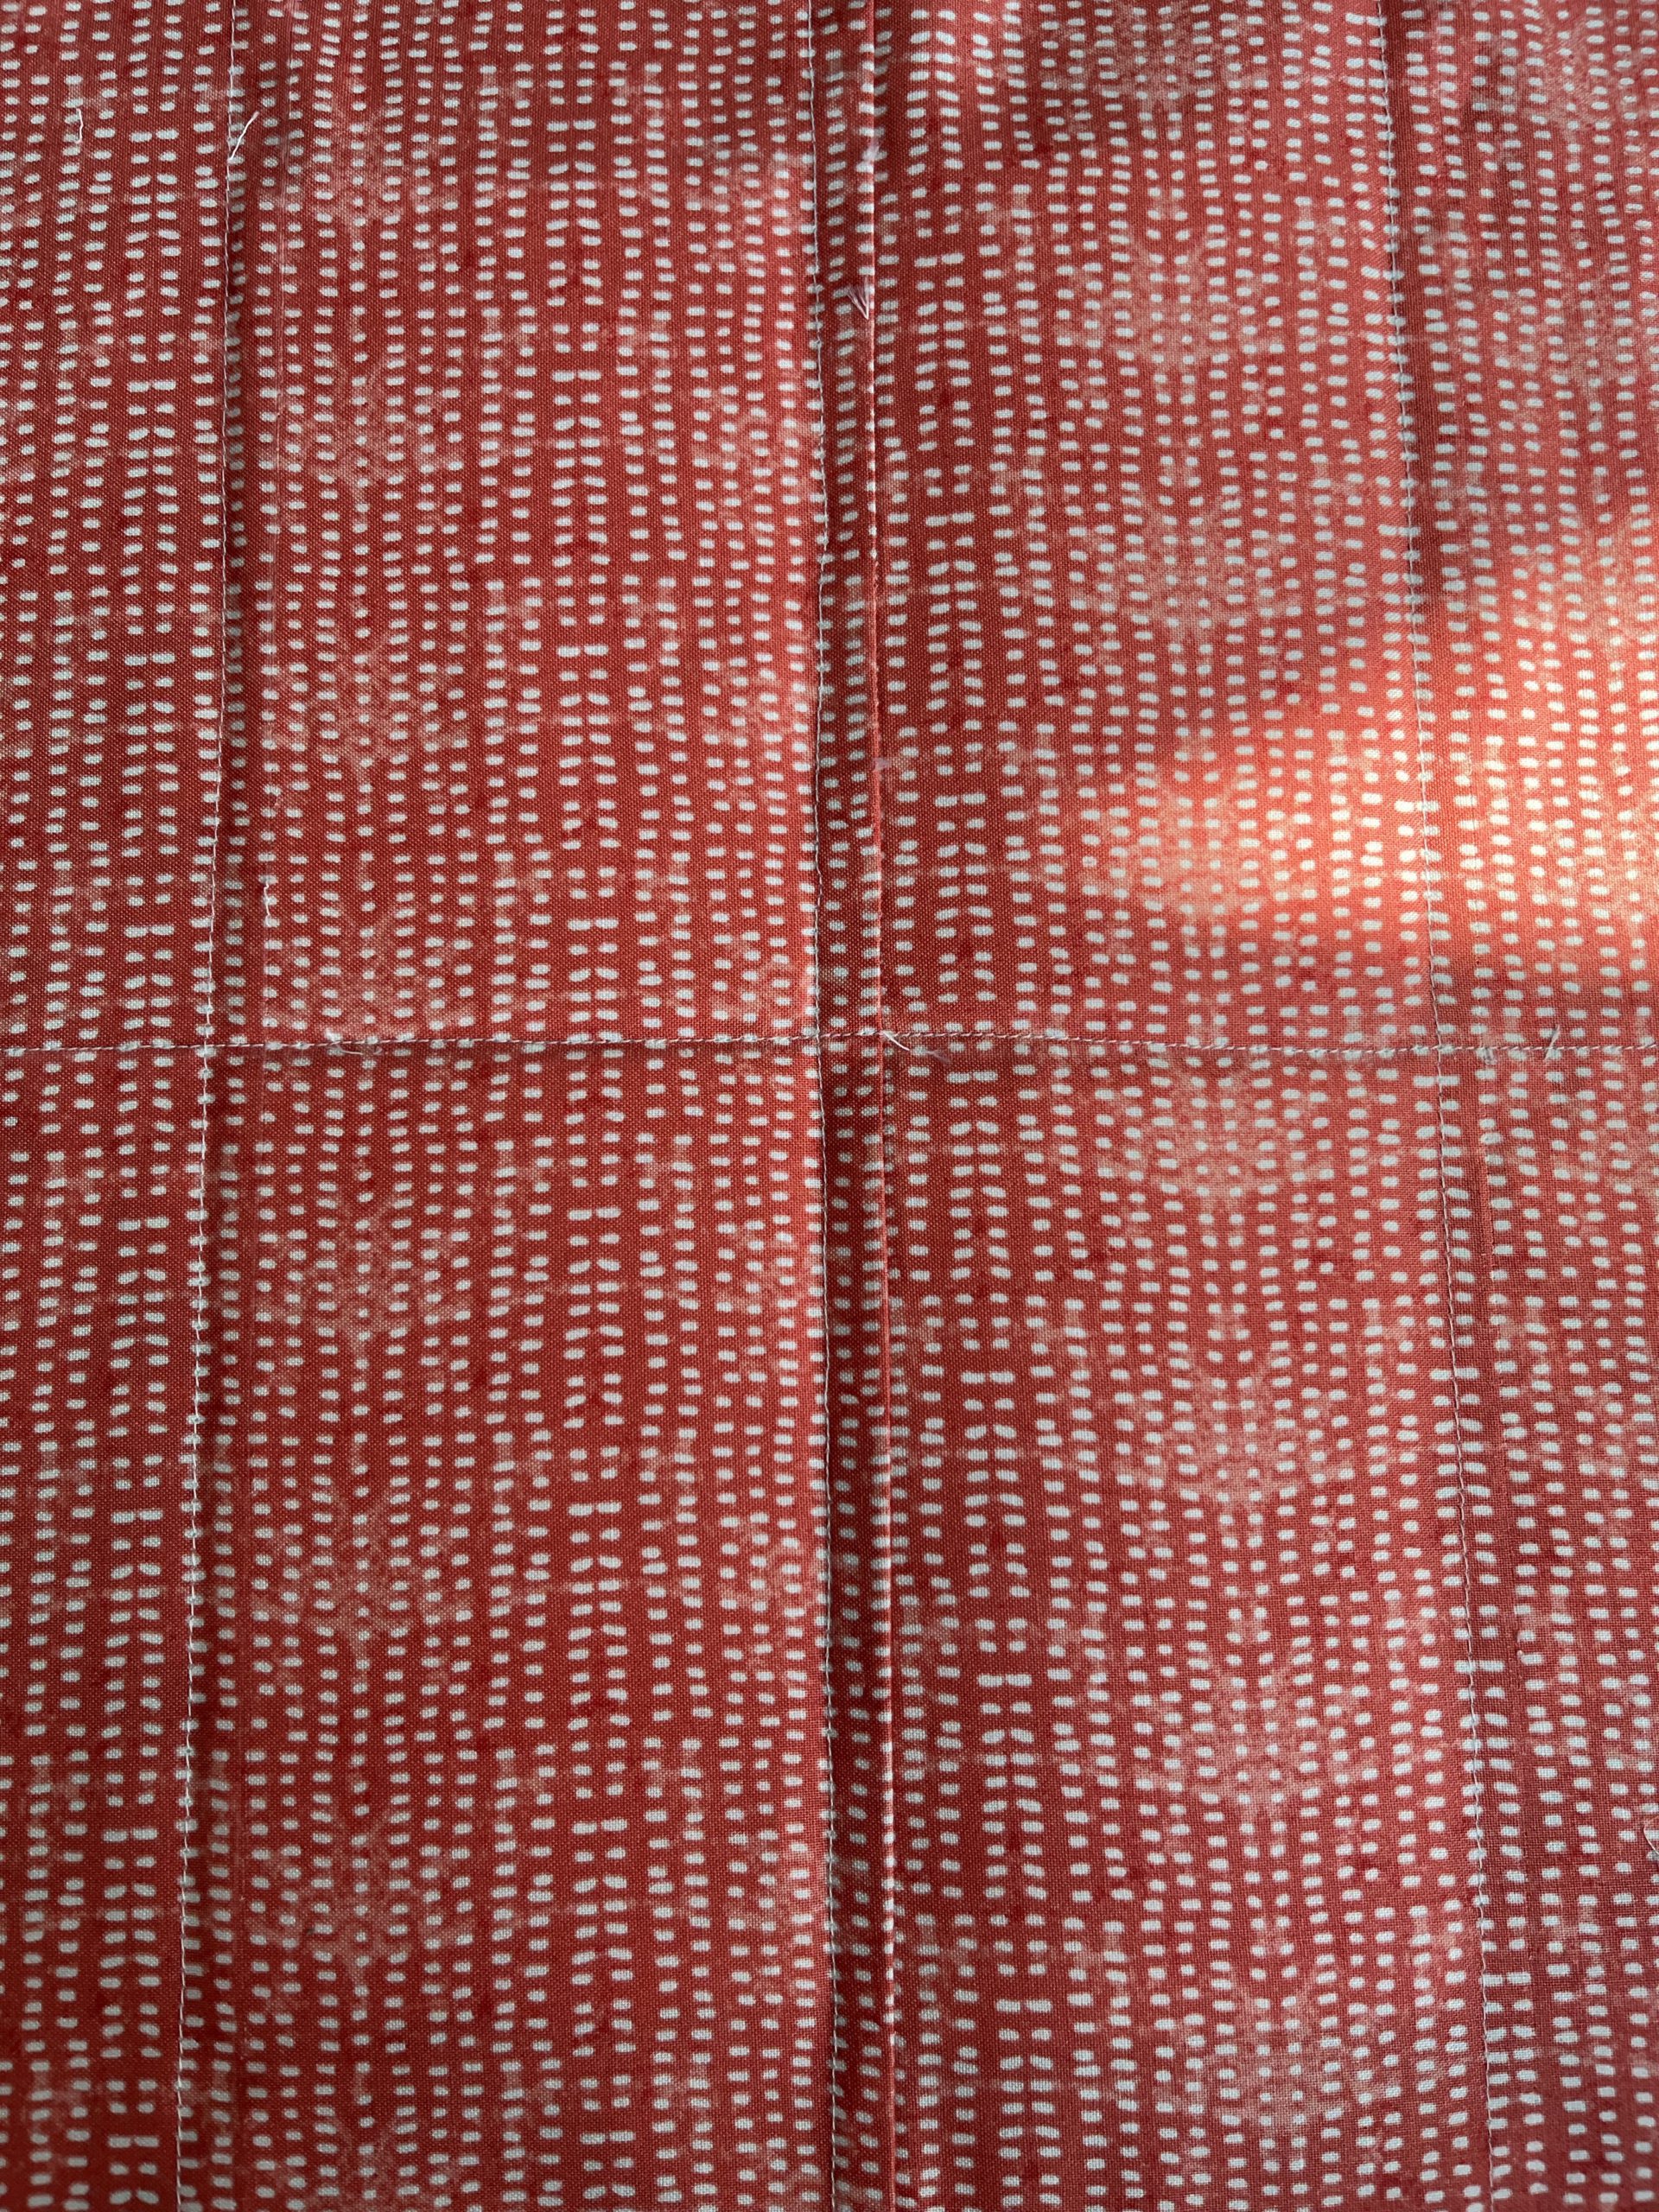
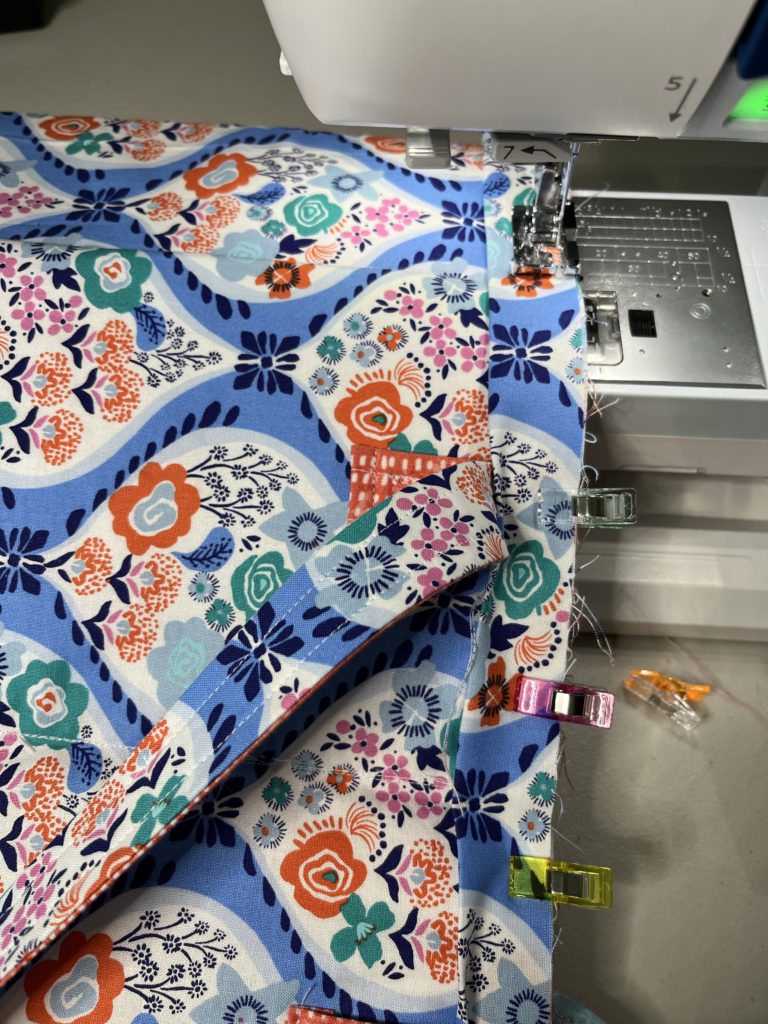
Some of the steps in the instructions could have been better explained and had more clear diagrams. Since their are no tutorials online, here are some of my construction photos, which hopefully are helpful:
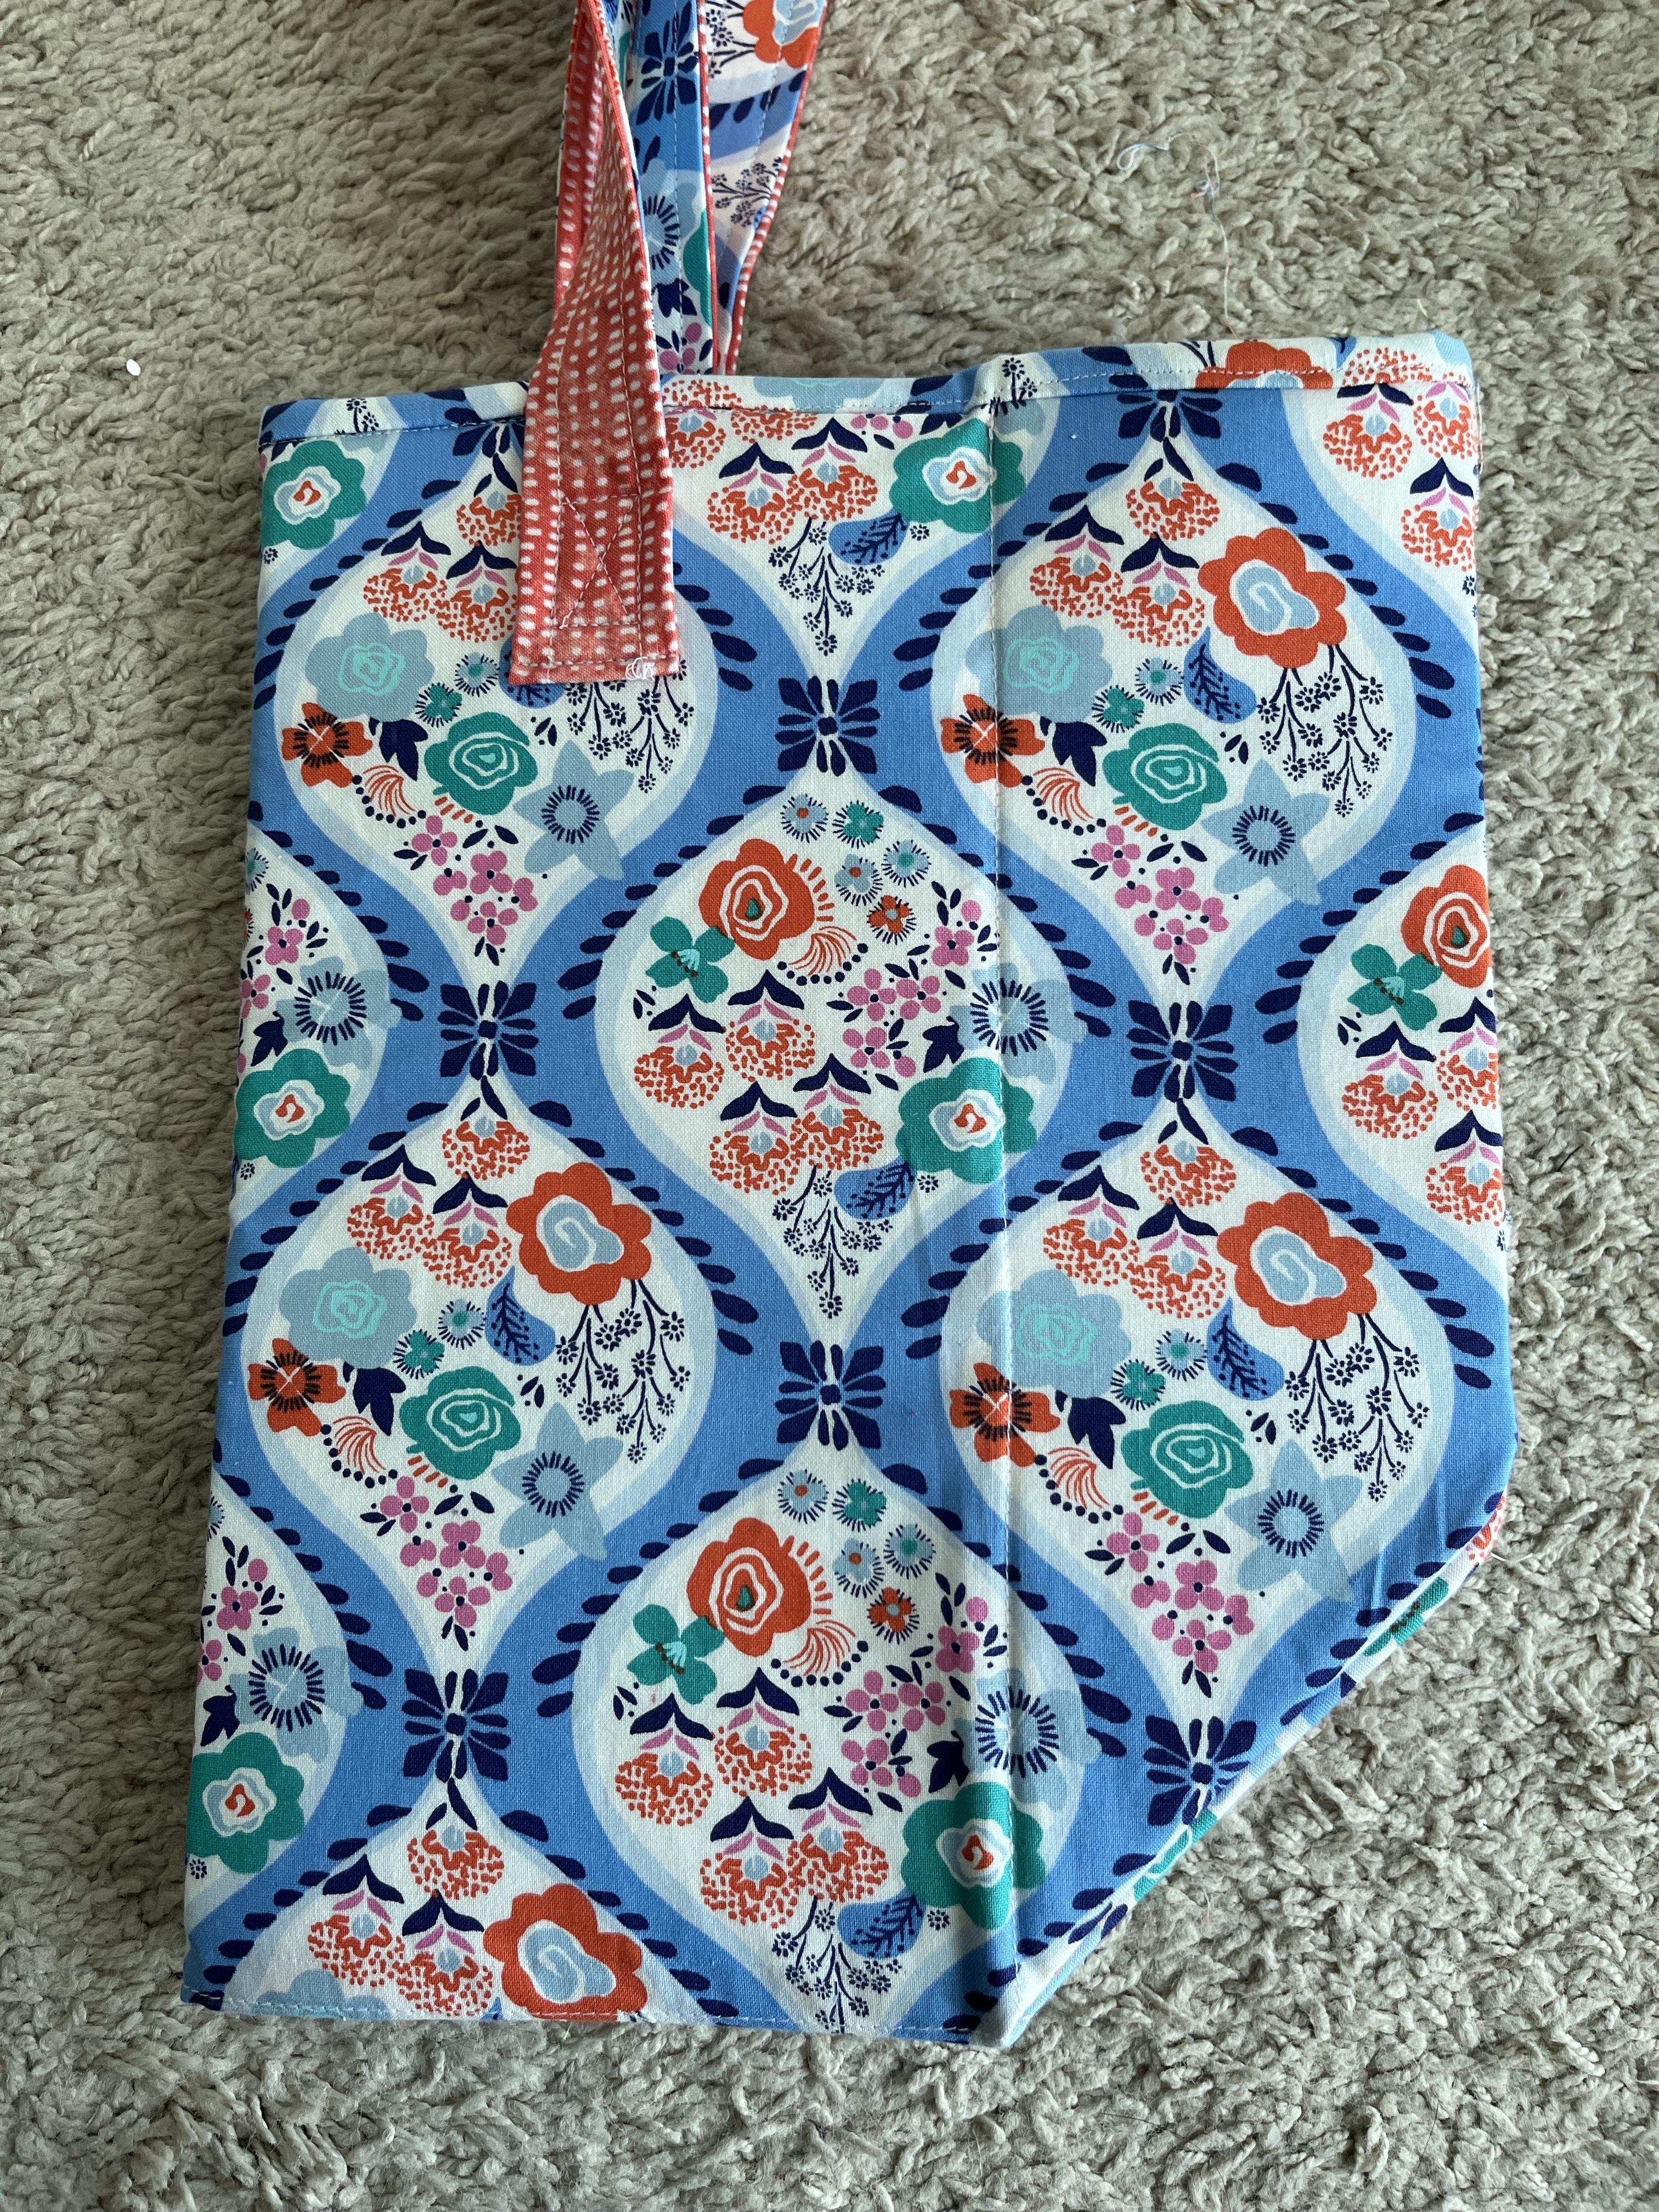
For the straps- Fold the top raw edge down, the bottom raw edge up, then fold in half.

For the sides: Flatten the bag out like this and sew up the side. (The diagram confused the heck out of me)
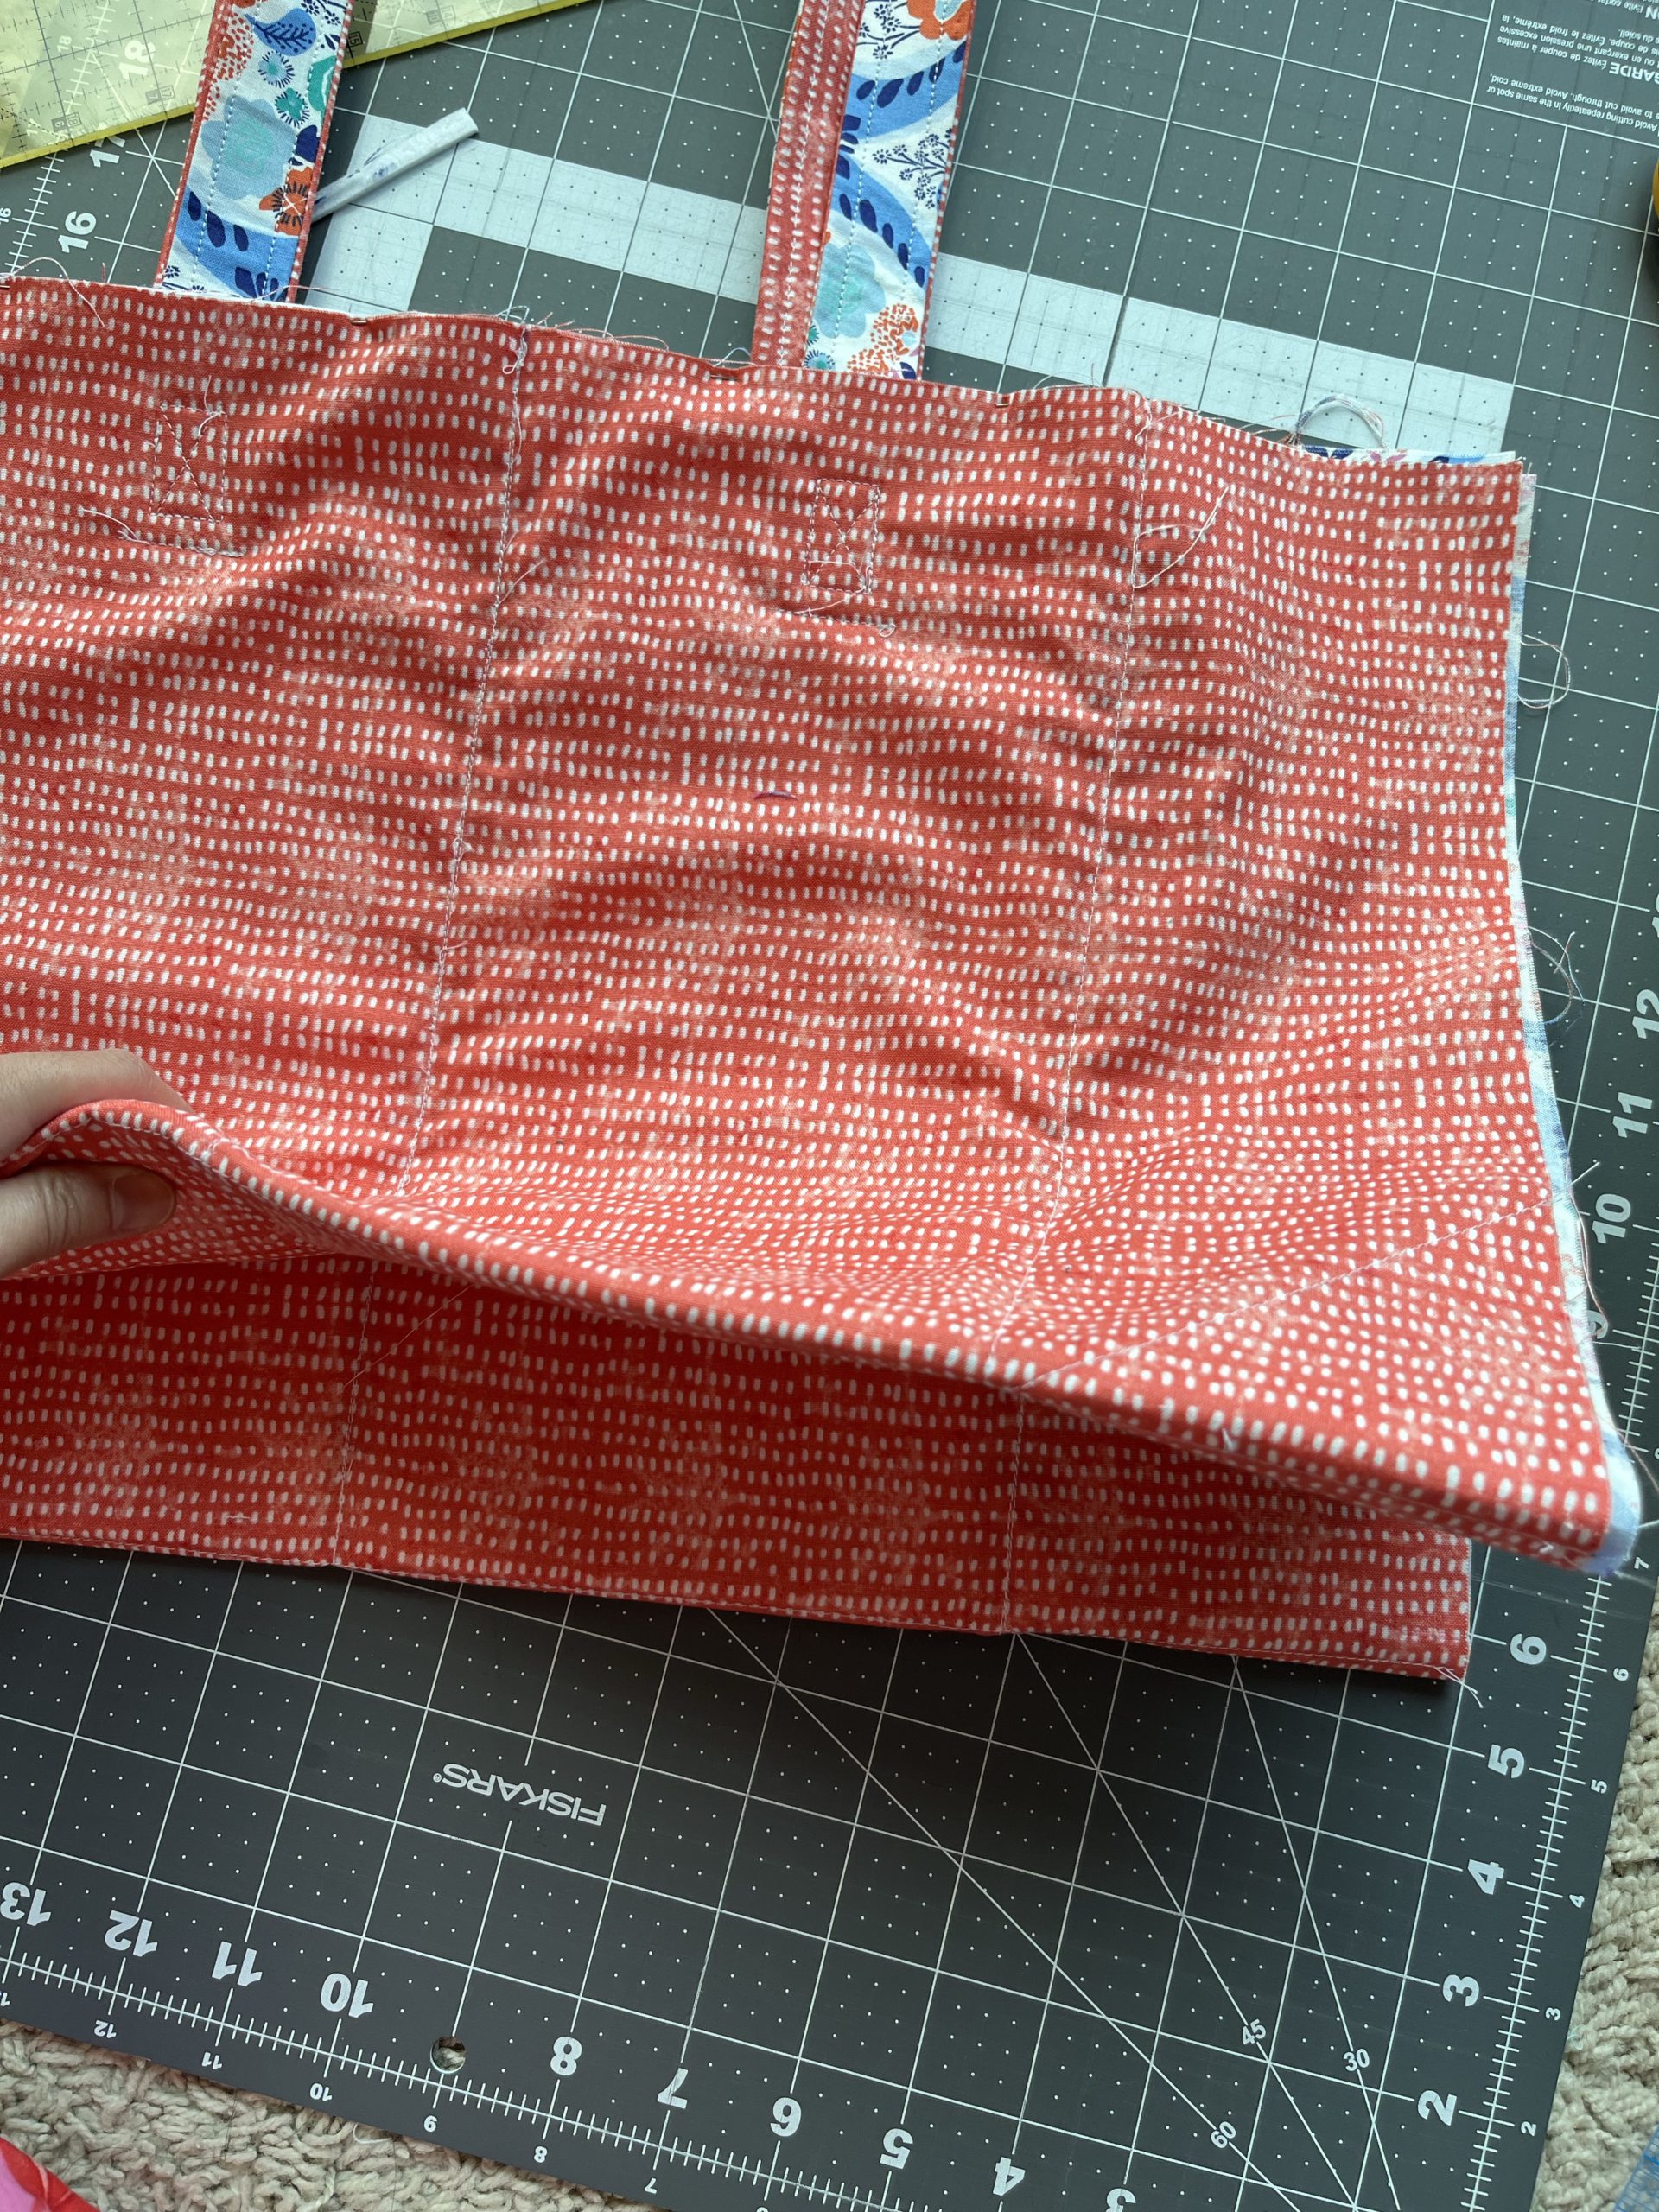
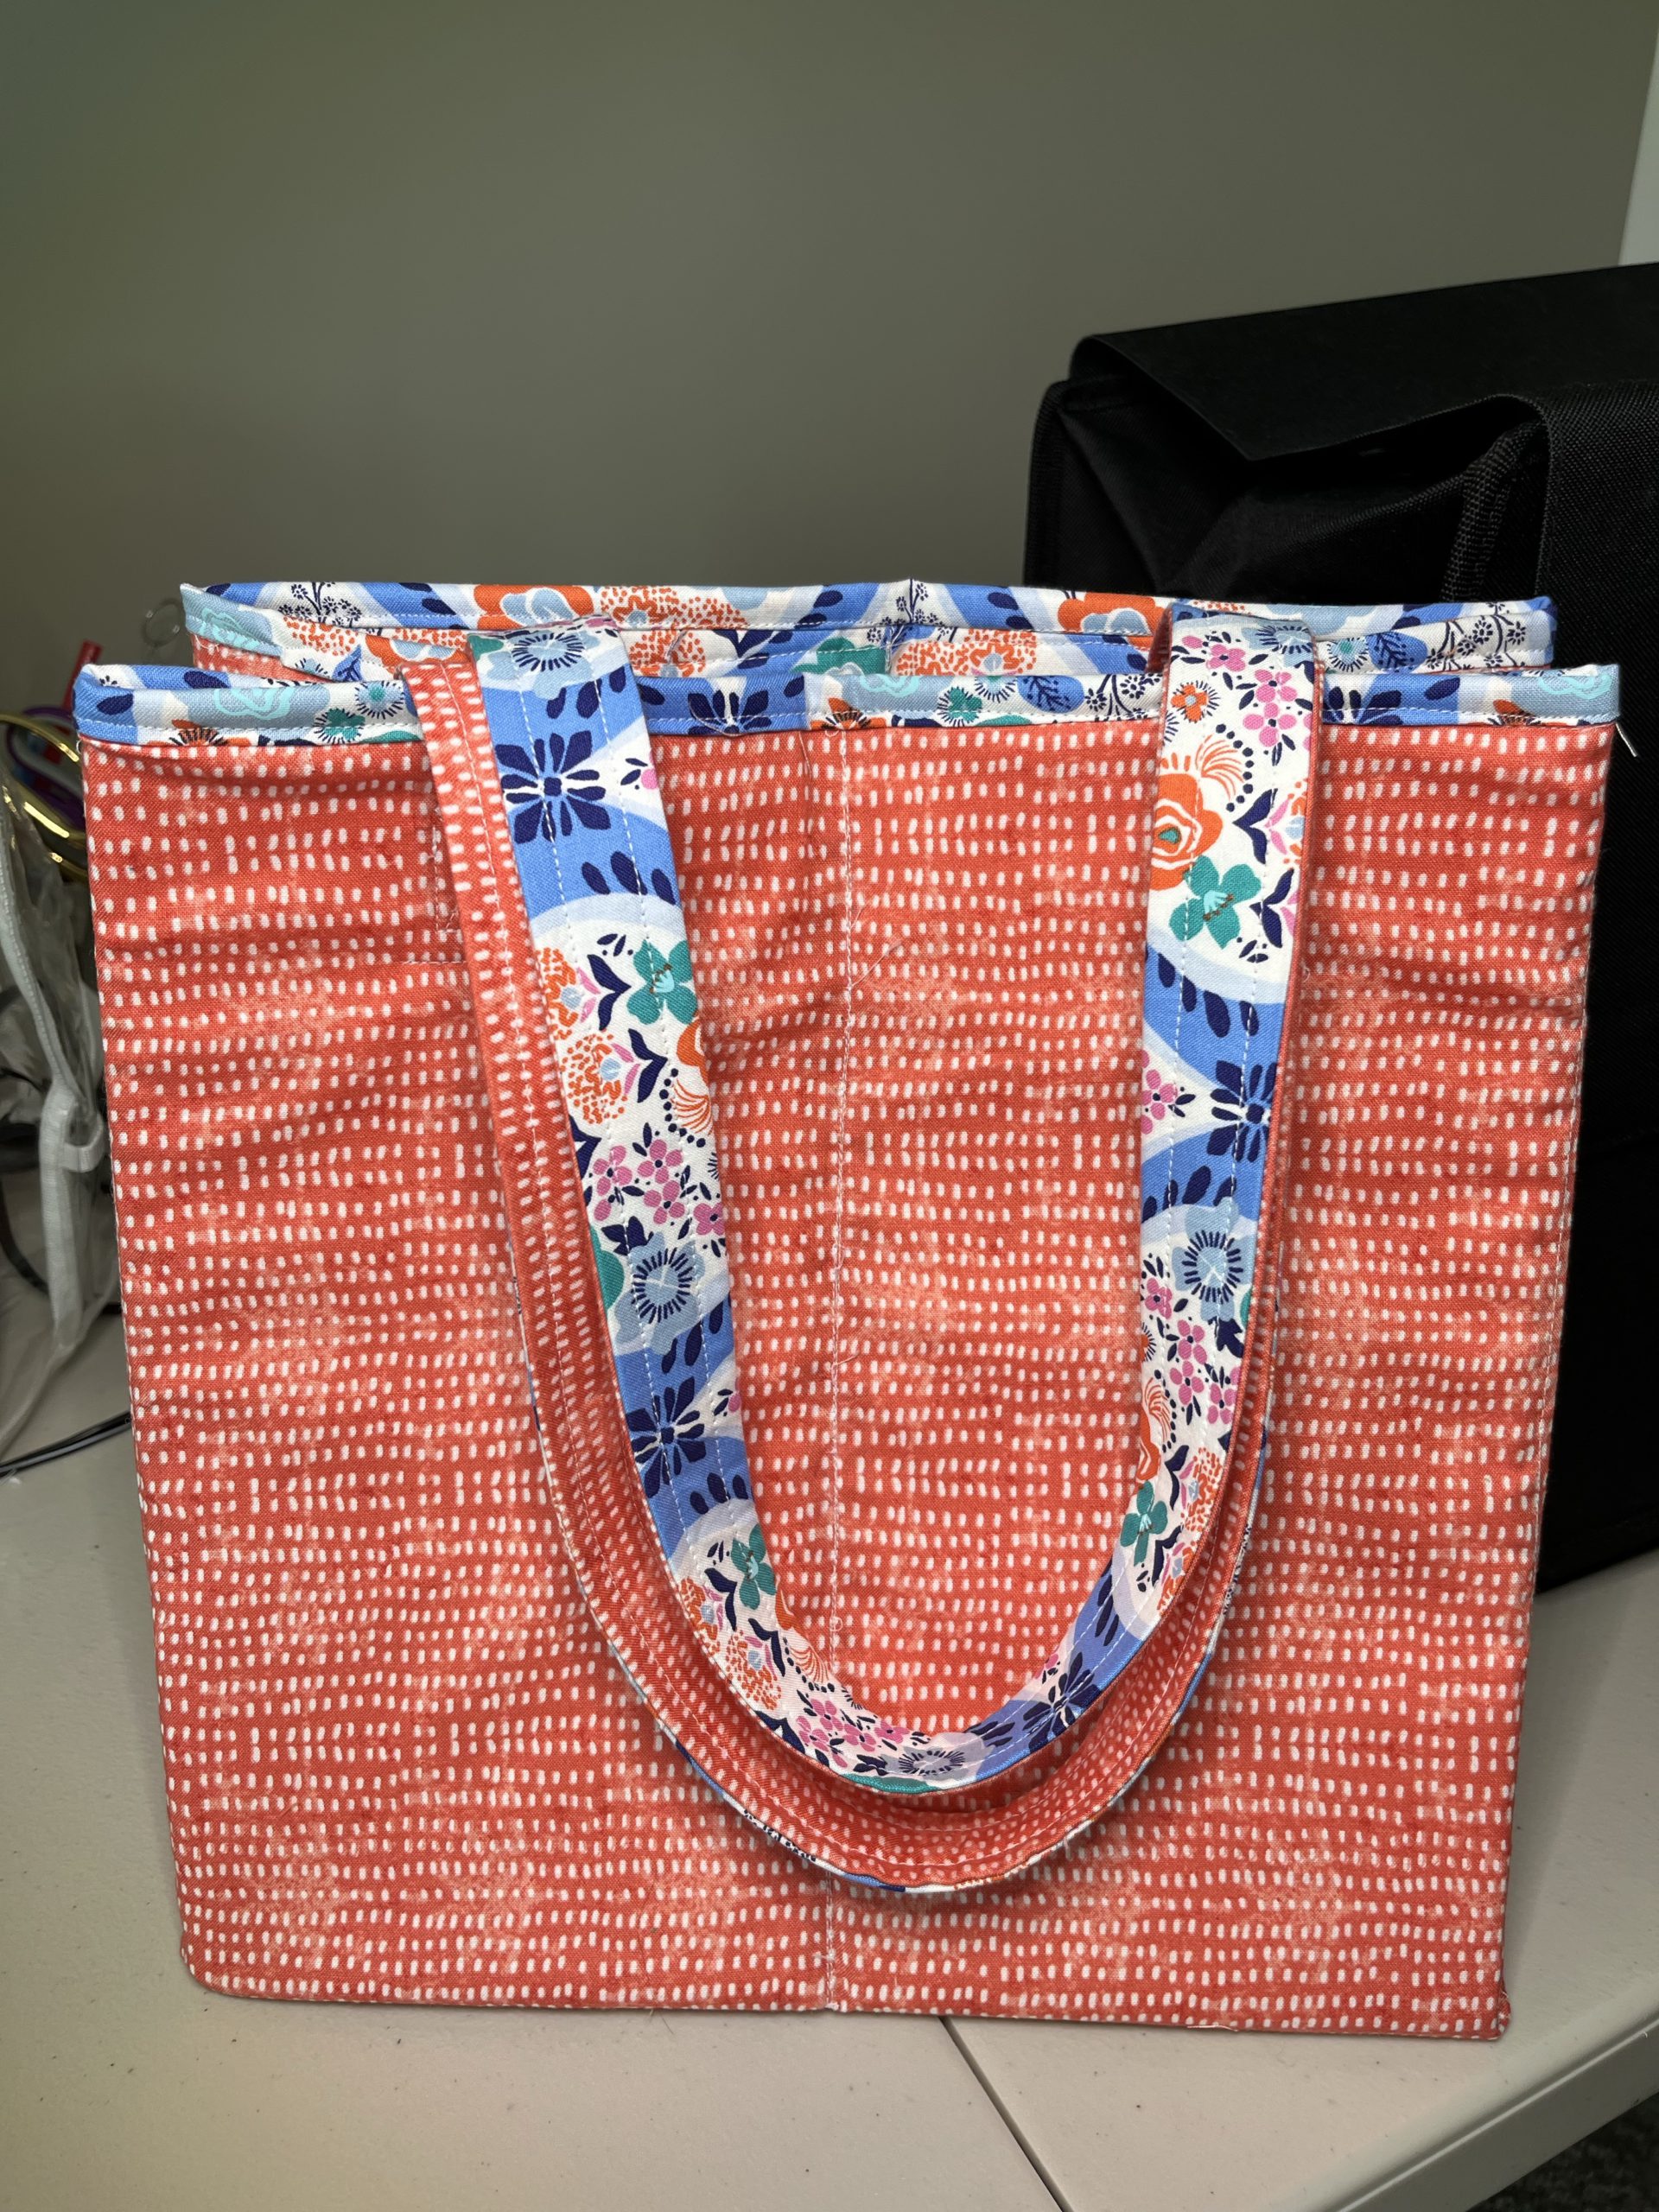
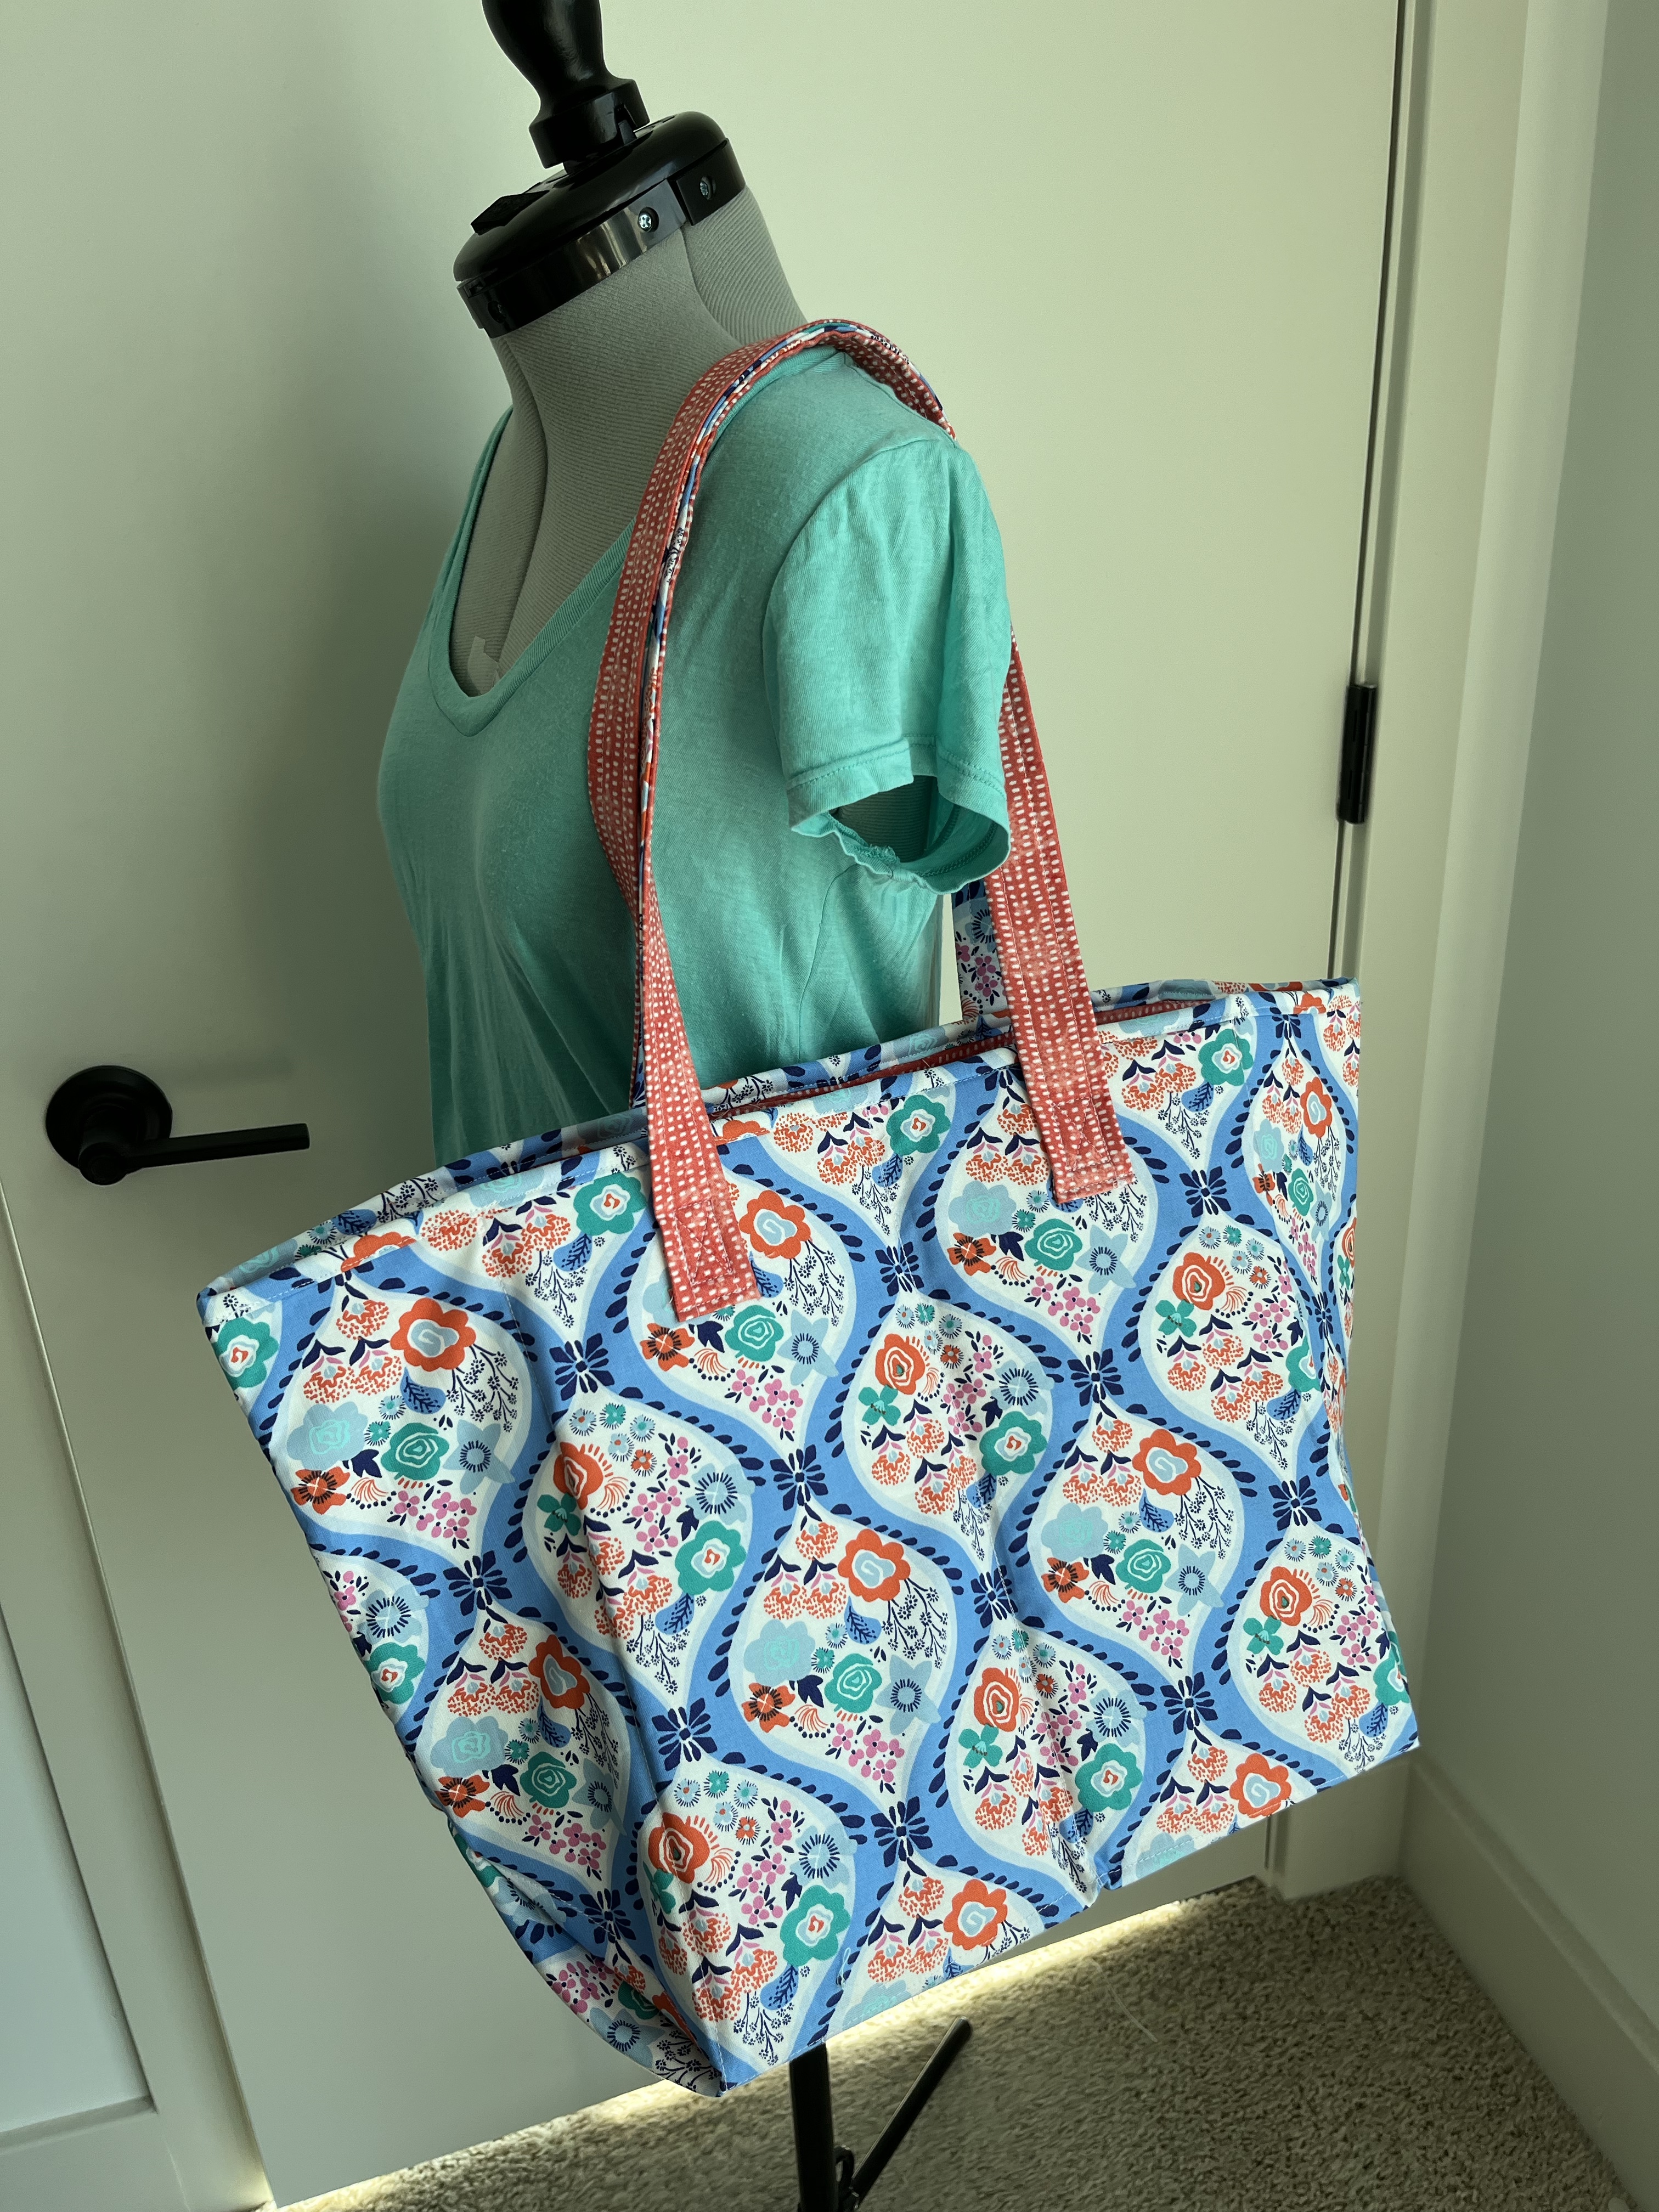
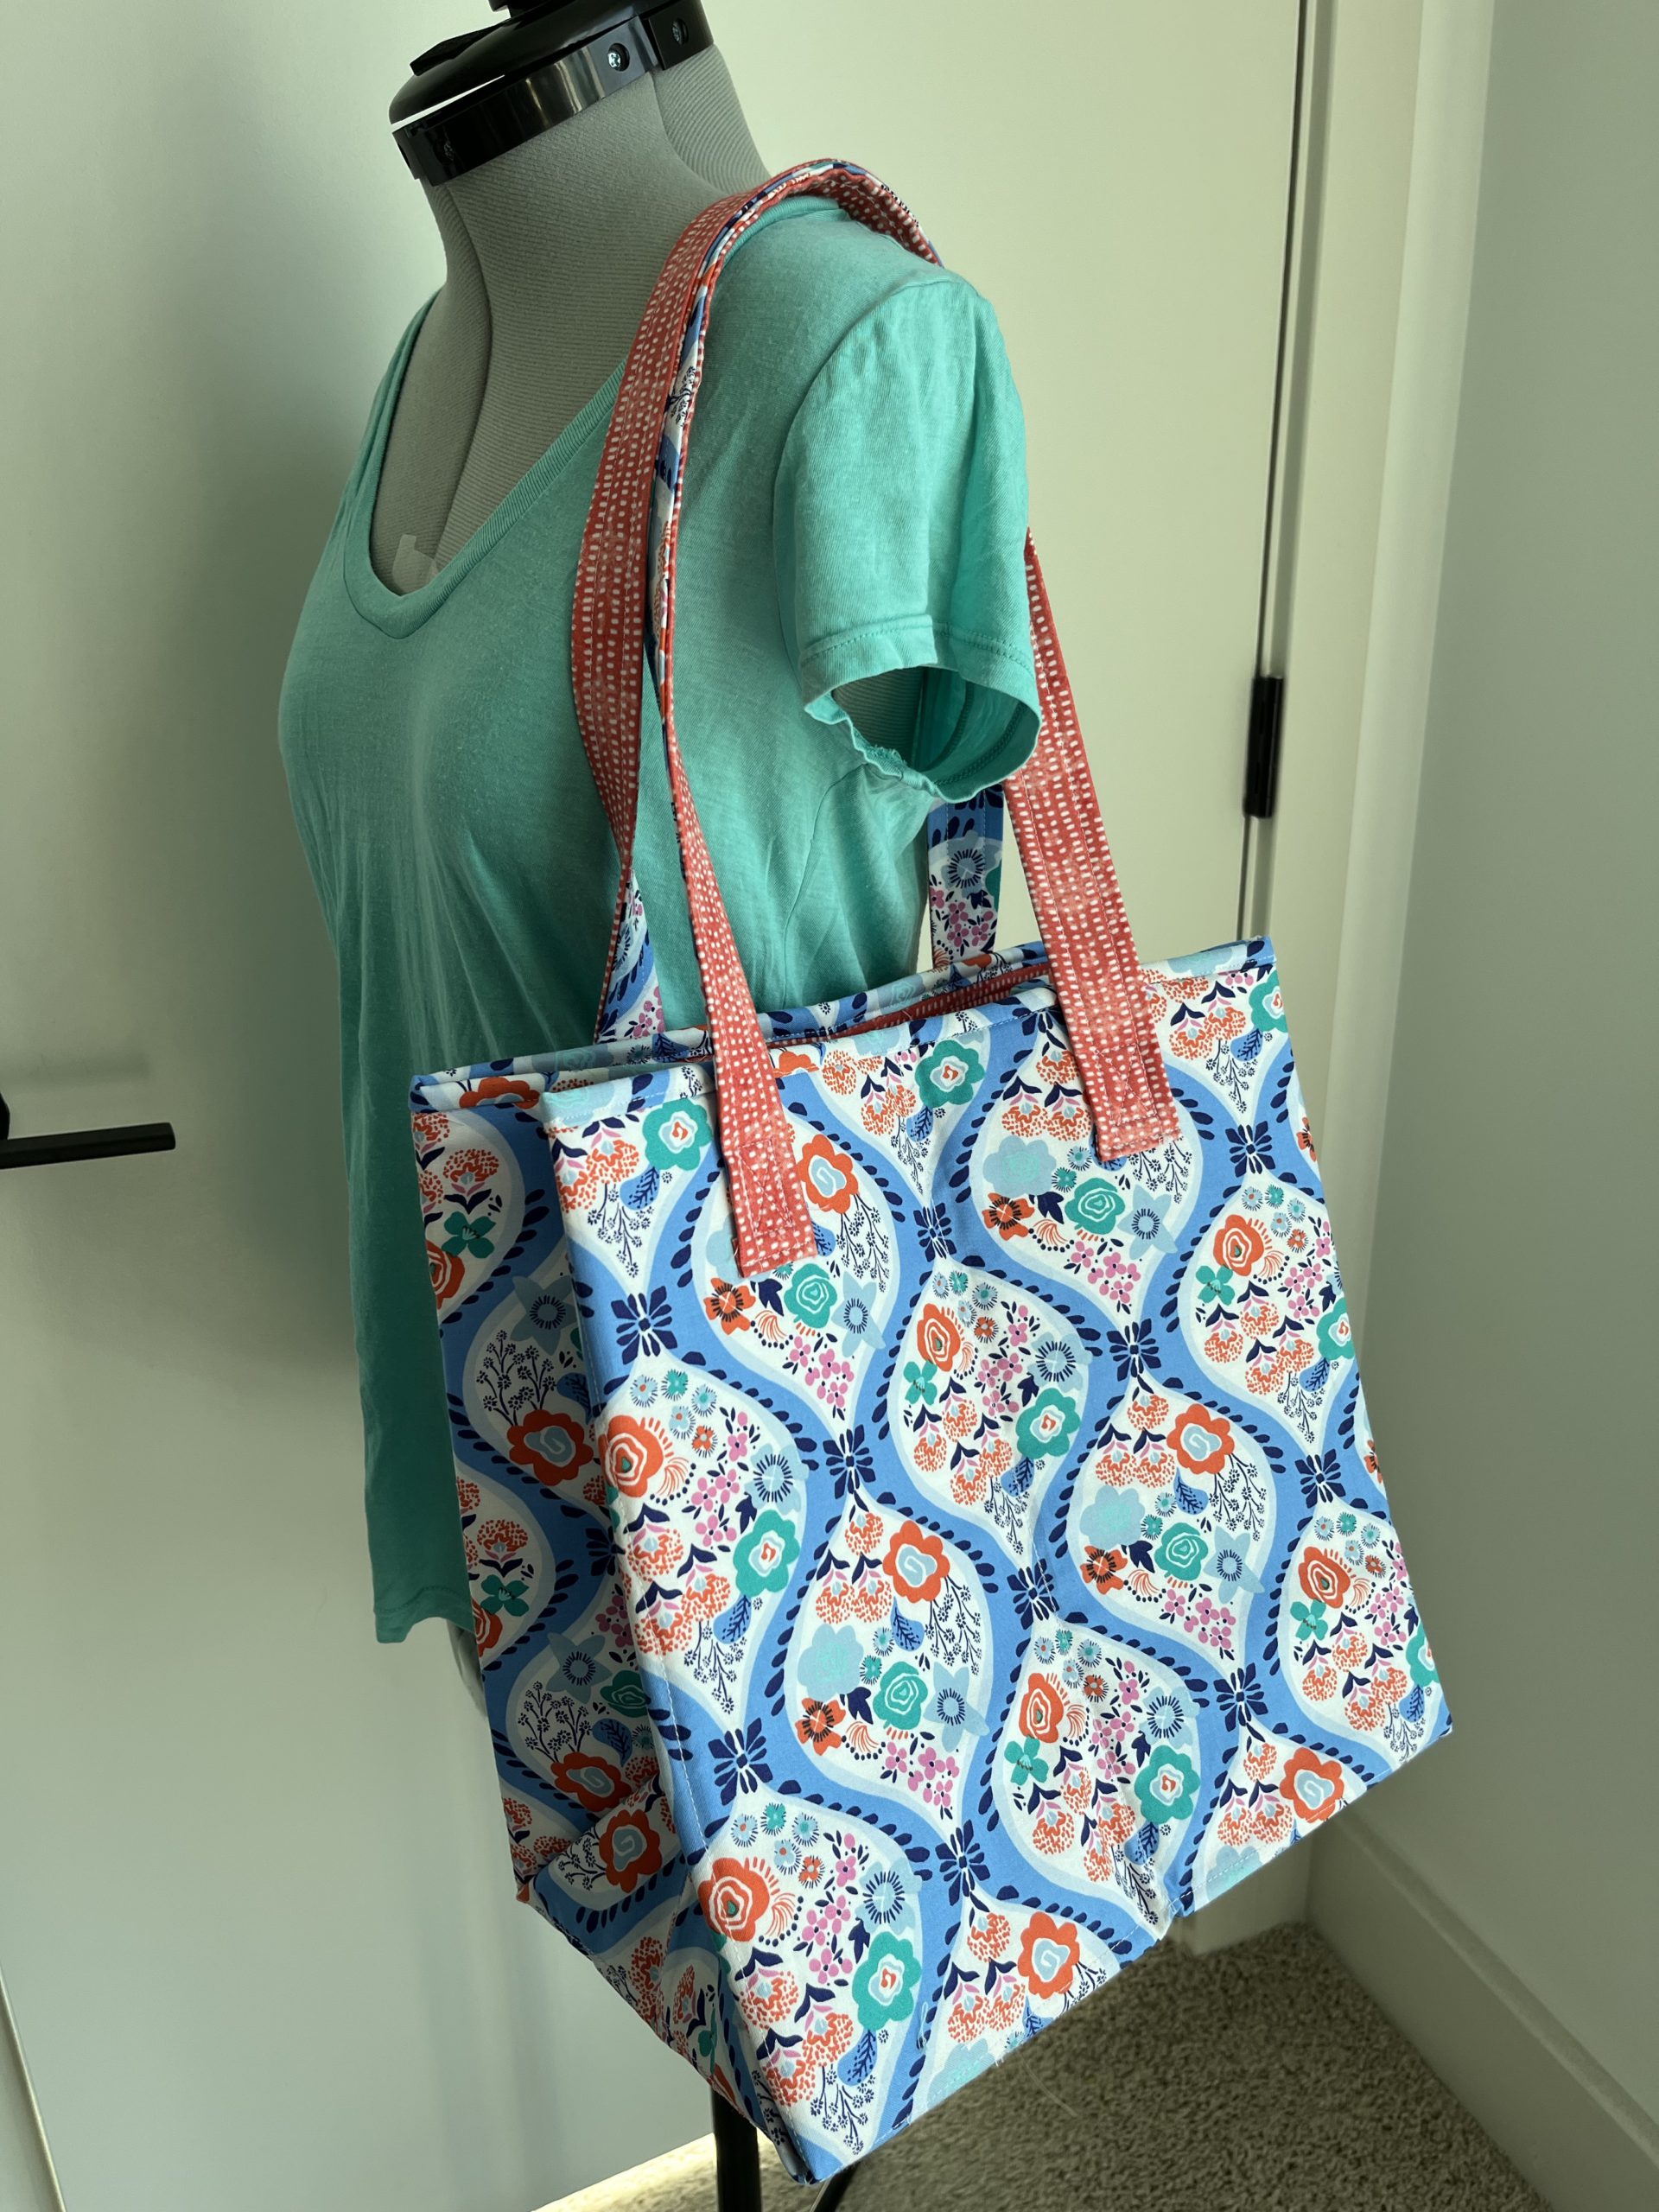
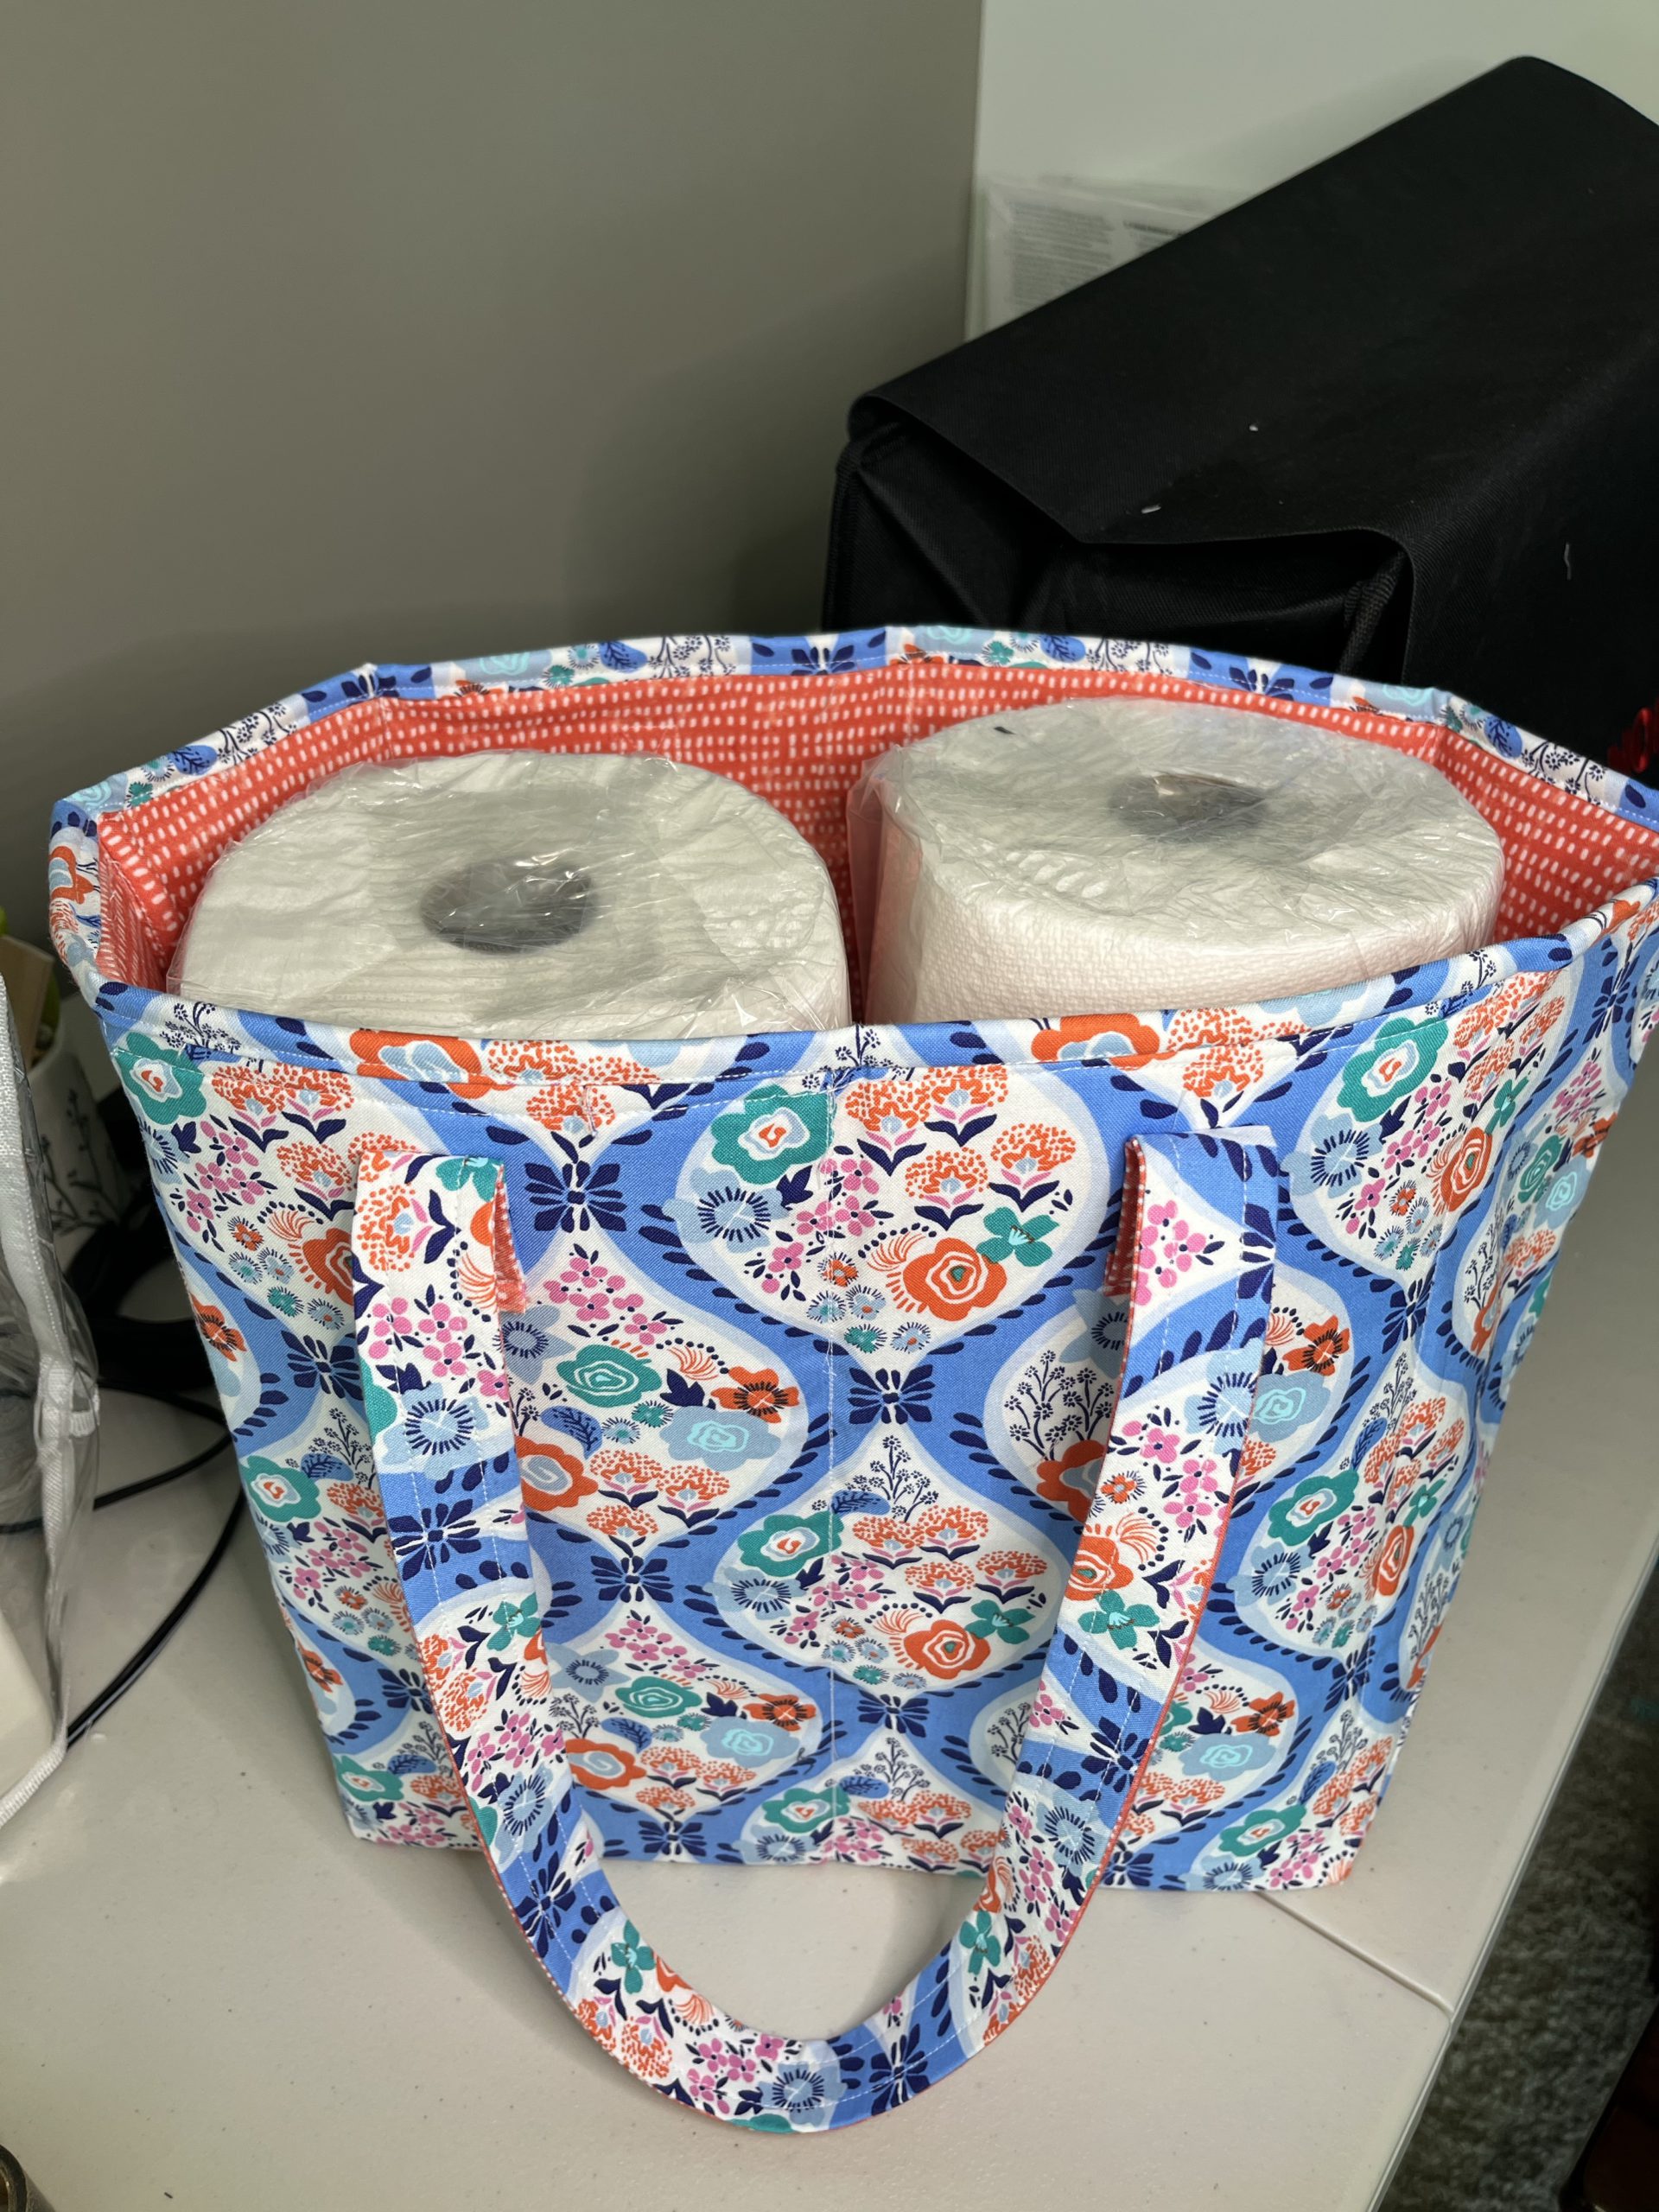
I love how it stands on it’s own- I can’t stand a floppy bag!
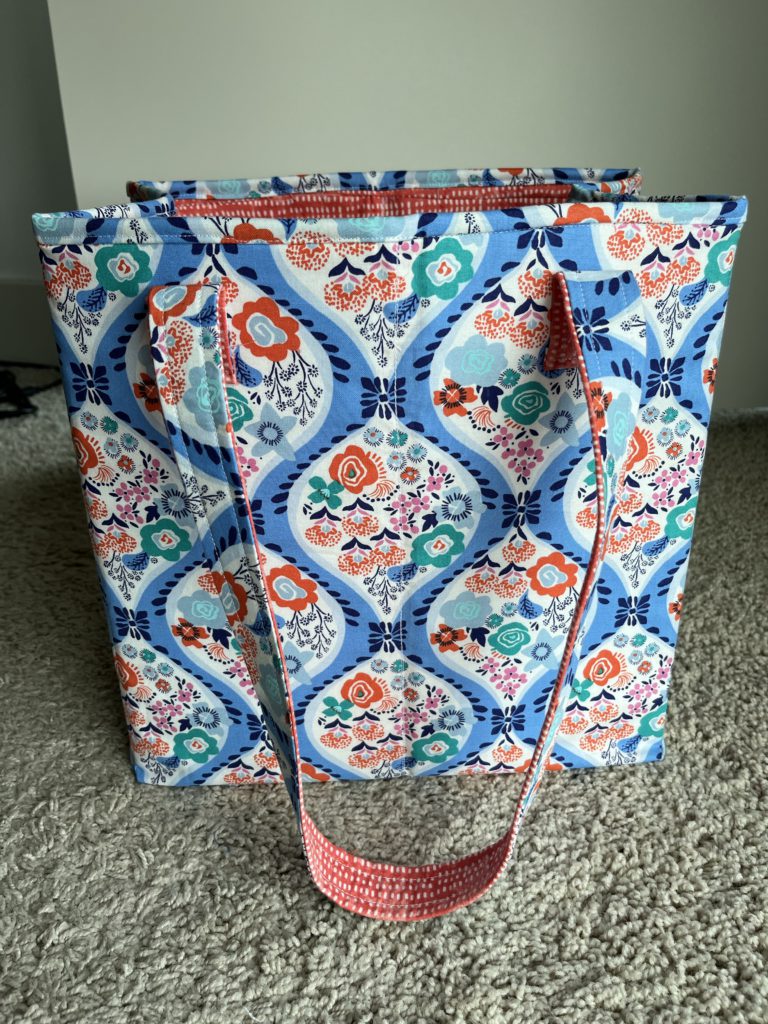
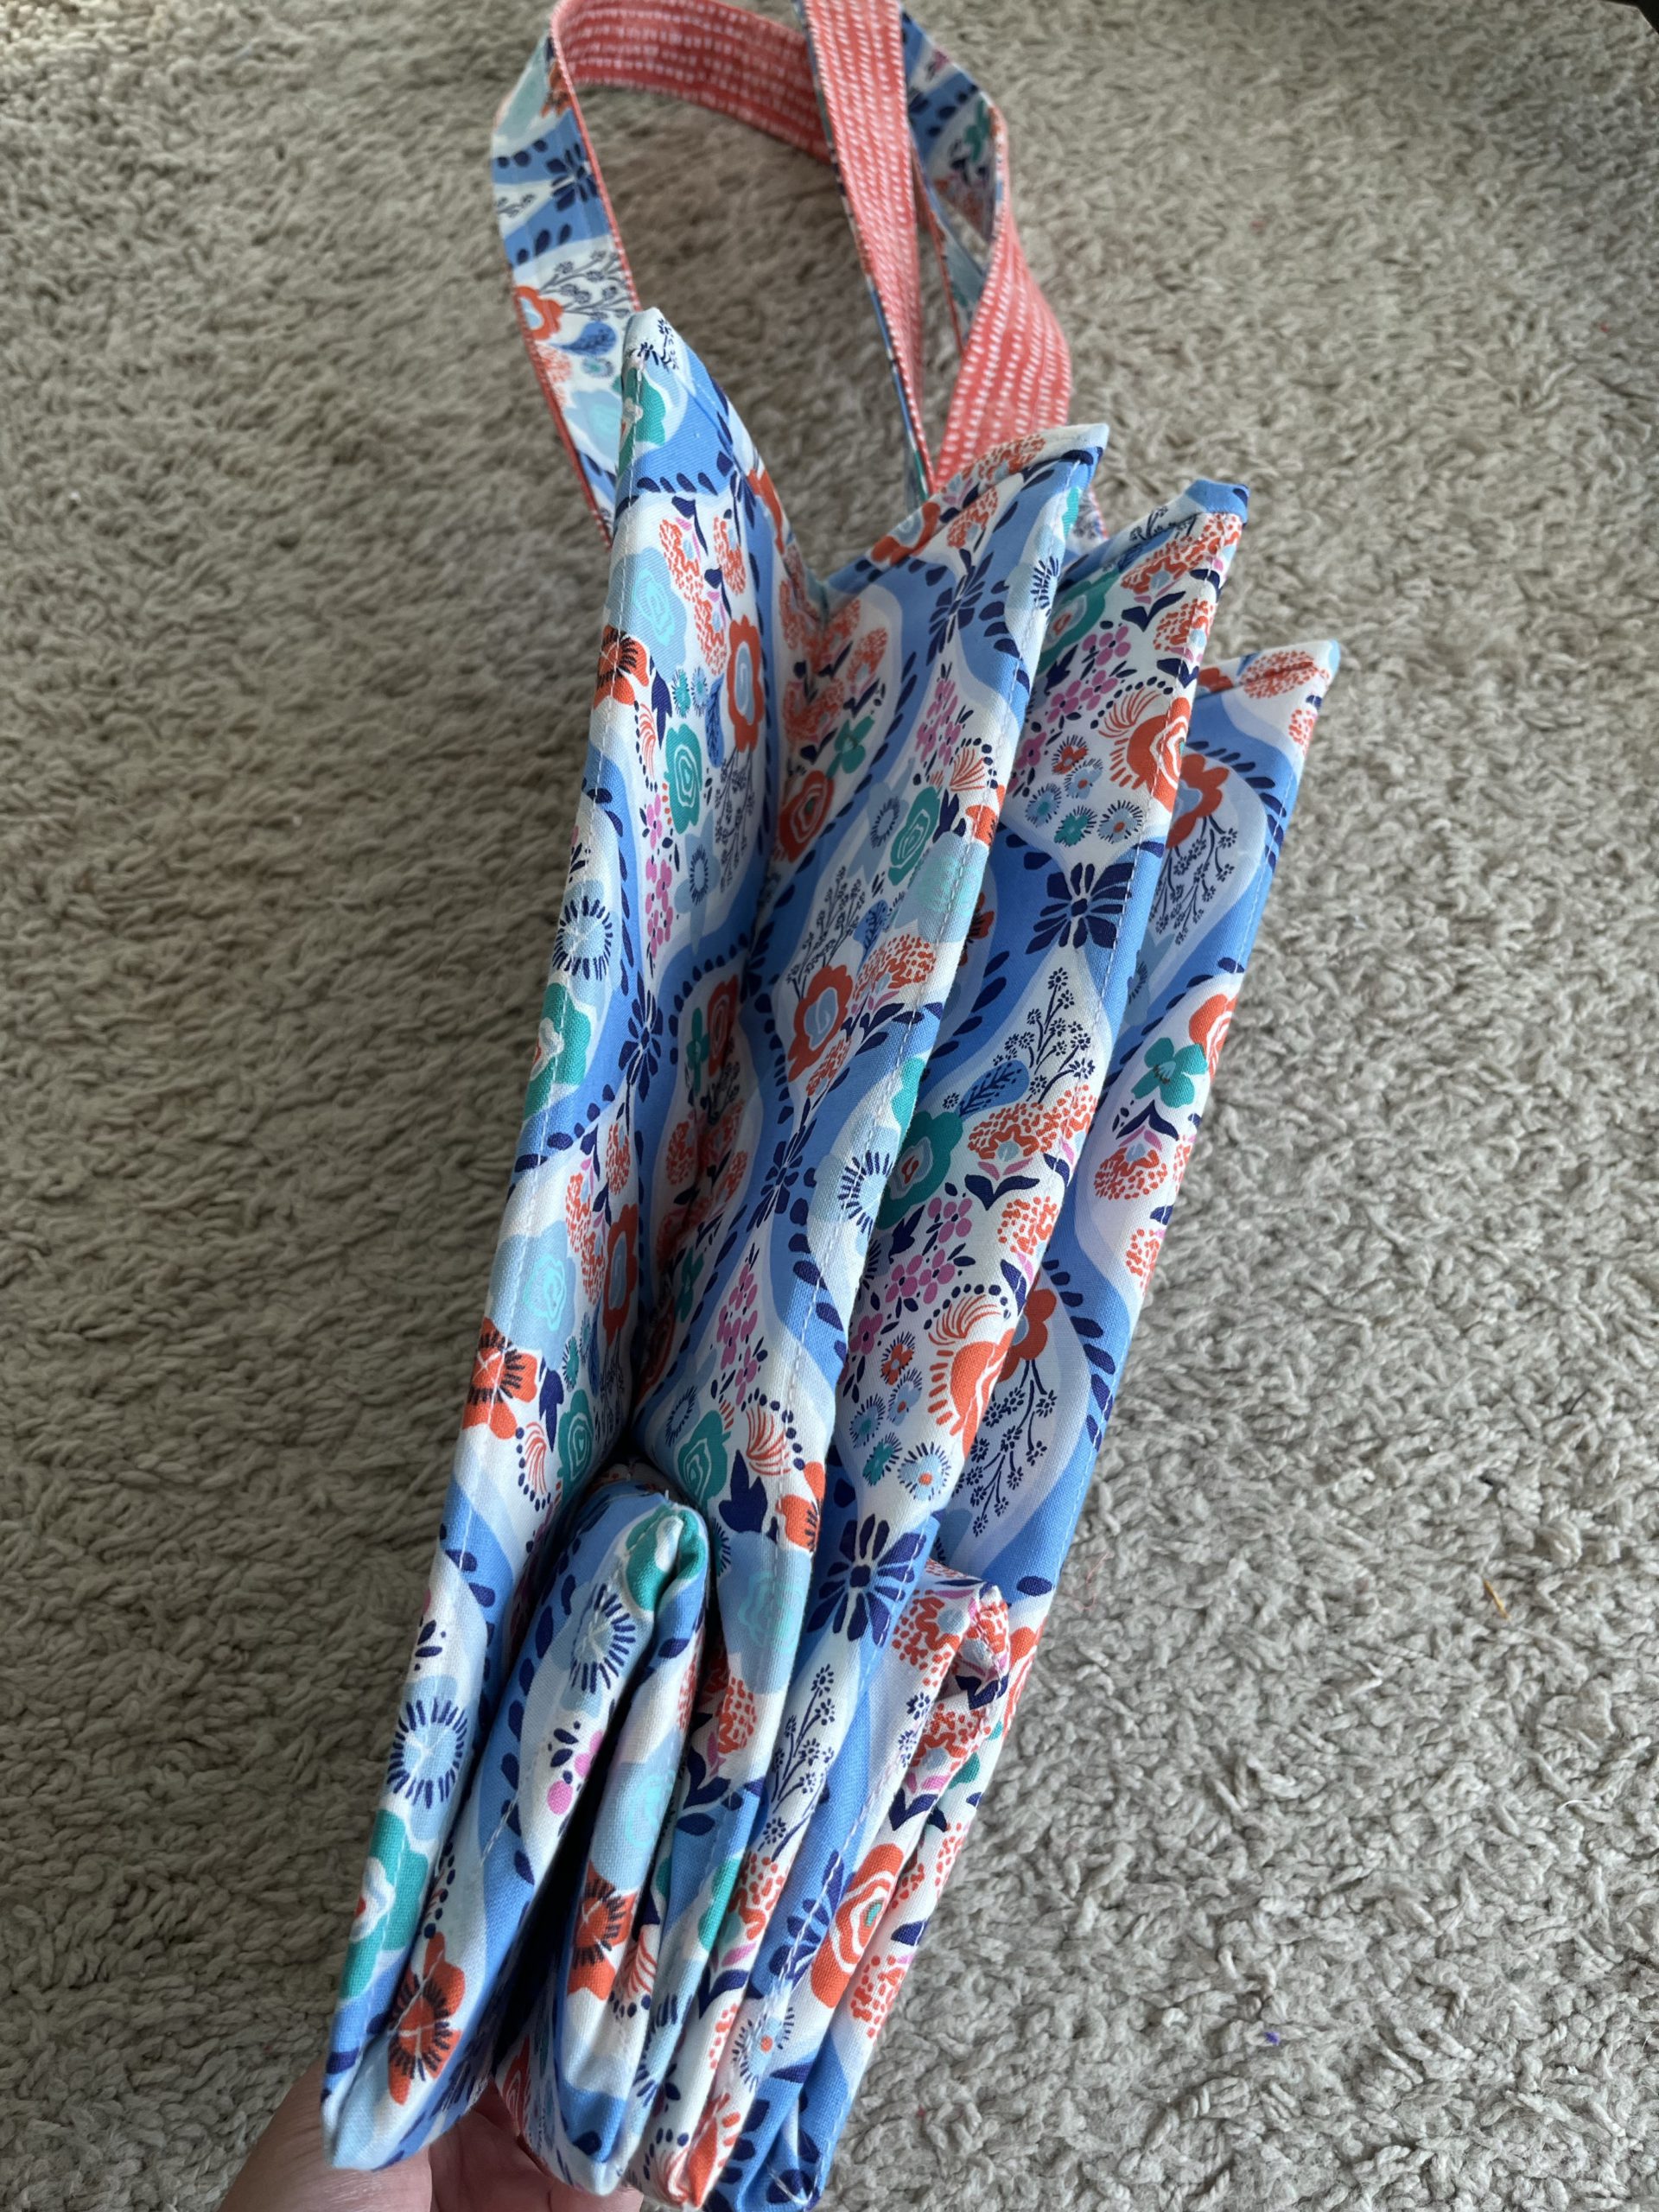
It also folds into itself for easy storage. Hence, “stand and stow.” You can fold it in half, or in fourths. Fancy!
I am thinking this could be pattern hacked with a closure to be like a Le Pilage Longchamp, my all time favorite bag style. It already folds in on the sides, just need to jerry-rigg the middle section. Could be fun to try one day. Yep, add that to the never ending list of “things to sew/try one day”😉
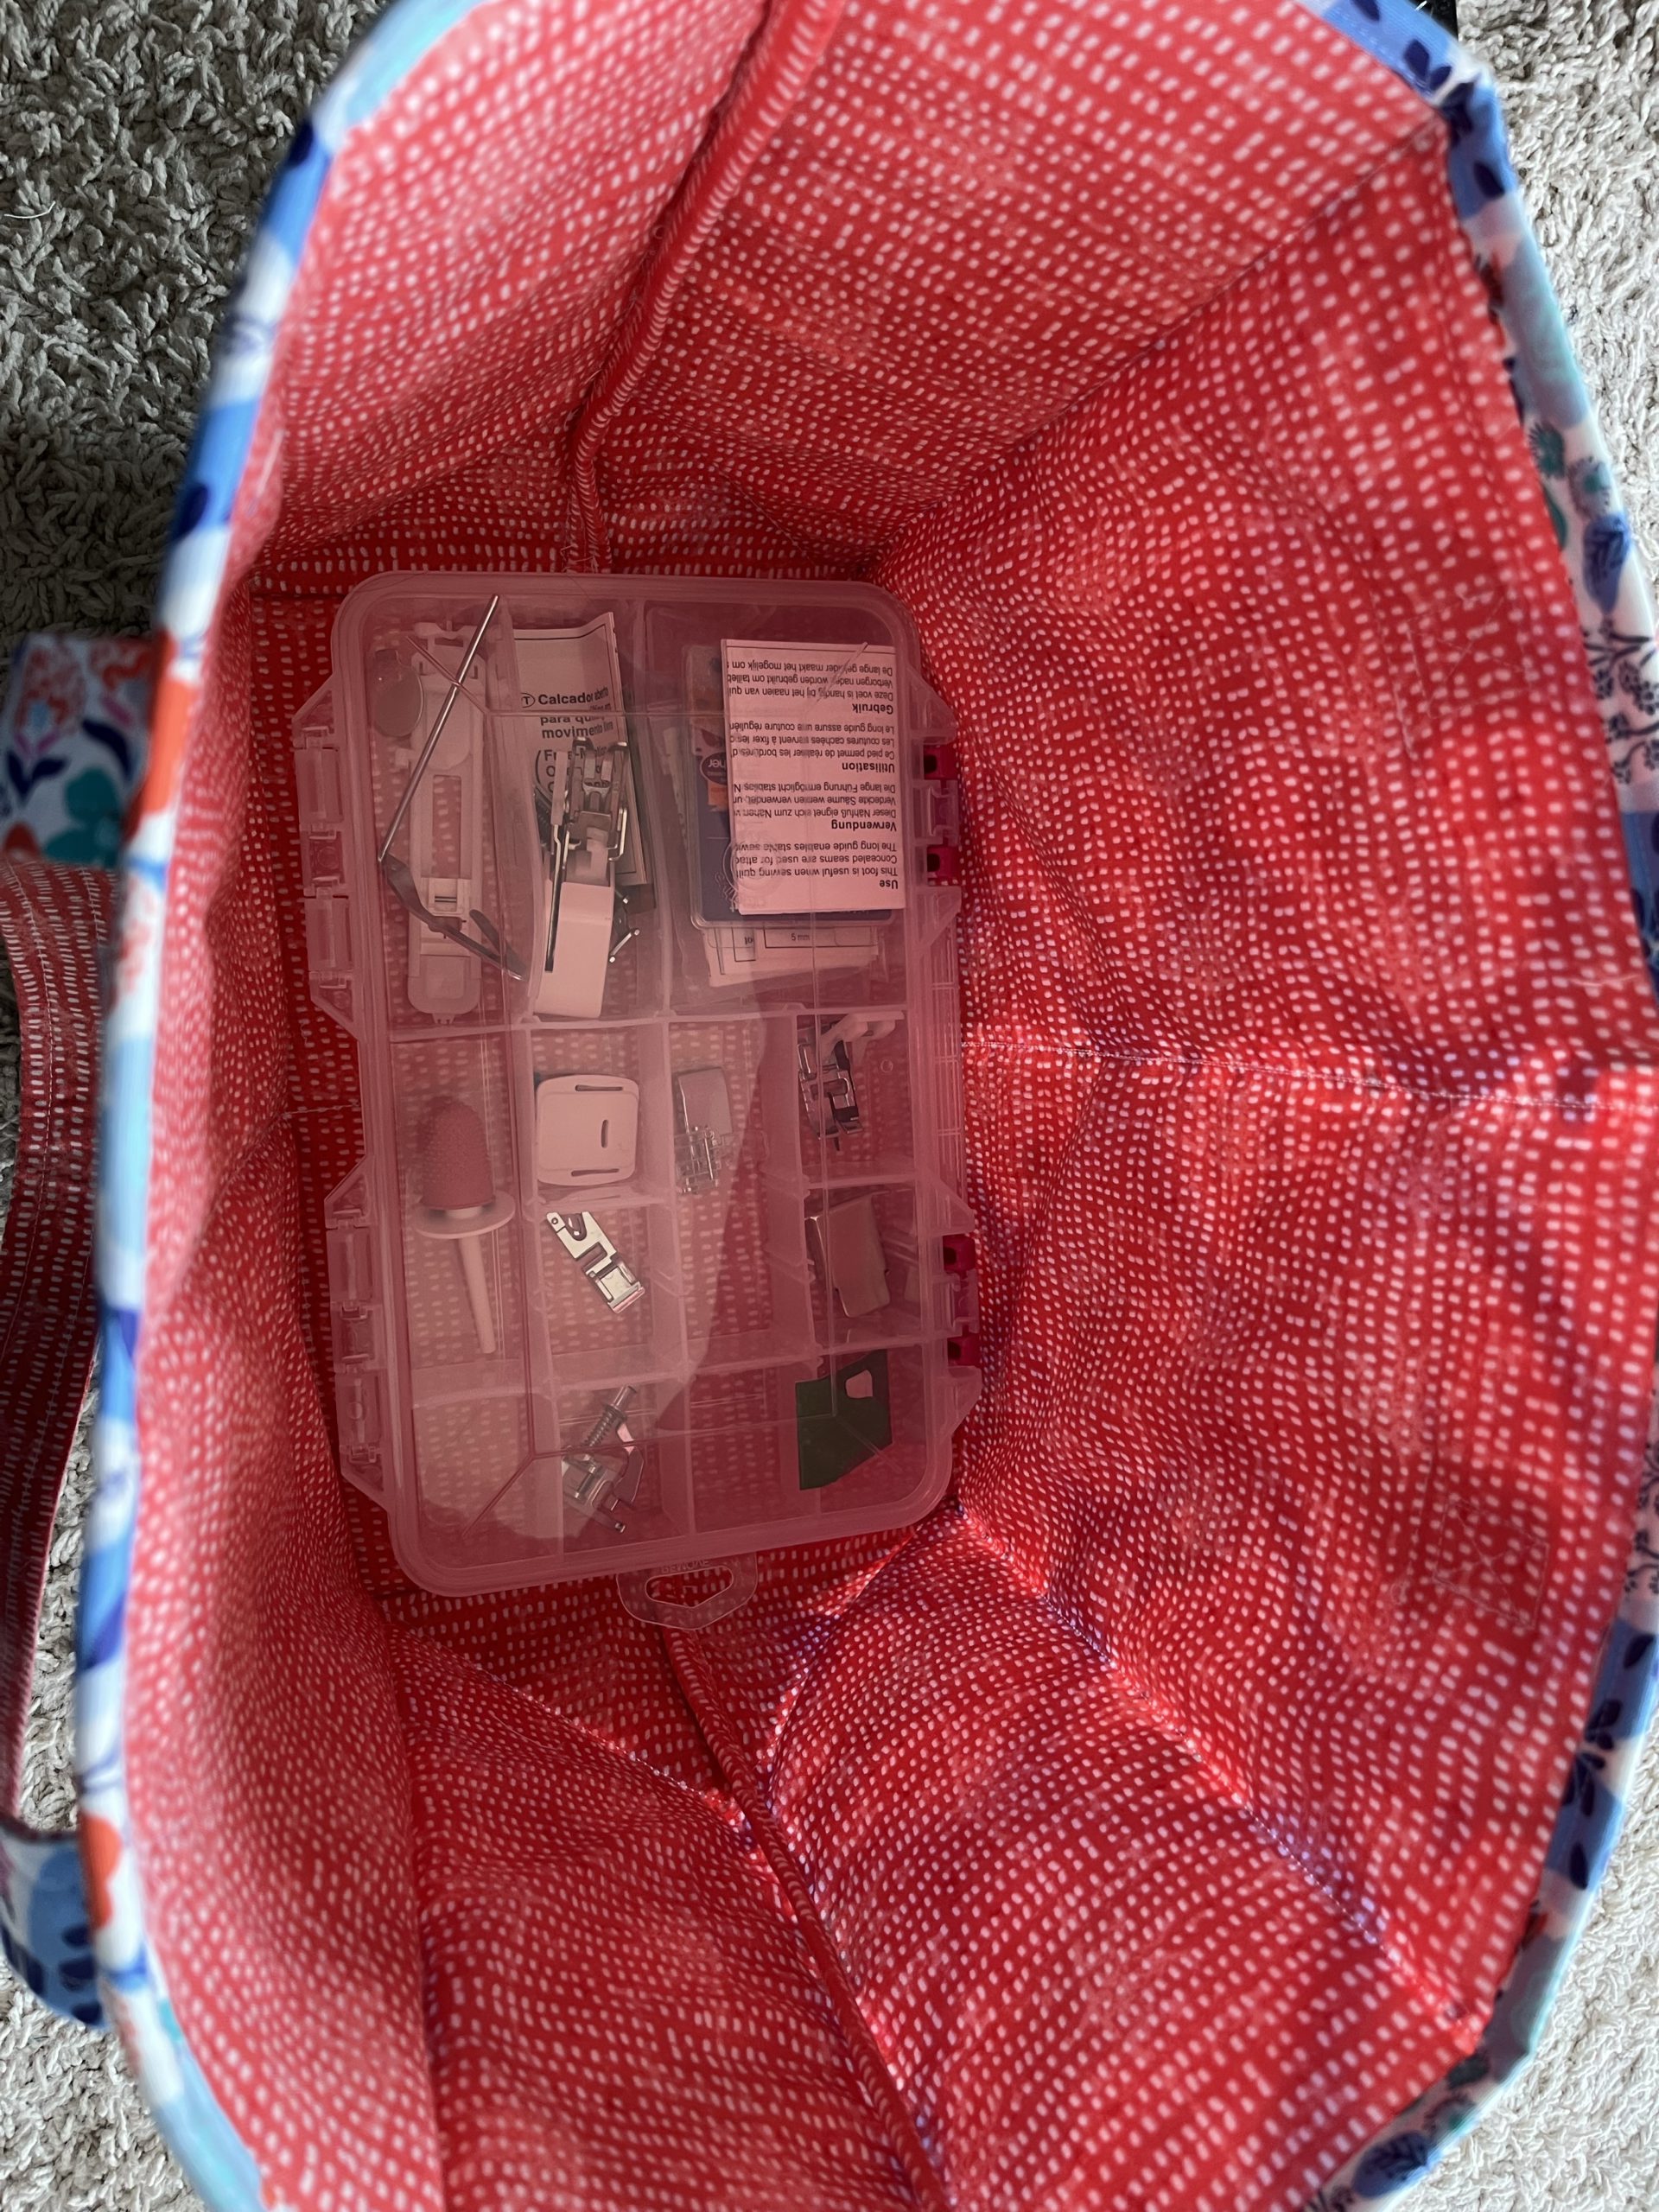
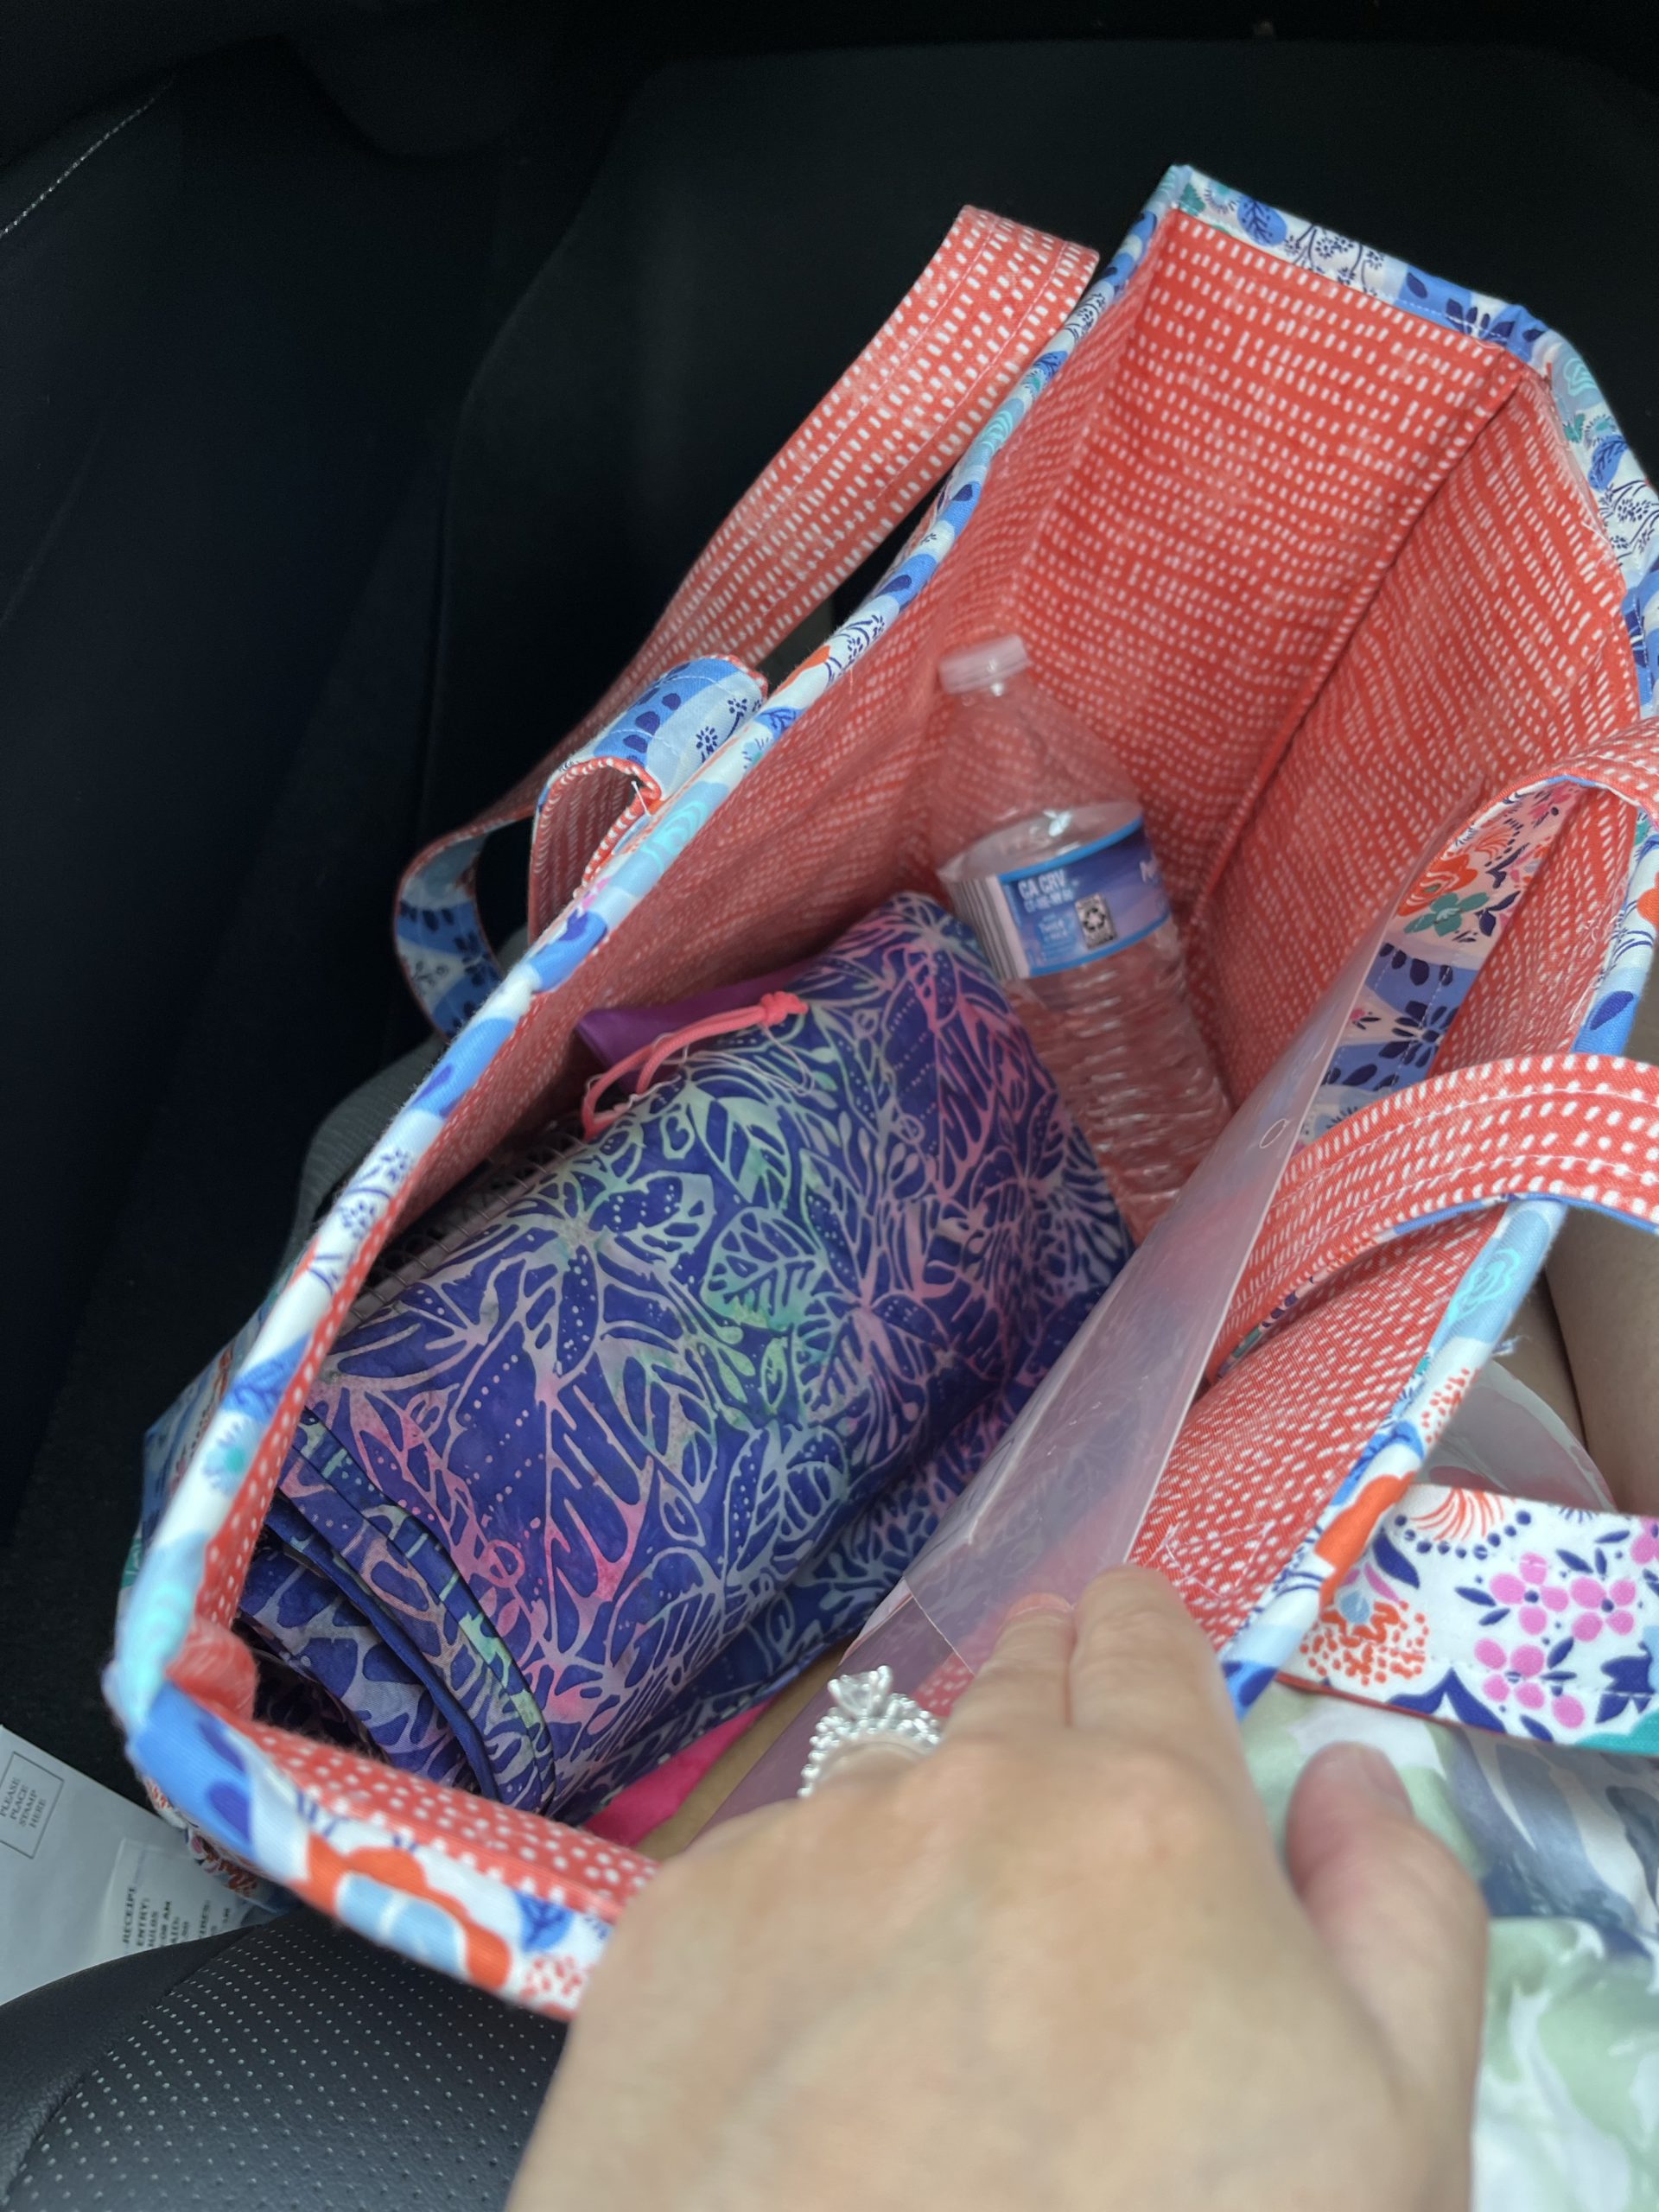
Now for the real scoop. This bag is deep! What fits??
For the sewists: My “Feet box” with lots more room for more supplies, great for traveling to and fro
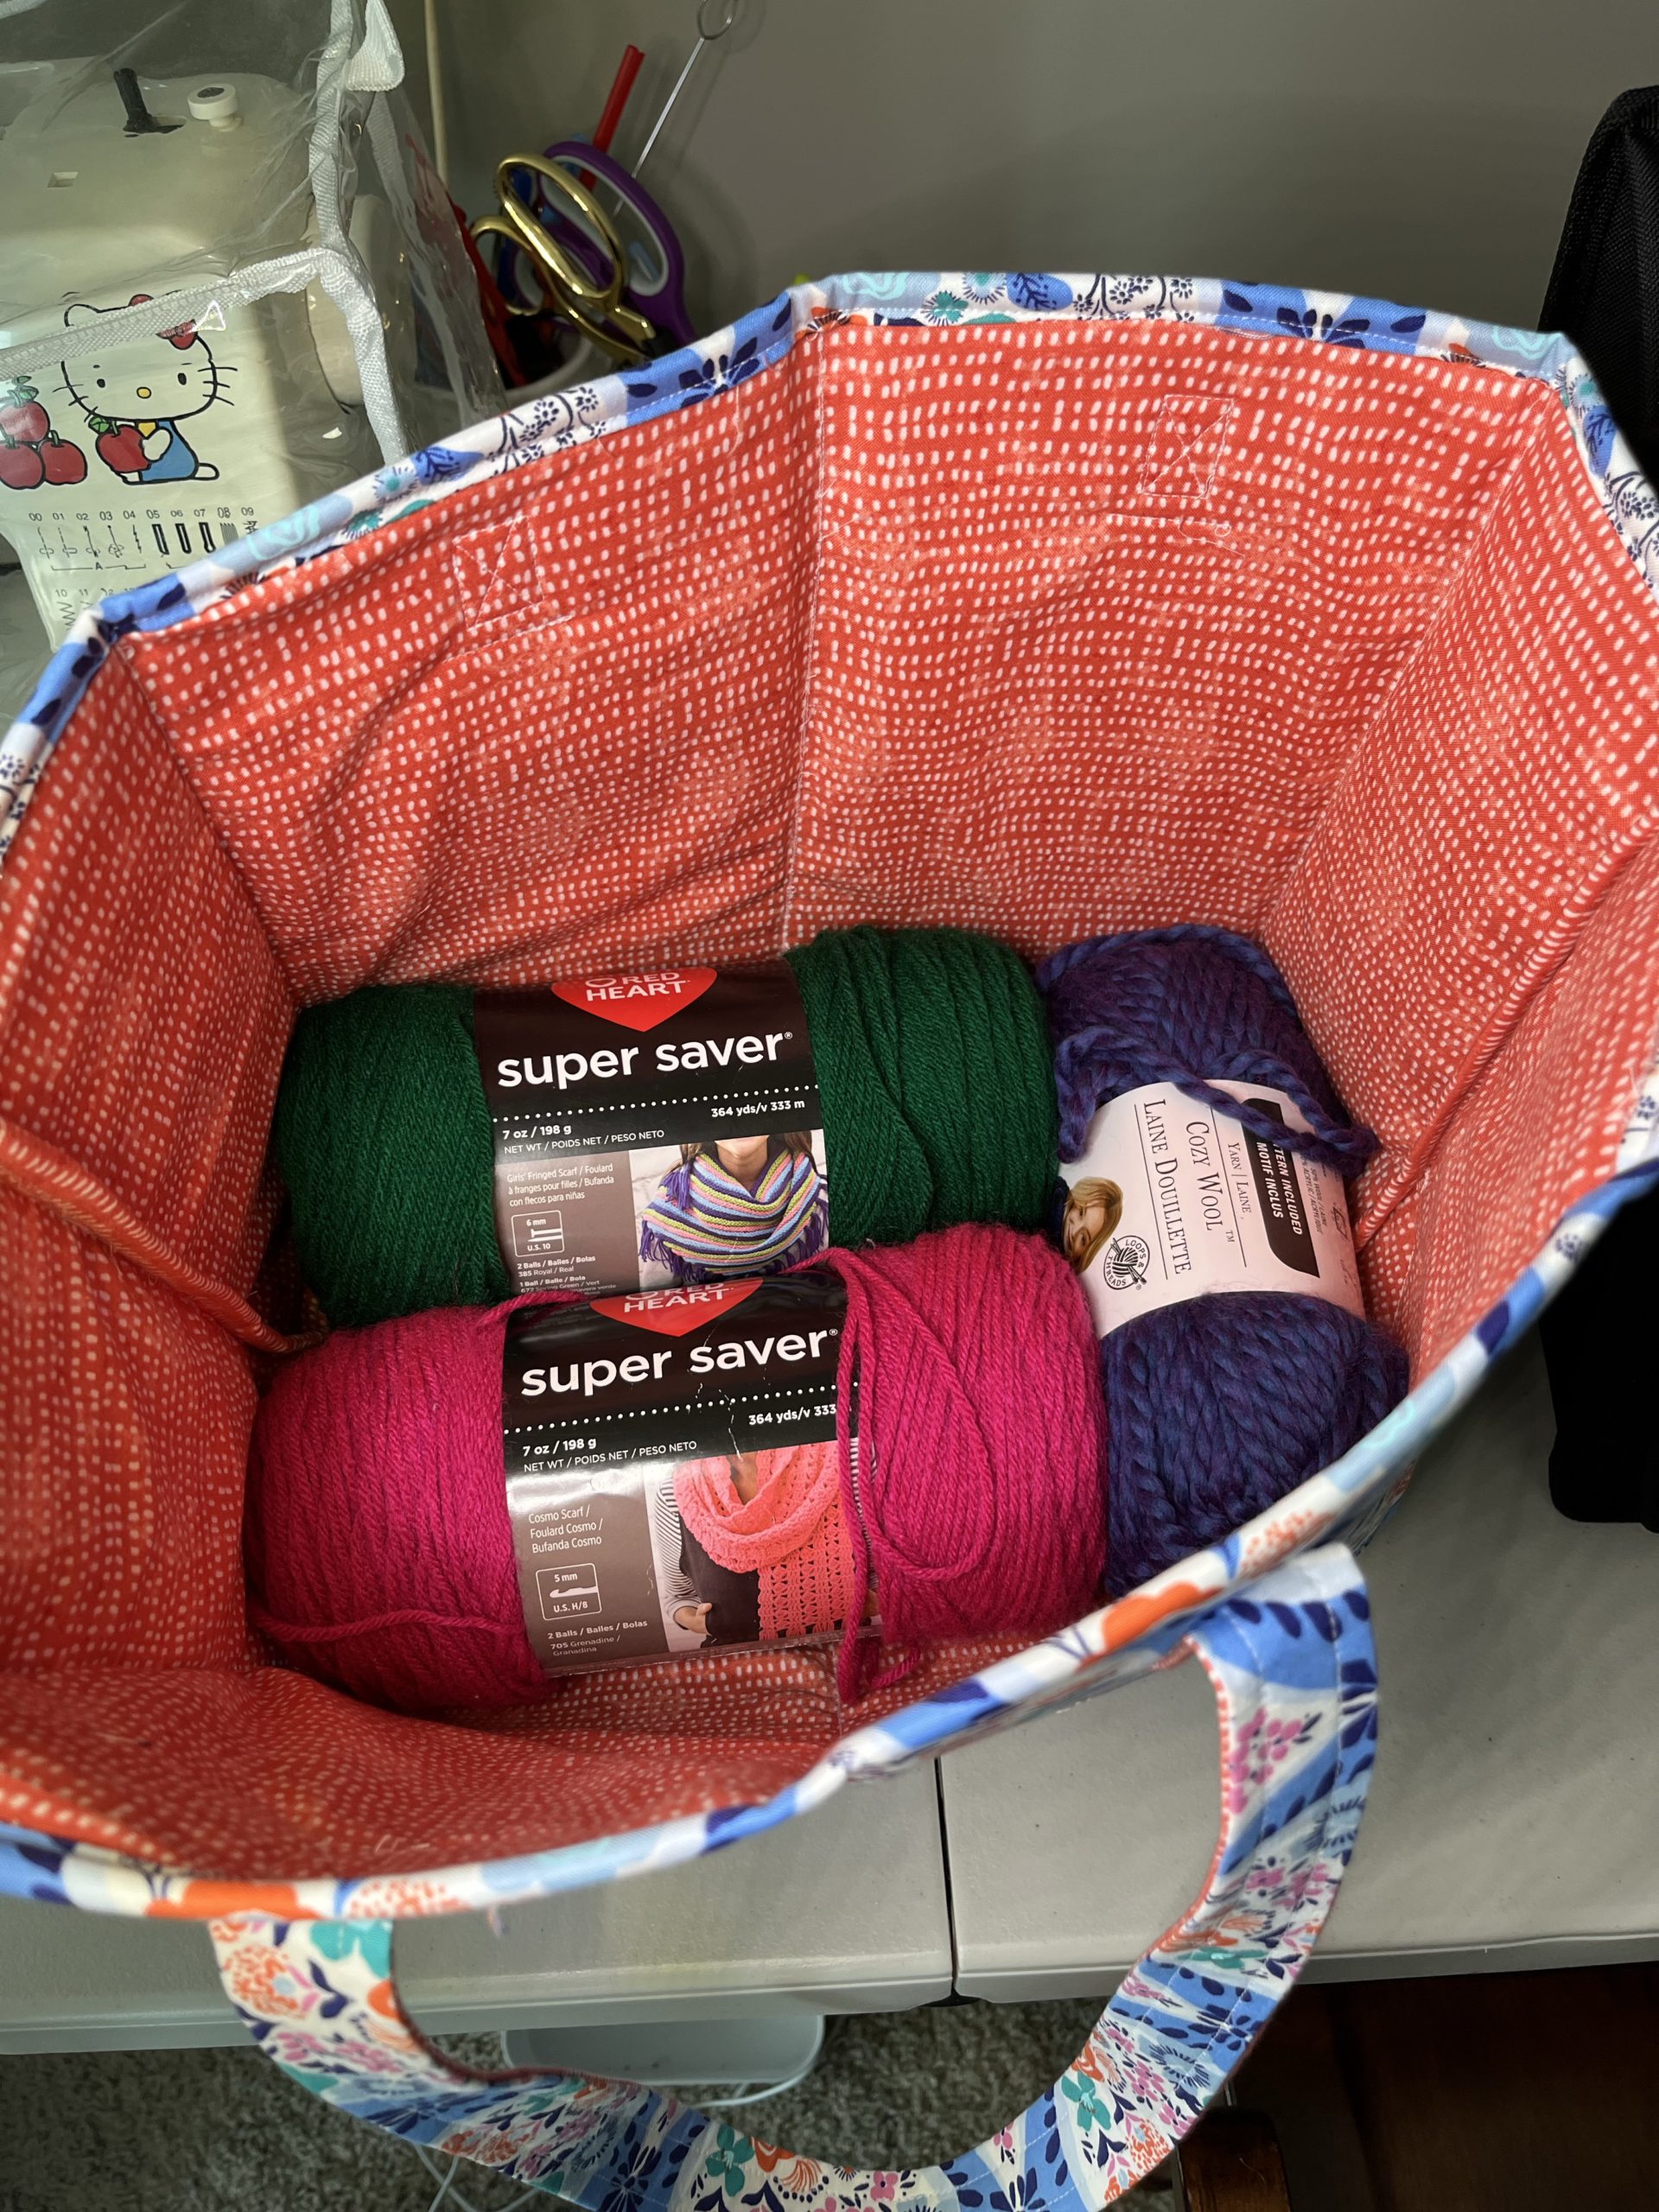
For the knitters/crocheters: 3 skeins of yarn laying down, with lots of room for more
For everyone: 2 standing paper towel rolls
As for me: This is my fabric shopping bag!
Reluctantly, I rated this pattern 4 out of 5 on Pattern Review. https://sewing.patternreview.com/review/pattern/190860
This had so much potential to be a 5 star pattern. My rating is purely based on how some of the steps are written. The design itself is fantastic. This pattern is SO much better than your regular flat tote bag!
As for a 2 hour make? Maybe not the first time around, especially with those instructions.