Santa’s Workshop 2021: By Annie Easy Does It Bag
Y’all. I’m so impressed with this bag. It stands up on its own, the raw edges are bound and the directions were easy to follow. This could be the be all end all for me as far as bag/pouches go!
I’ve been intimidated by ByAnnie bags since the directions have a lot of steps and it can be overwhelming. But I finally sat down to make one and I couldn’t be more pleased. The Easy Does It Bag uses all the same techniques to make her other patterns too, so if you can make one of these you can handle the rest of them! I am definitely hooked and will sew other patterns for sure.
This Easy Does It Bag can be found FREE on her website along with FREE add-on videos. I mean, who doesn’t like FREE??! (I swear this is the gateway/enabler to get you to make more, haha!)
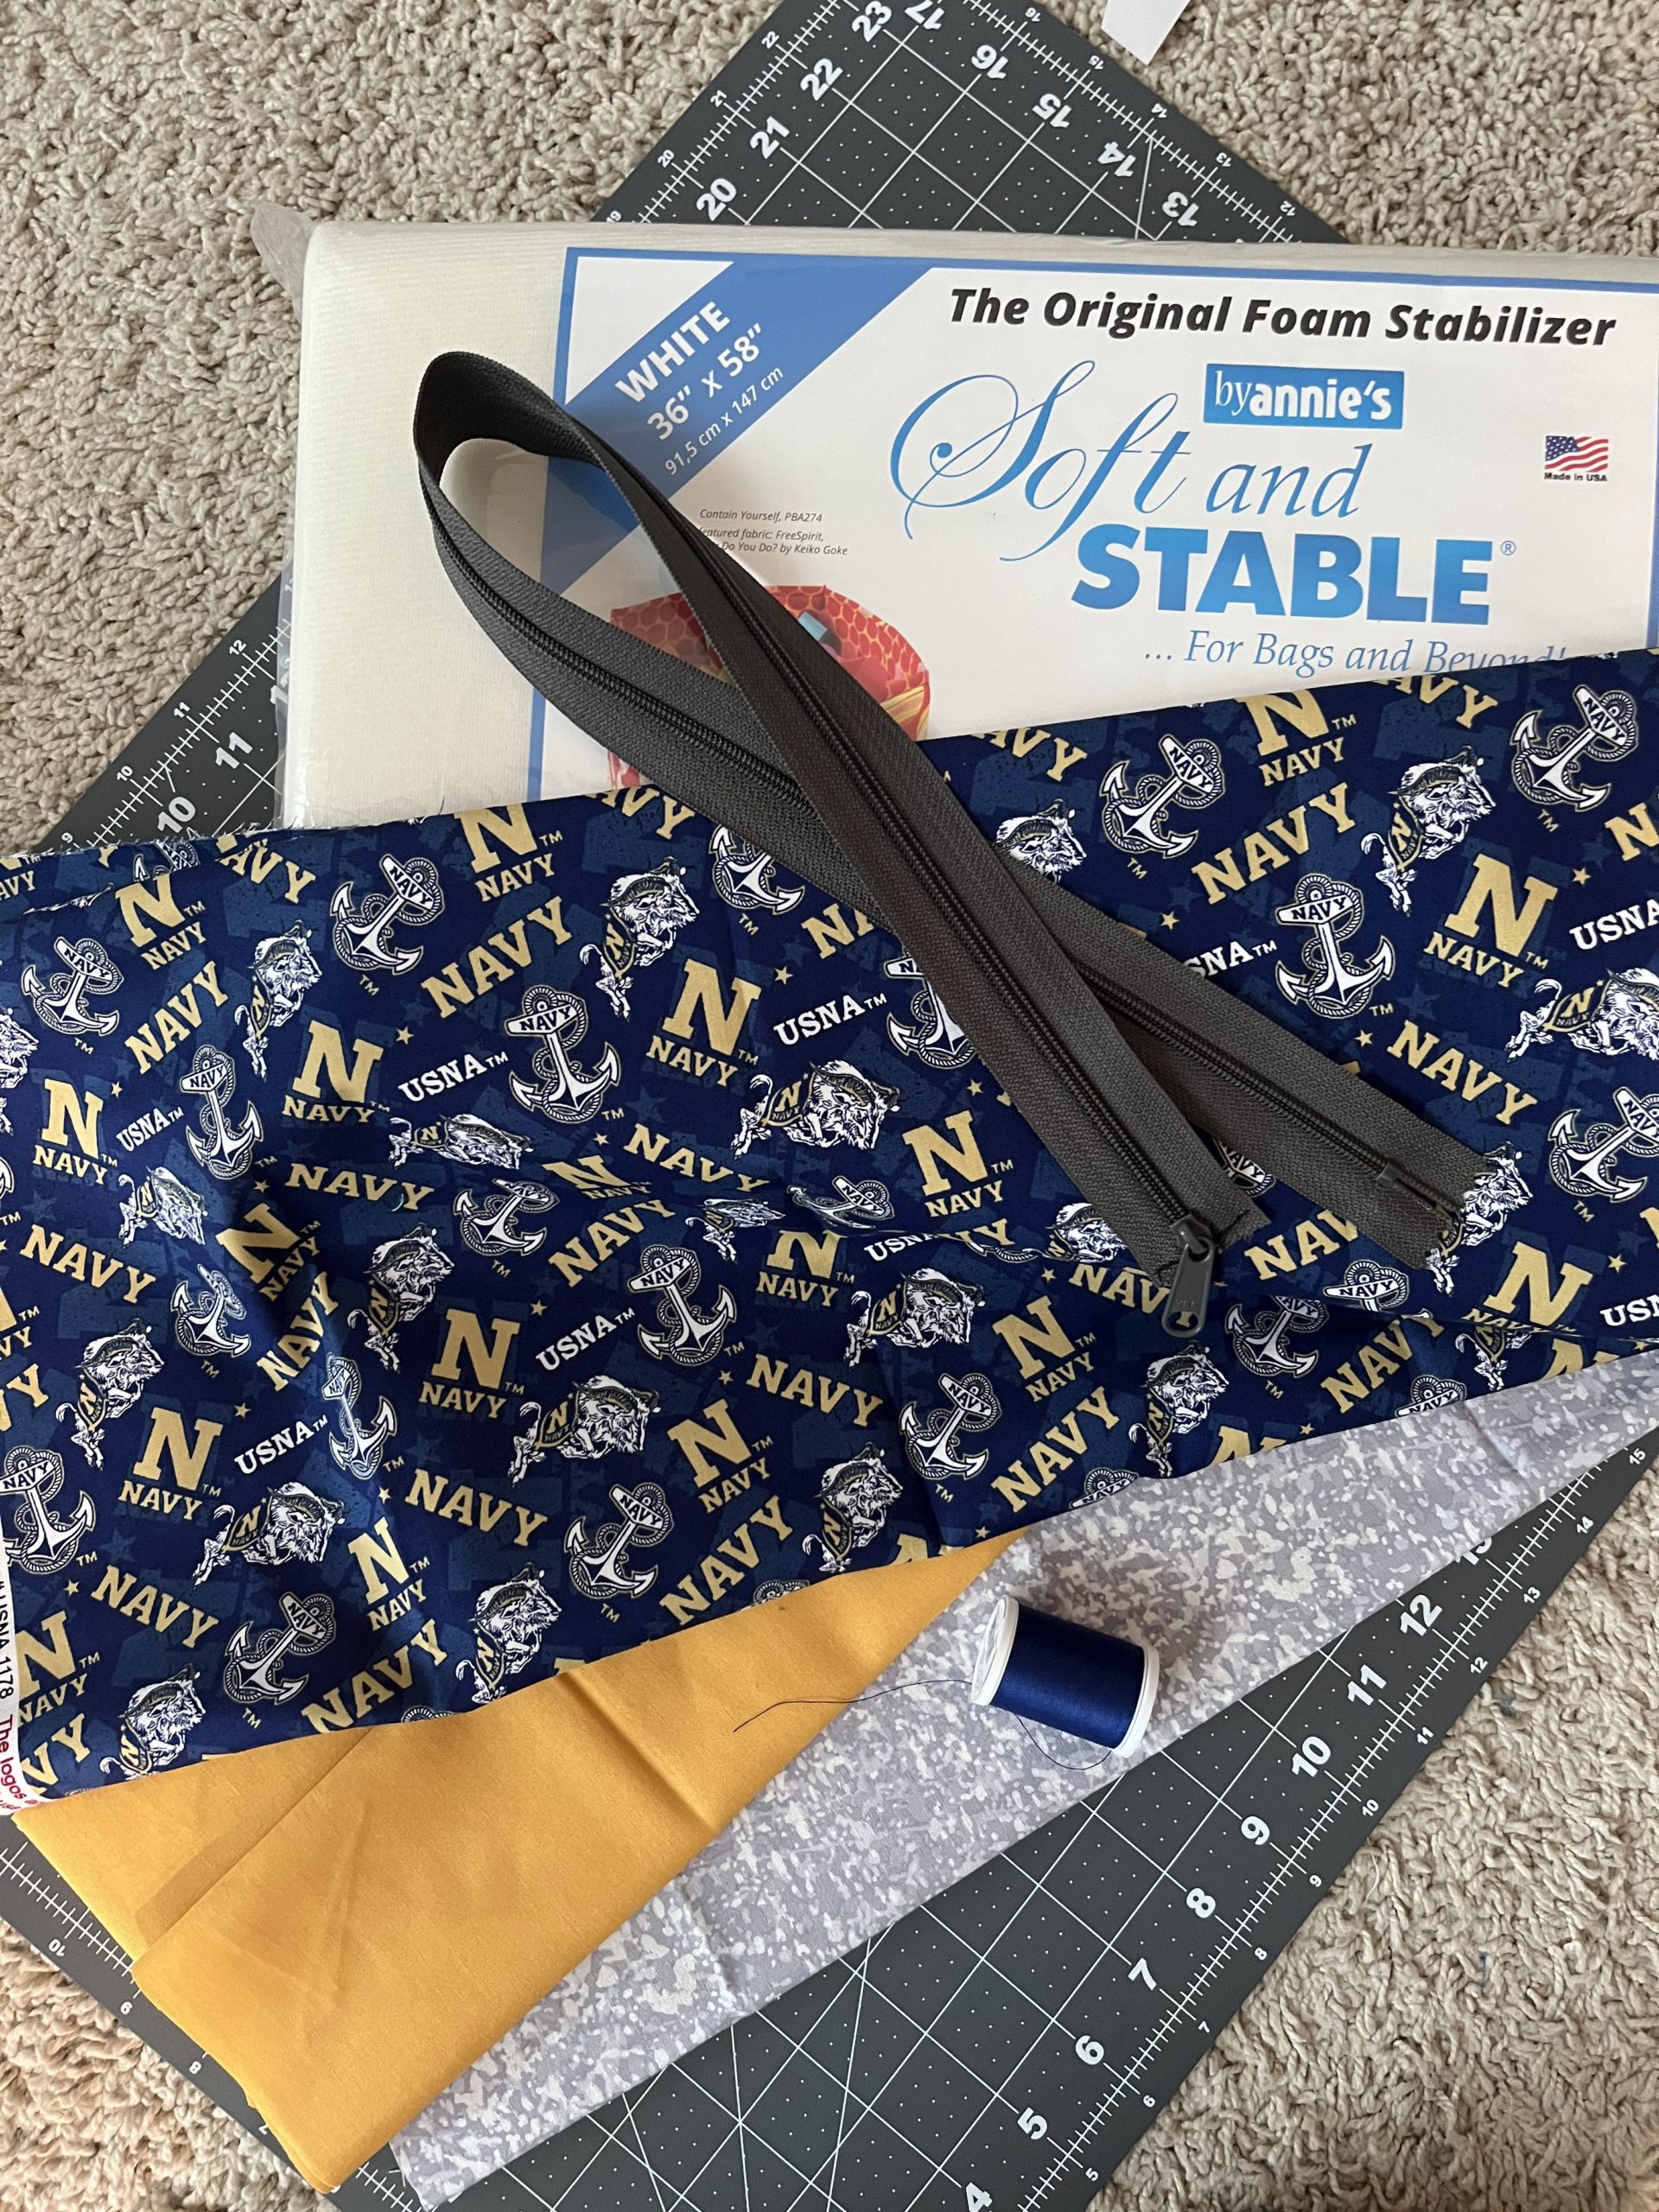
*Sidenote: I found ByAnnie materials Soft and Stable and handbag zipper at my local quilt shop. I also was hesitant to sew her bags since it uses her brand name materials. If you can’t find them in person they are worth purchasing online, sight unseen! The zipper pull is large and substantial and very durable. The Soft and Stable is very easy to sew. Both really take the bag to the next level….(read: It looks like a professional made it, and we all know I am NOT a professional, lol) Later I will try making this with the readily available Pellon and Coats & Clark handbag zipper just to compare durability.*
The written directions are in outline form so I will discuss construction in the same order.
Part 1: Cut and Quilt
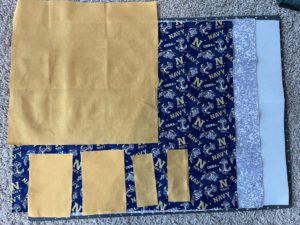
A. Cut – Three fat quarters is all it takes! Gotta love “fat quarter friendly” patterns.
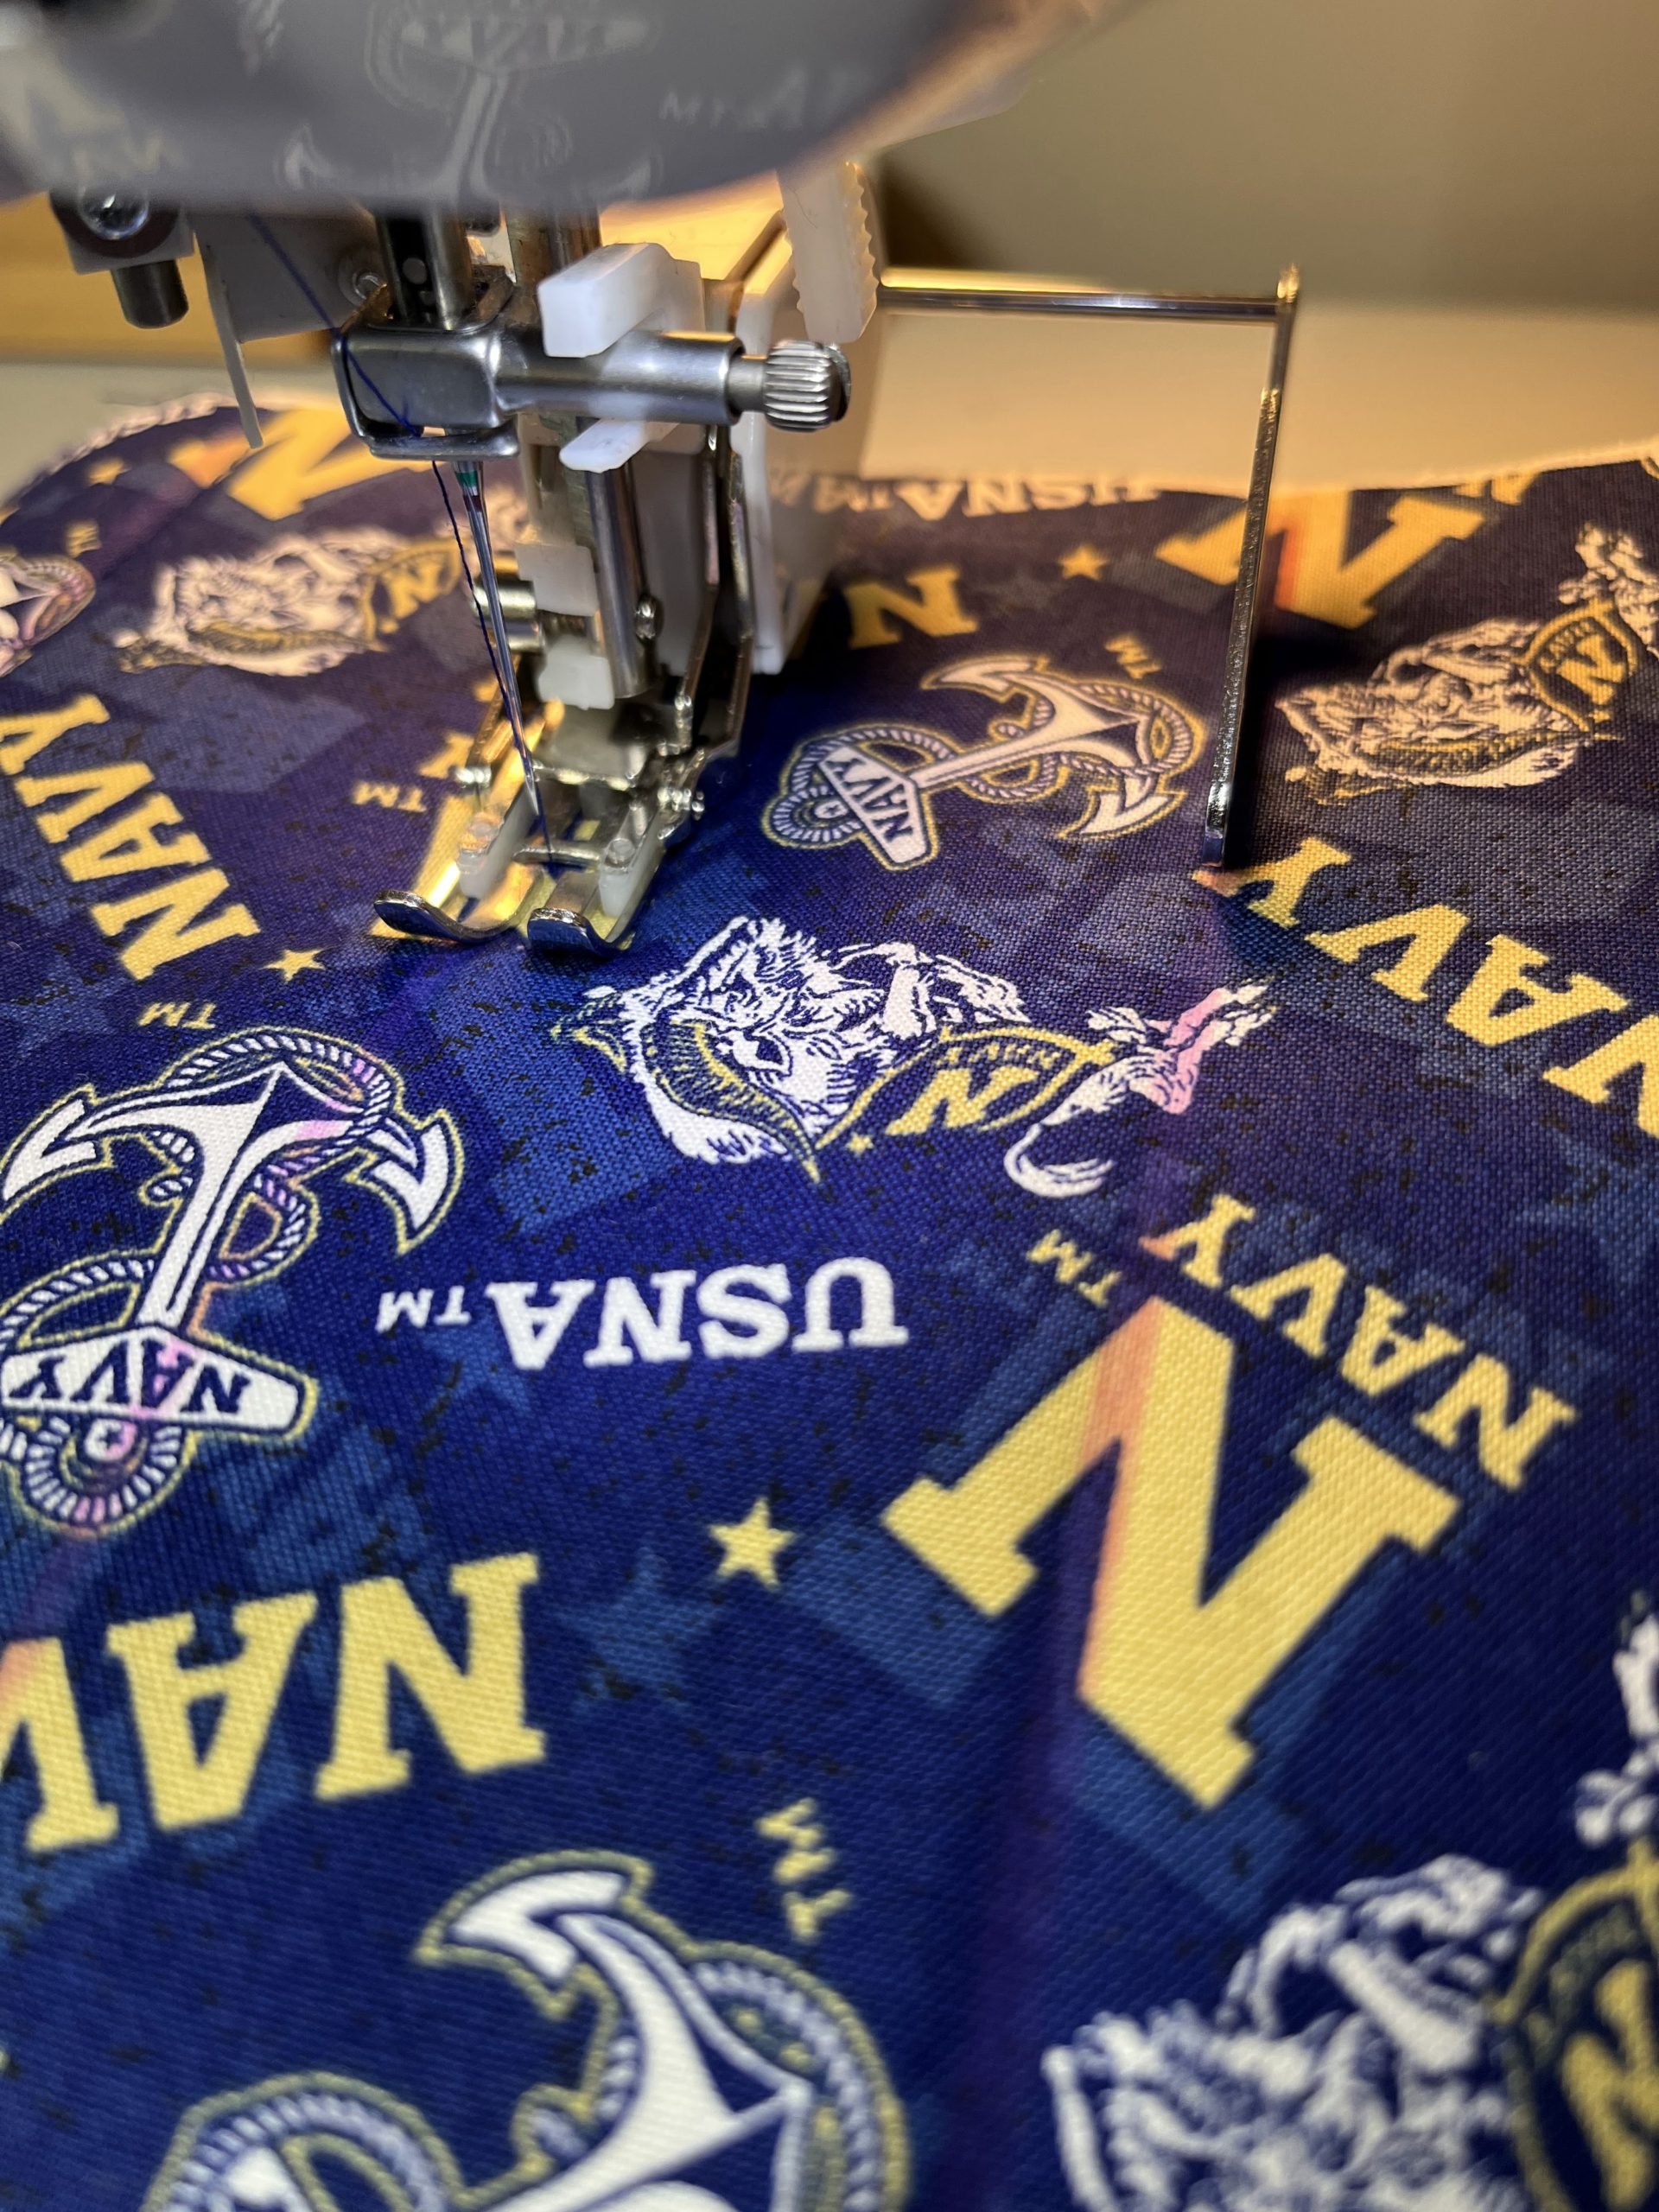
B. Quilt – Basting spray and an Elmer’s Glue stick really helped me out here. The layers like to move around so a walking foot is really helpful. I used a Frixion pen to mark 2″ apart and used the guide also.
So squishy
C. Cut Quilted Fabric and Seal Edges – All the edges have to be sealed with a 1/8″ seam allowance. This adds construction time but it really does help everything stay together.
2. Prepare Components
A. Prepare Bias Binding– The illustration in the directions were very clear for this but it’s worth watching the video to see how Annie does this. I thought making a parallelogram it was pretty neat.
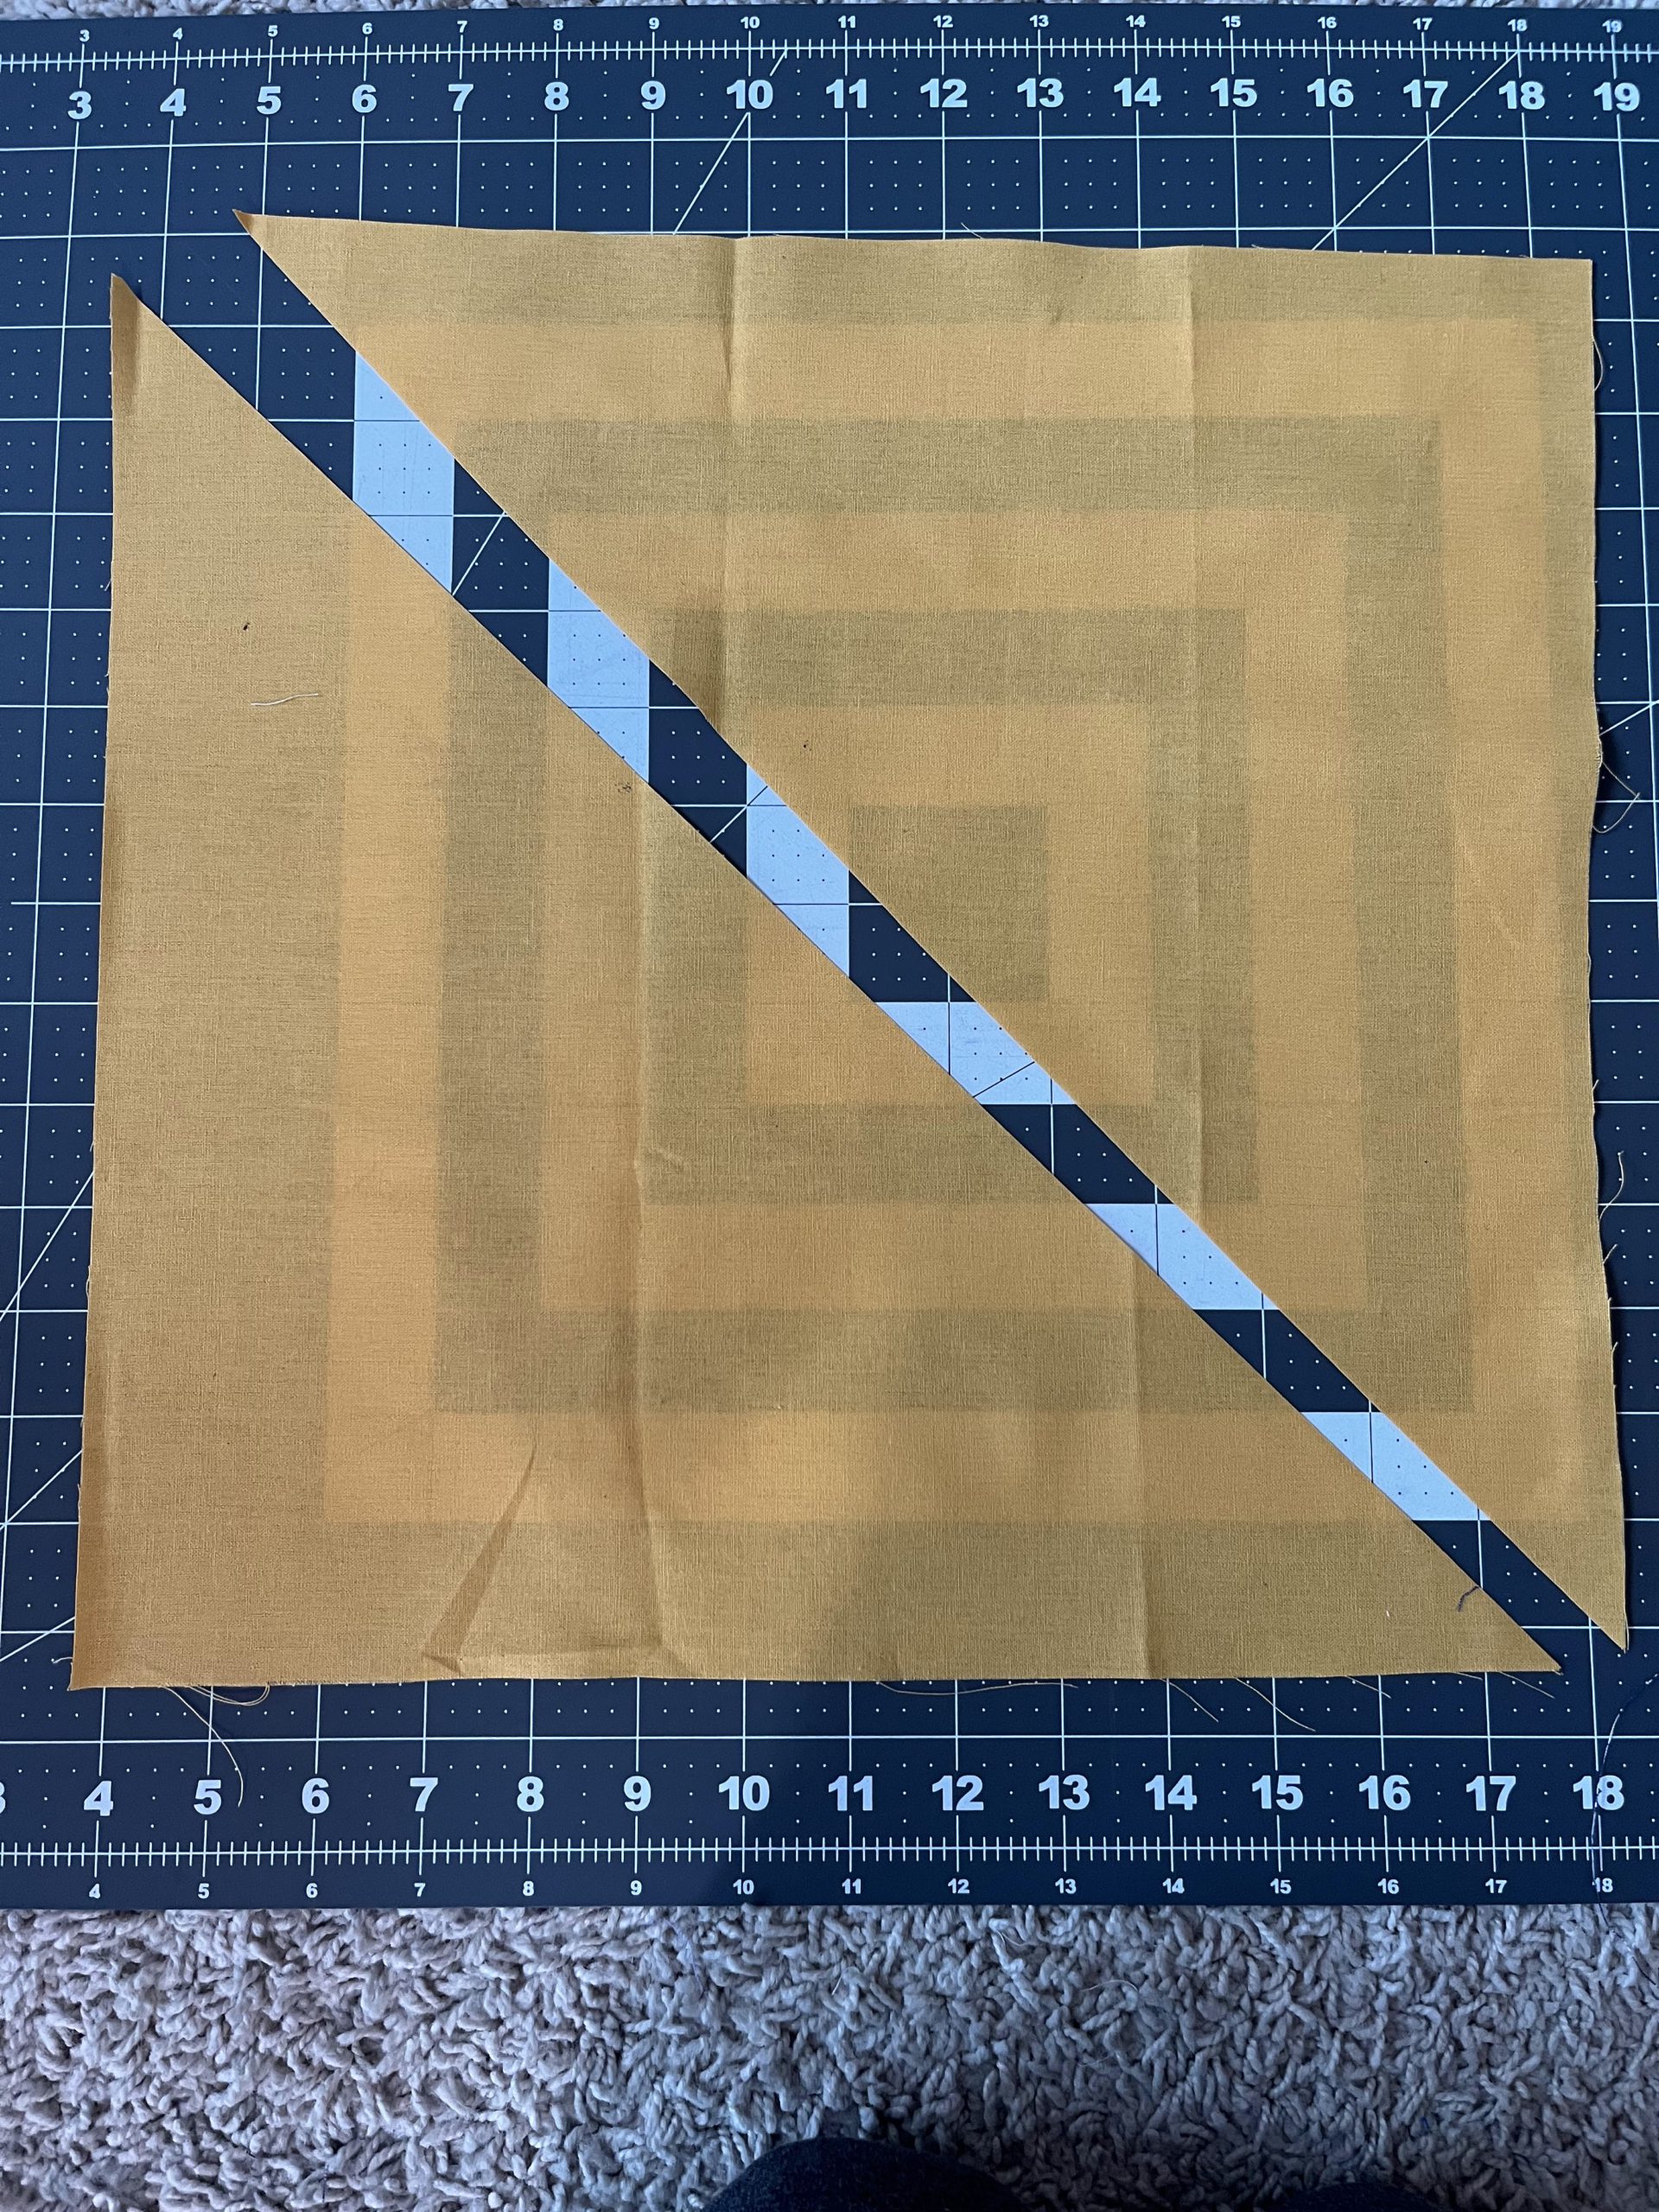
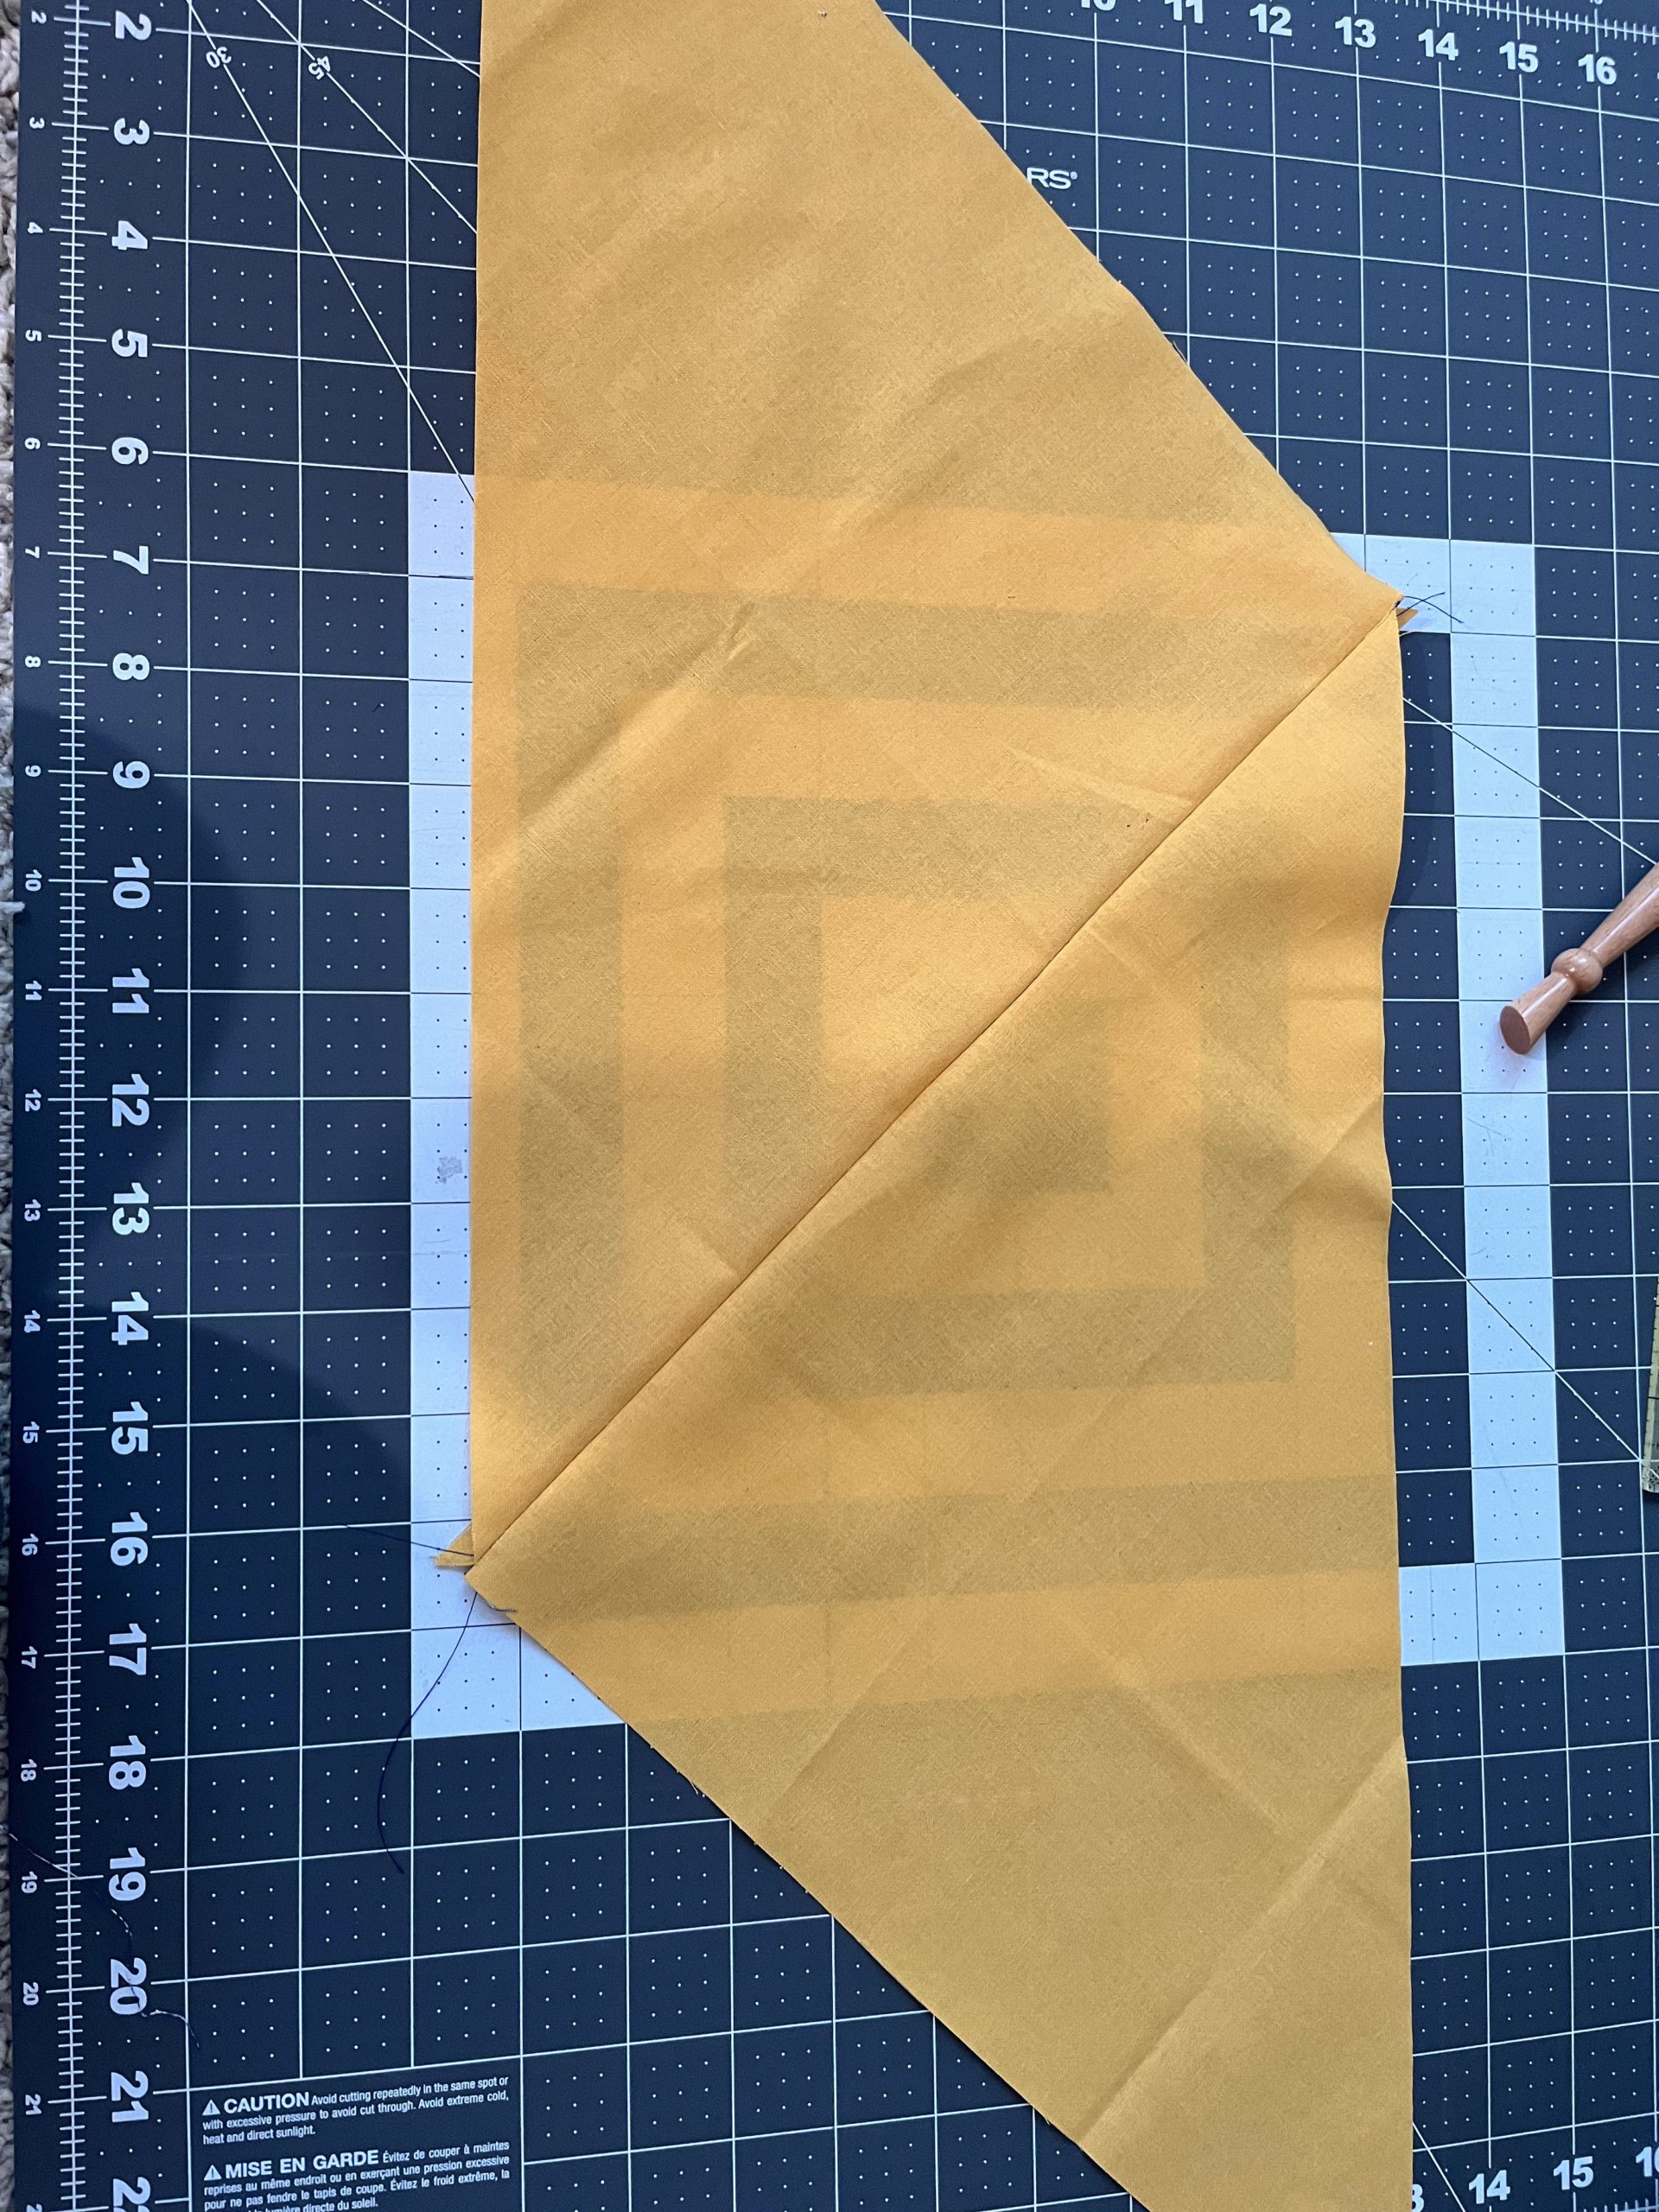
Parallelogram 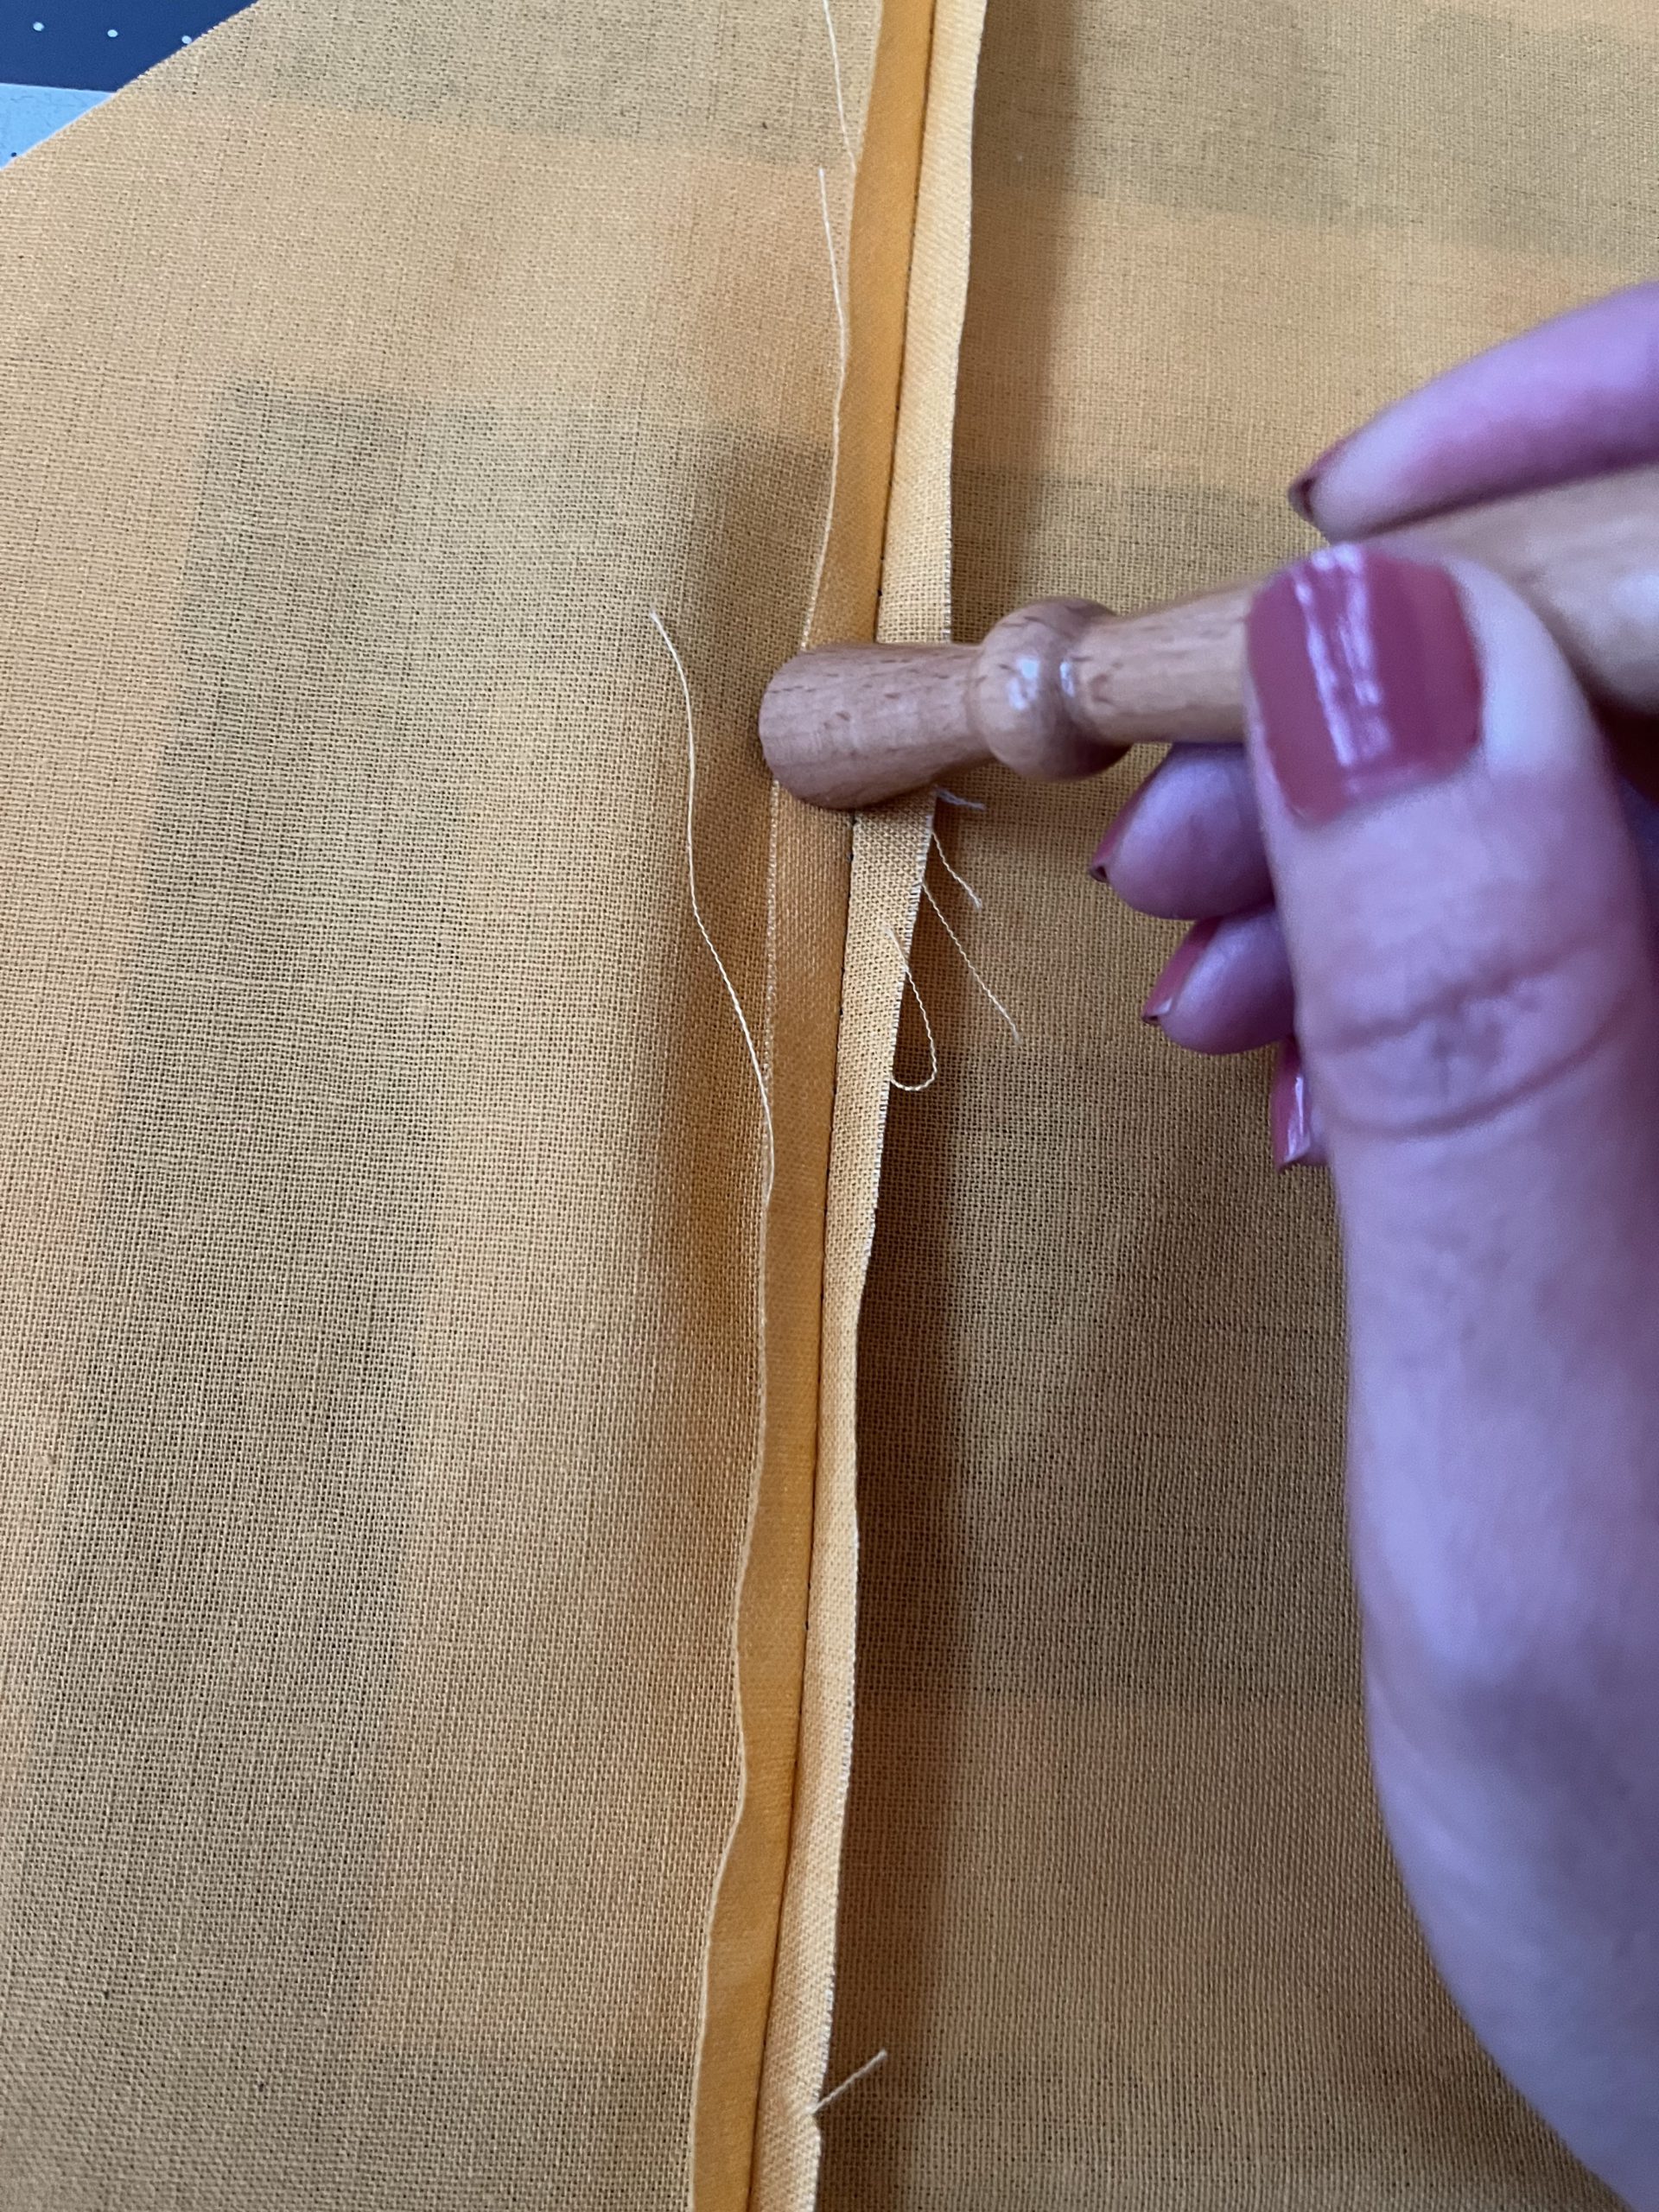
ByAnnie stilleto= worth the $. 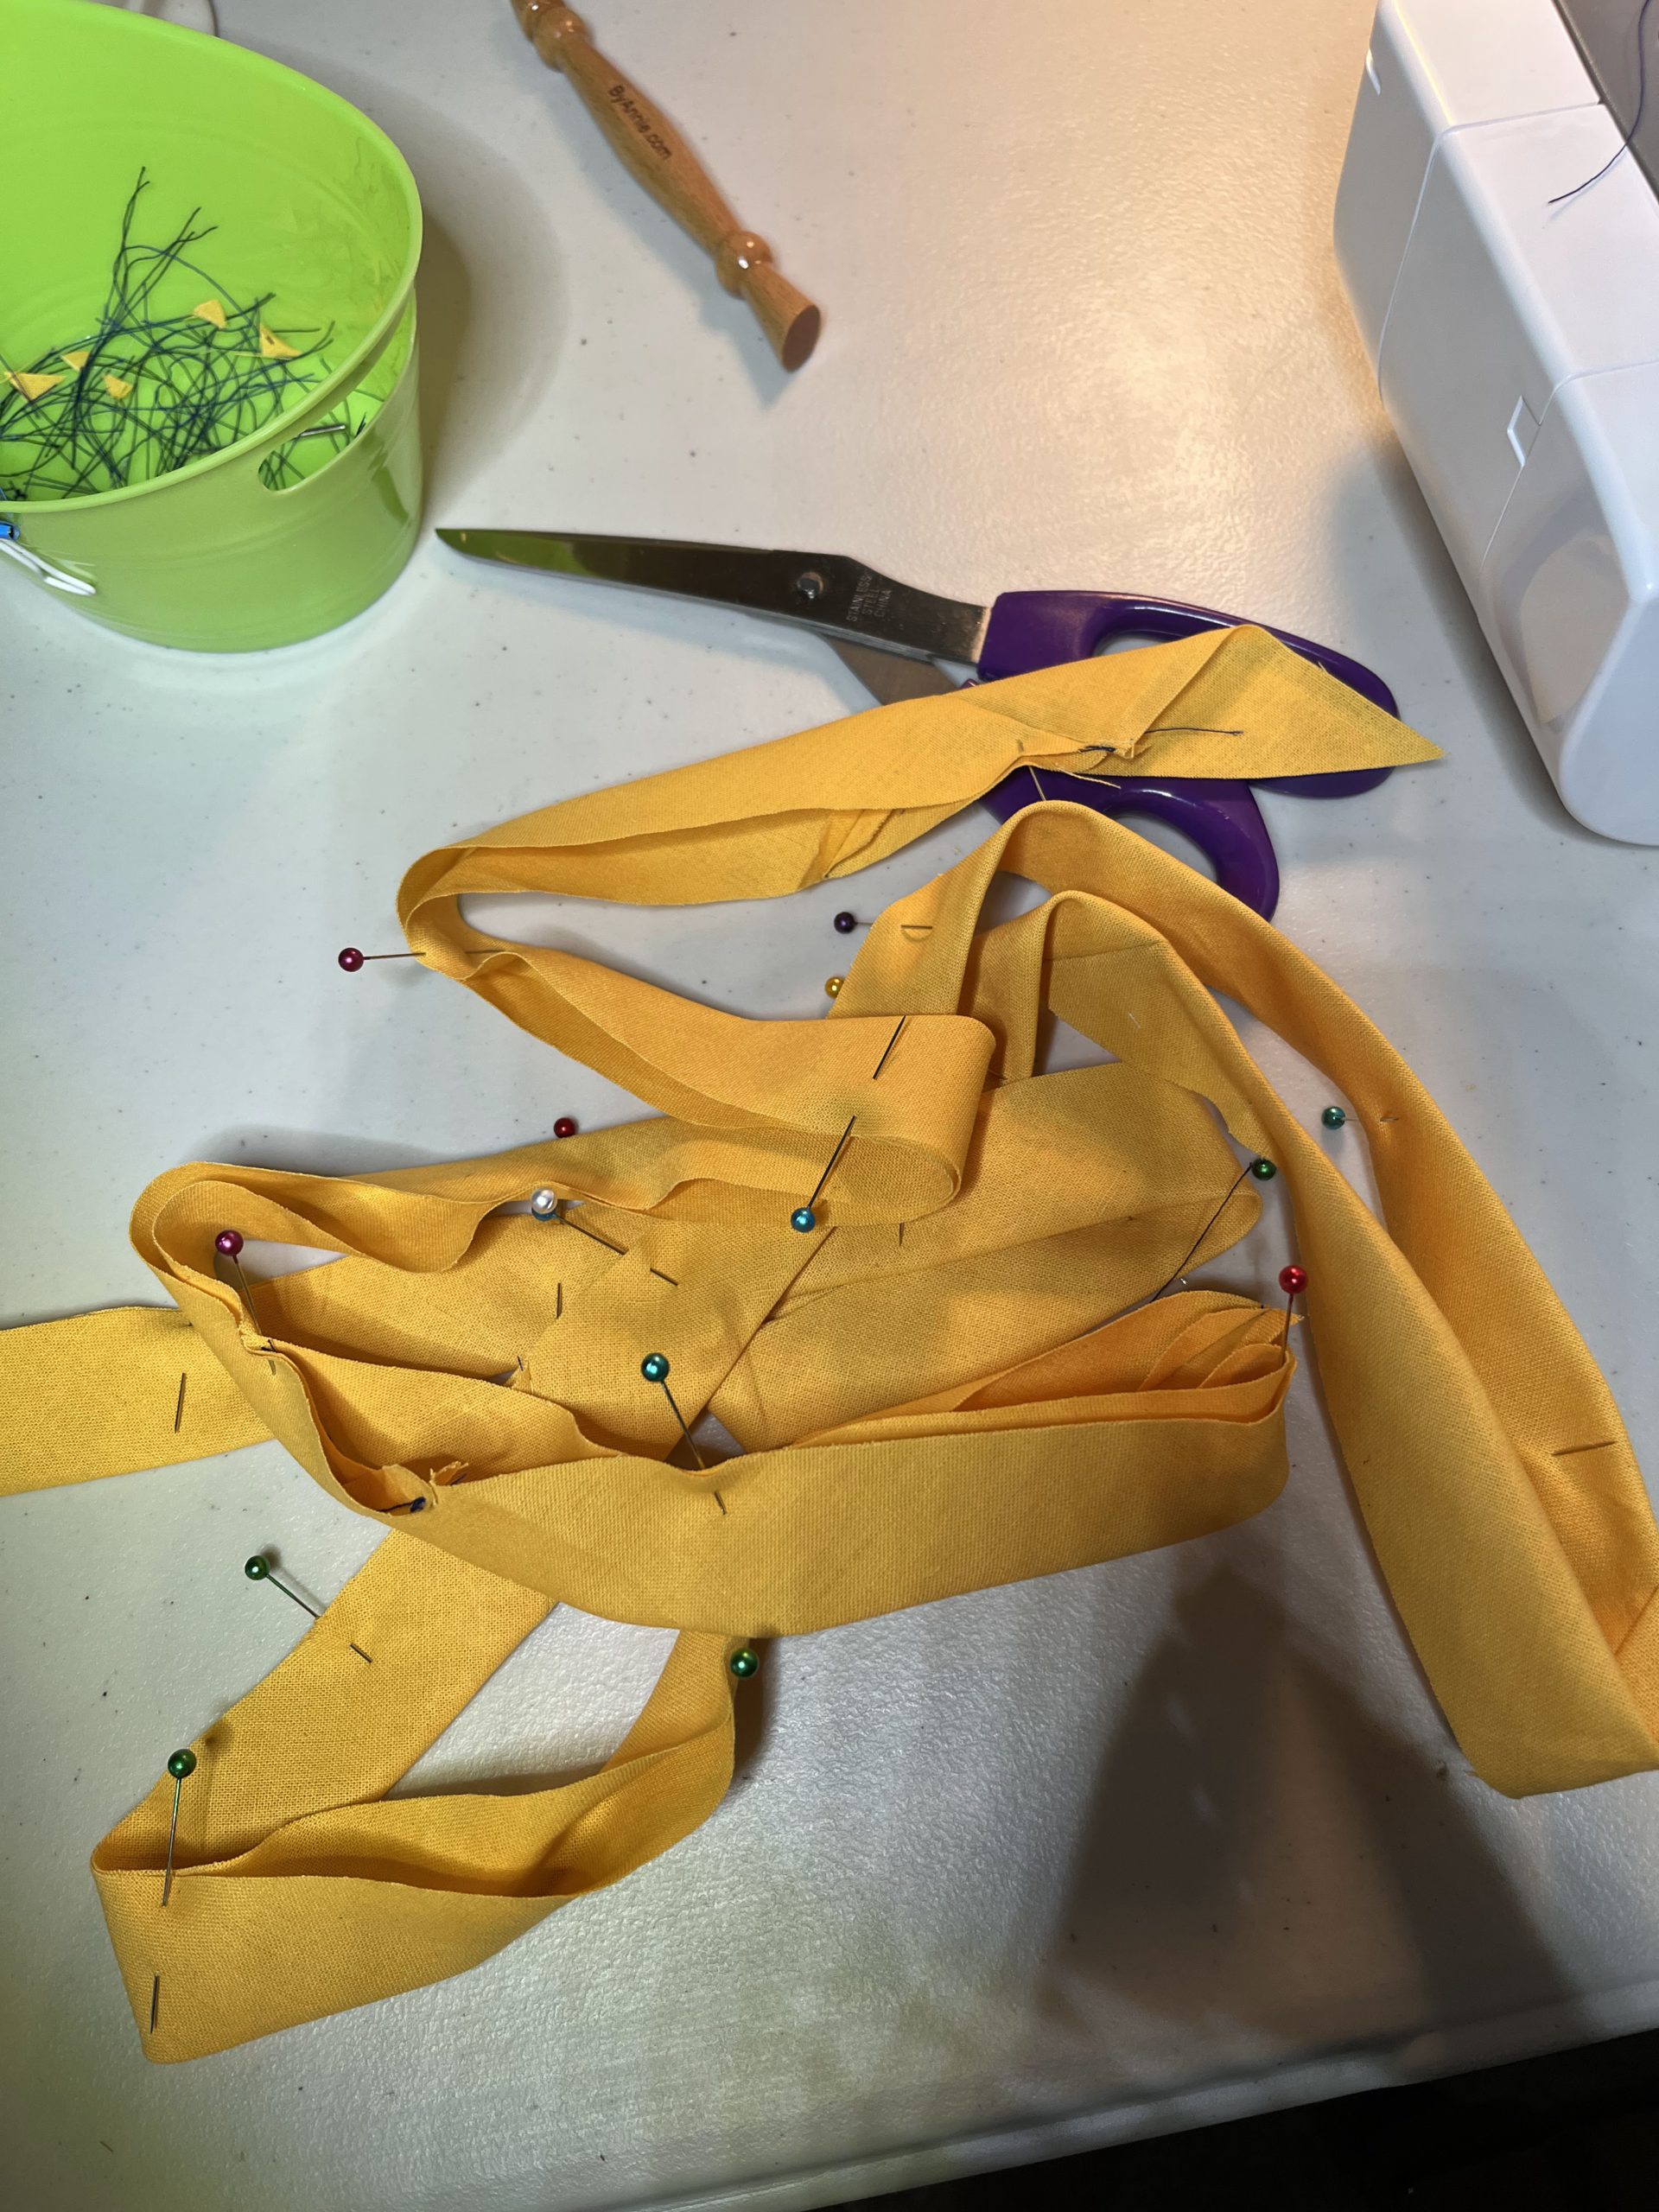
B. Prepare Handles– The handles are pretty simple. Just rectangles backed by the interfacing.
C. Prepare Zipper Strip– I used a 40″ handbag zipper and sliced it in half to use on another bag. The video really helped me with this. My zipper strip also ended up being 1/4″ smaller than the side strip which made the bag a little less deep. But Annie to the rescue again- she tells you how to fix this common mistake. (Basically just trim it to size)
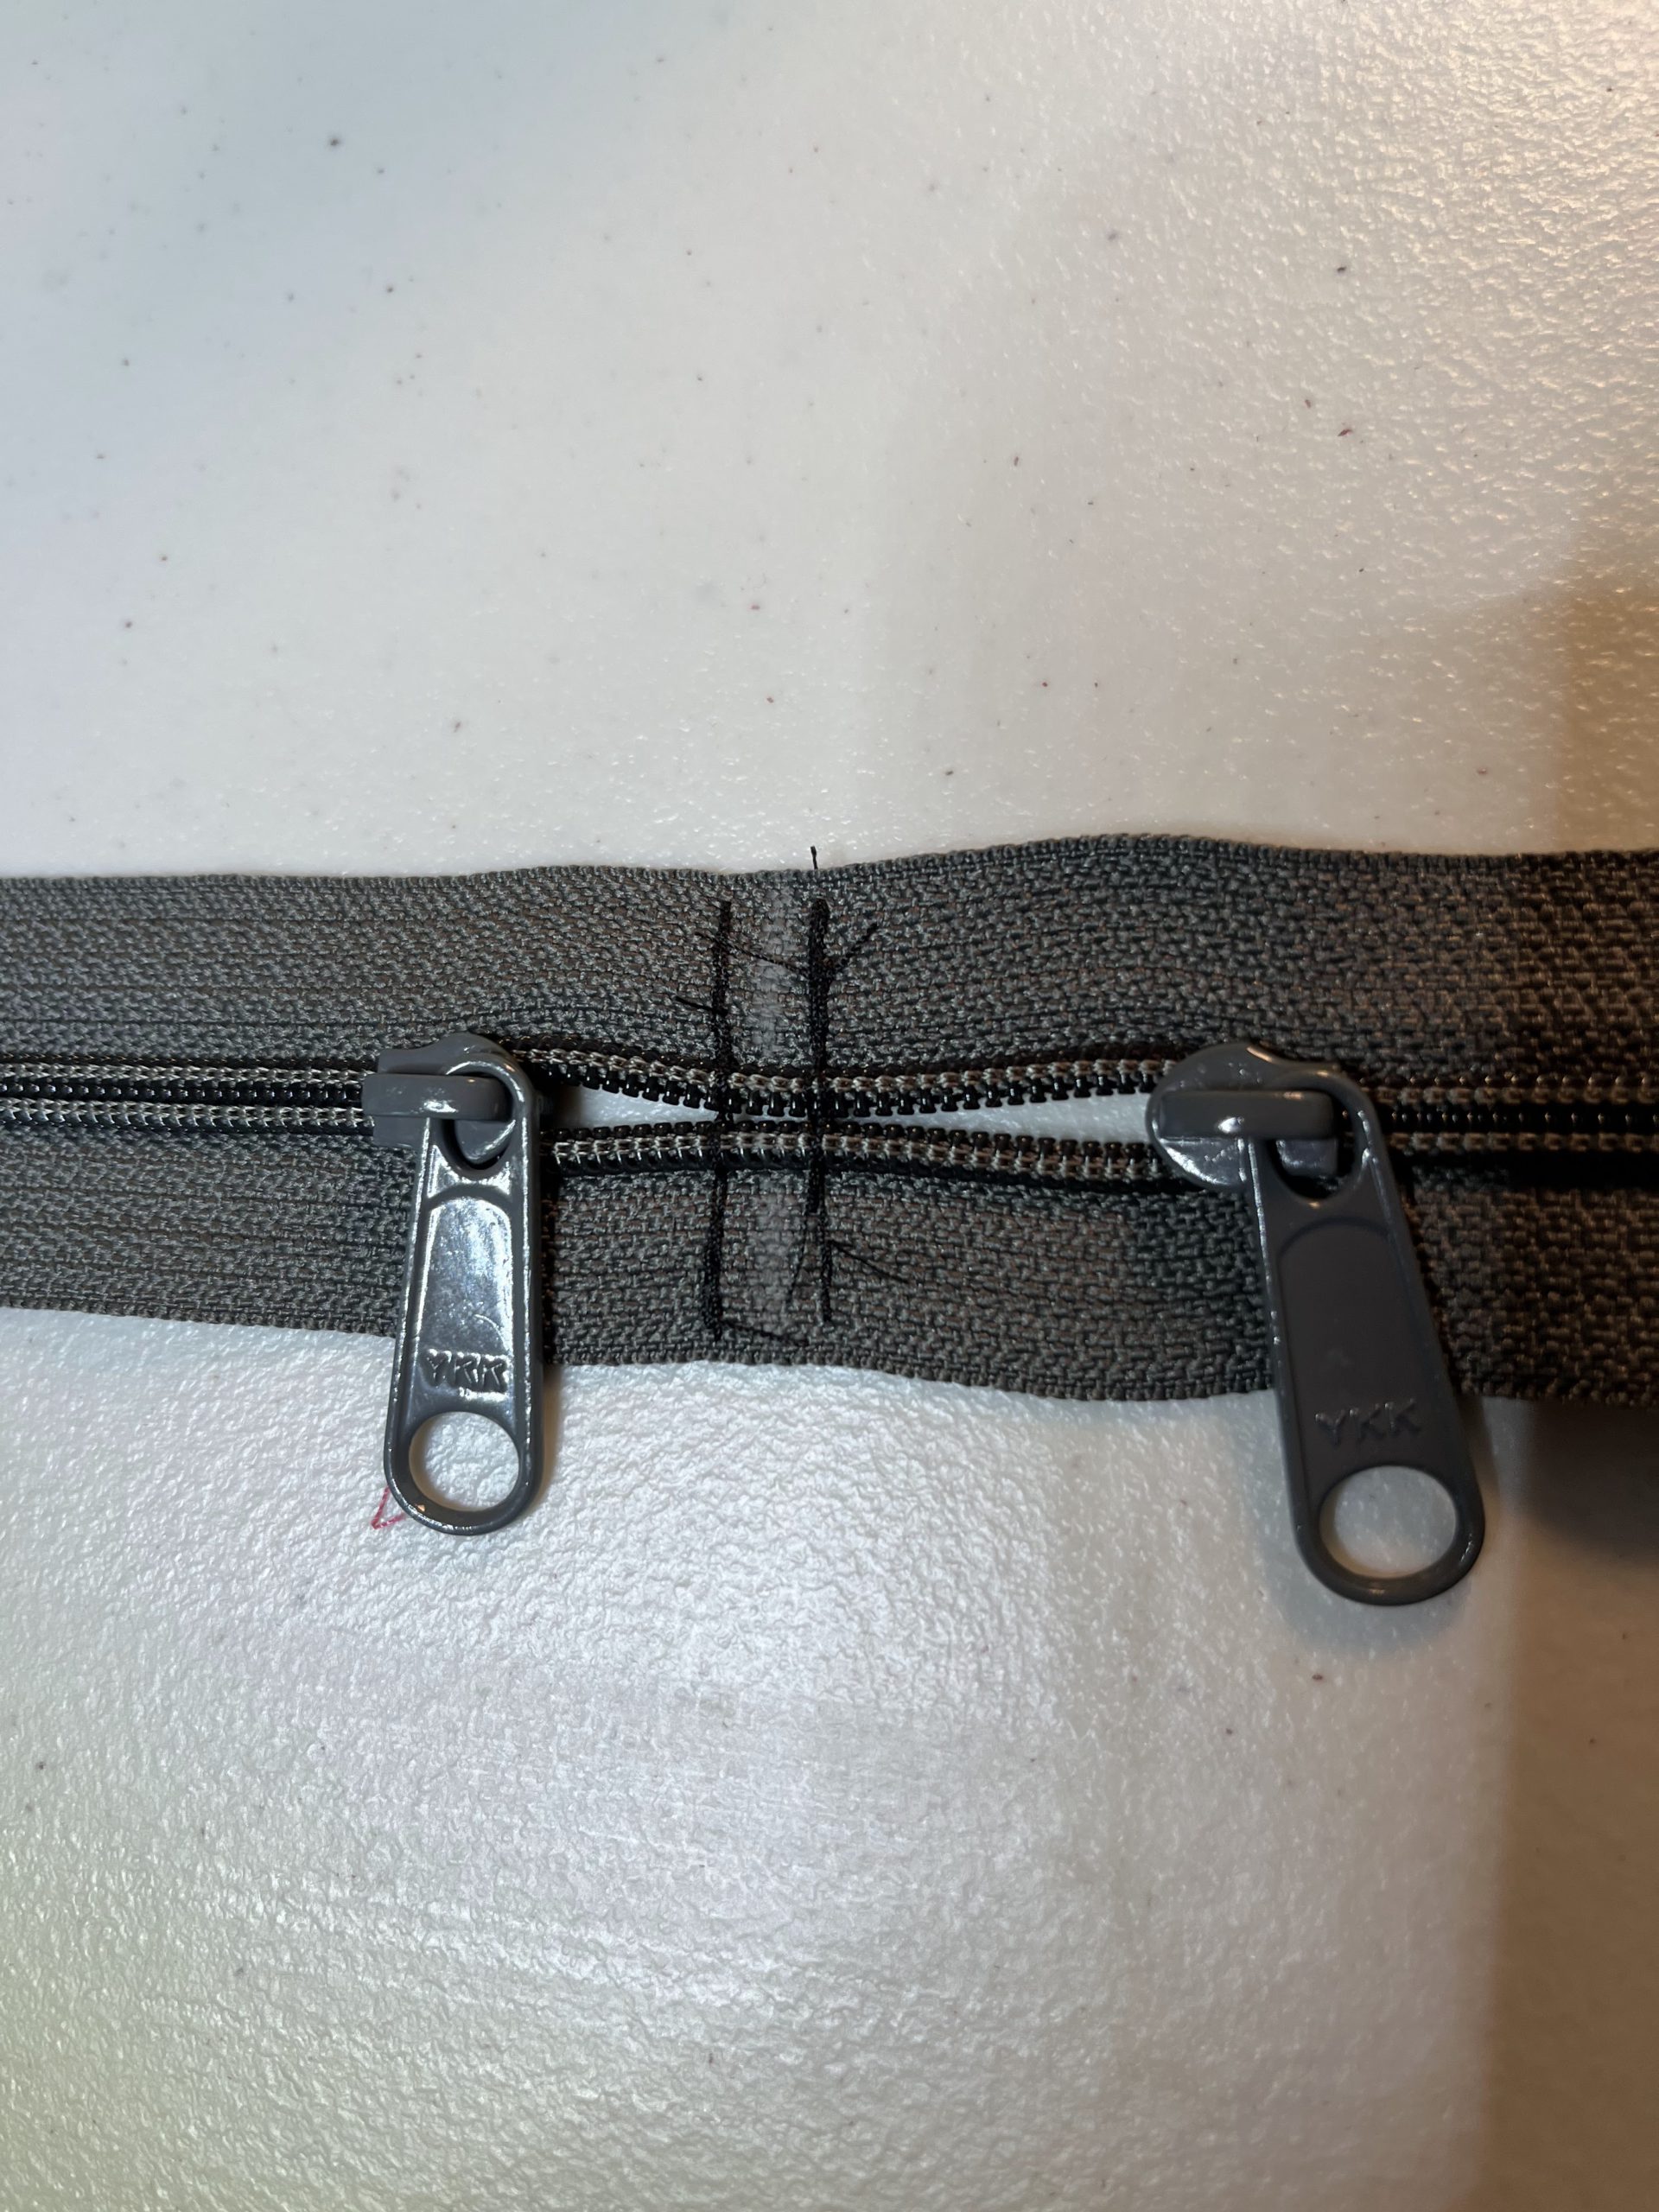
Oops 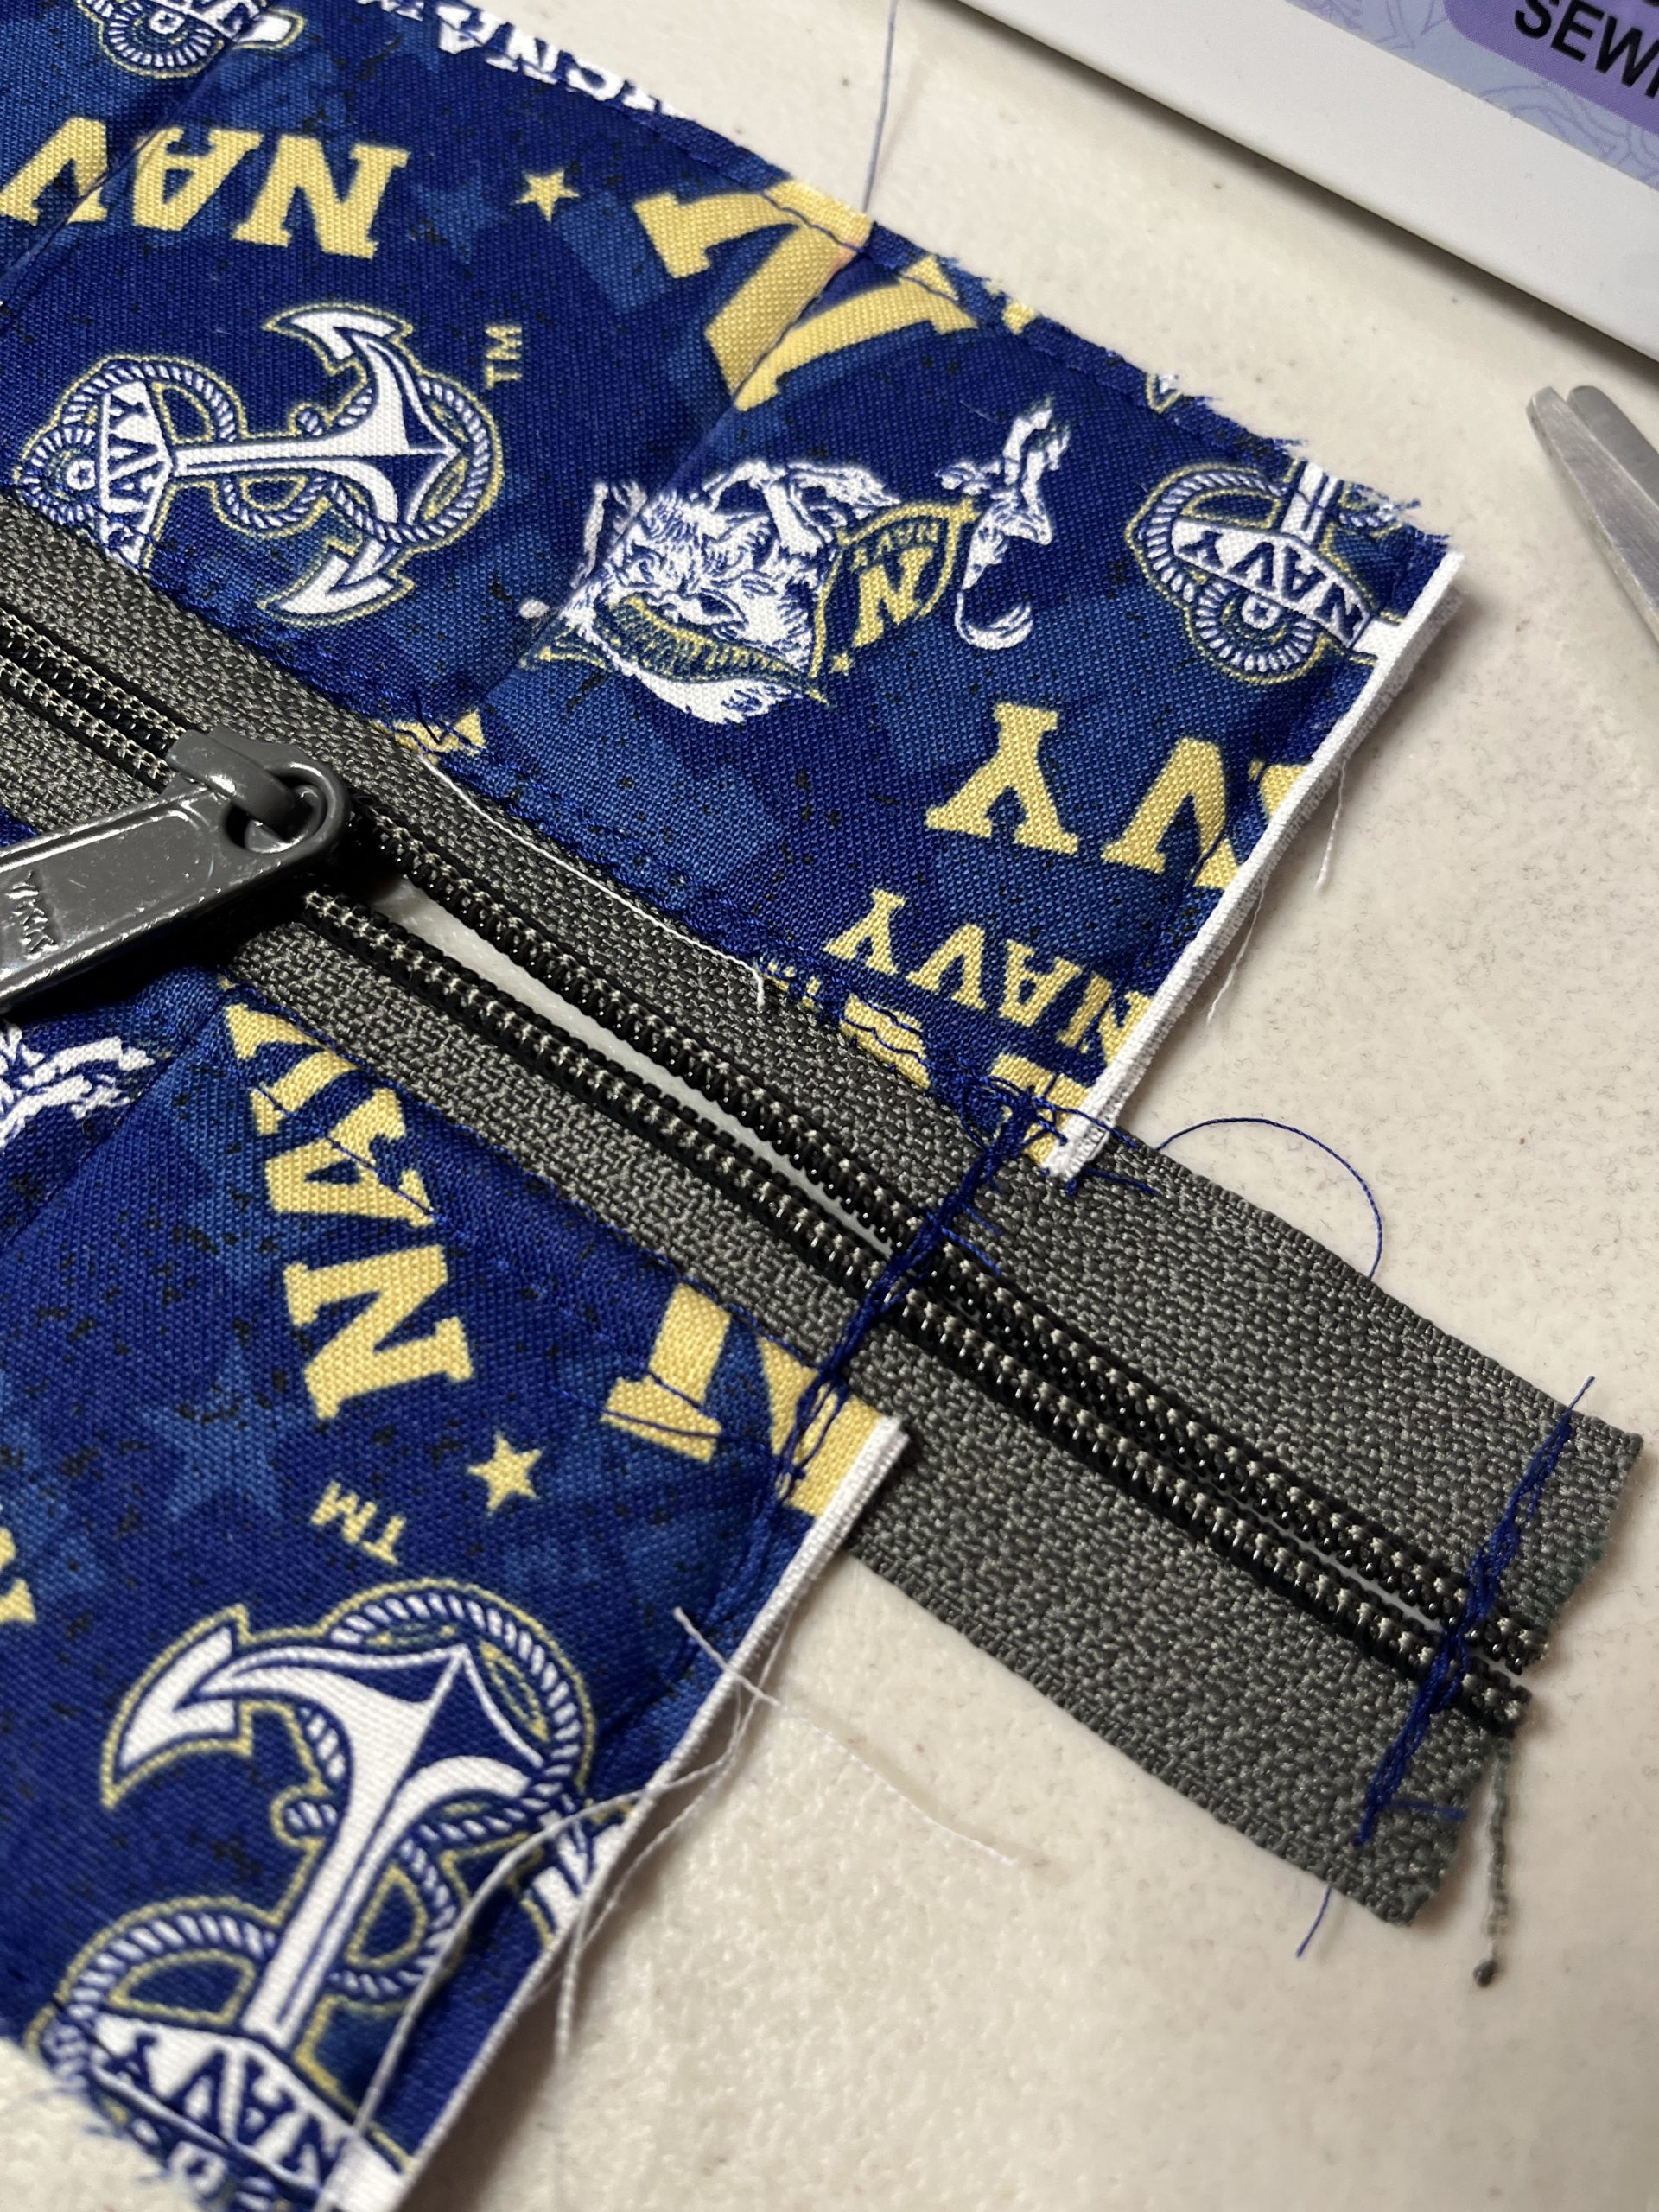
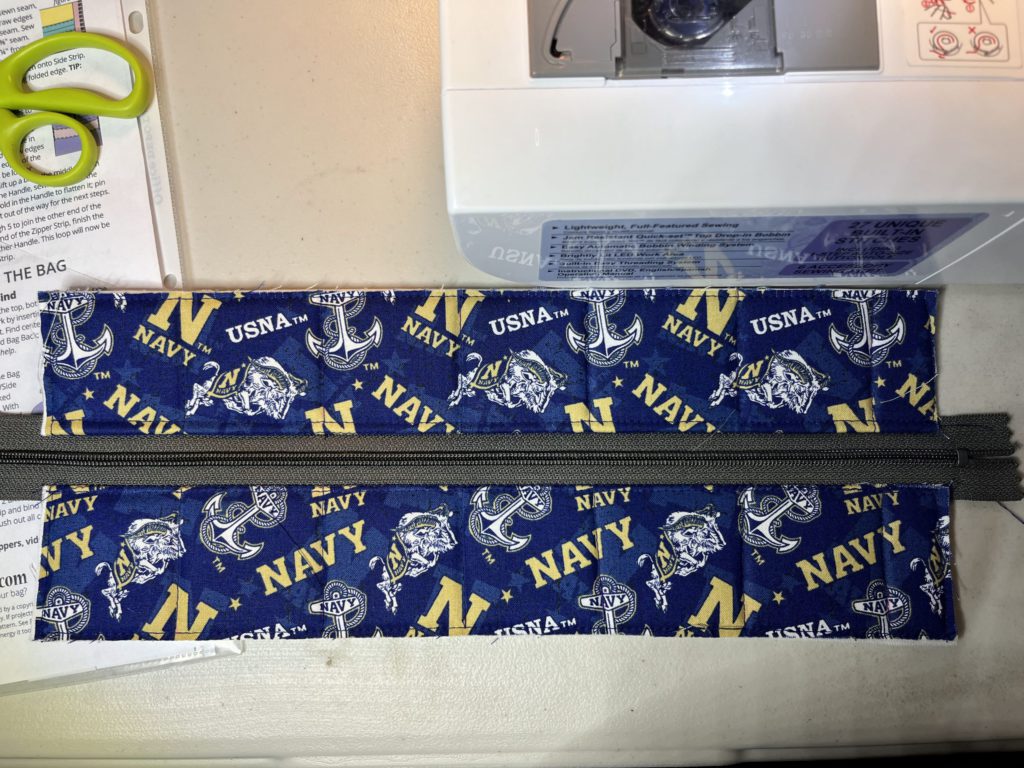
D. Prepare Zipper/Side Strip and Attach Handles – This is where the bag starts to really take shape! The raw edges are bound and the zipper loop is created. I found using the arm on my machine helped when sewing the loop. Just put it right through!

So clean. 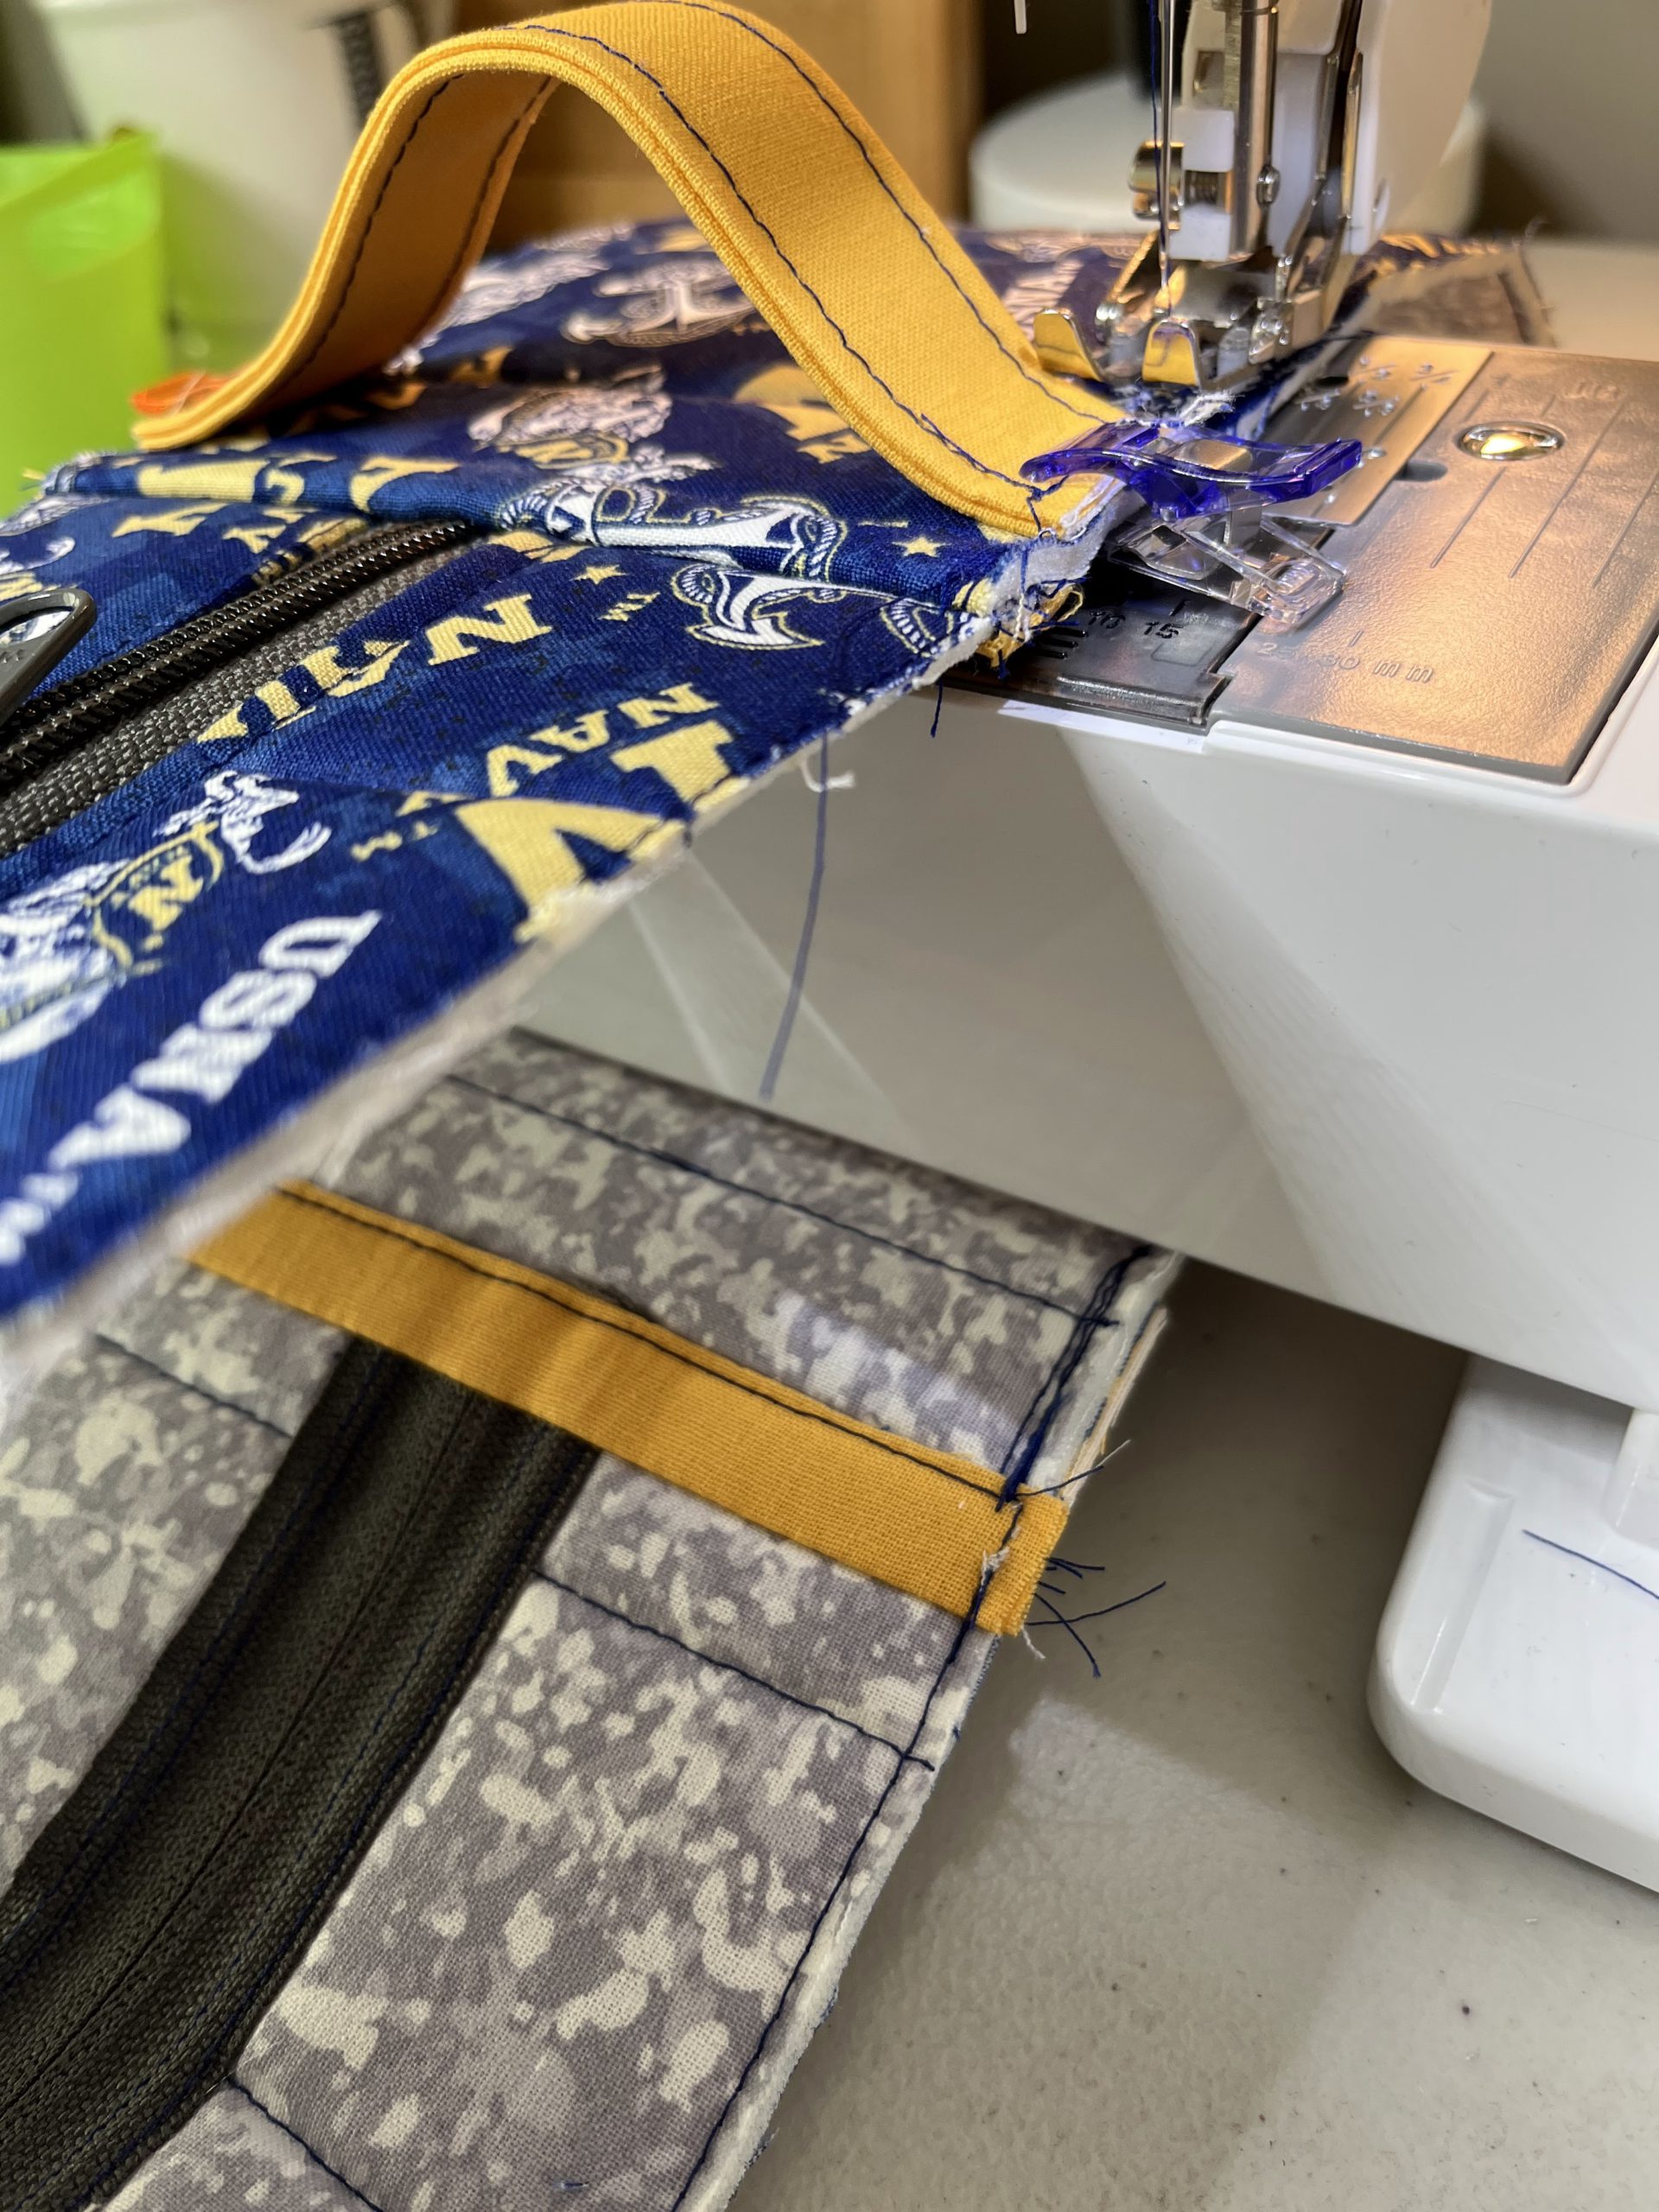
Loop through the arm 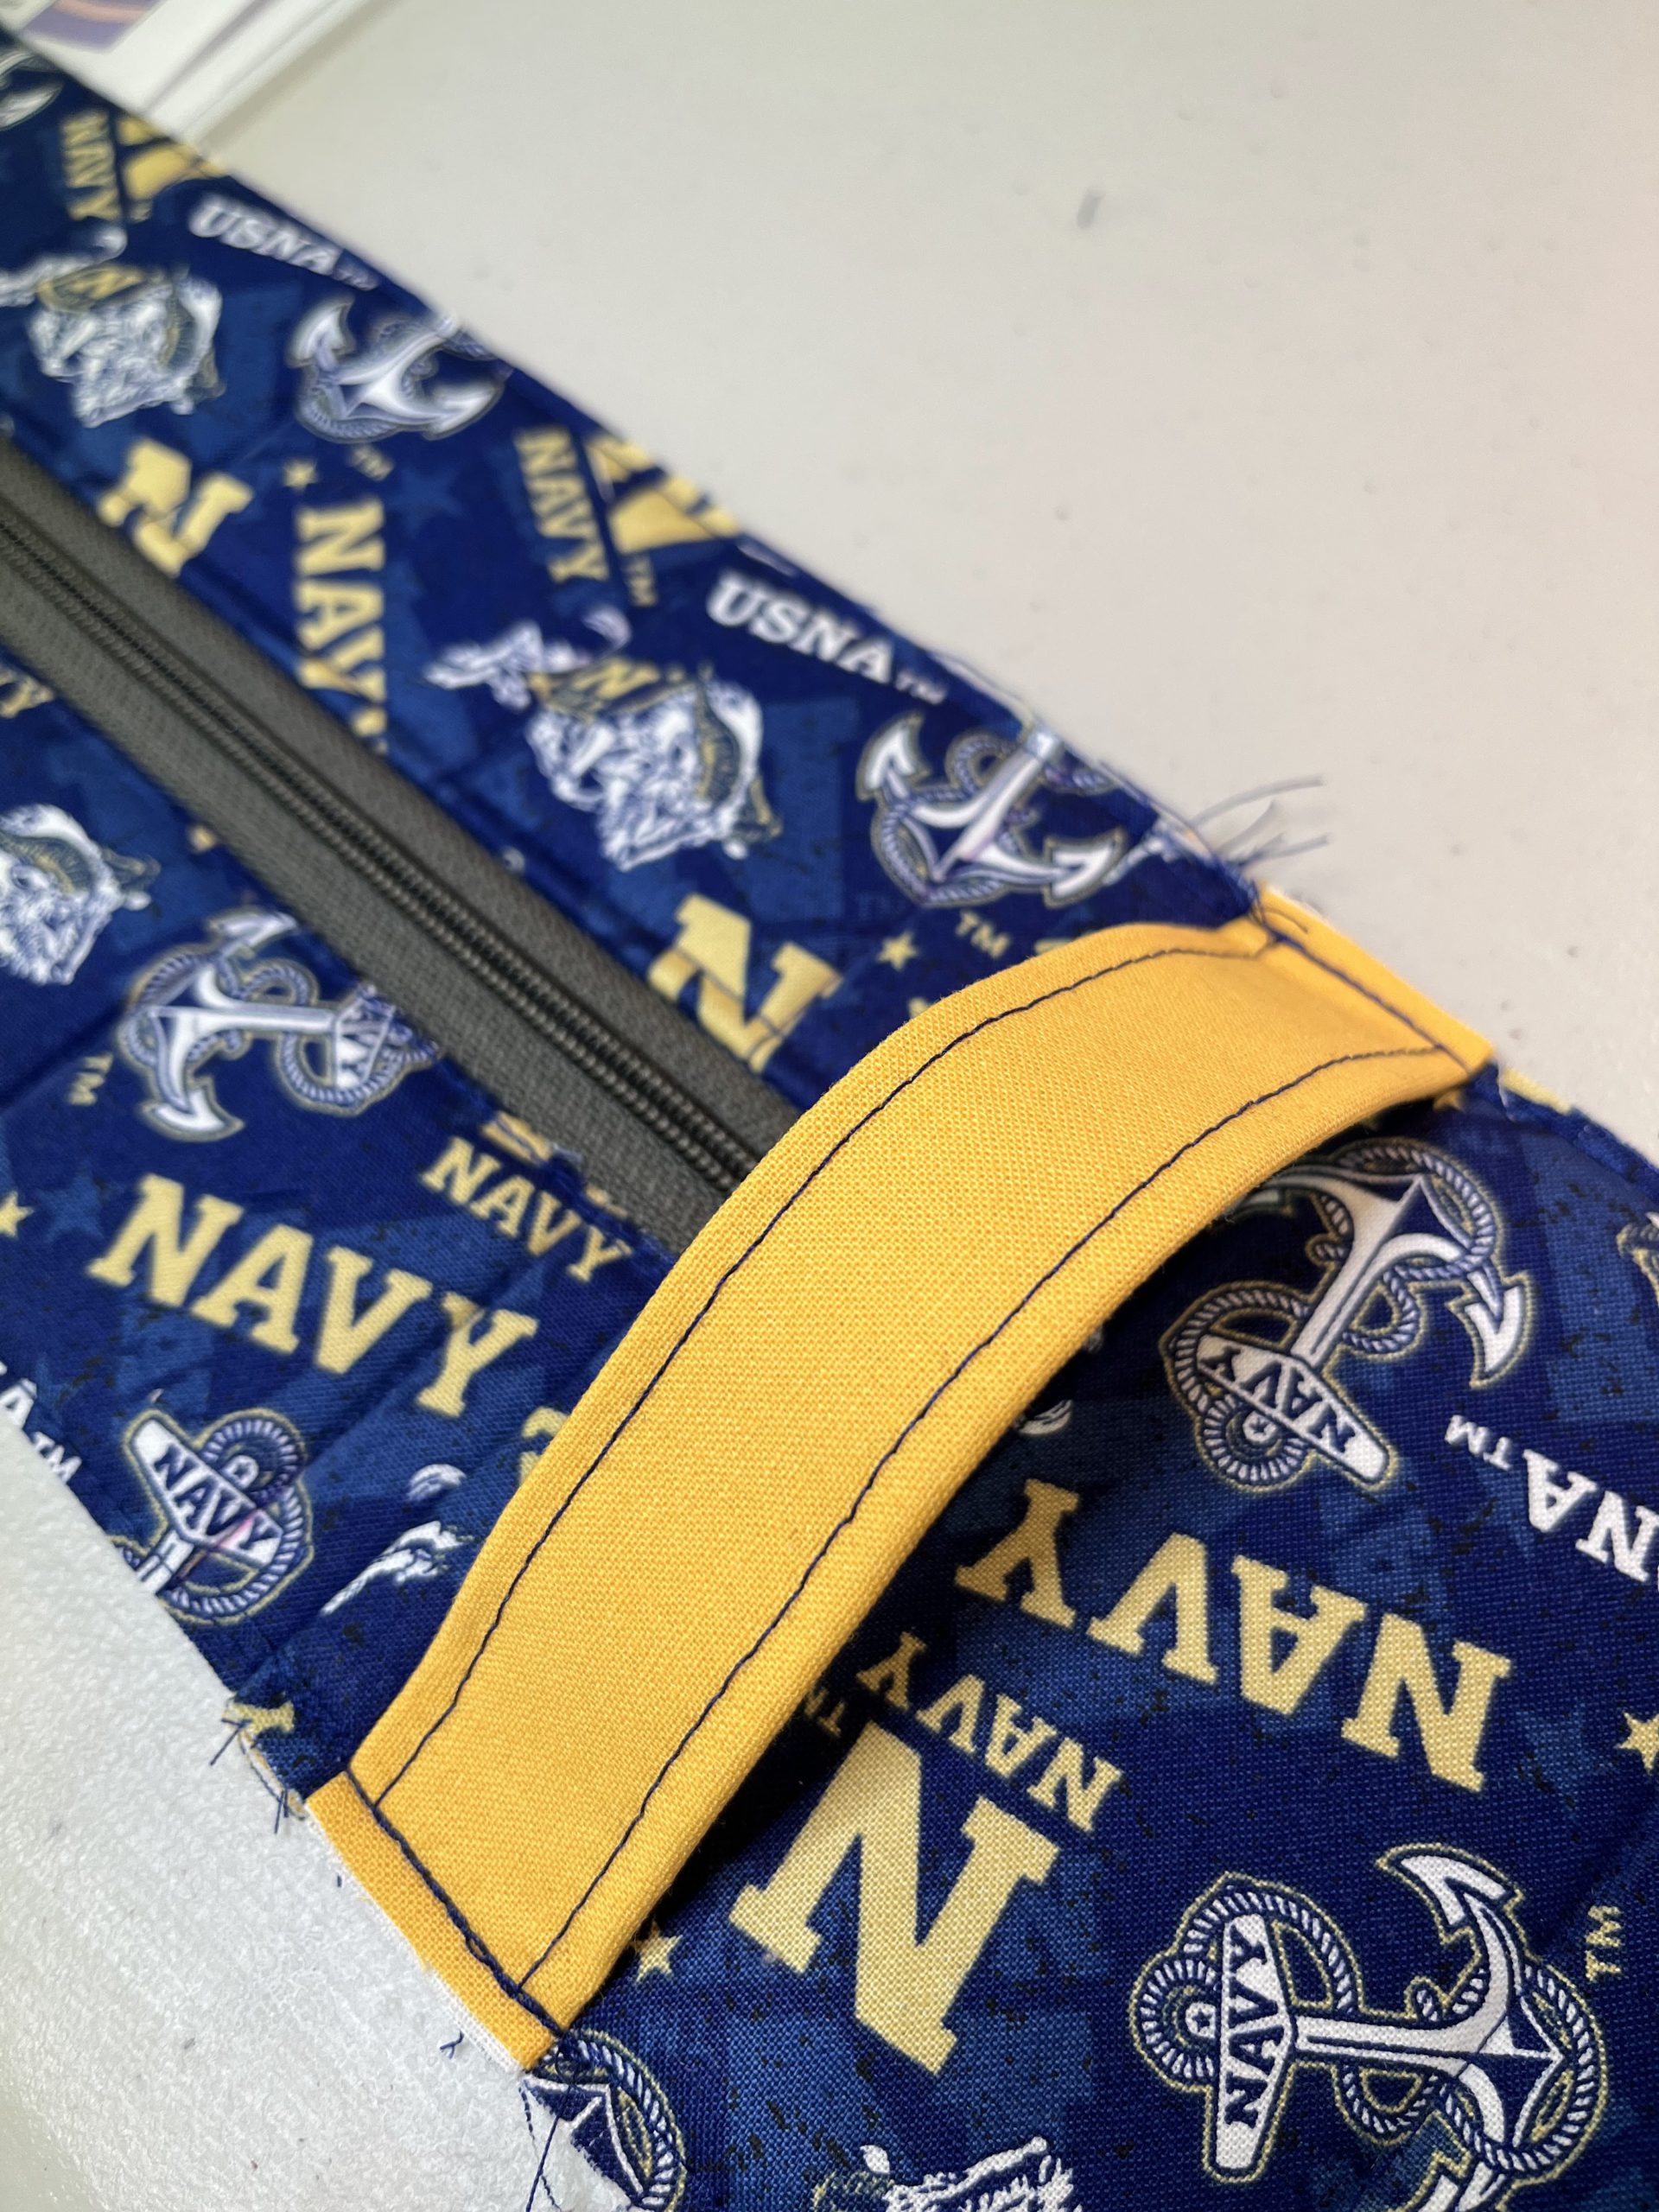
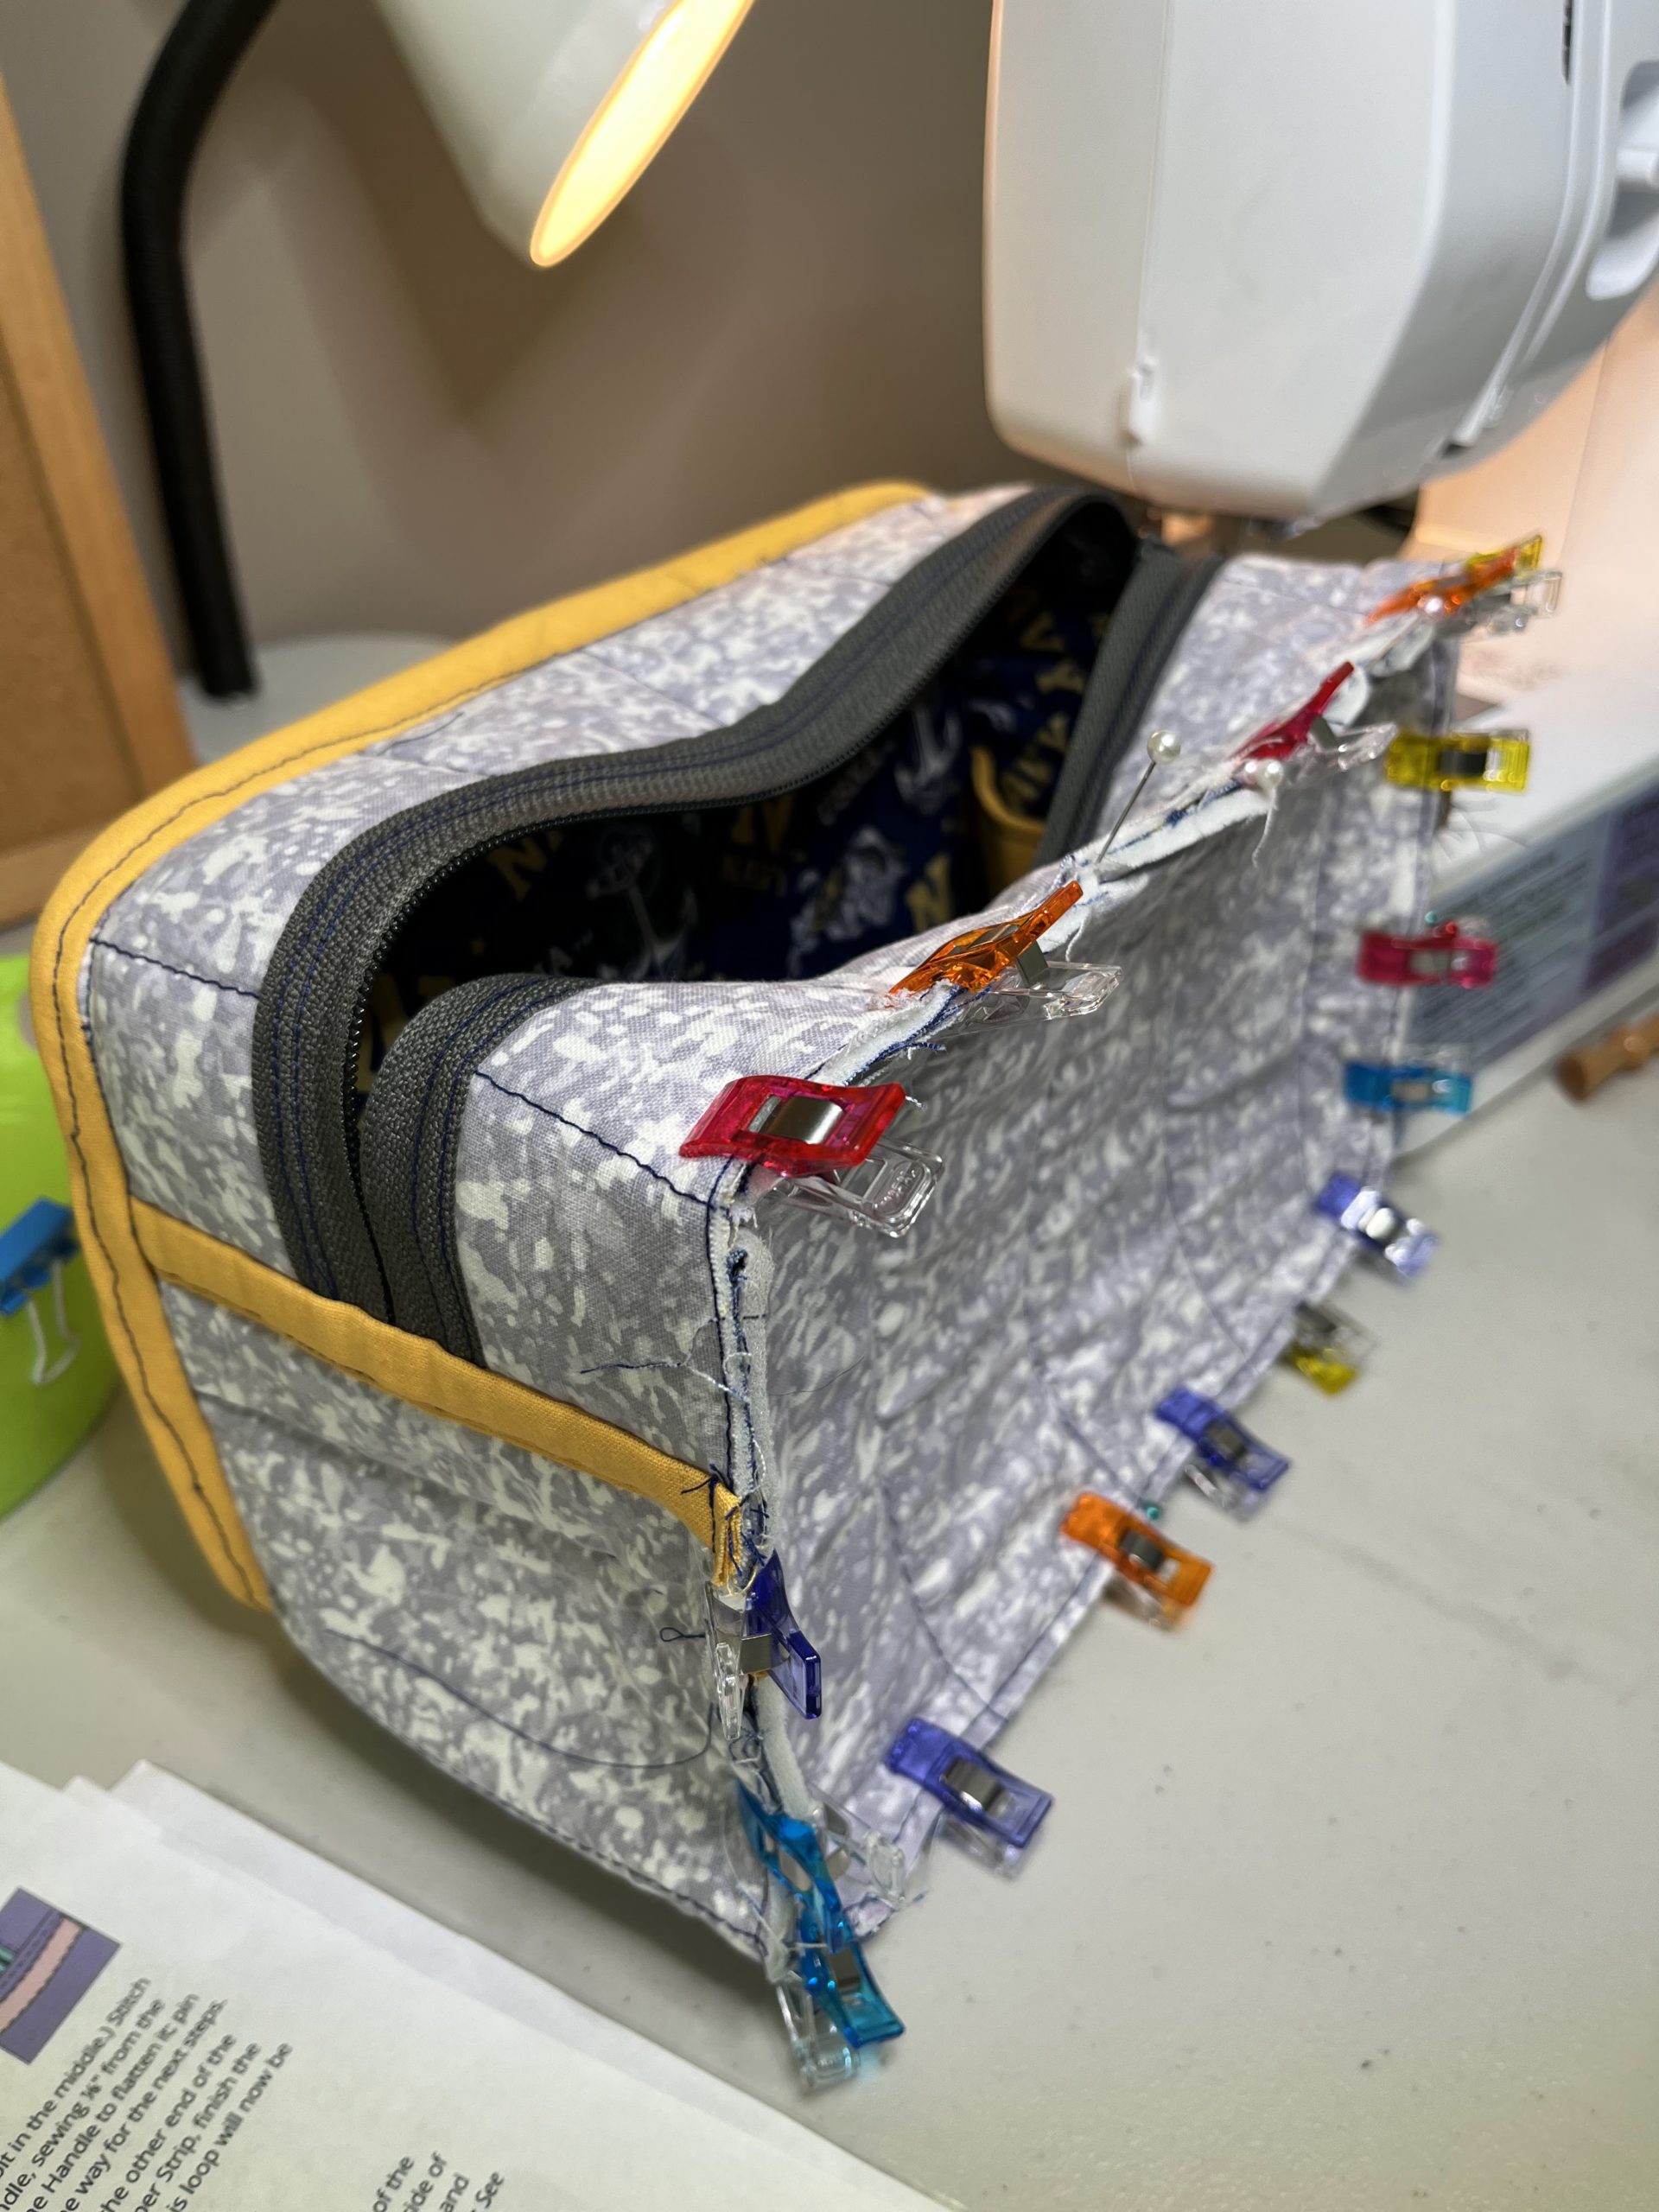
3. Assemble the Bag
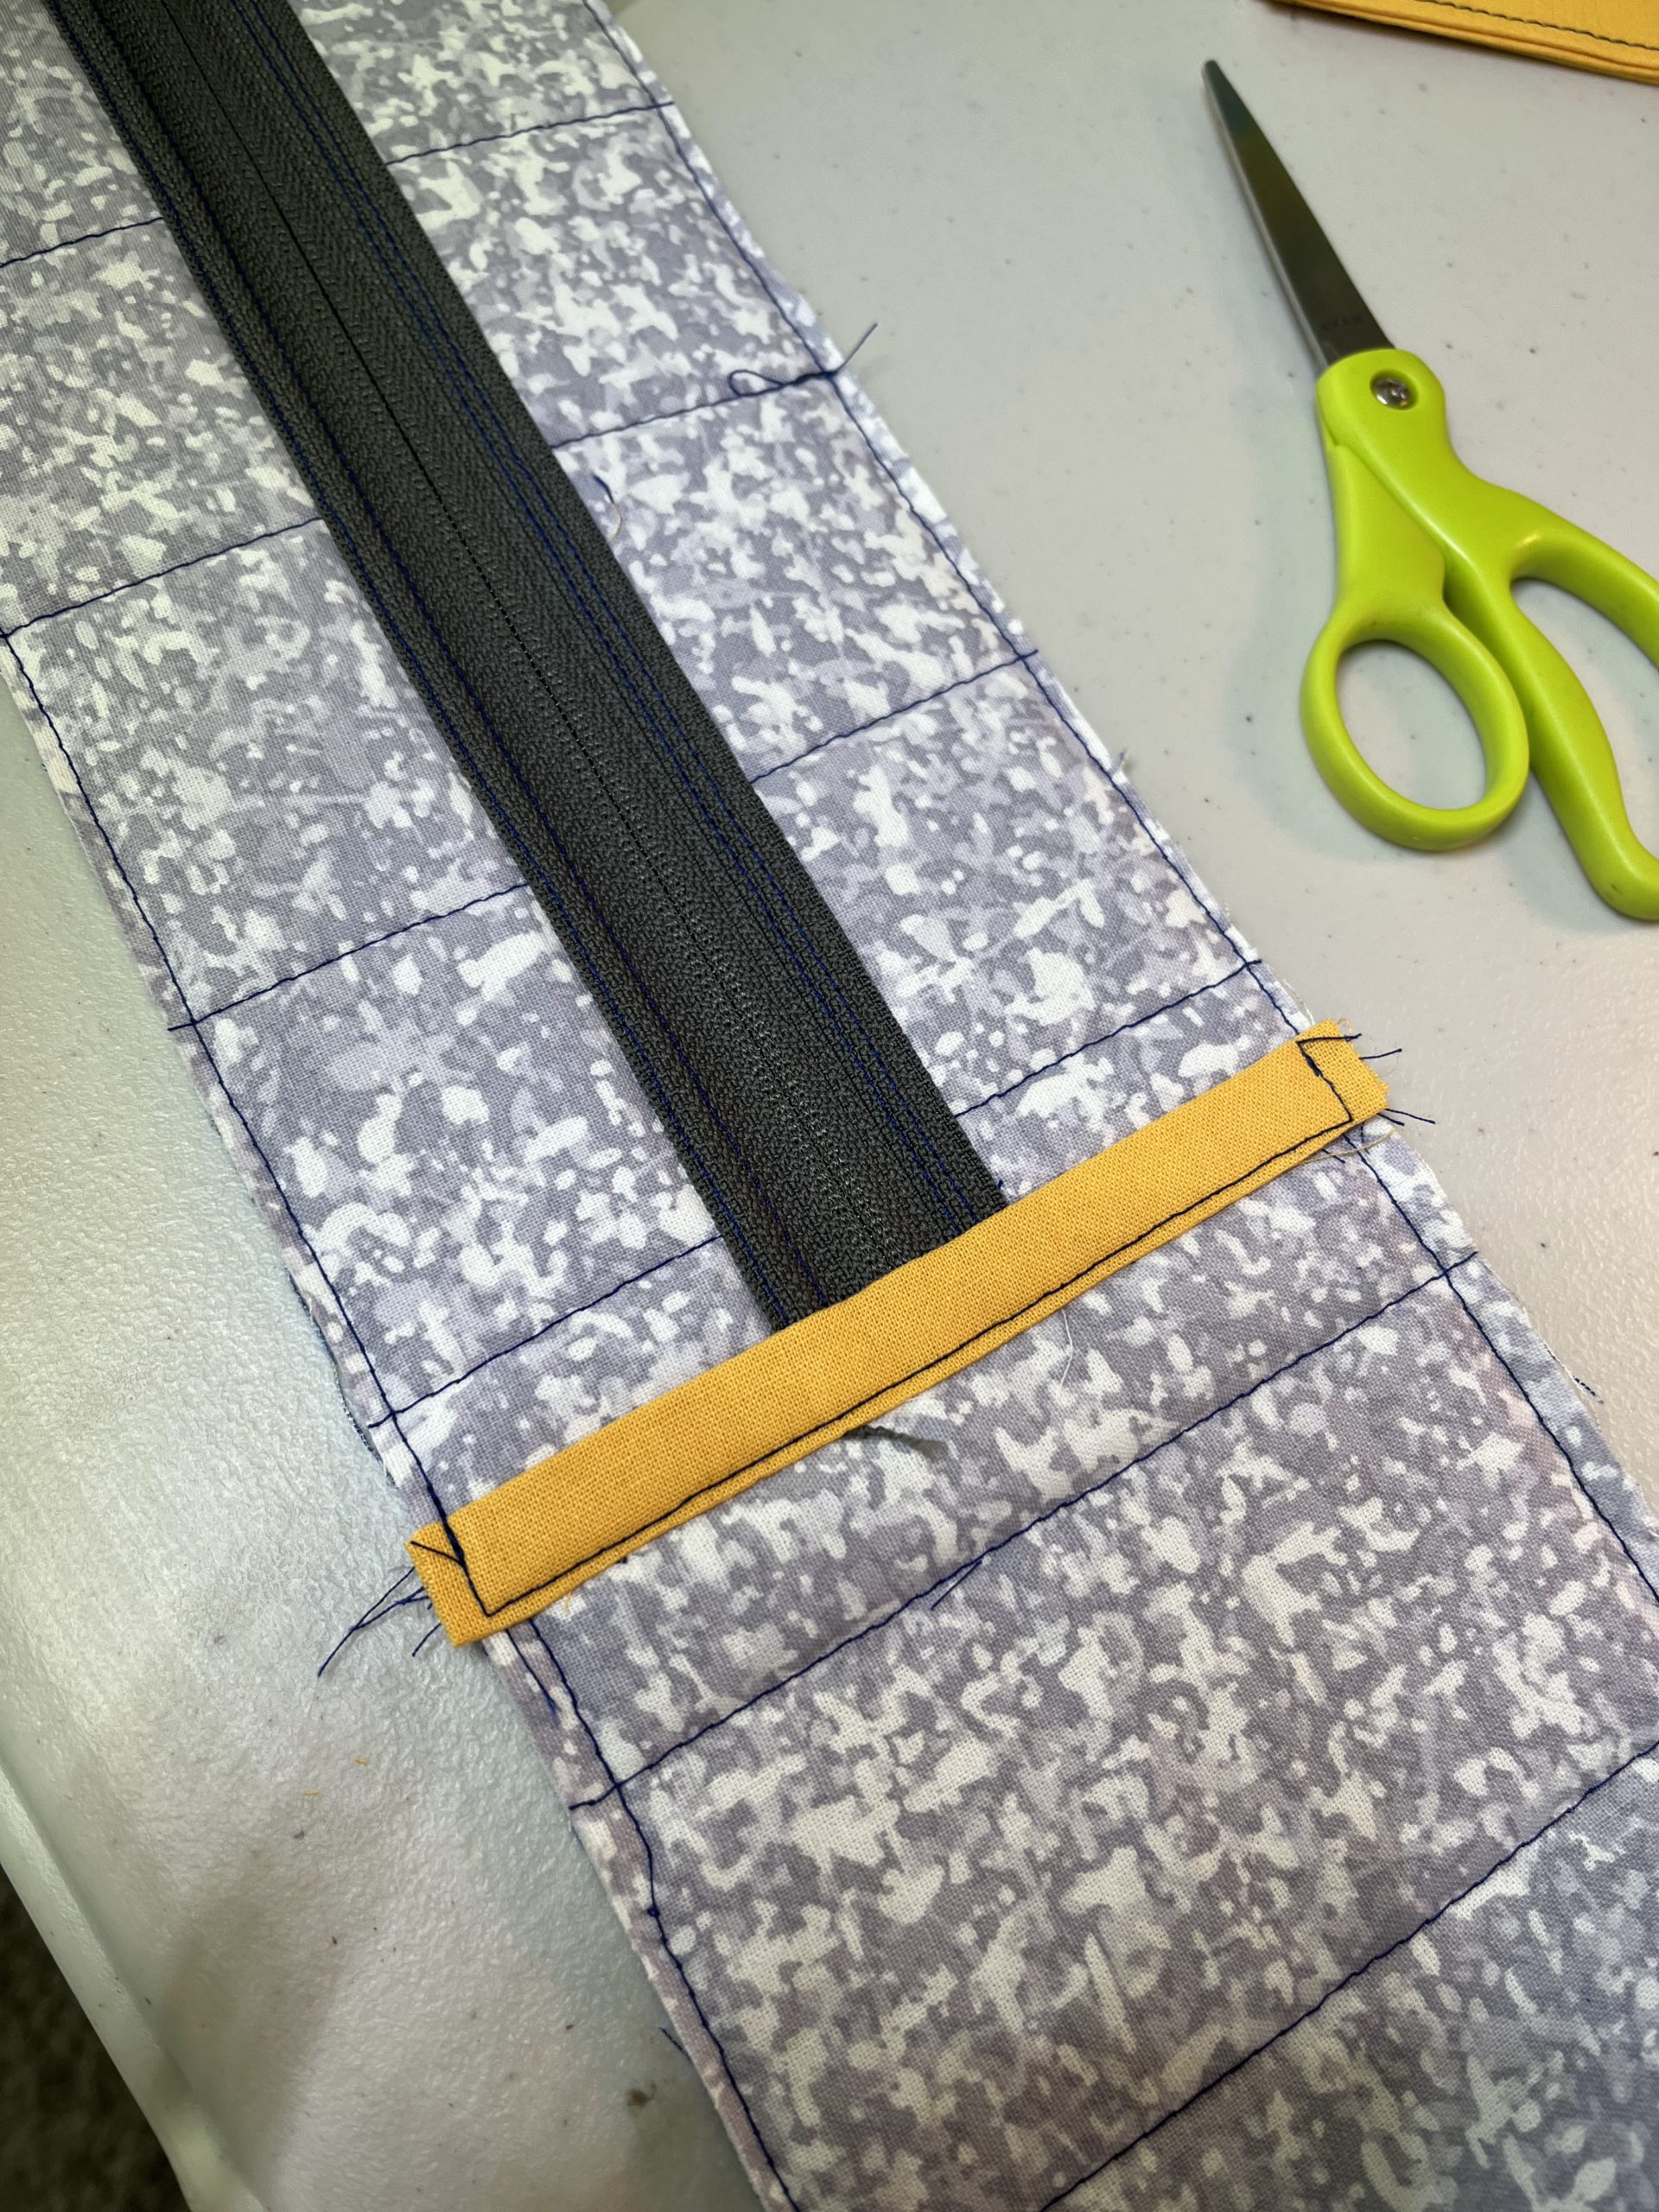
A. Join Pieces and Bind
I know this process looks crazy- there were times I felt like I was wresting a crocodile. Lots of pushing and pulling of the Soft and Stable and sewing some seriously small seams.
Another win for the stiletto
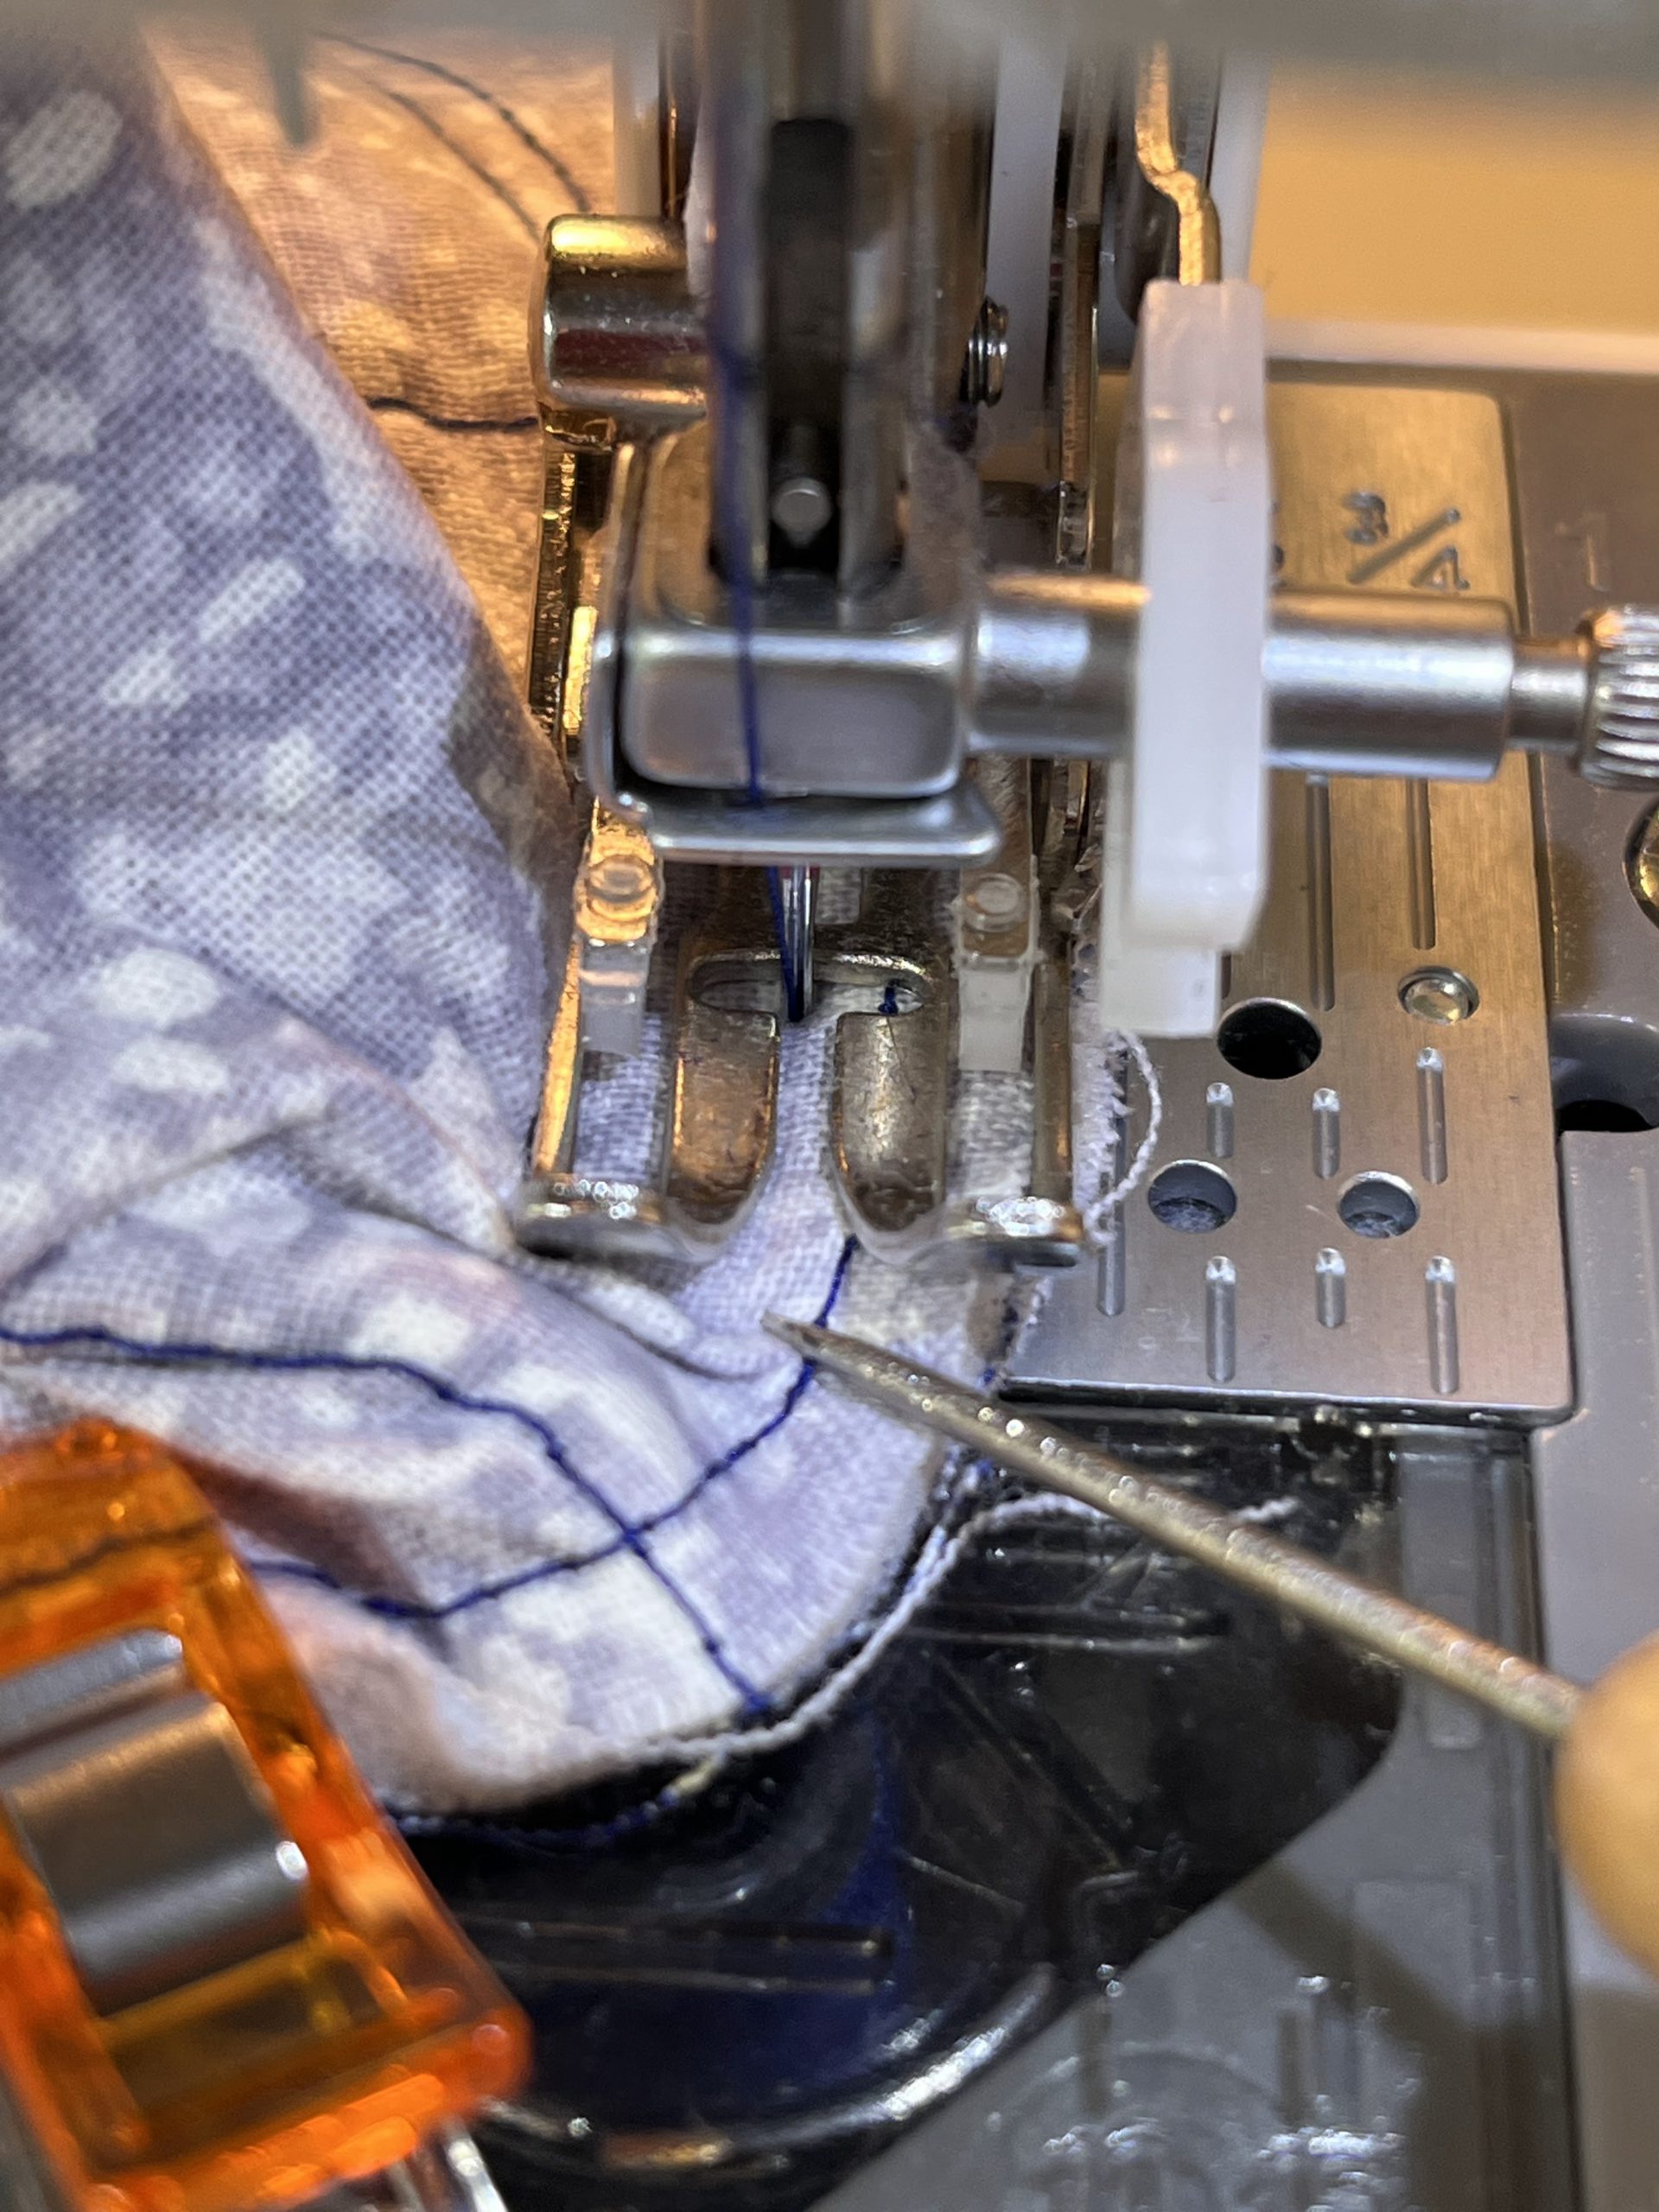
Down to the nitty gritty. Tips:
*Make sure you have enough wonderclips on hand because I only have 14 to my name and you will definitely need them!
*A stiletto is really important to use to help guide the fabric on those small seams and curves. I used an awl the first time and it was fine. Please don’t risk injuring your fingers.
*My biggest and largest tip is to BE PATIENT! This is not your typical zippered pouch. This bag took me 3 days to complete. I broke up the steps because one could only concentrate on small seams for so long before your back hurts or you get cross eyed.
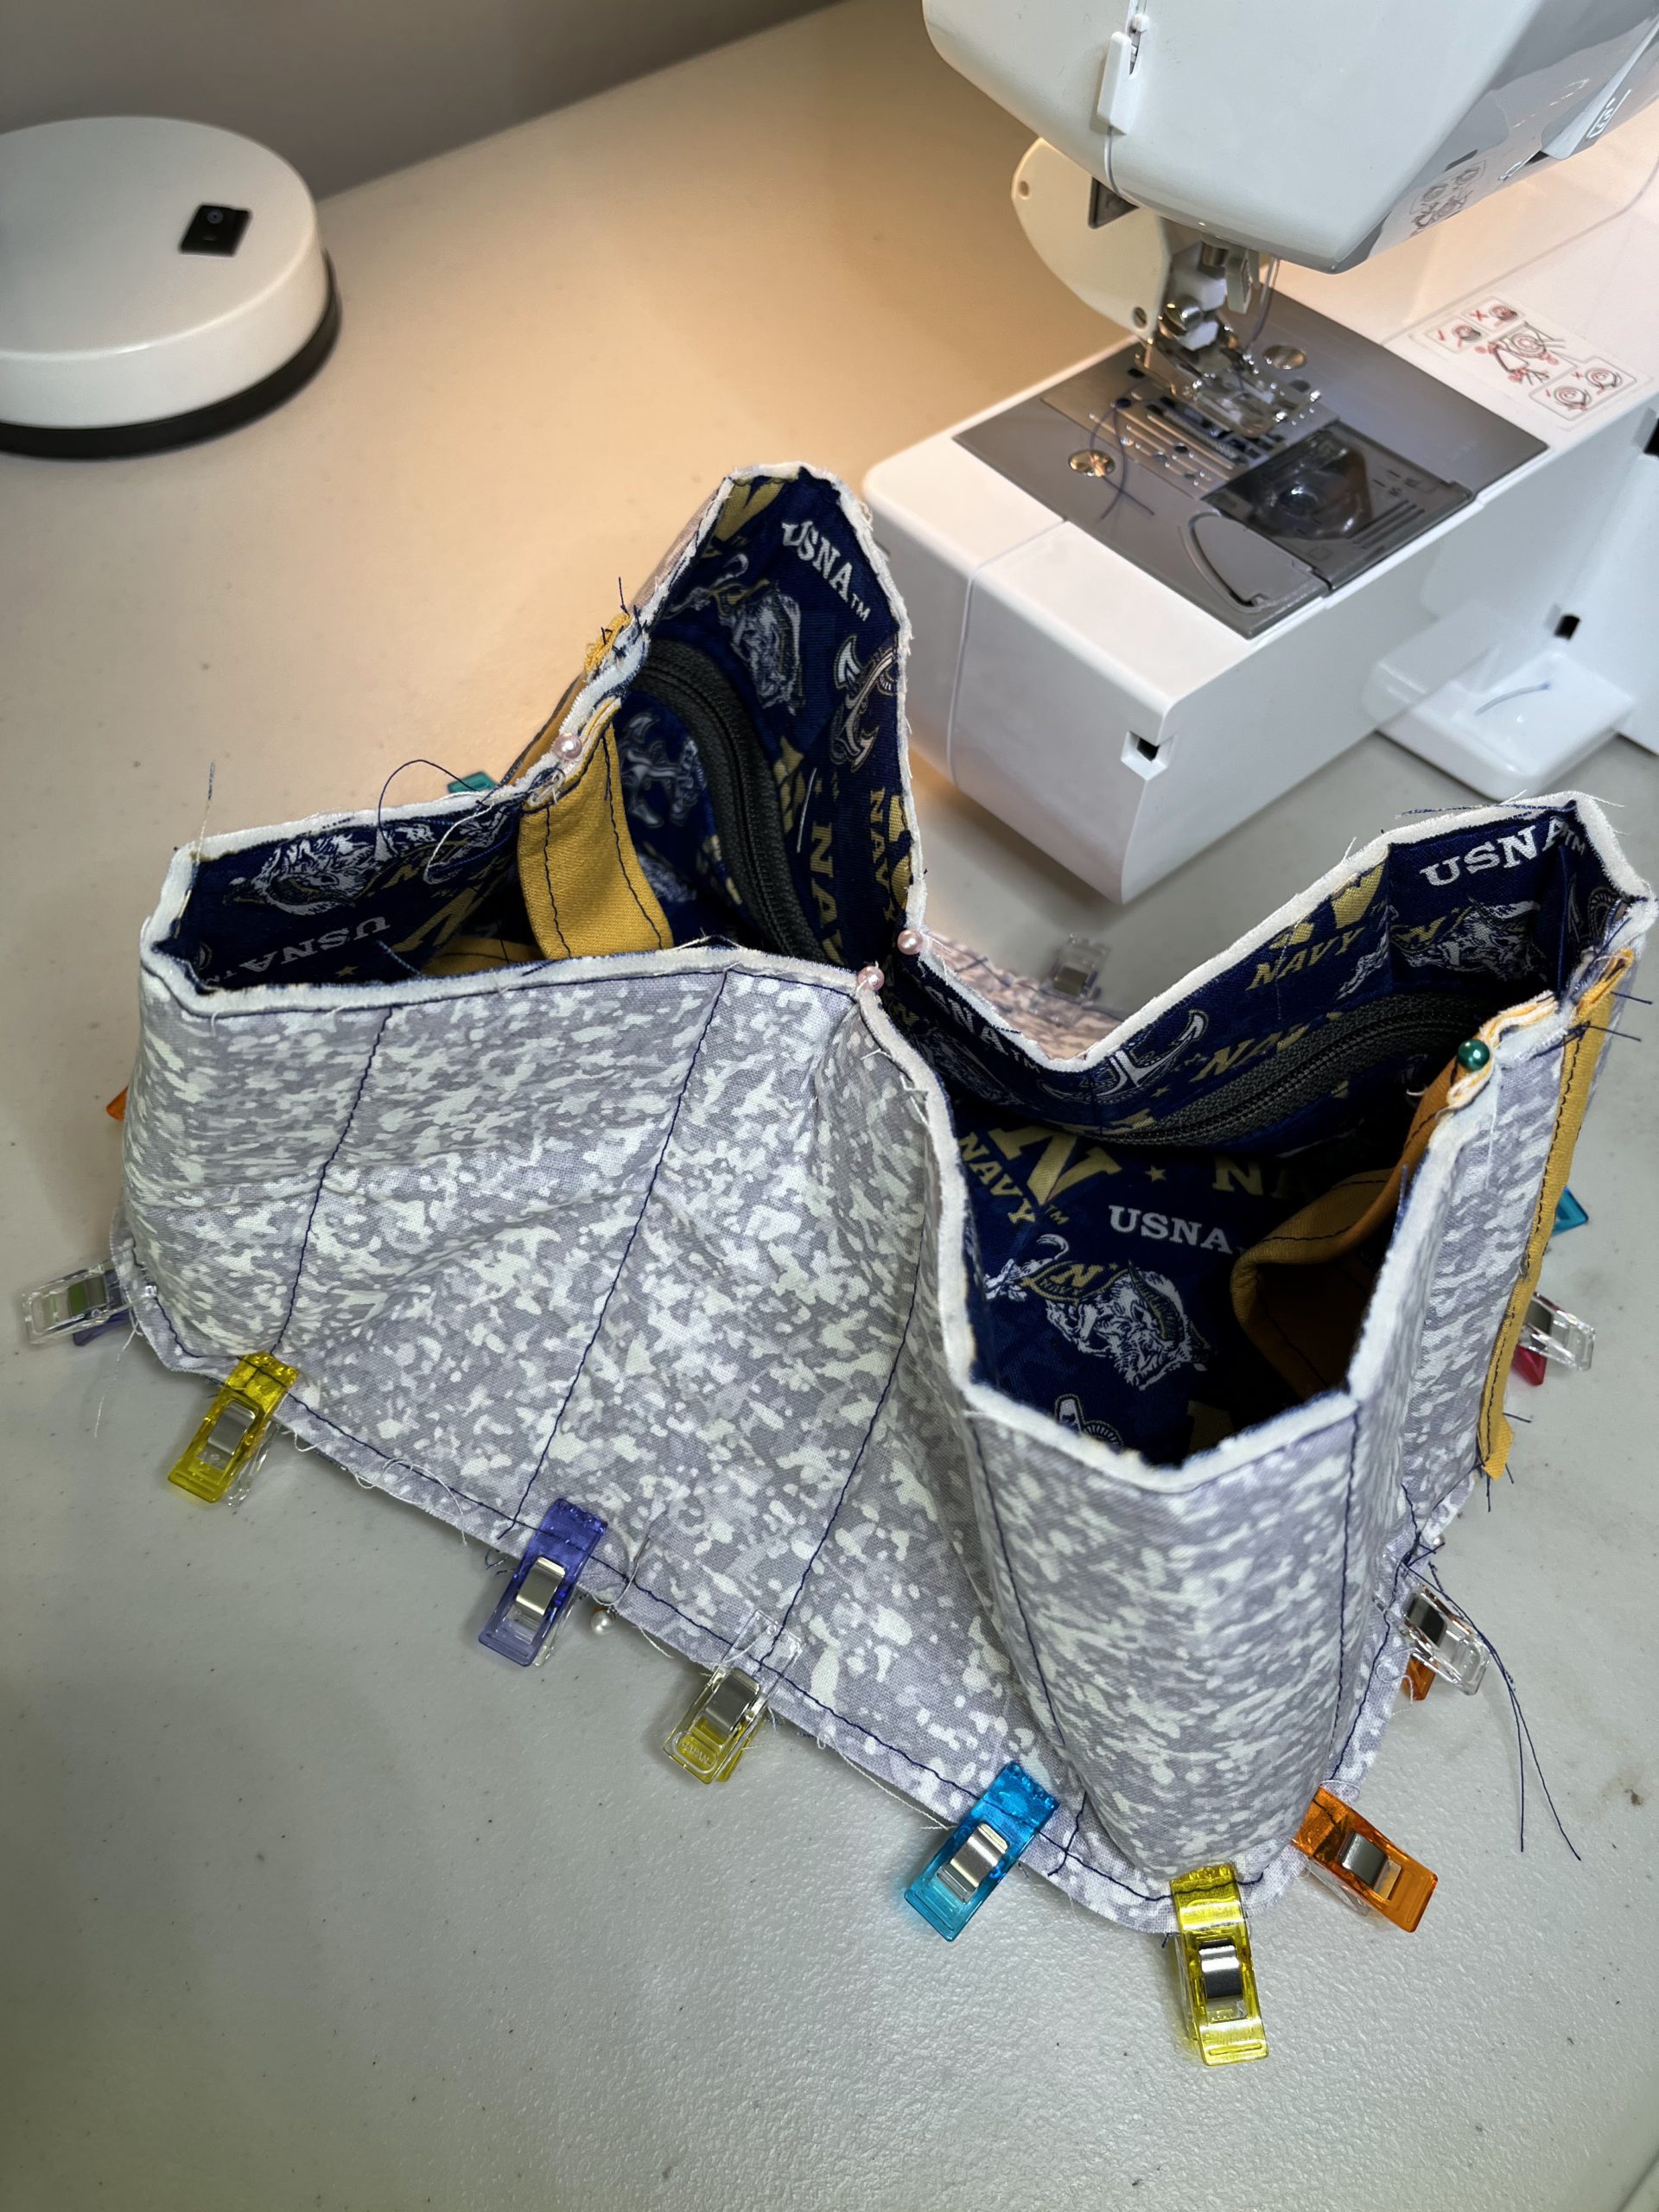
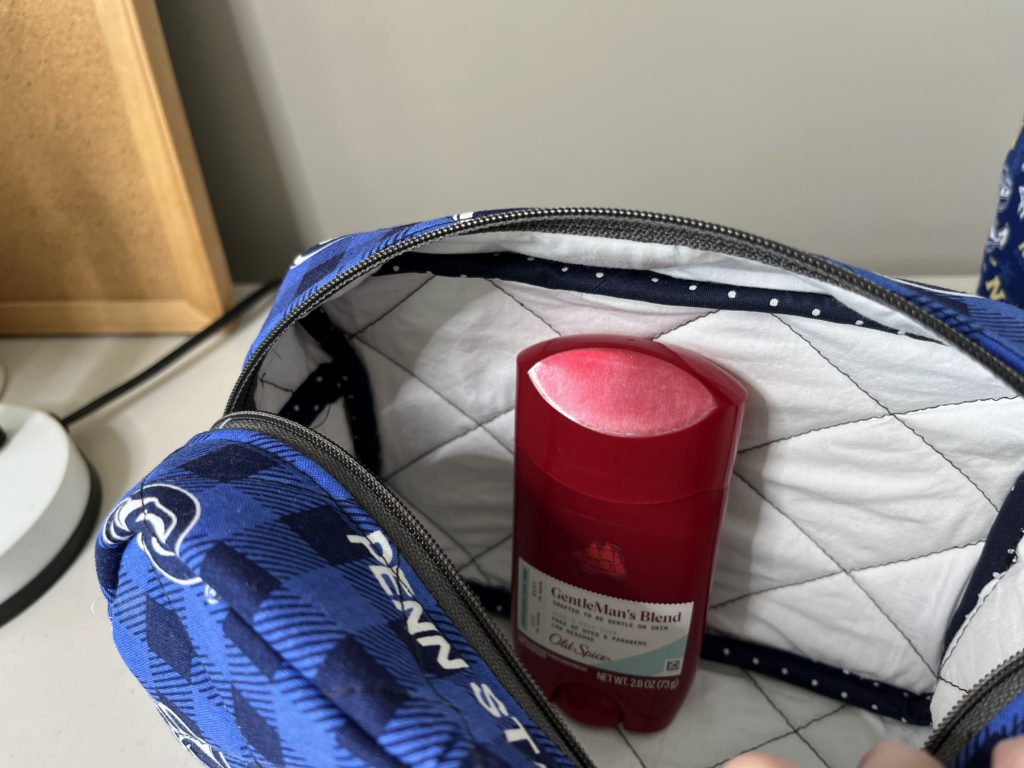
Apparently one of the hallmarks of ByAnnie patterns is that all the raw edges are bound. I am a big time fan of this-look at that clean inside.

So satisfying! 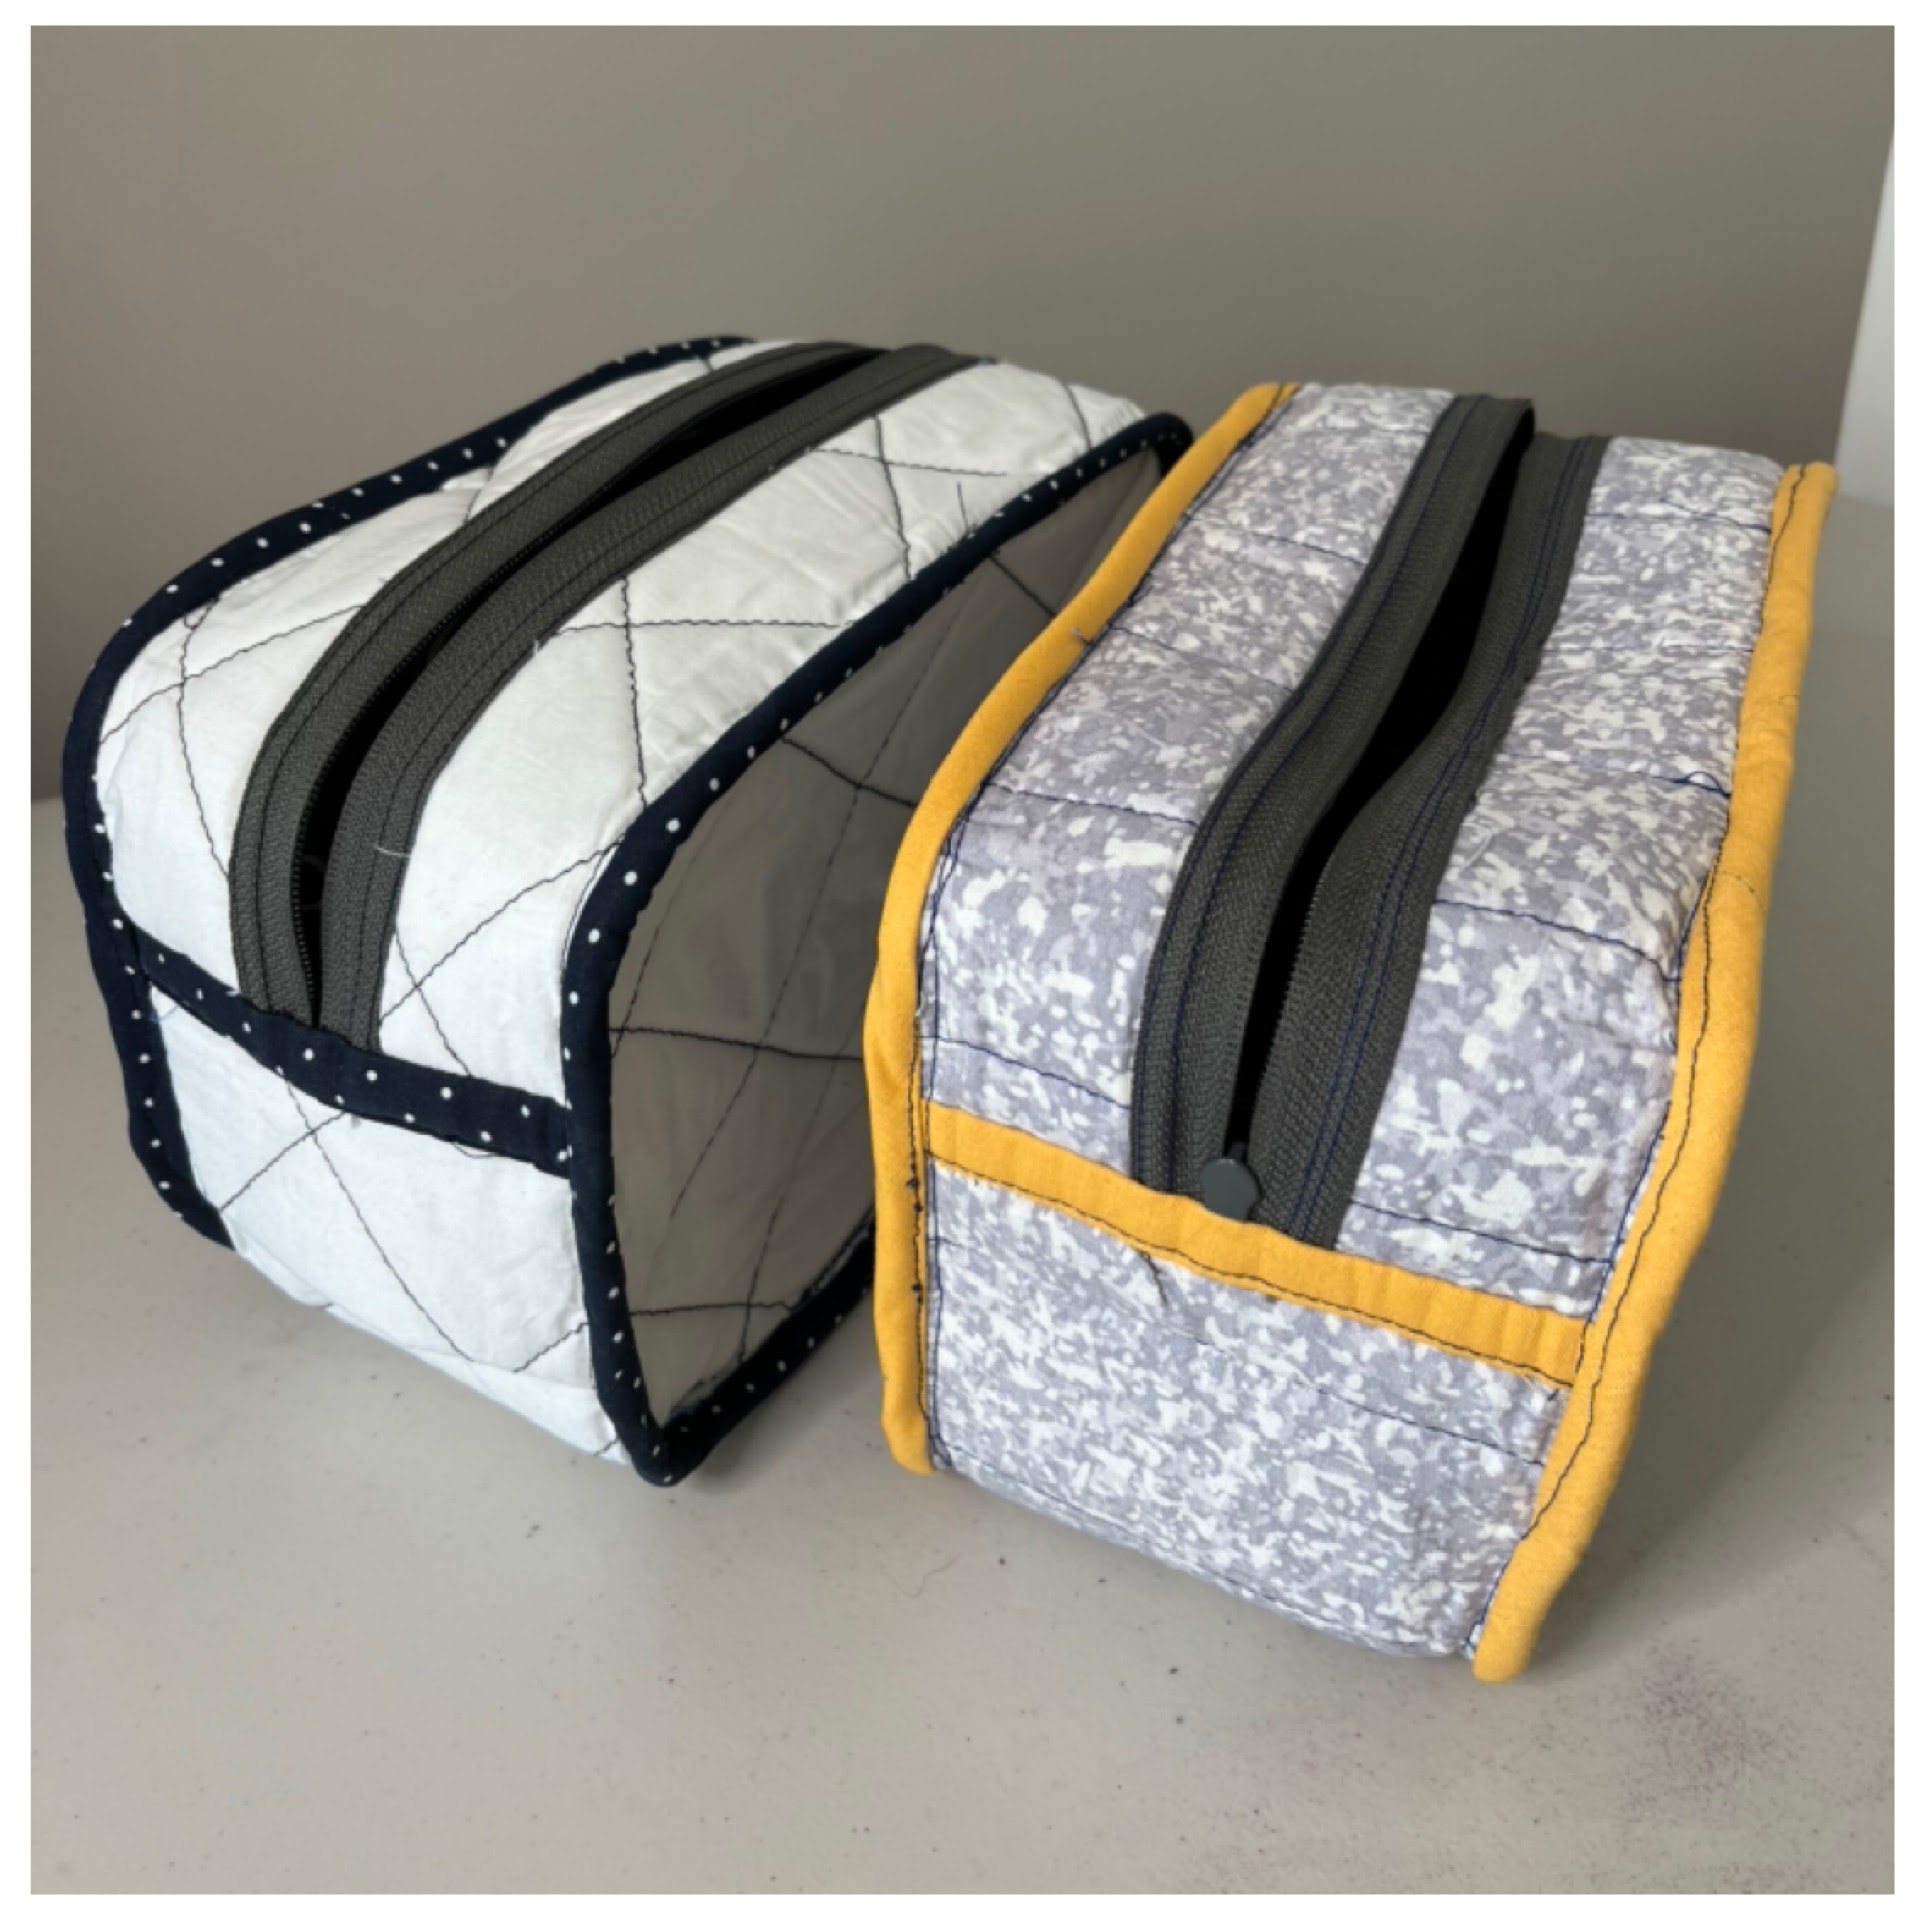
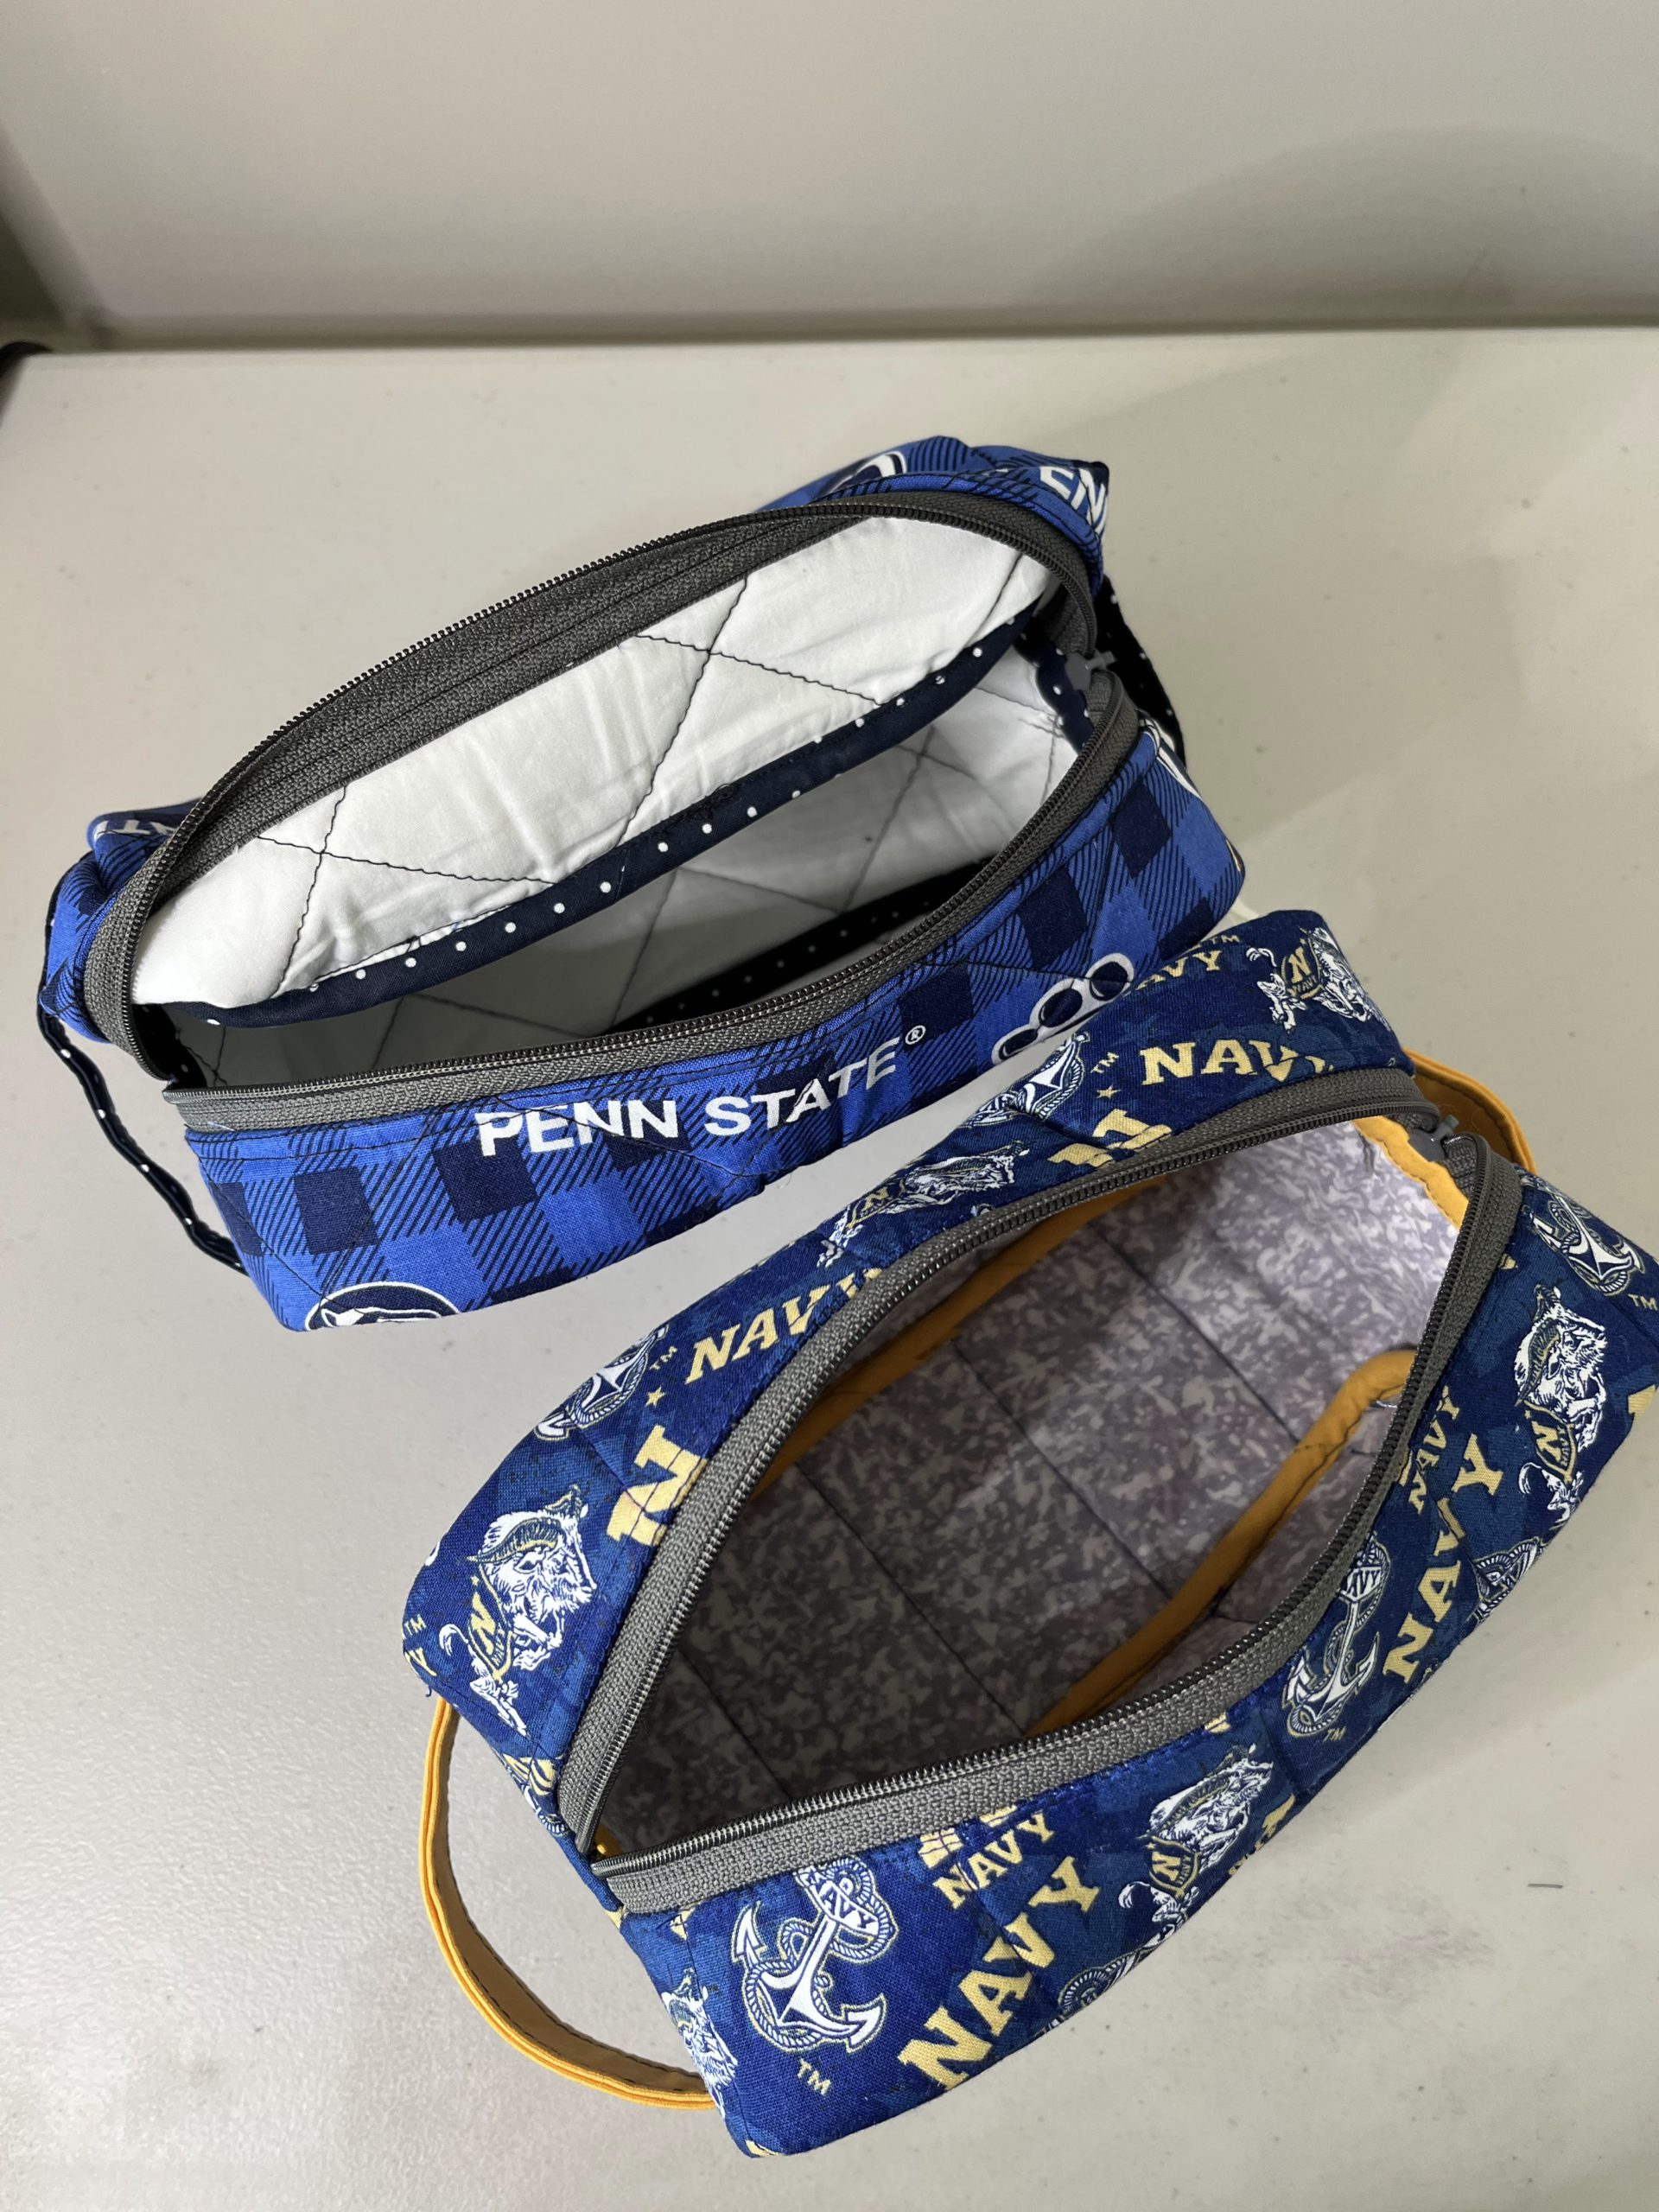
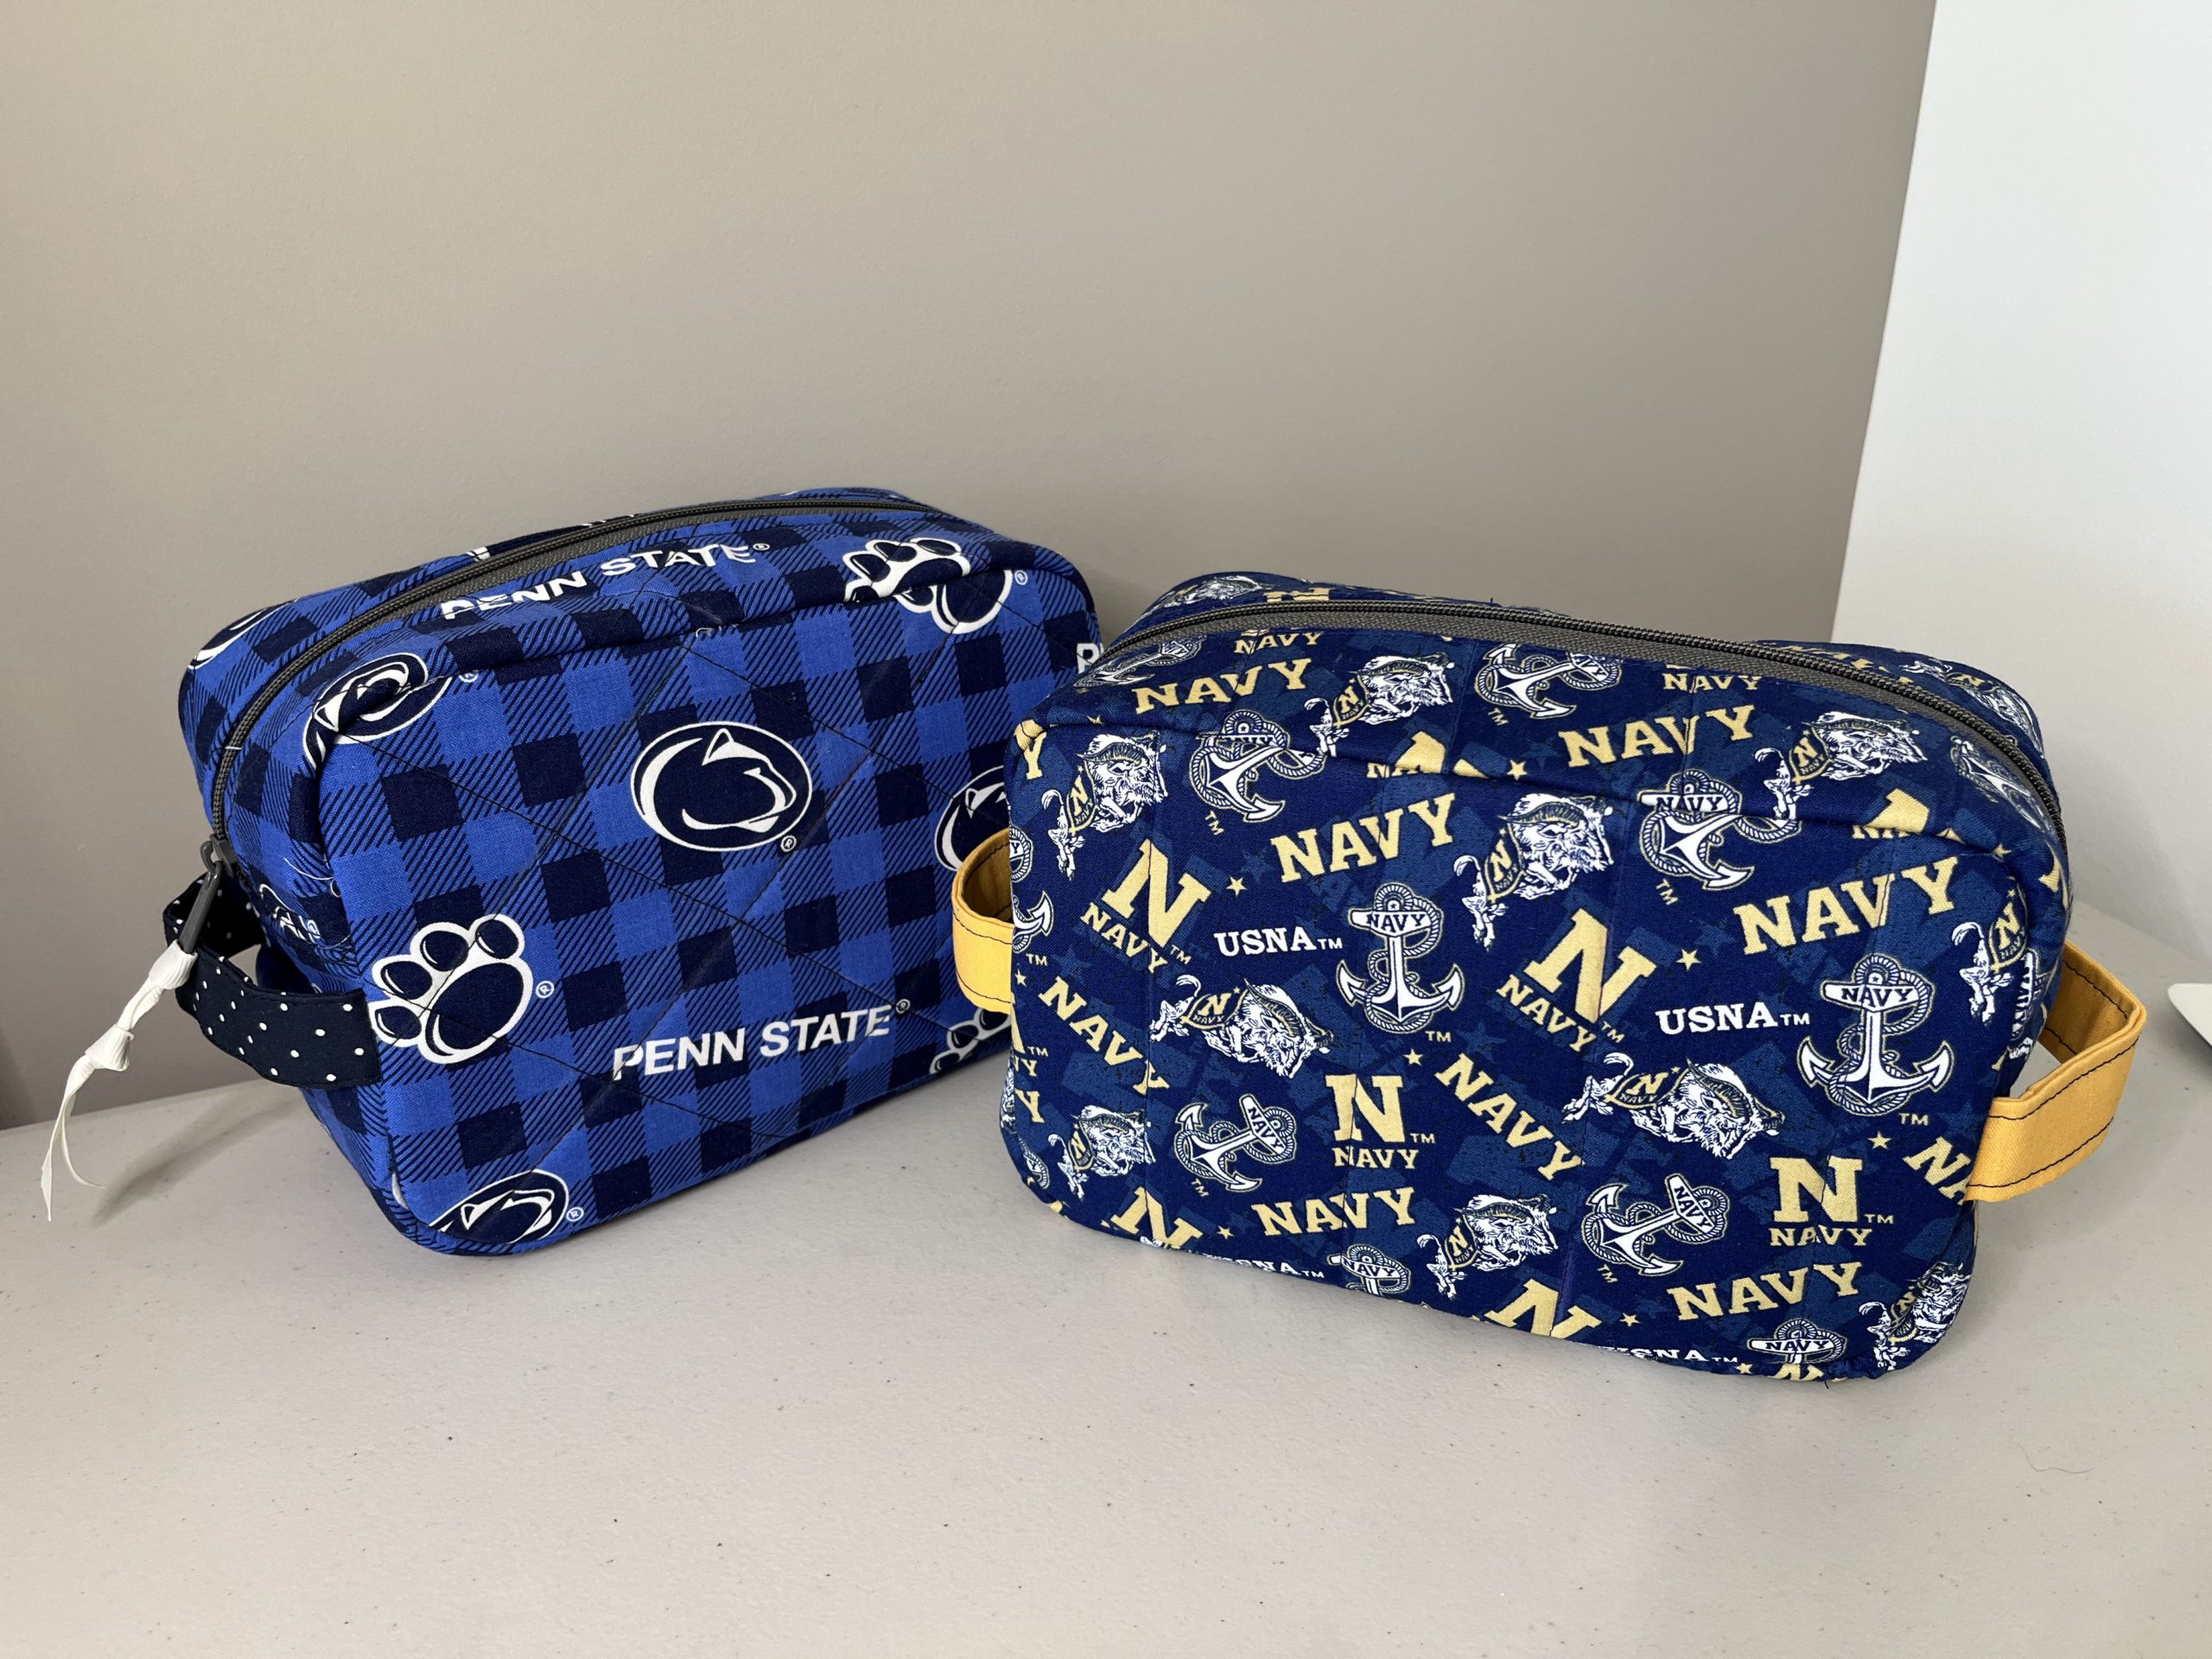
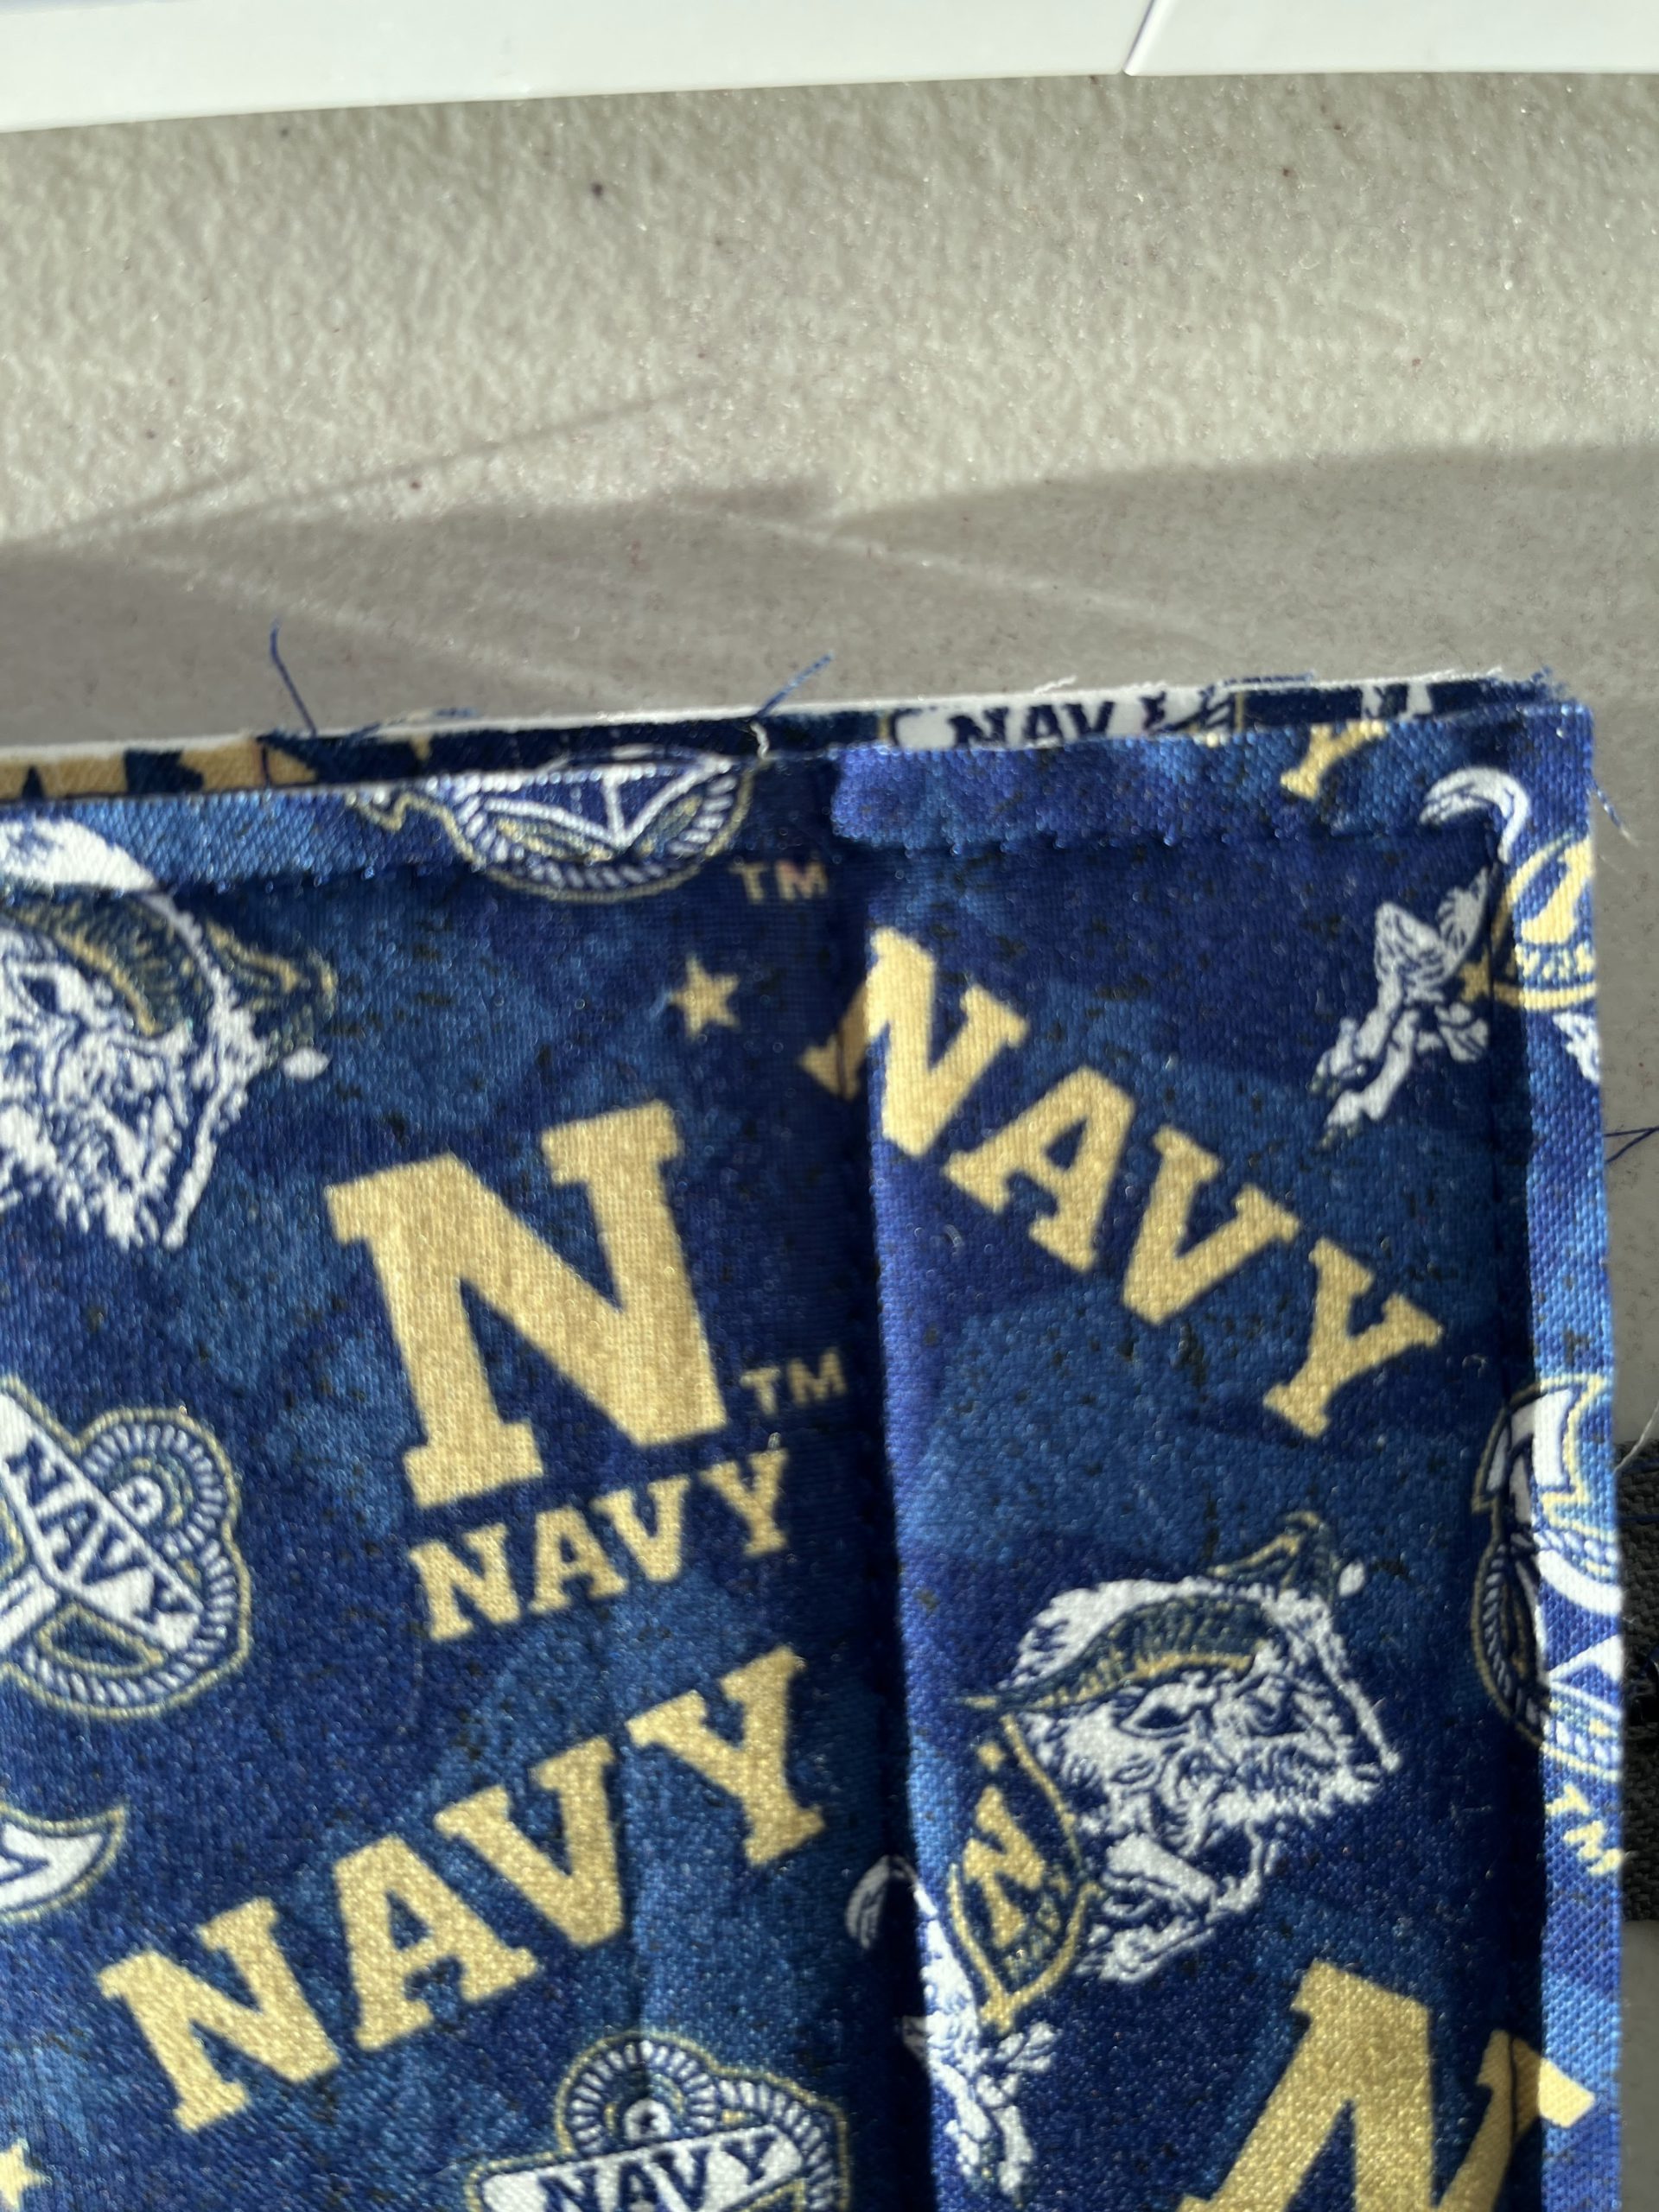
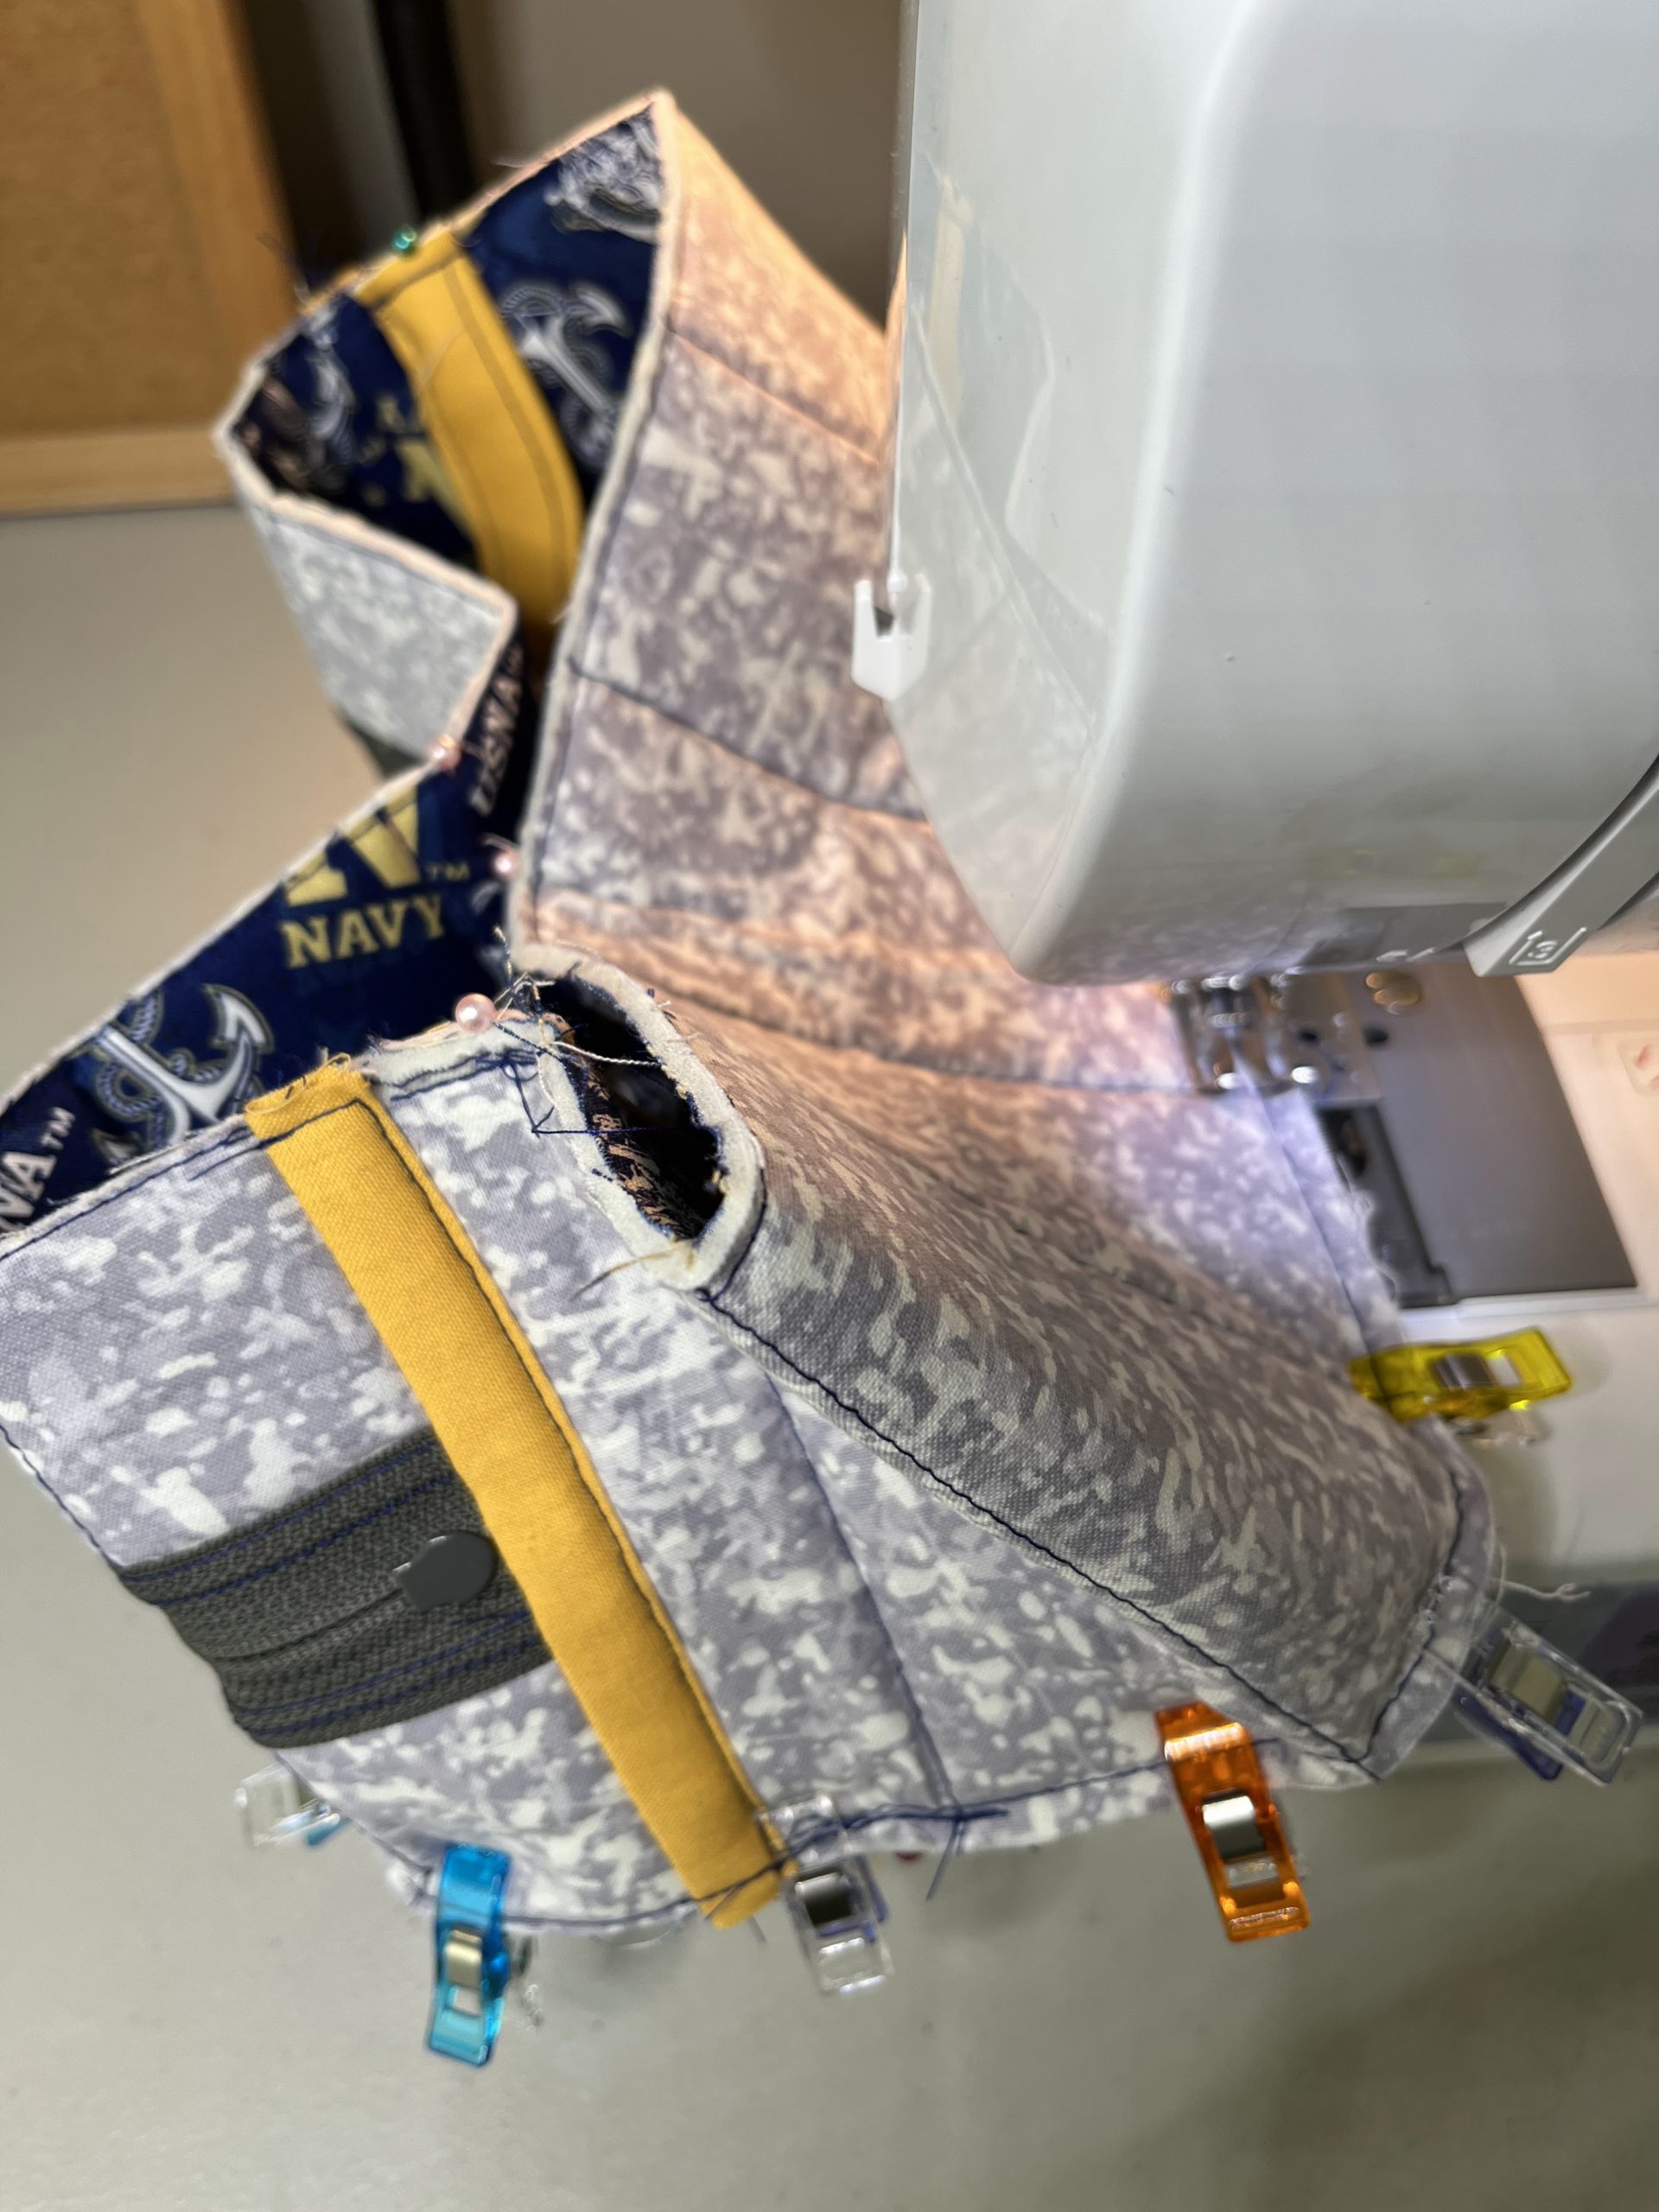
My Penn State bag somehow ended up being a little bit longer in length so I created a small pocket under the handle. The Naval Academy bag was sewn exactly as the instructions. A lot of the mistakes are easily fixable as long as you’re not in a rush.
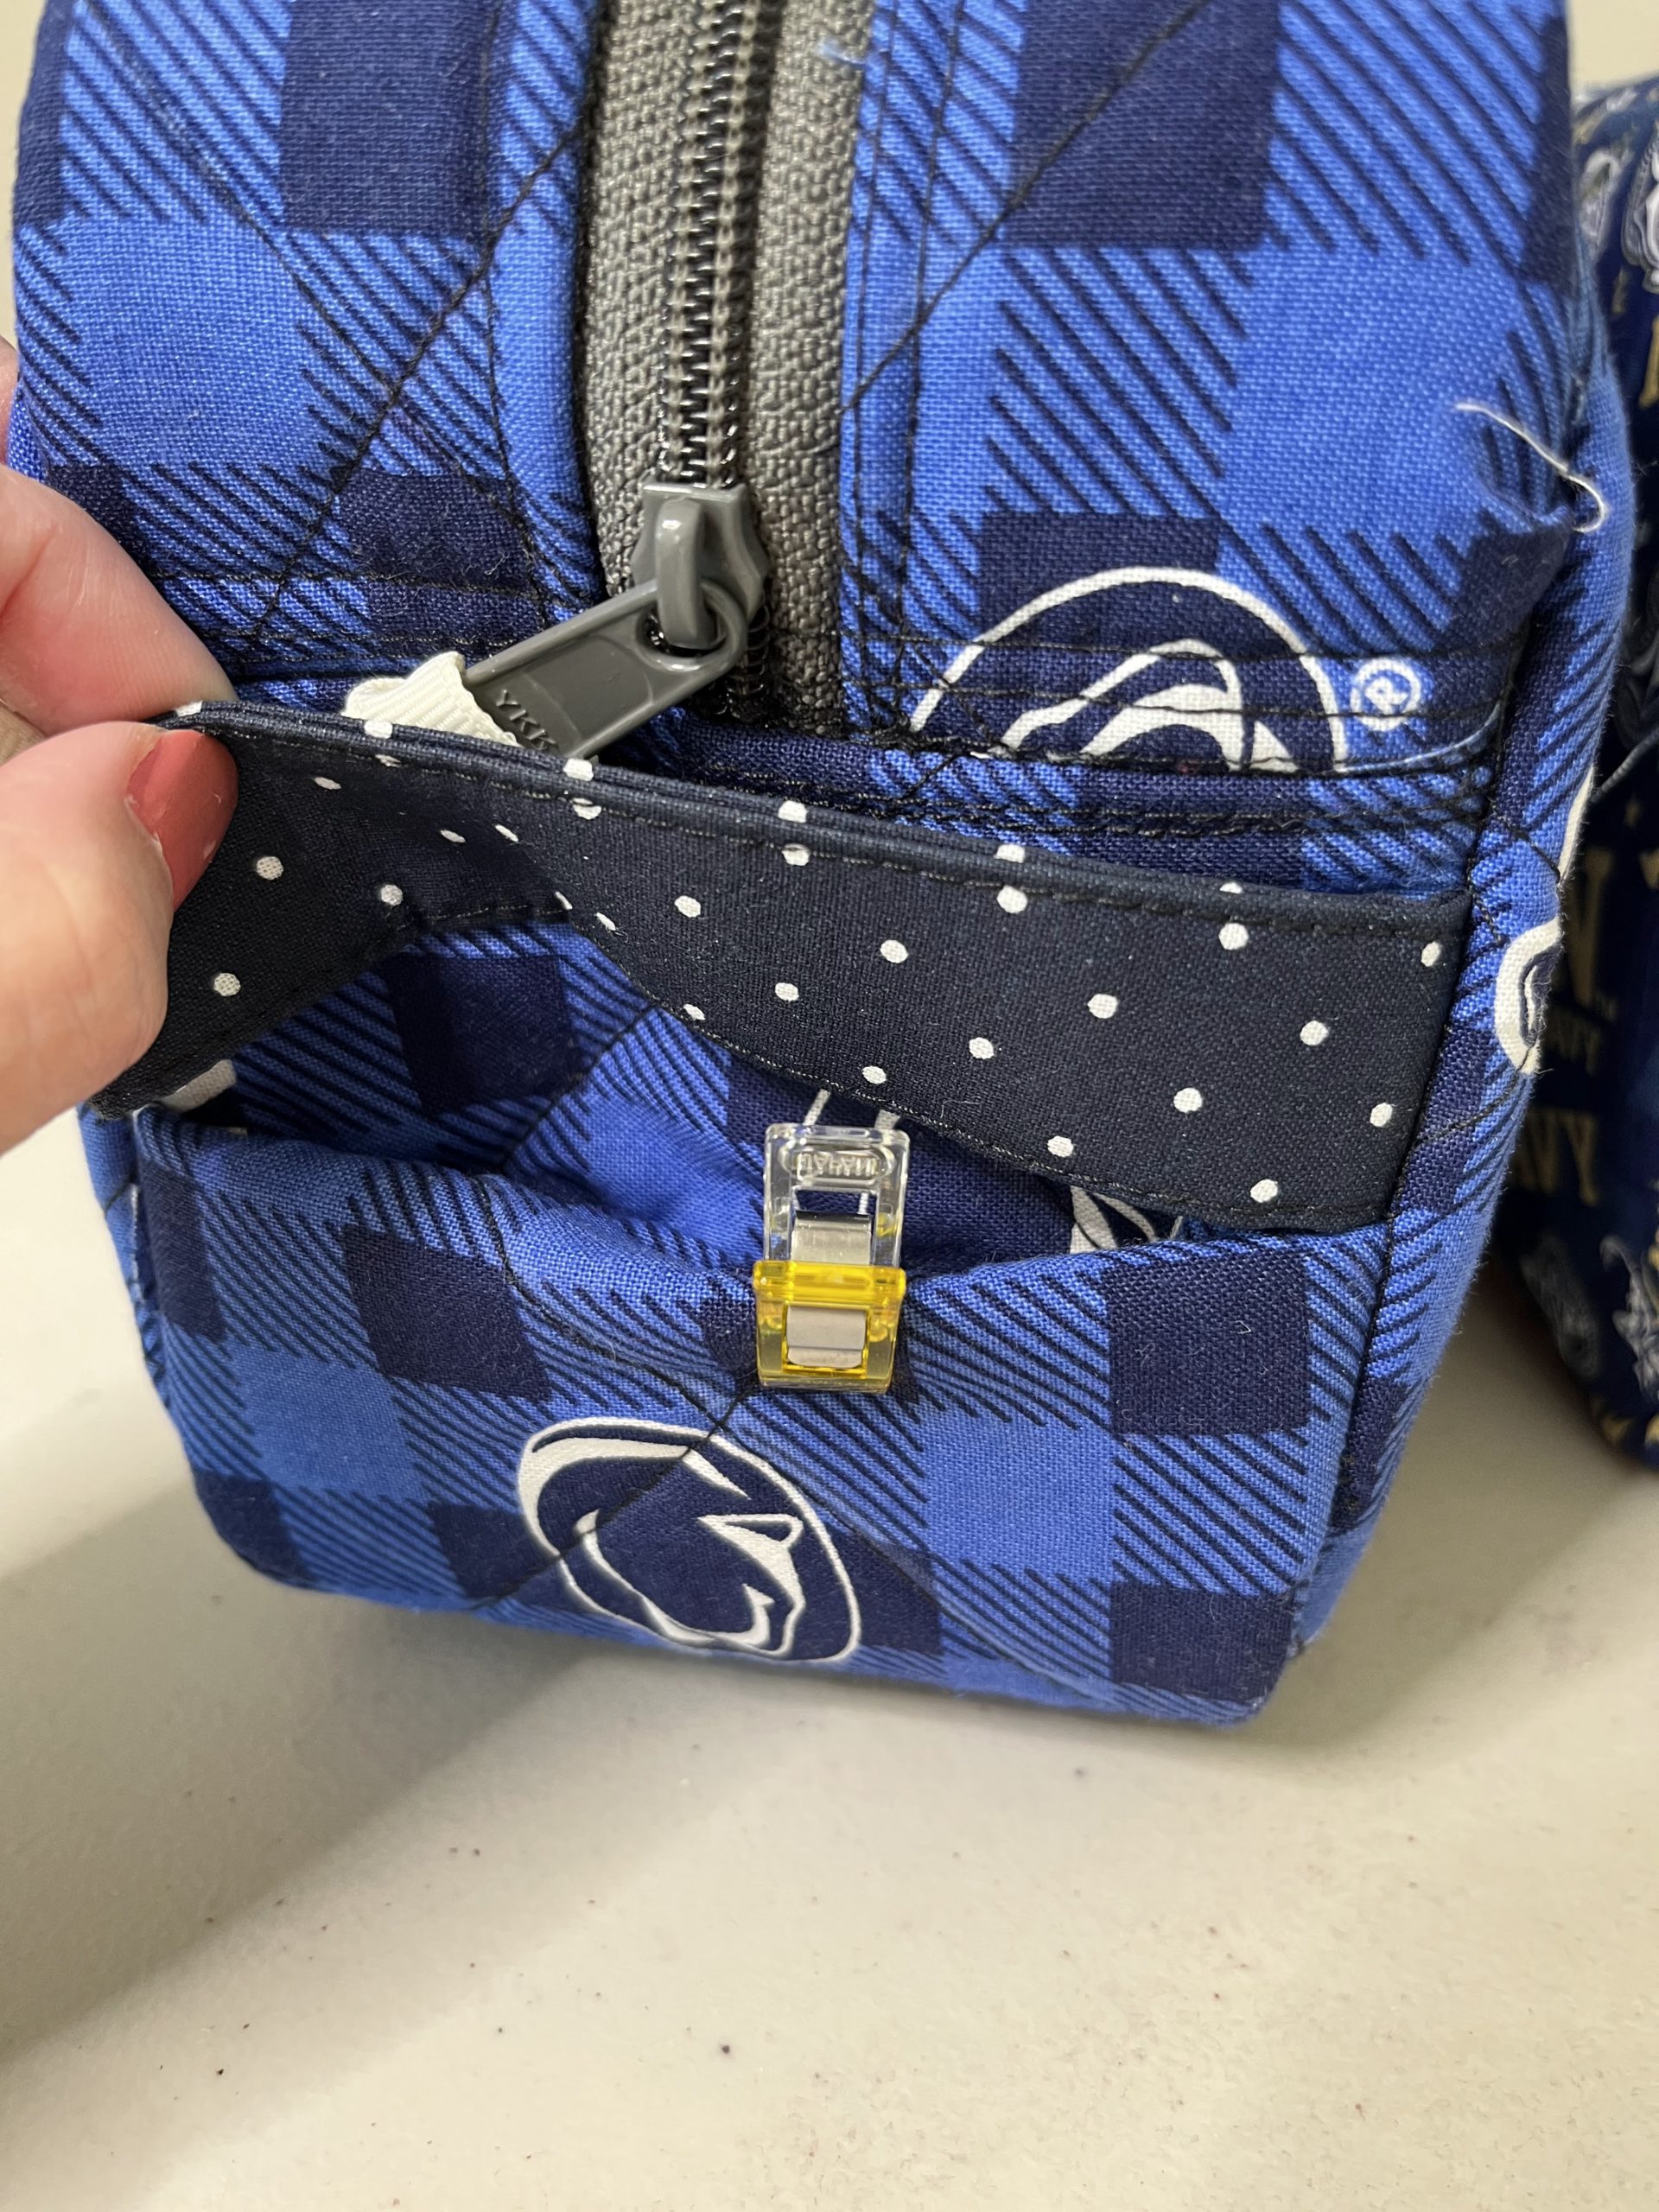
Clipped to show the pocket- my mistake seems like a design mod, haha 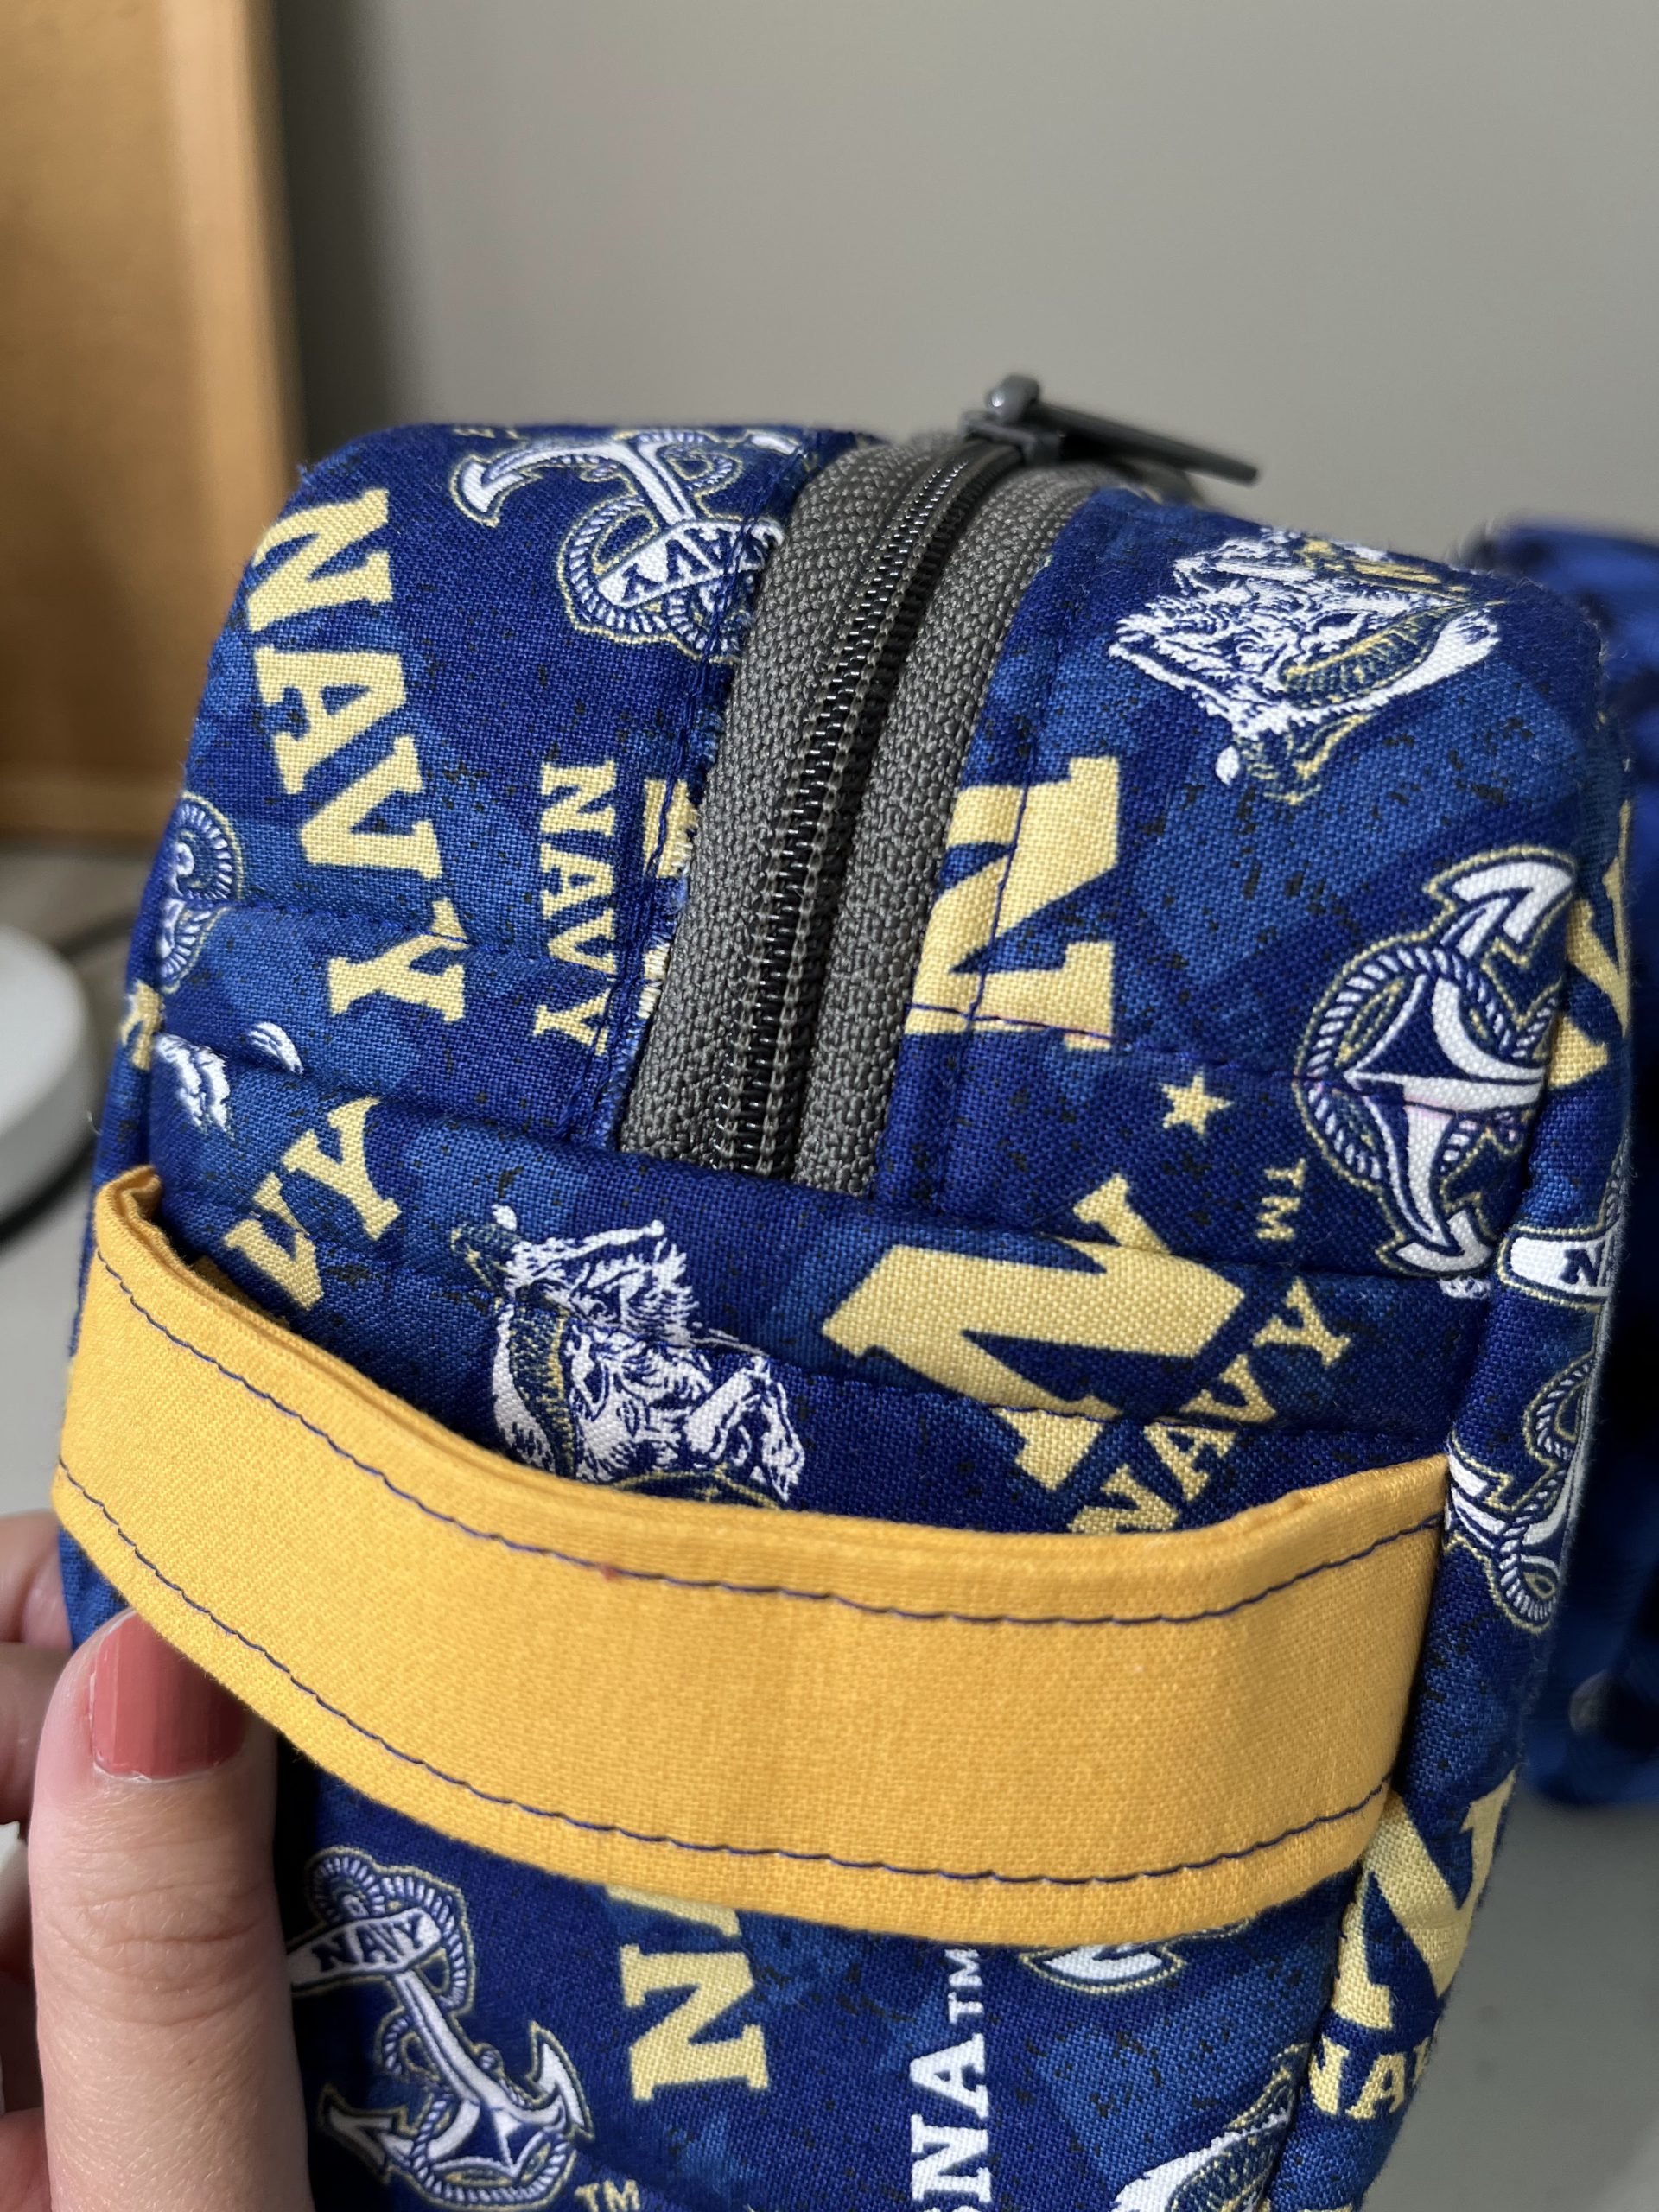
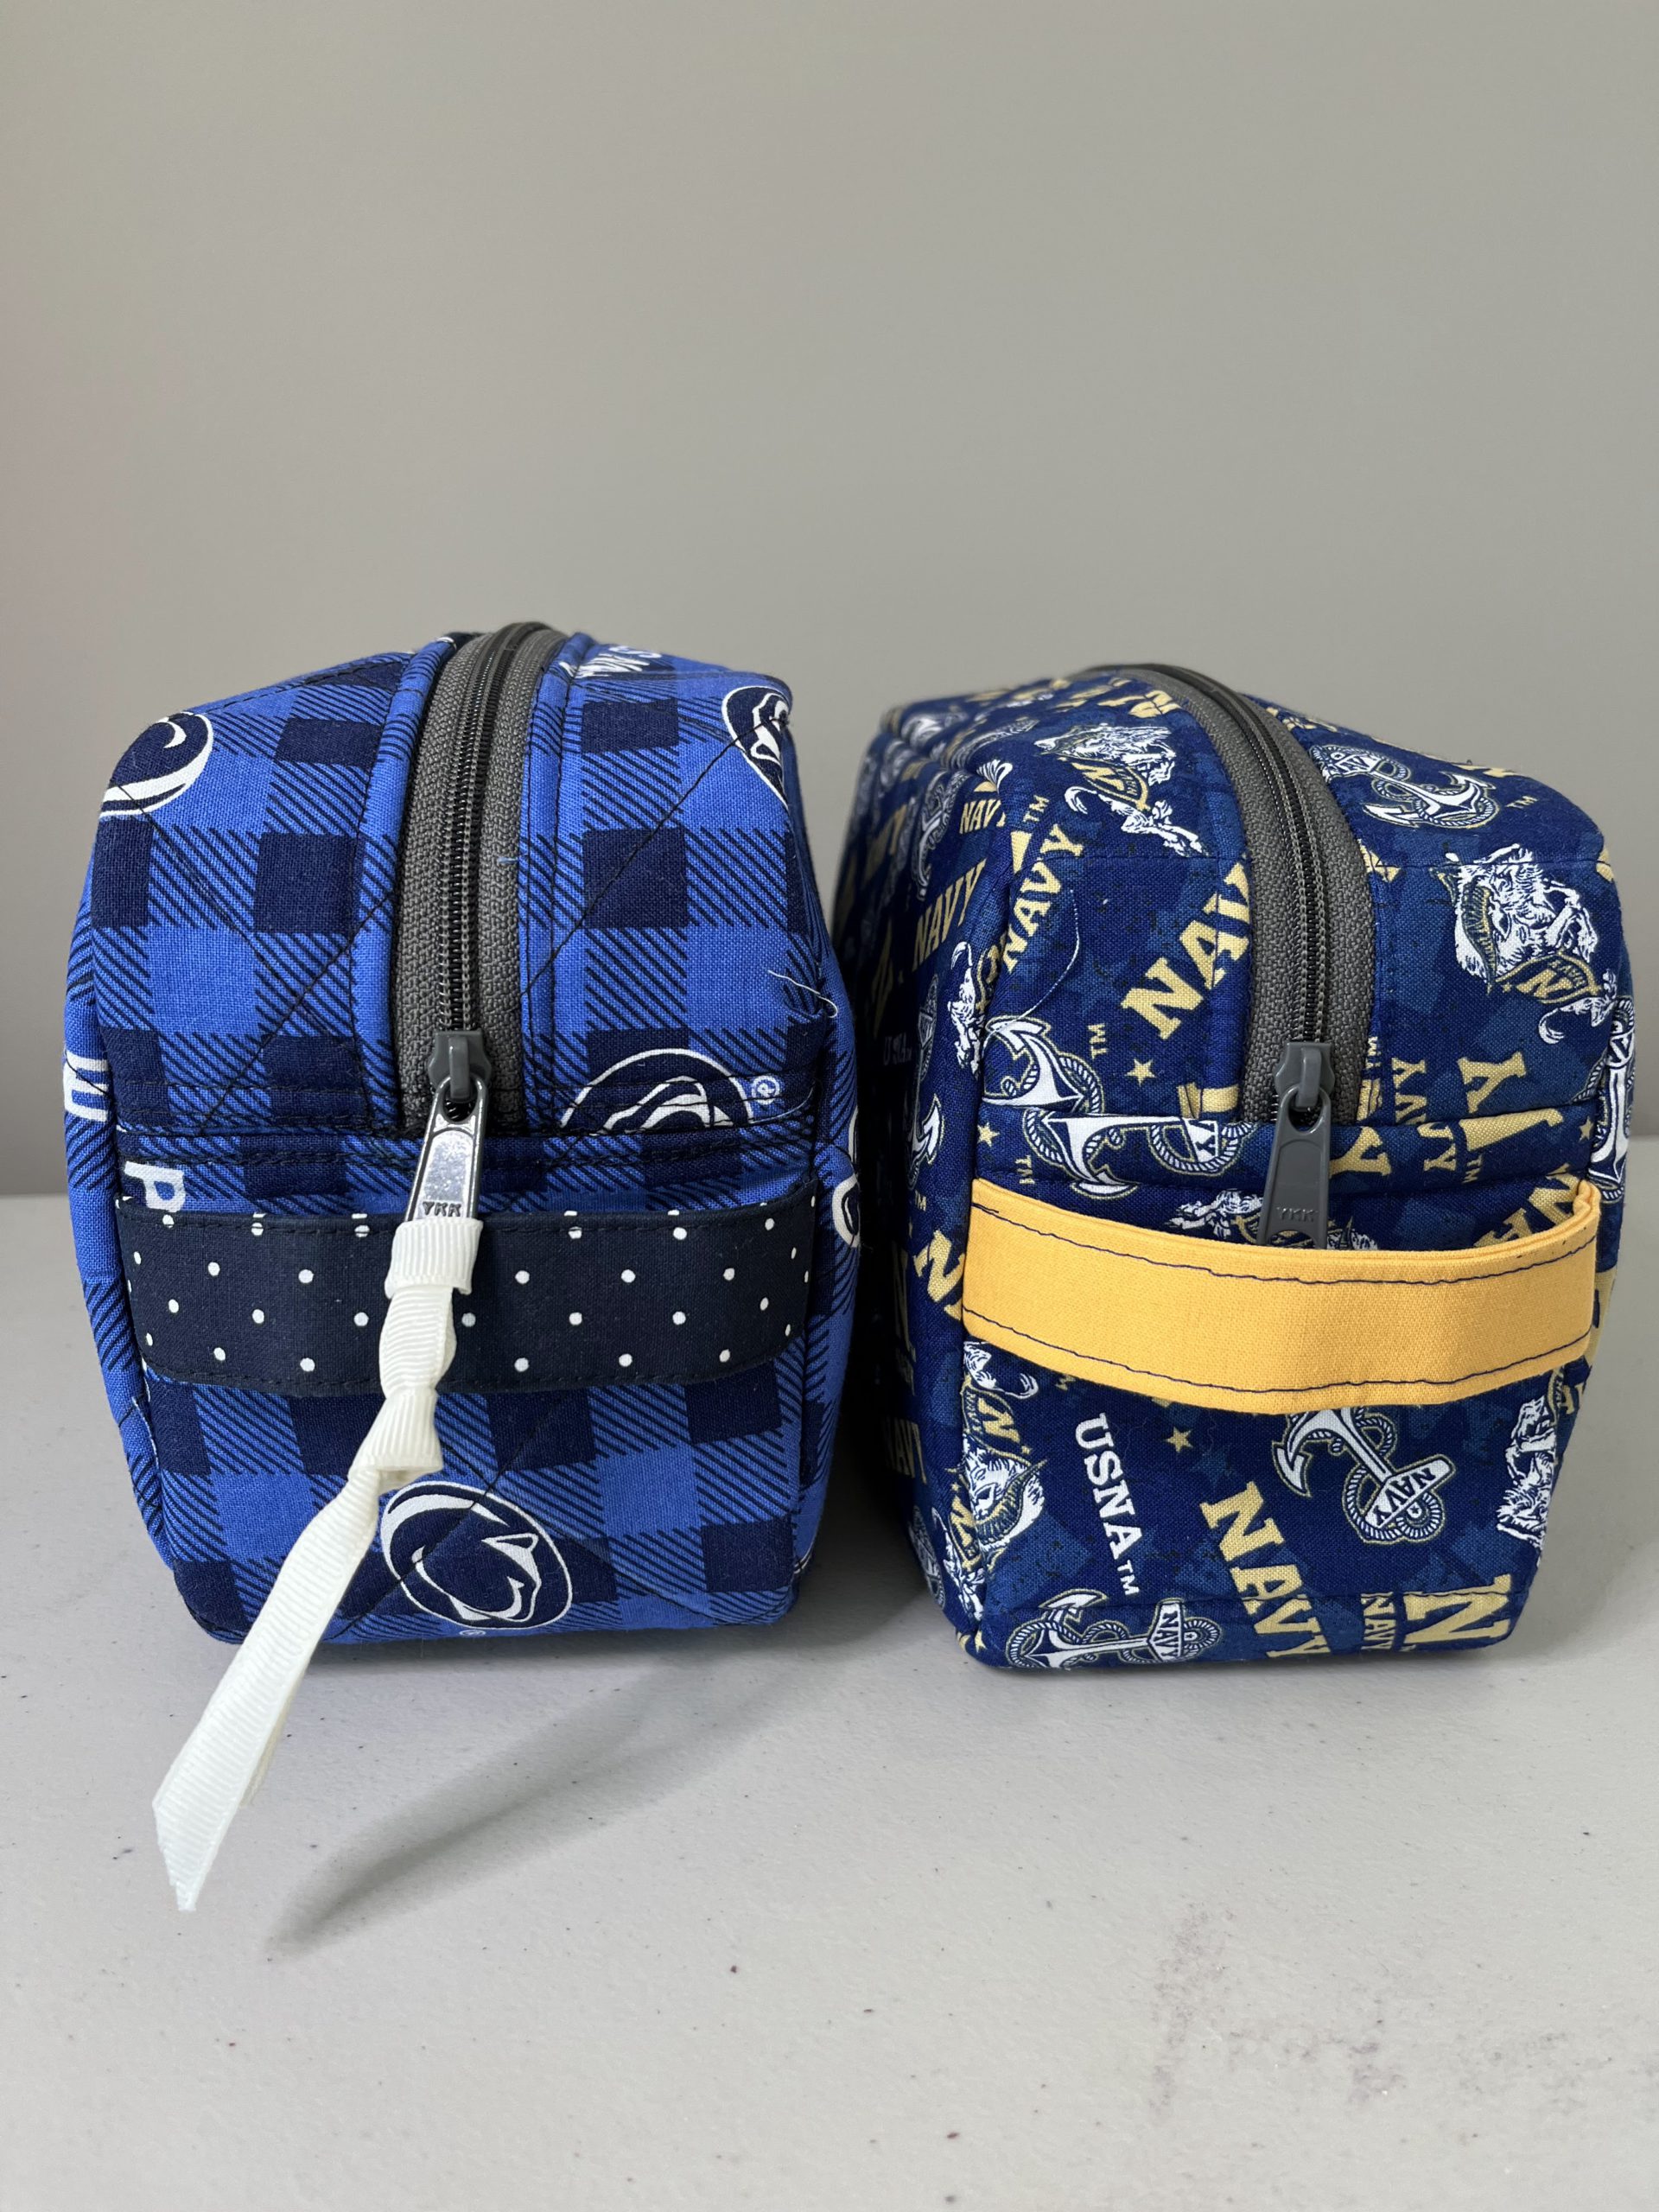
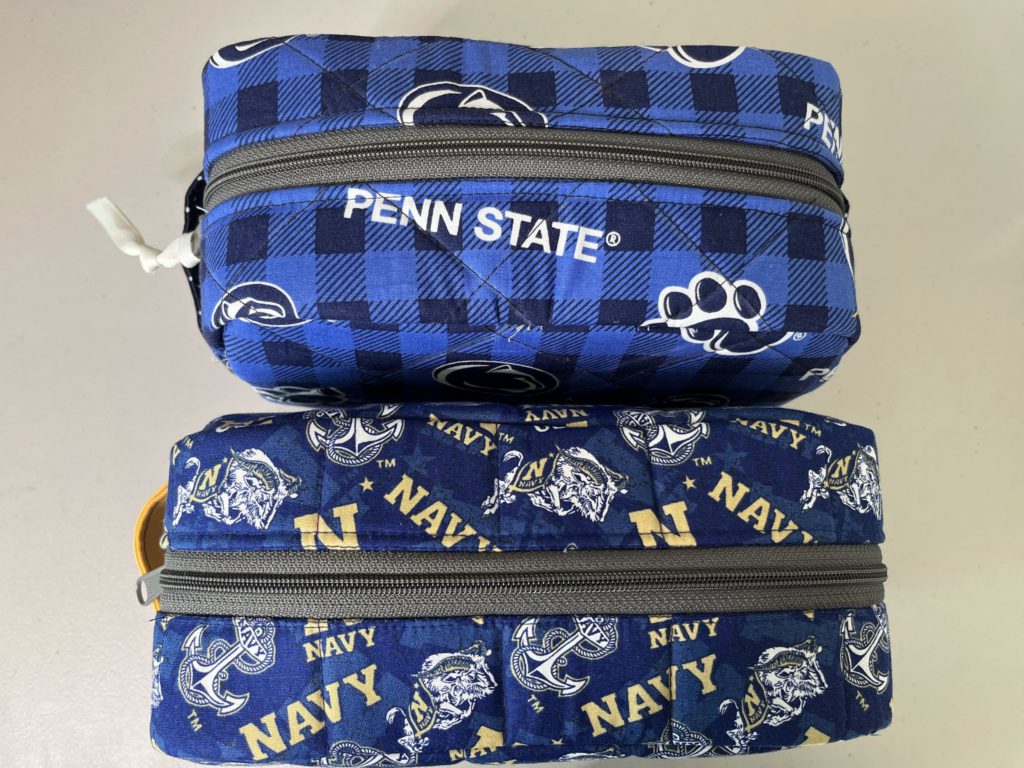
Depth slightly smaller on the Navy Bag
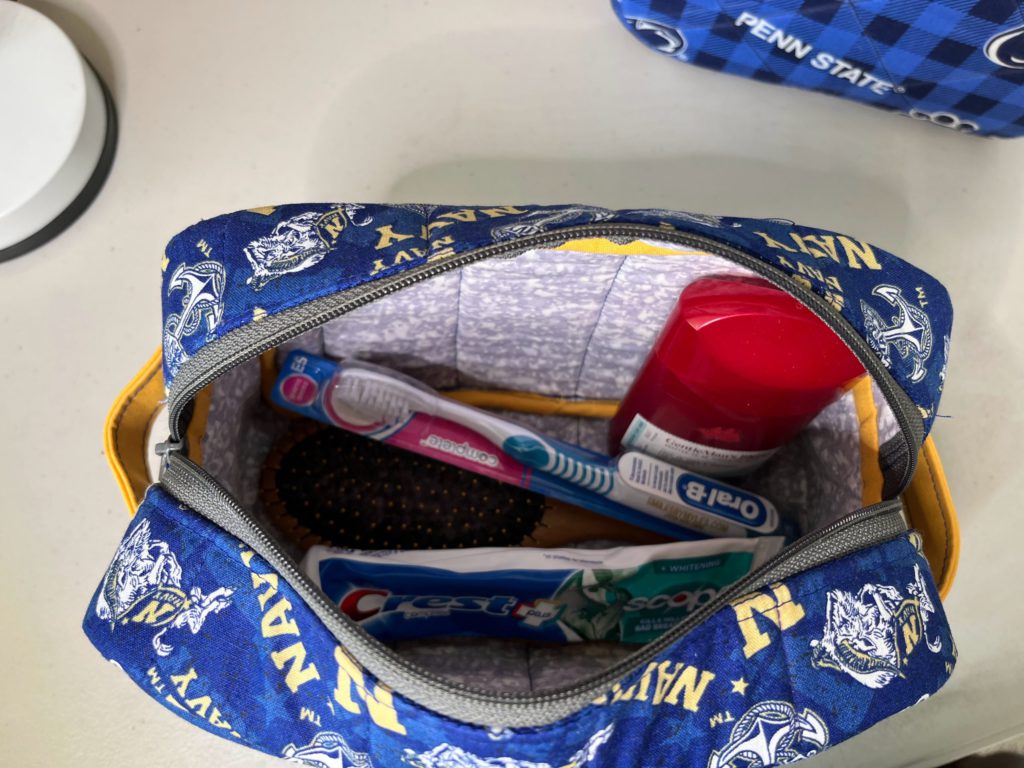
This bag is HUGE! It fits a lot of stuff with room to spare. You can see there’s extra height above the deodorant.
I rated it 5 stars on Pattern Review. Patterns by Annie Easy does it PBA285 pattern review by RosieSews2
I am really looking forward to gifting these for Christmas! The end result totally looks store bought. I will trick my family into thinking I purchased them….can’t wait! 😉