
Halloween Quilt Top: Part 1
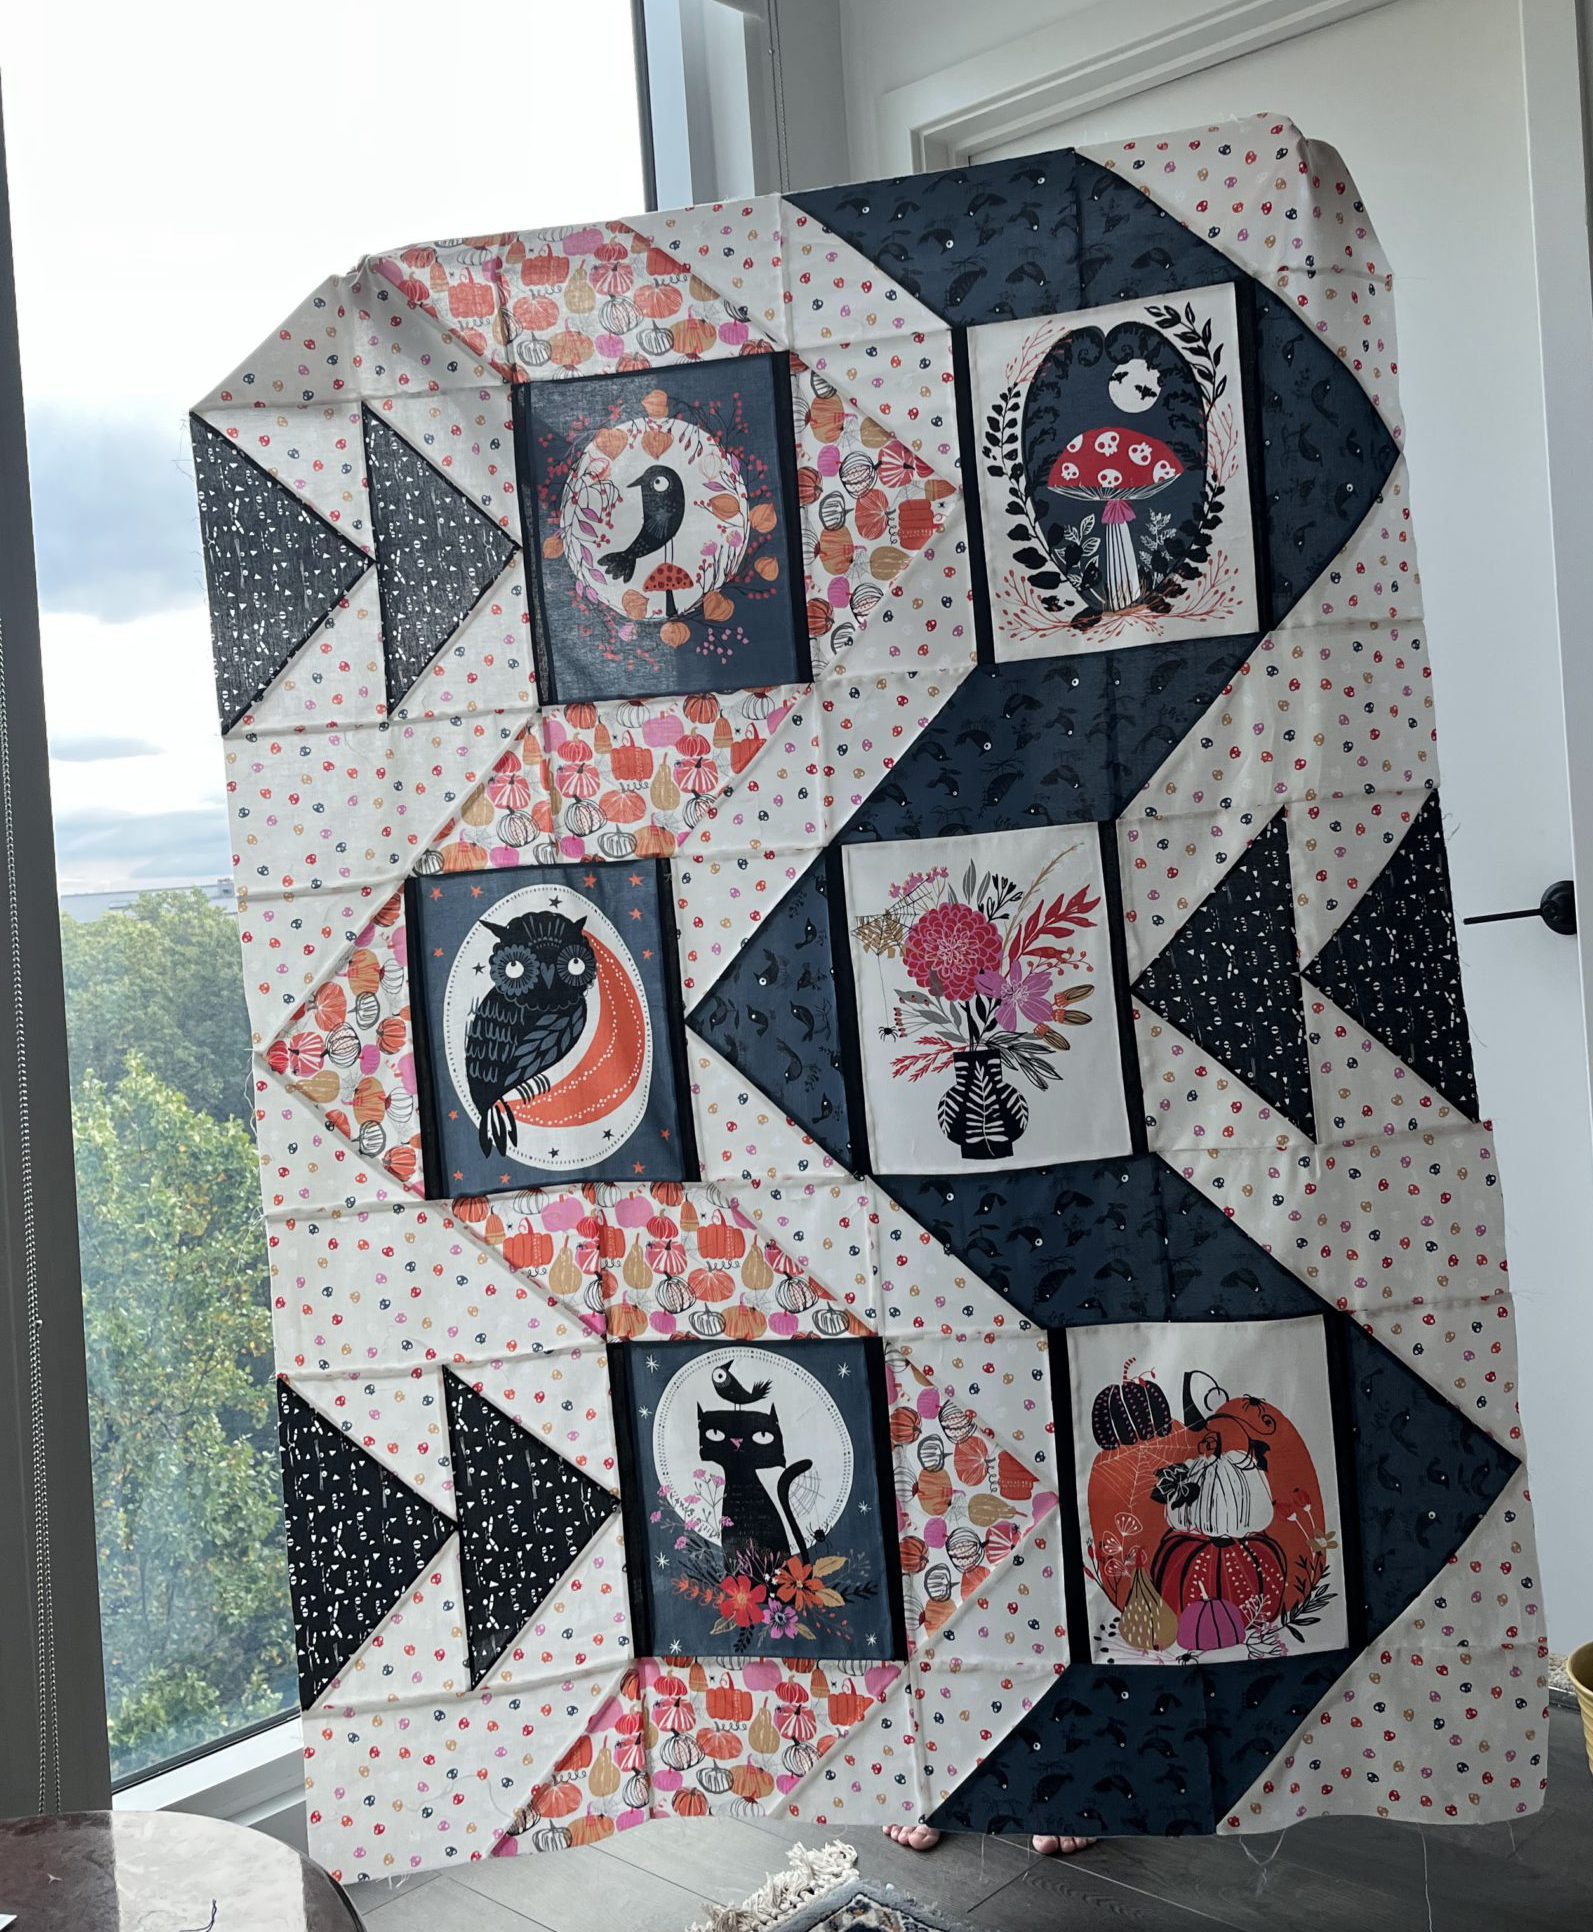
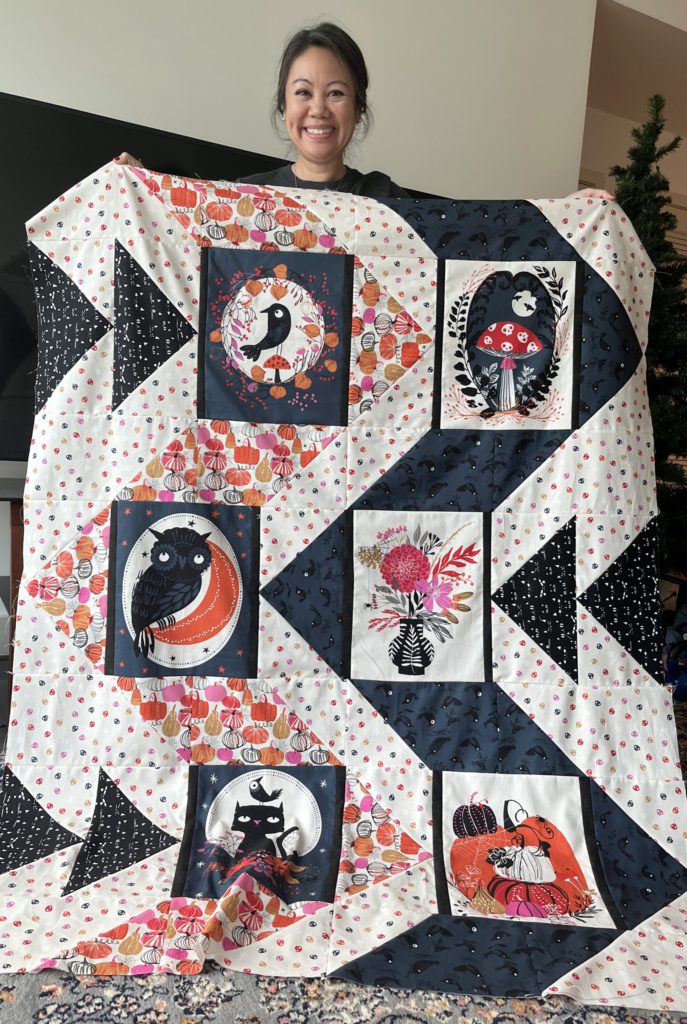
After 16.5 hours, the Halloween quilt is FINALLY done! Well, the quilt top at least. The entire thing took about 9 days total, with me tinkering with it about 2 hours a day. I find that I cannot sew anymore than that, otherwise I go cross-eyed and the lines become wonky. But wowza! This quilt was quite a JOB but one well worth it. It’ll be finished using the longarm machine at my workplace, which will be really cool to watch!
Things I learned when making this thing: (lol)
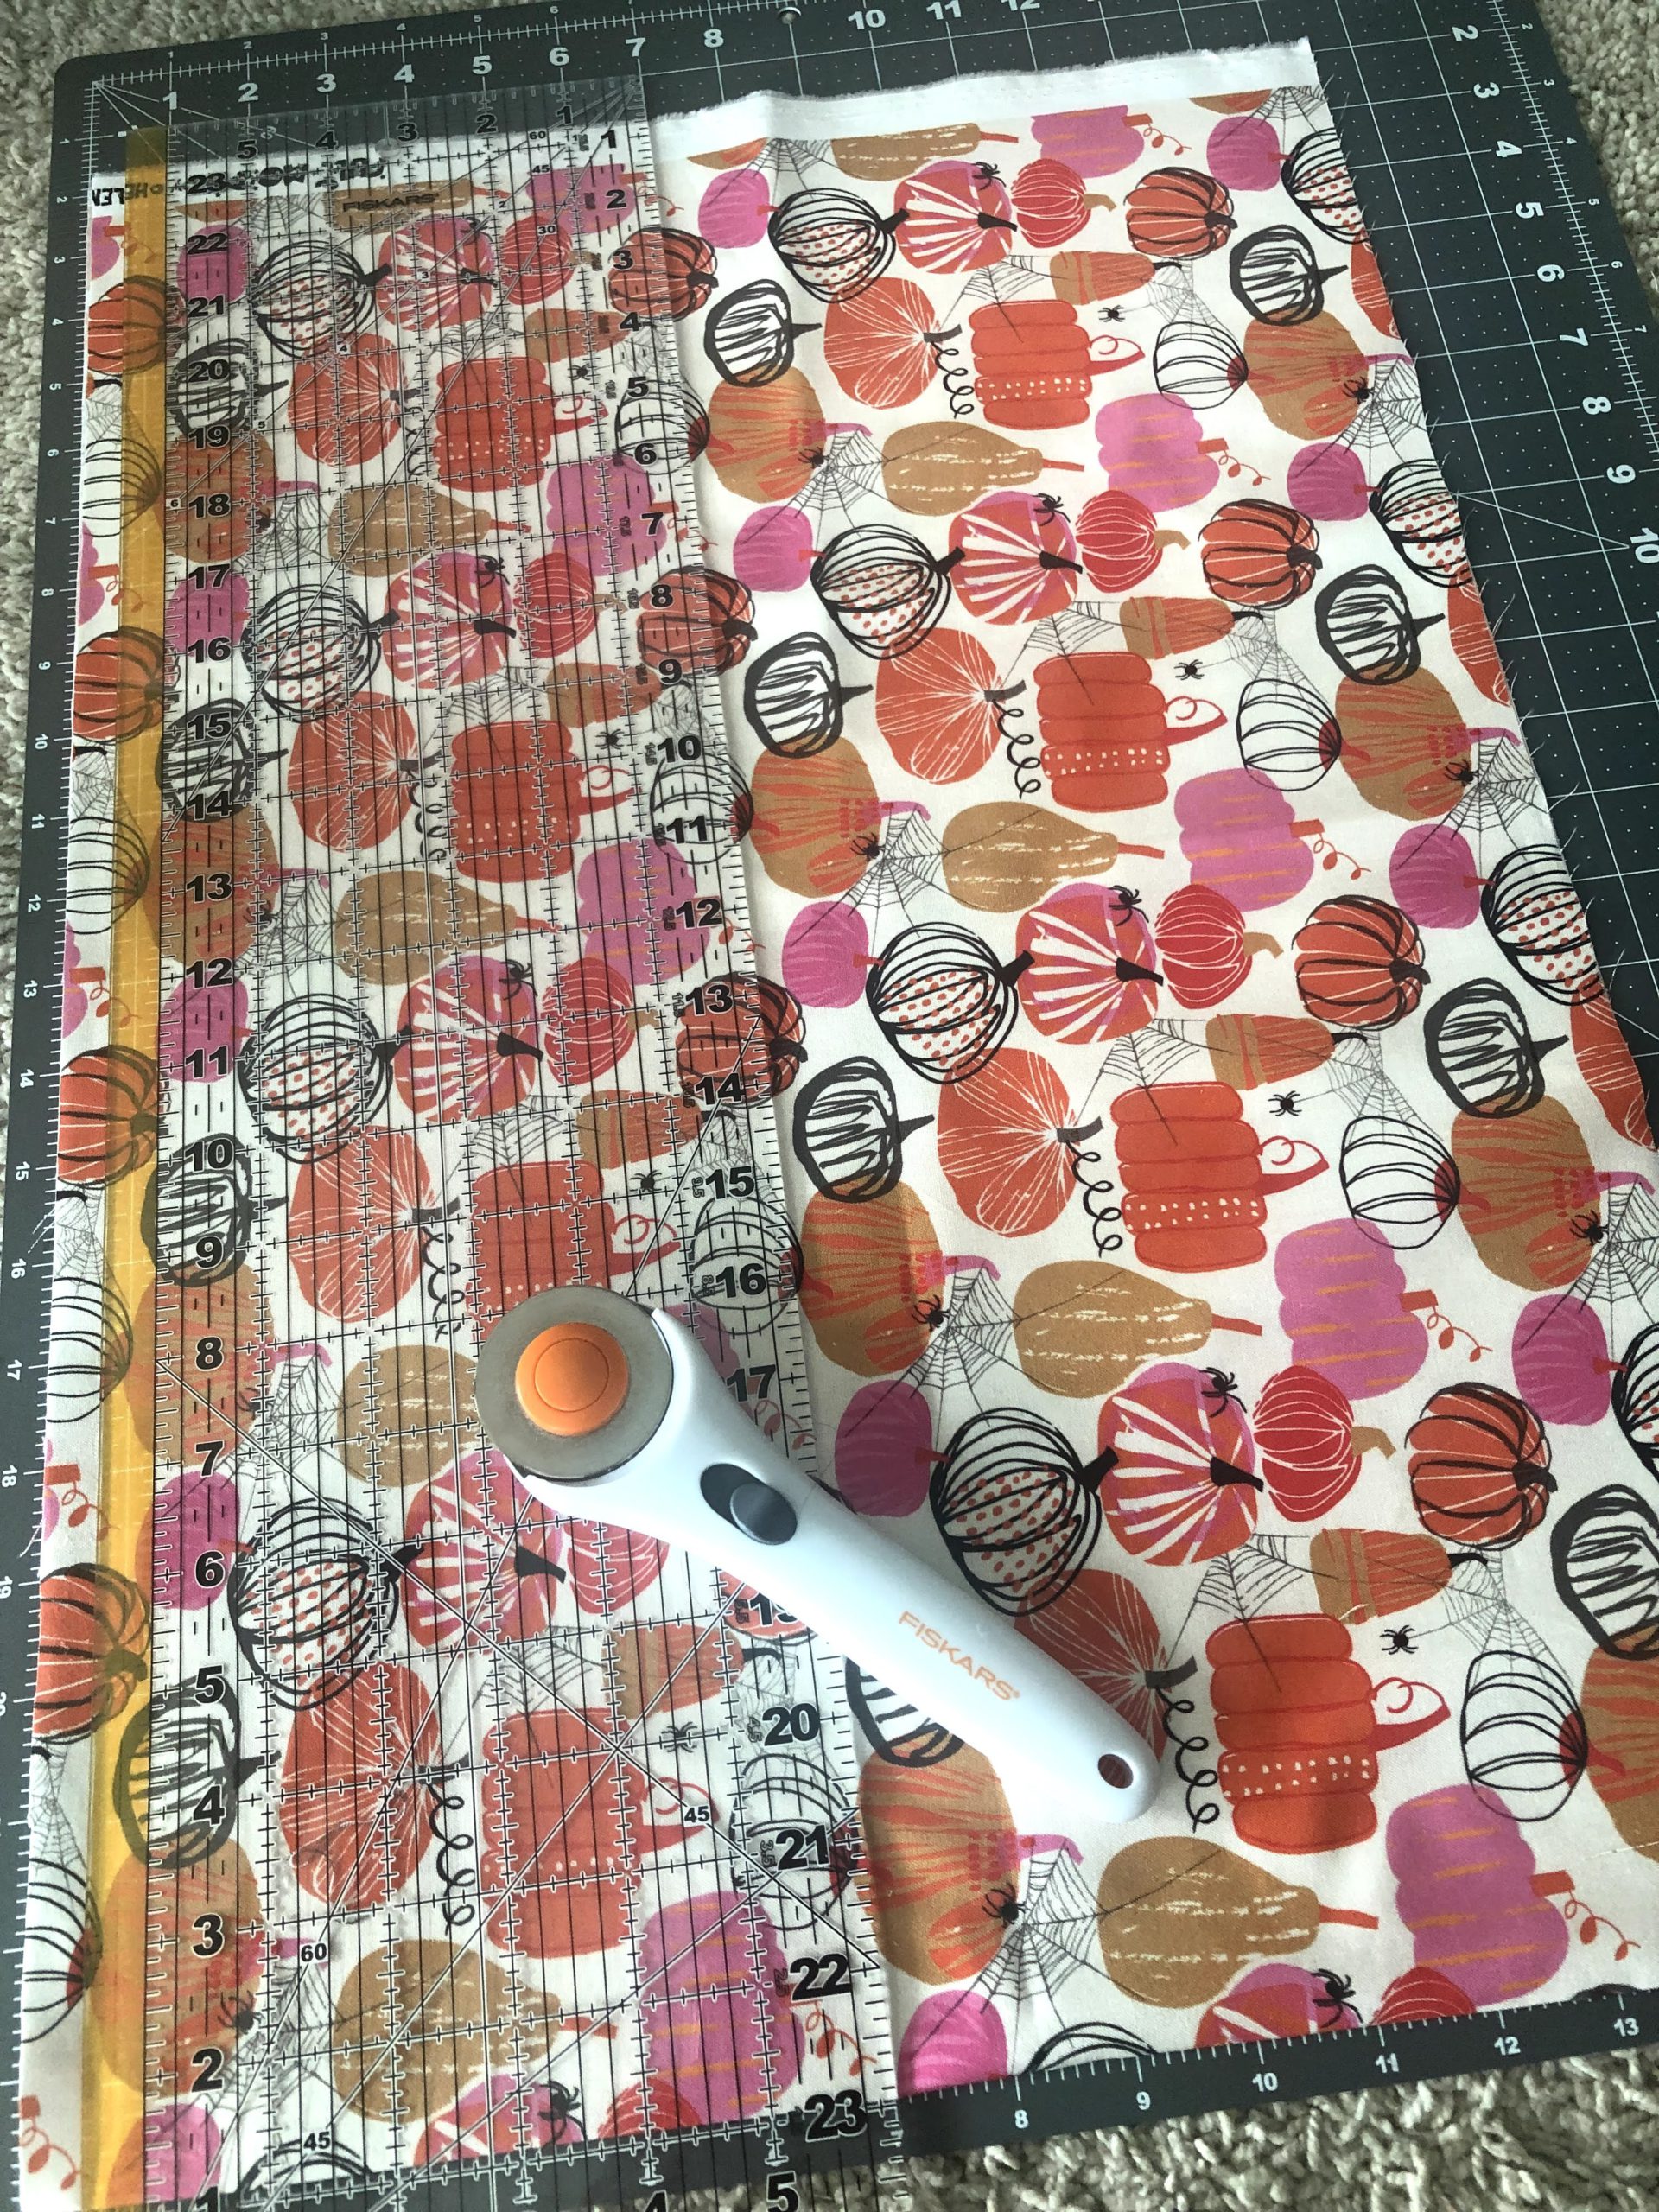
- Don’t rush the process. Ok, so quilting is different in that you have to be EXTREMELY accurate in cutting, otherwise your blocks will not line up. I got a lot of practice using my rotary cutter and ruler. In fact, my cutting mat and ruler has finally earned its keep! The only time I really used them was when making masks. With this one quilt they are already beat up and I’m looking to get a better quality mat and nonslip ruler.
- My boss told me that cutting off the excess fabric needs to be a 1/4″ cut too- so that took a lot of time. If this were a garment I would have taken my scissors and gone all willy nilly on the seam. I don’t think I could “wing it” so much in quilting.
Here we go! 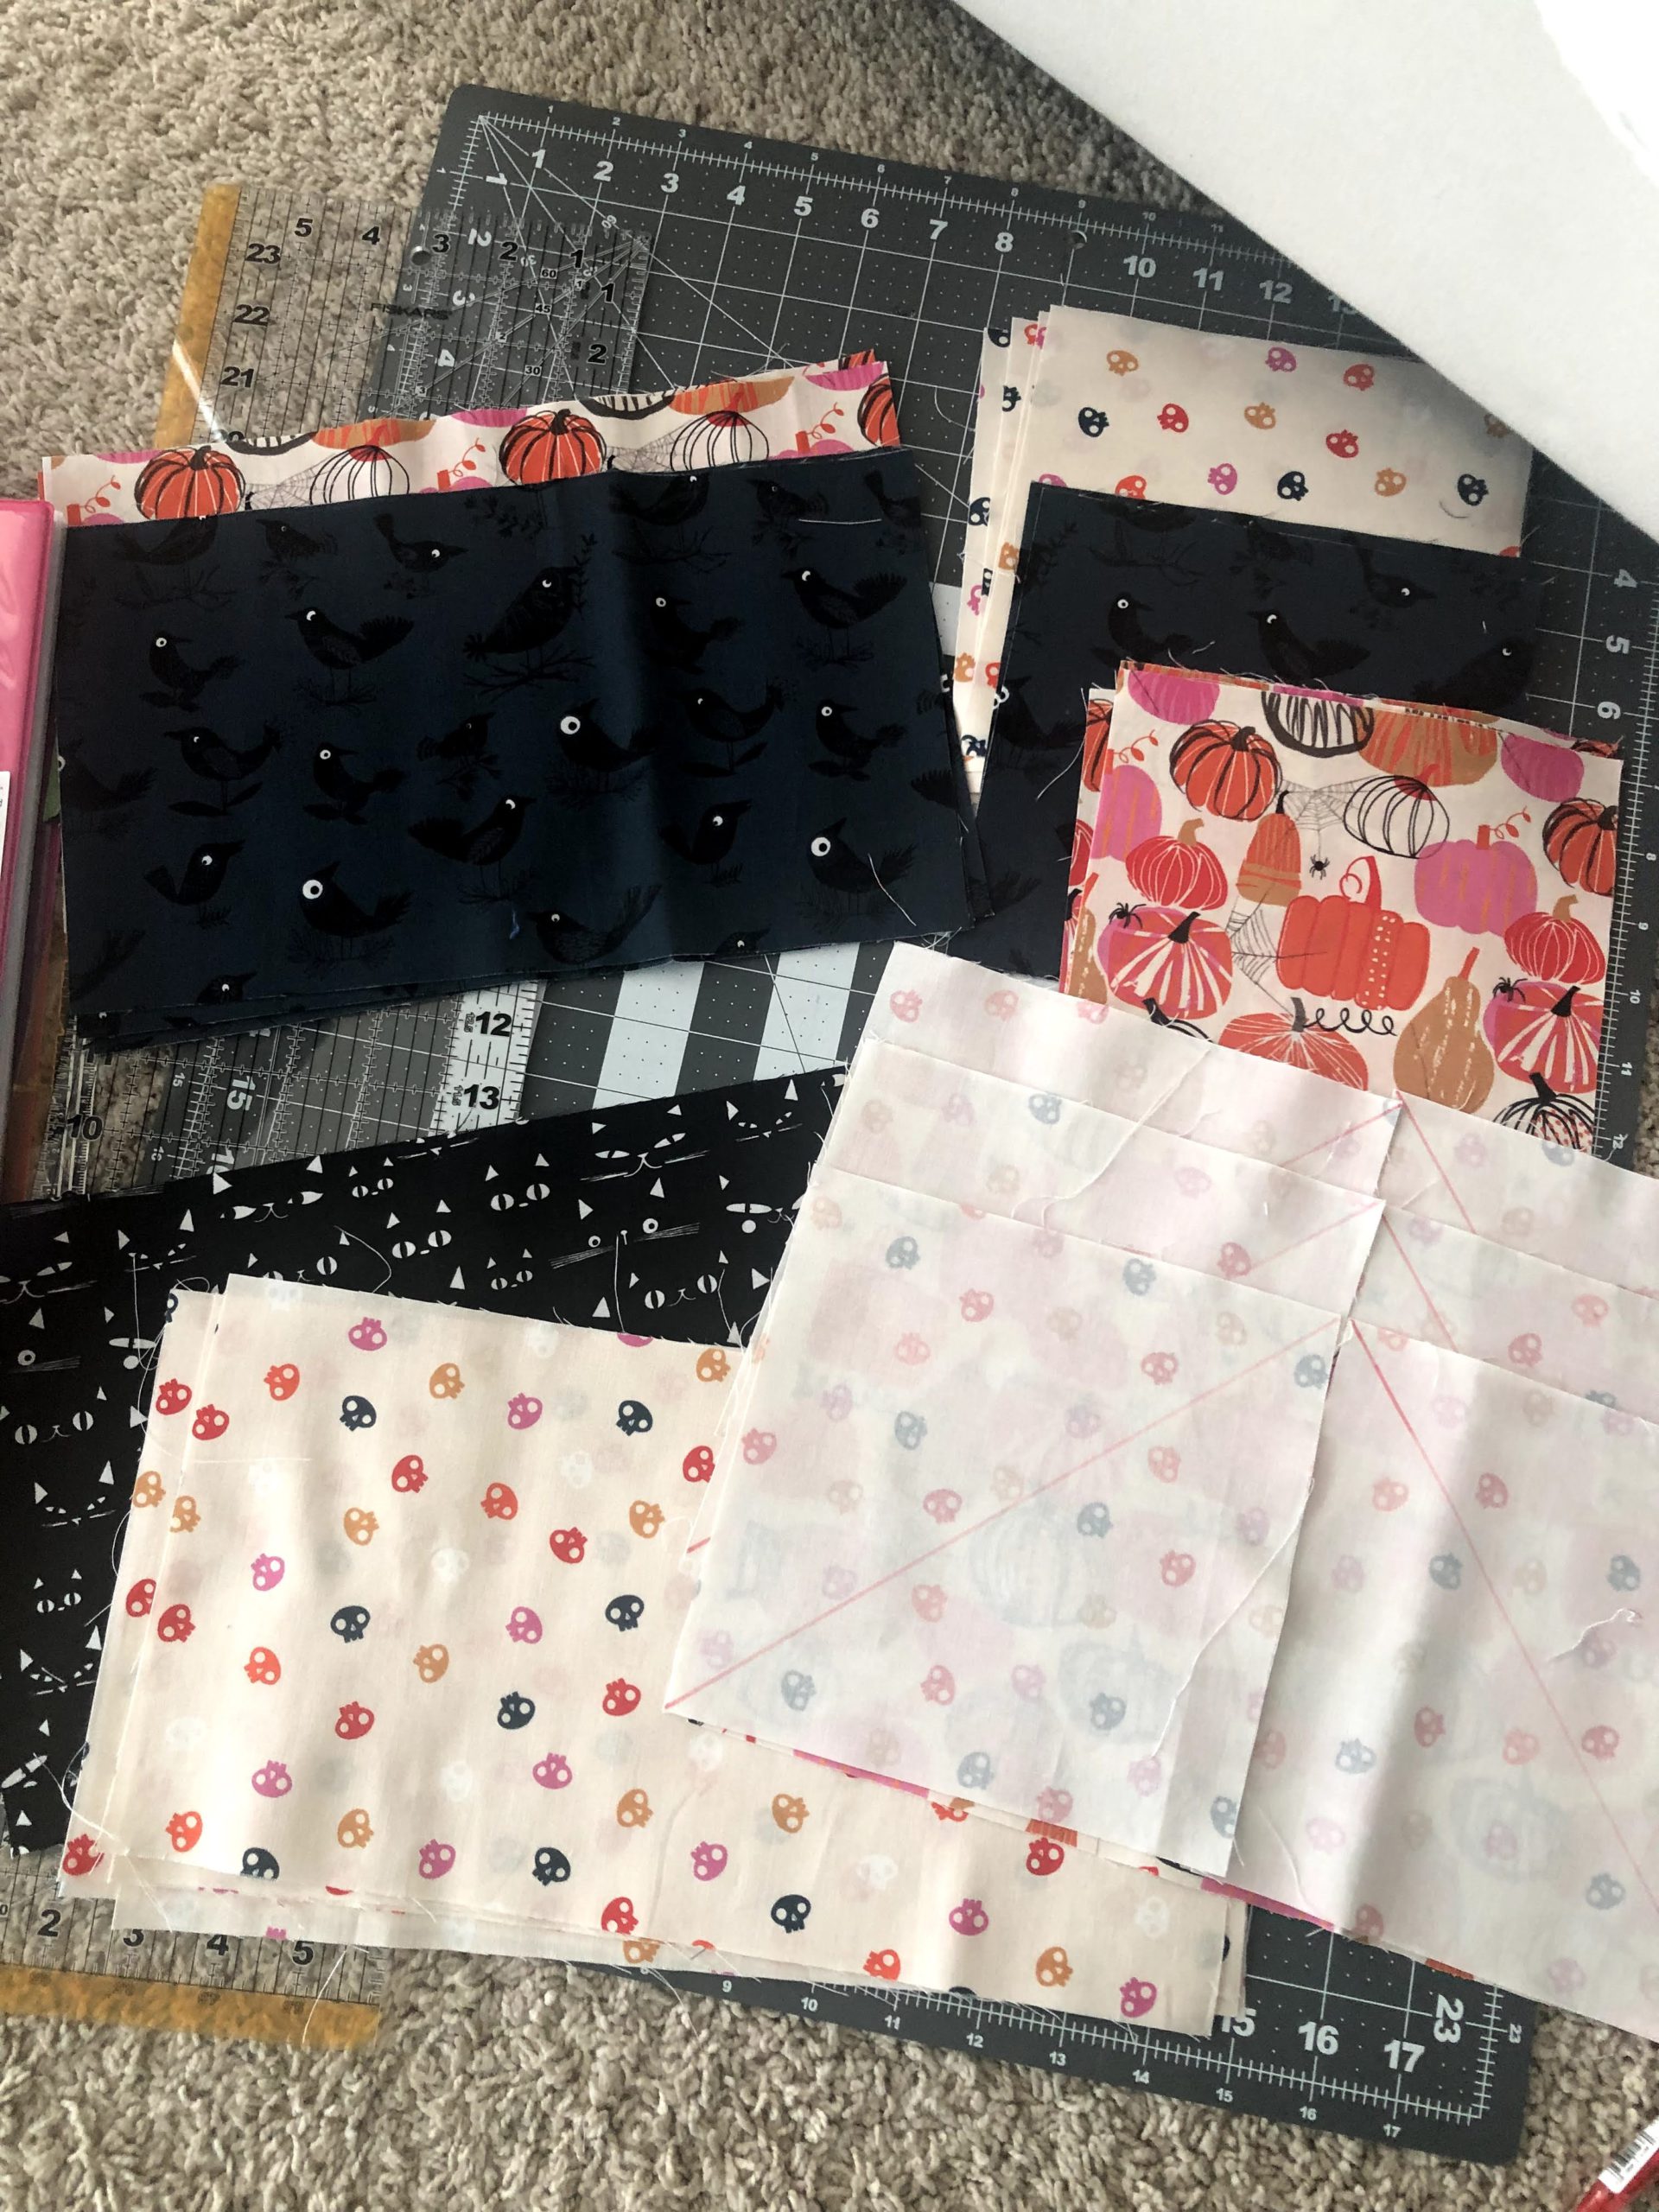
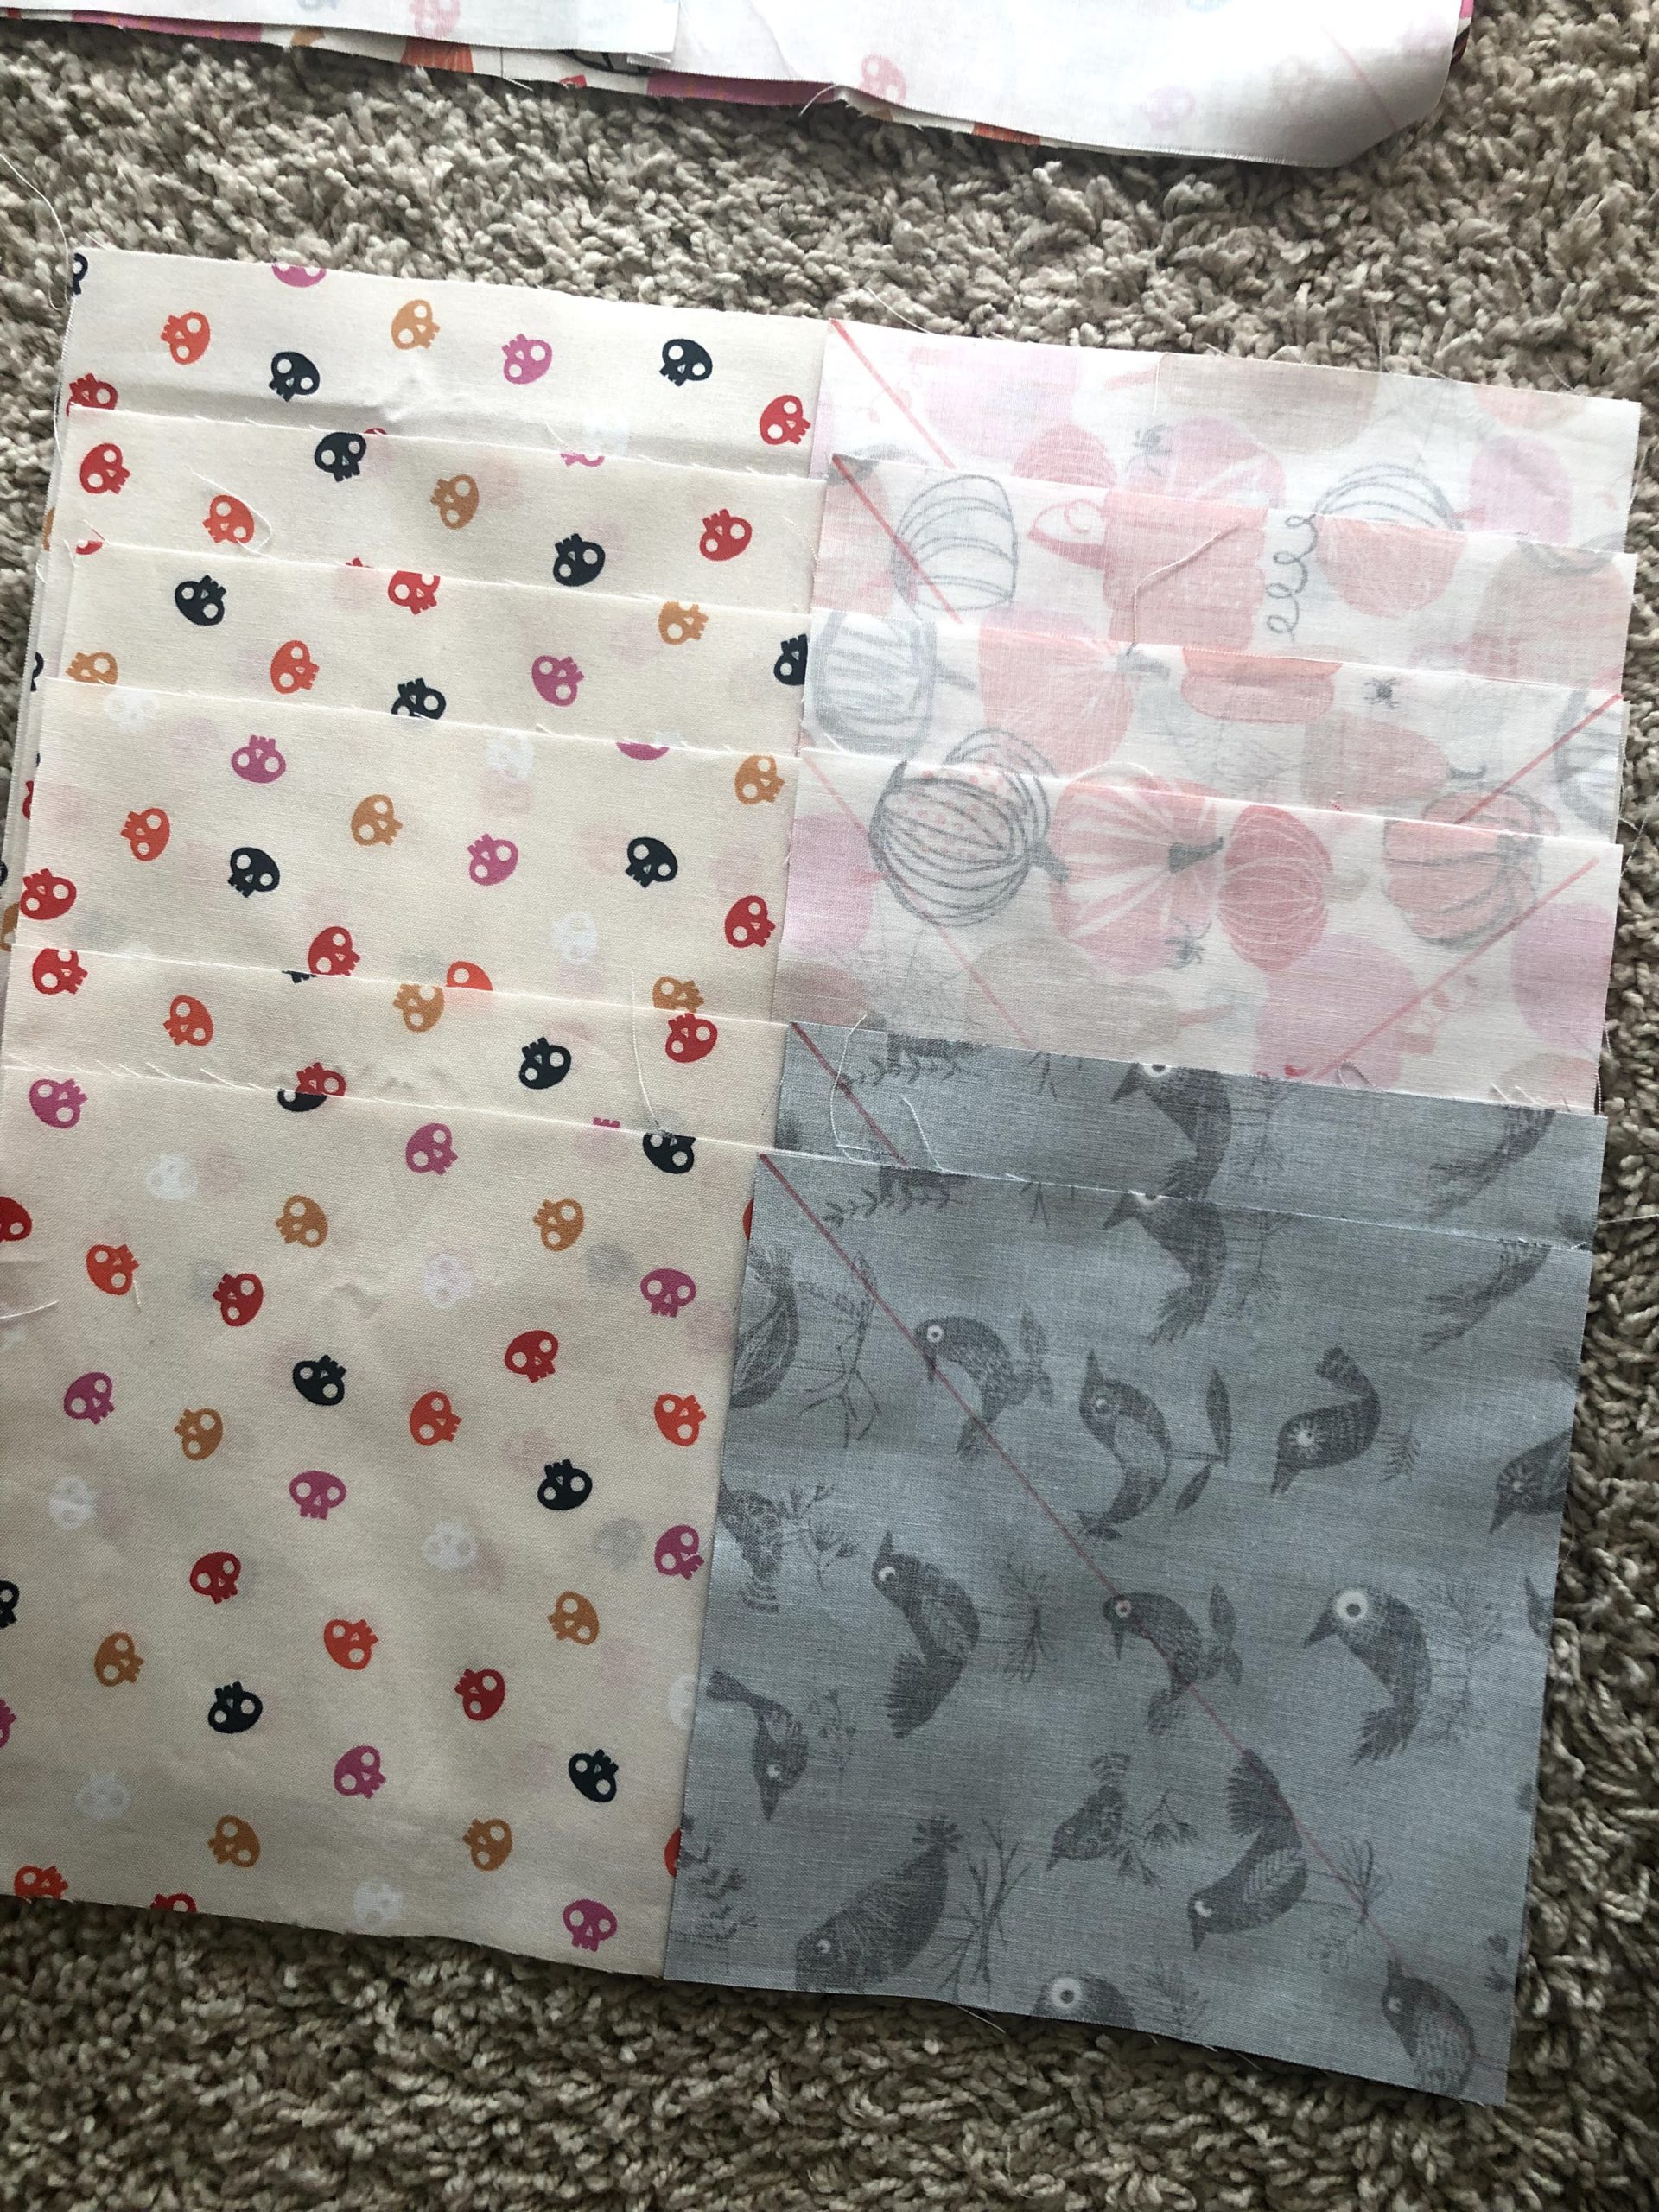
Blocks all cut out 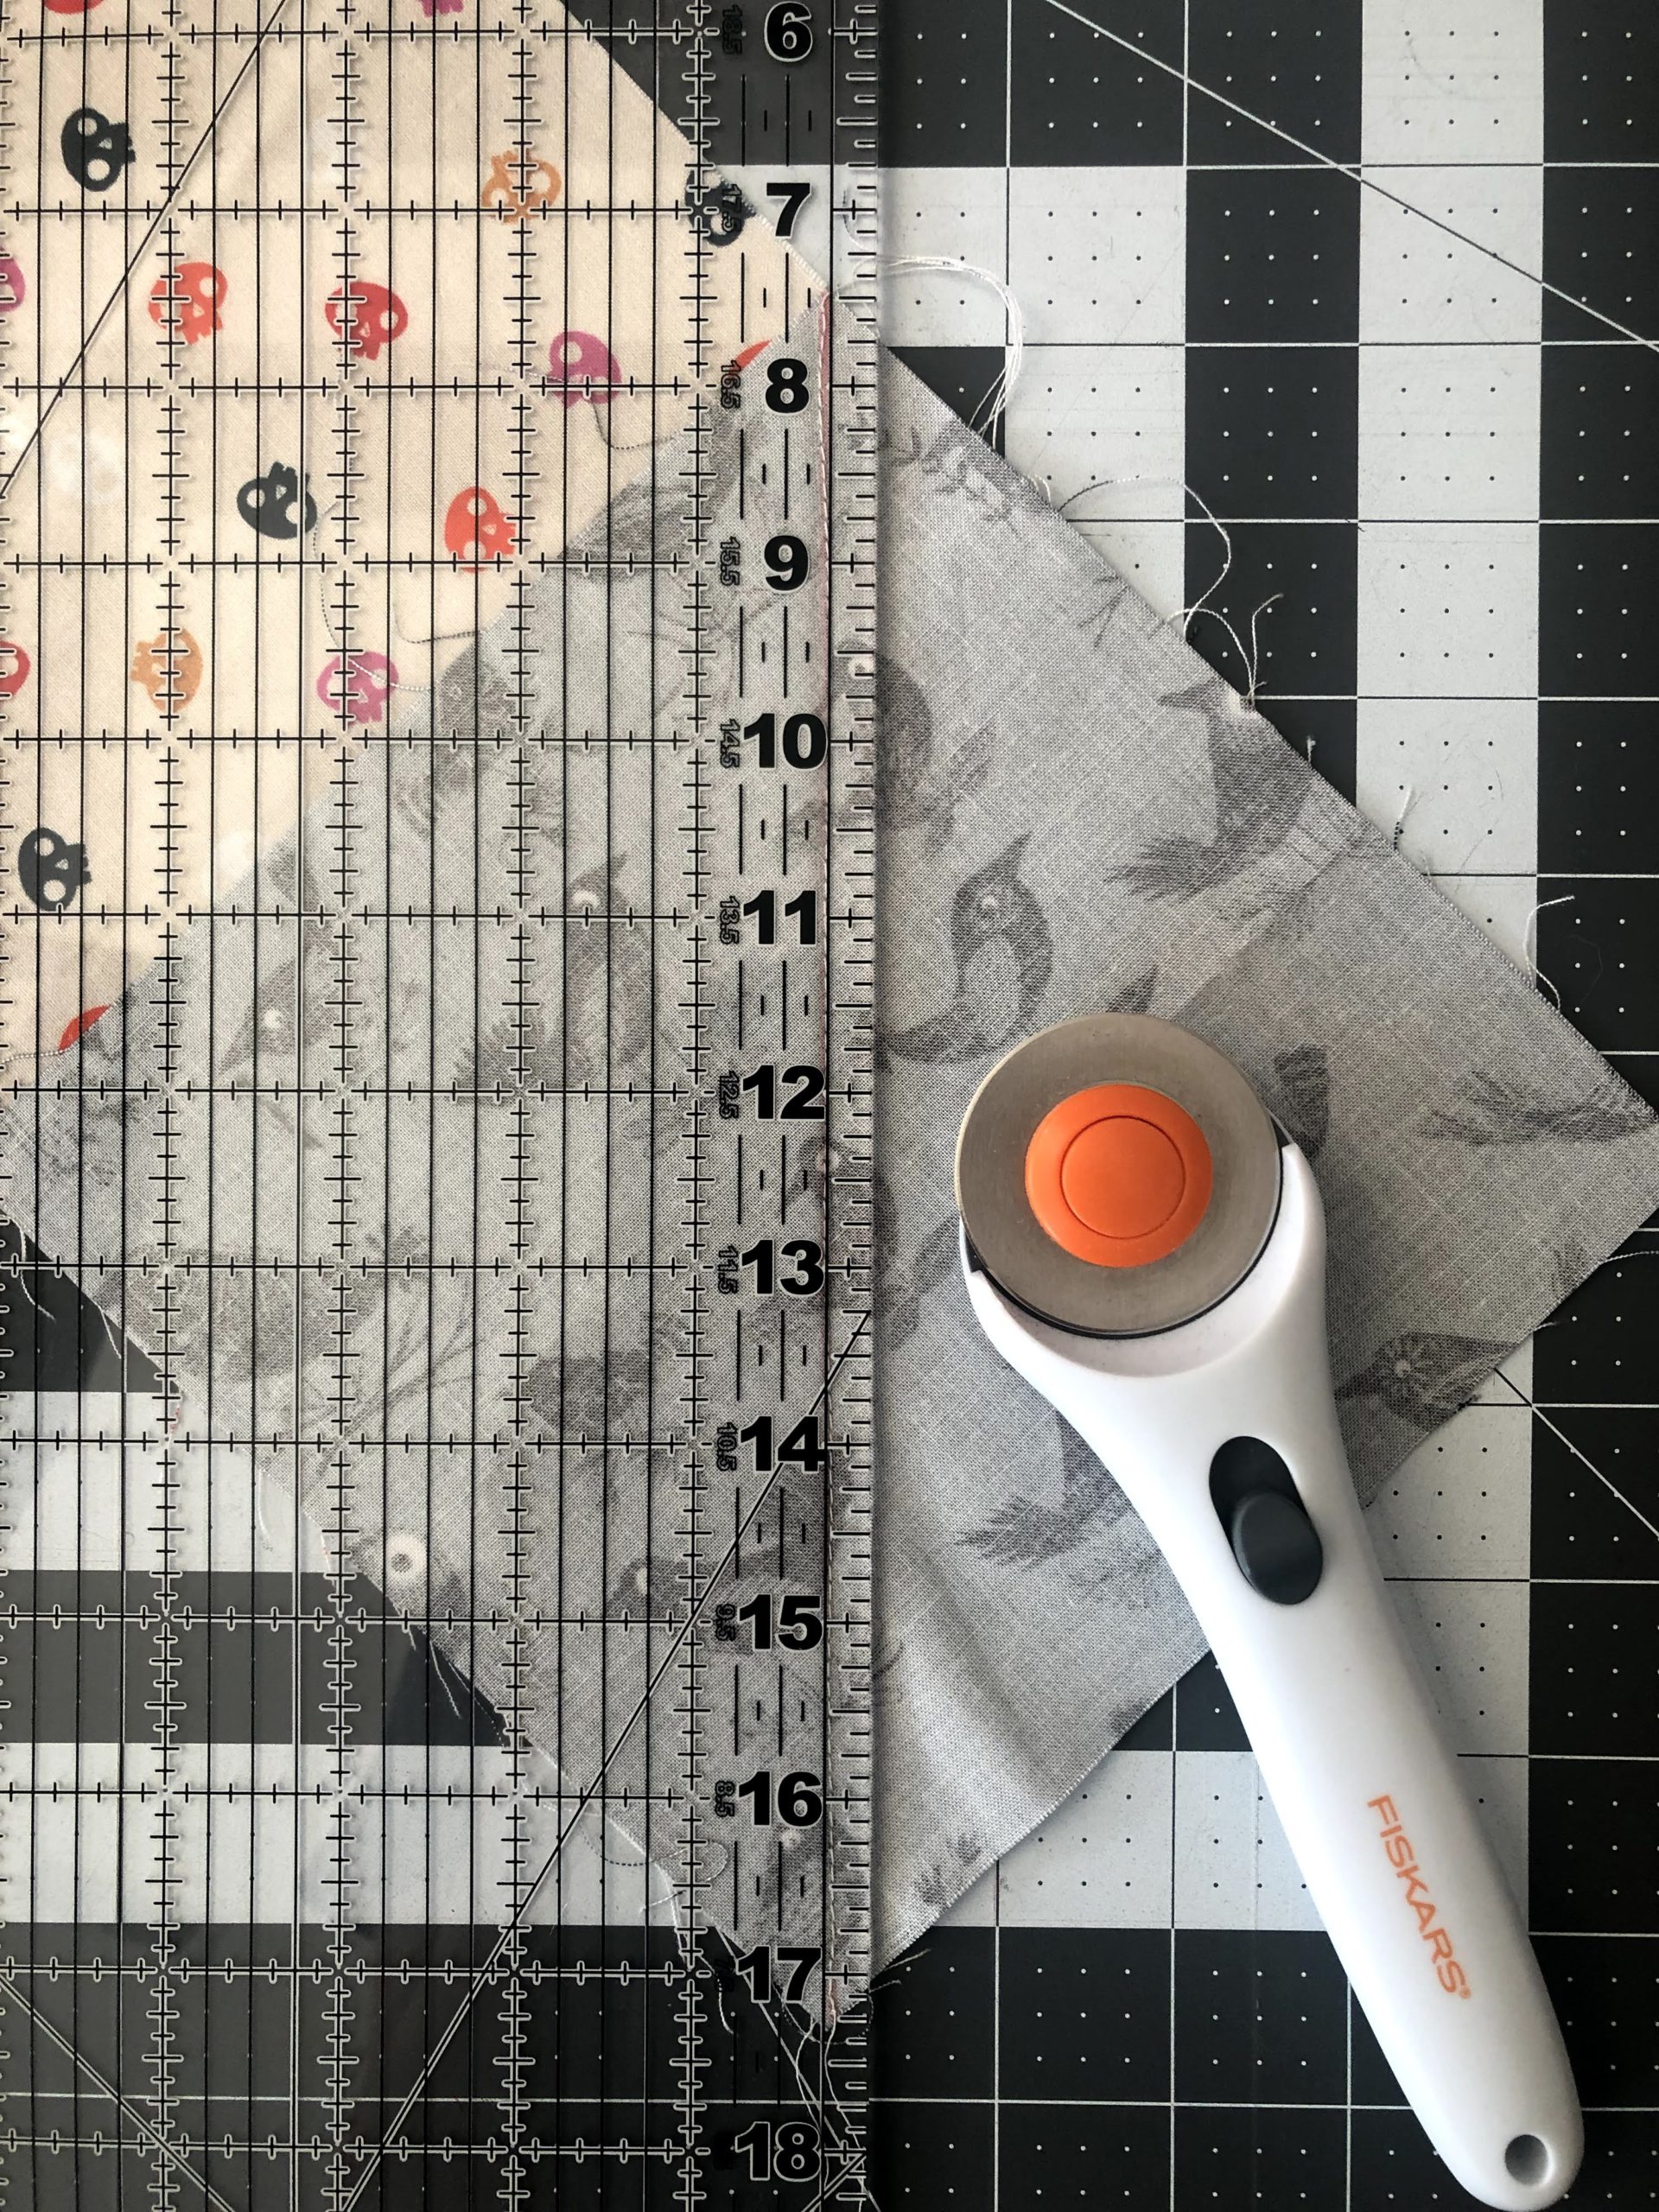
Trimming off the excess: accurate 1/4″ cut
2. Frixion Marker is your best friend. Wow was this thing so handy when making those triangles. I’ve read where people use a pencil but this marker worked wonders since it’s easy to see and disappears when applying heat..aka pressing. It’s winner, people…I’d never use anything else!
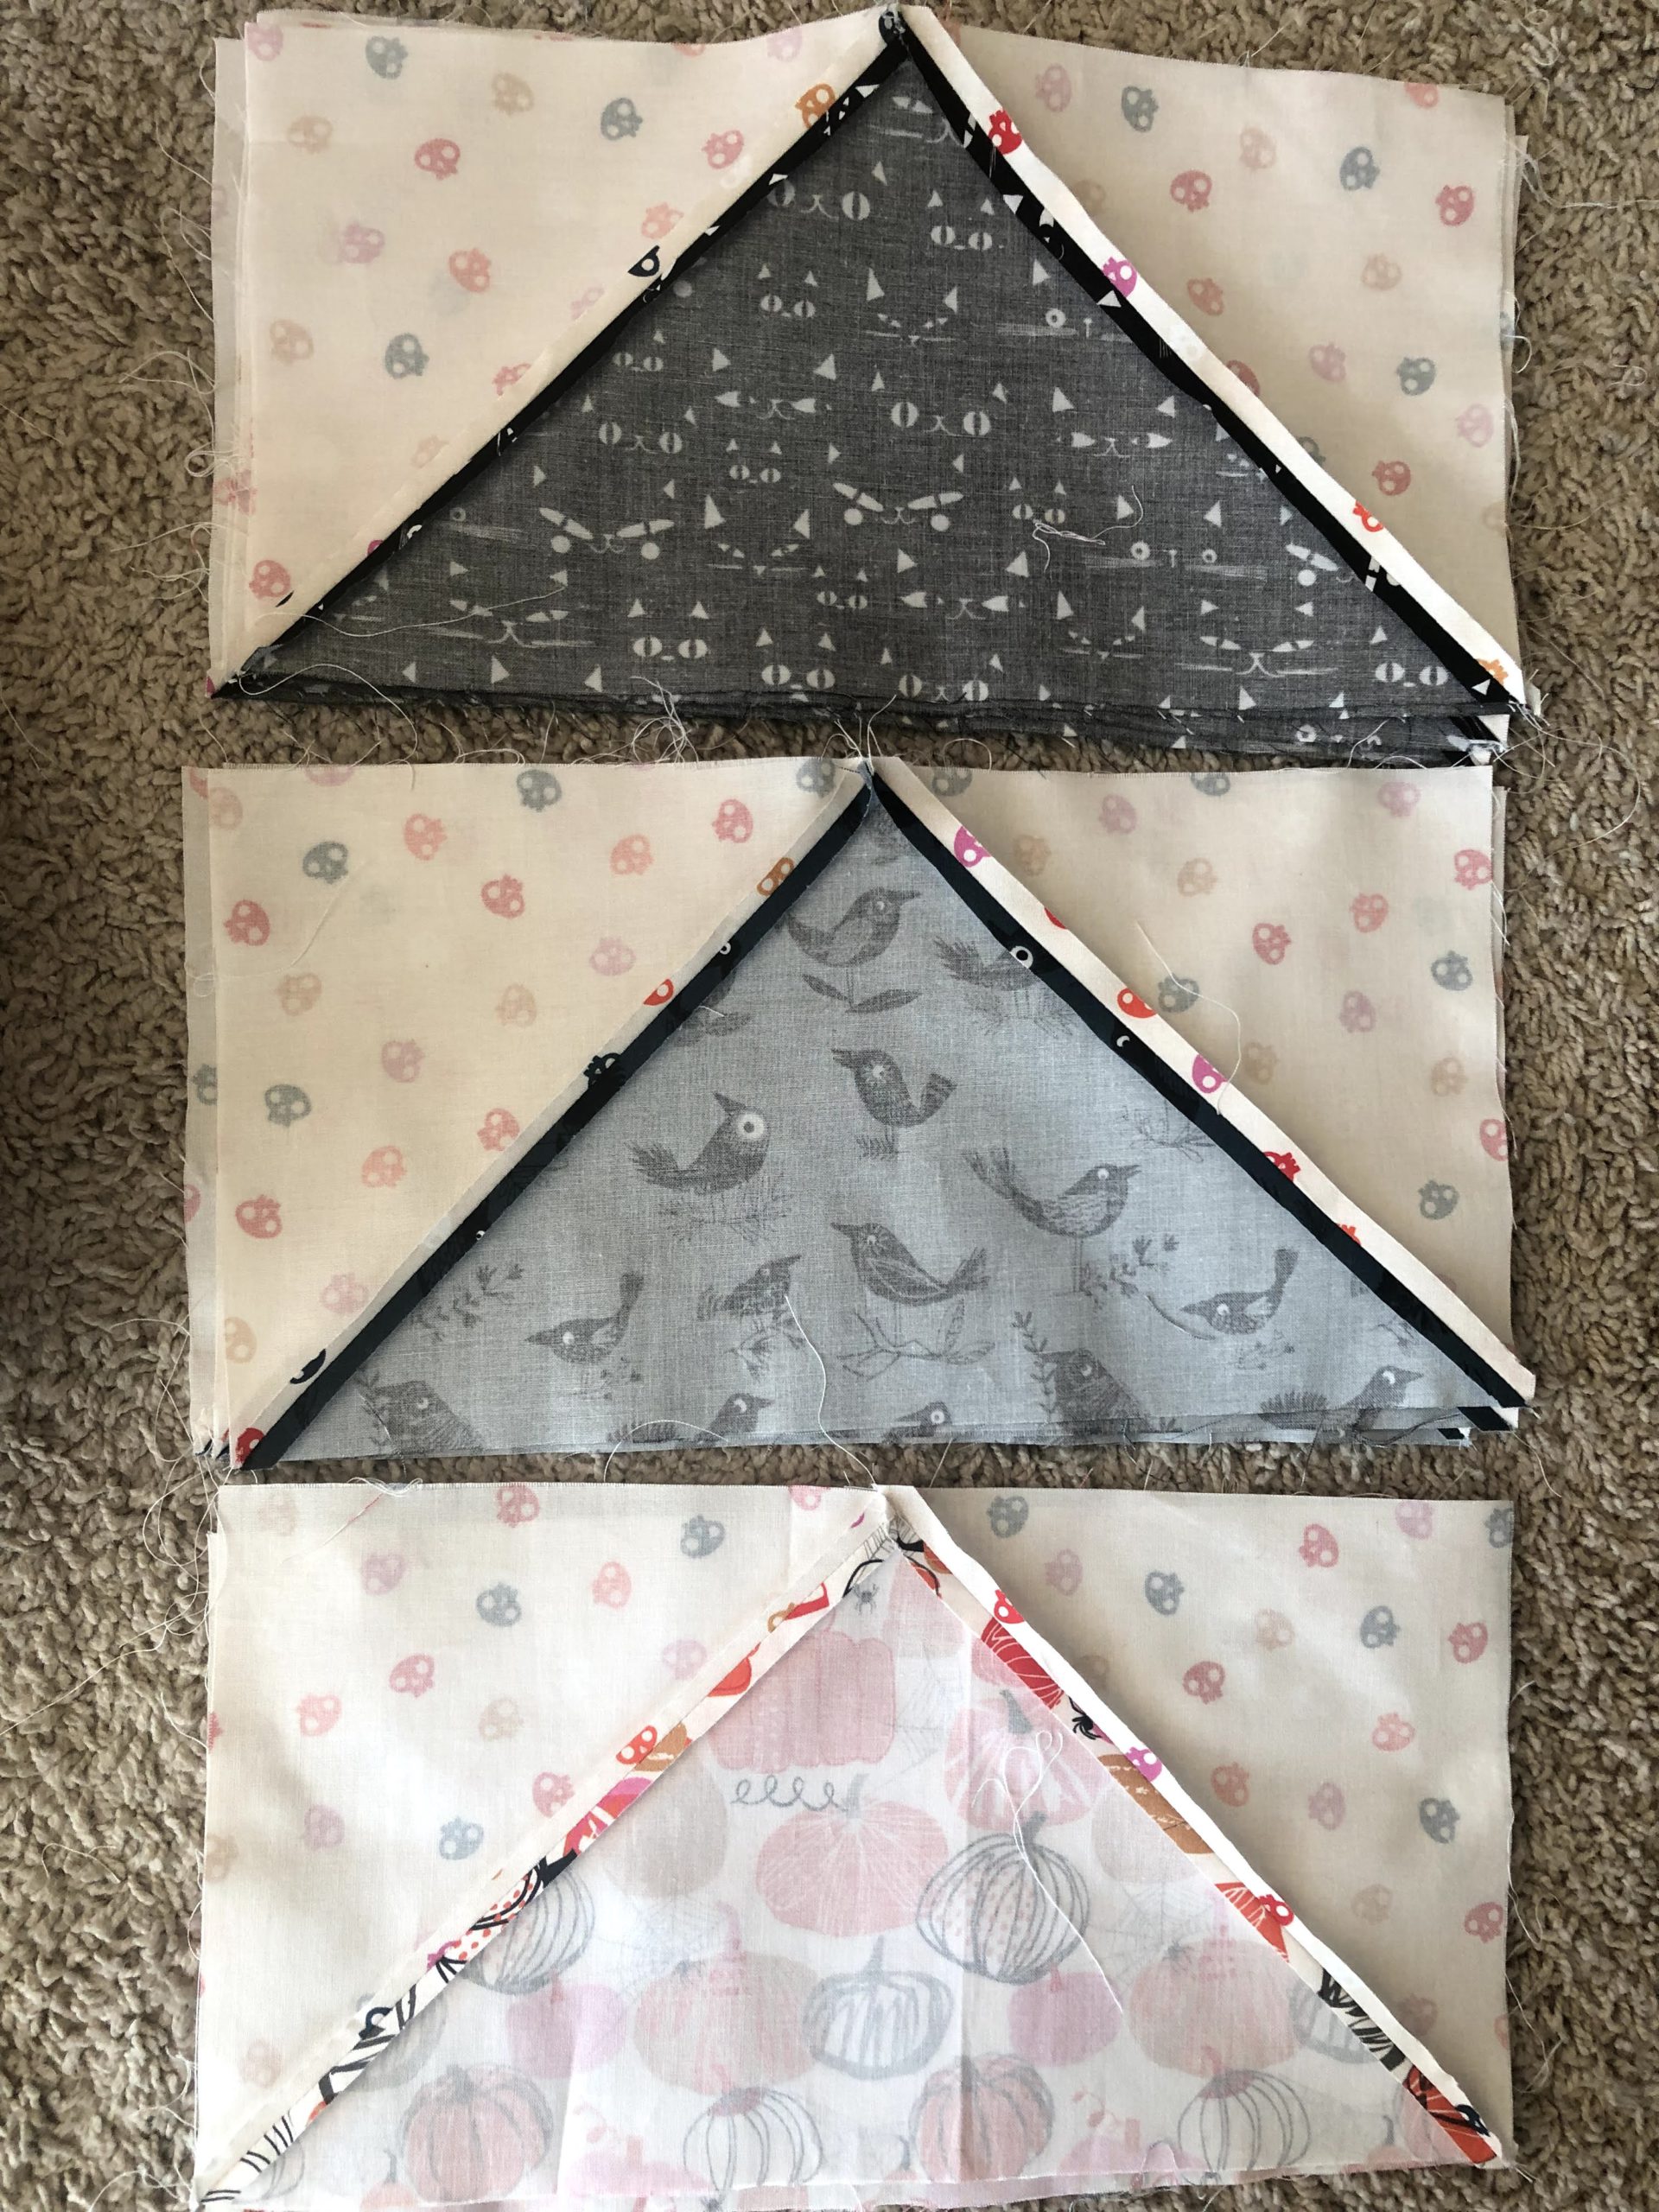
Grouped and ready for sewing 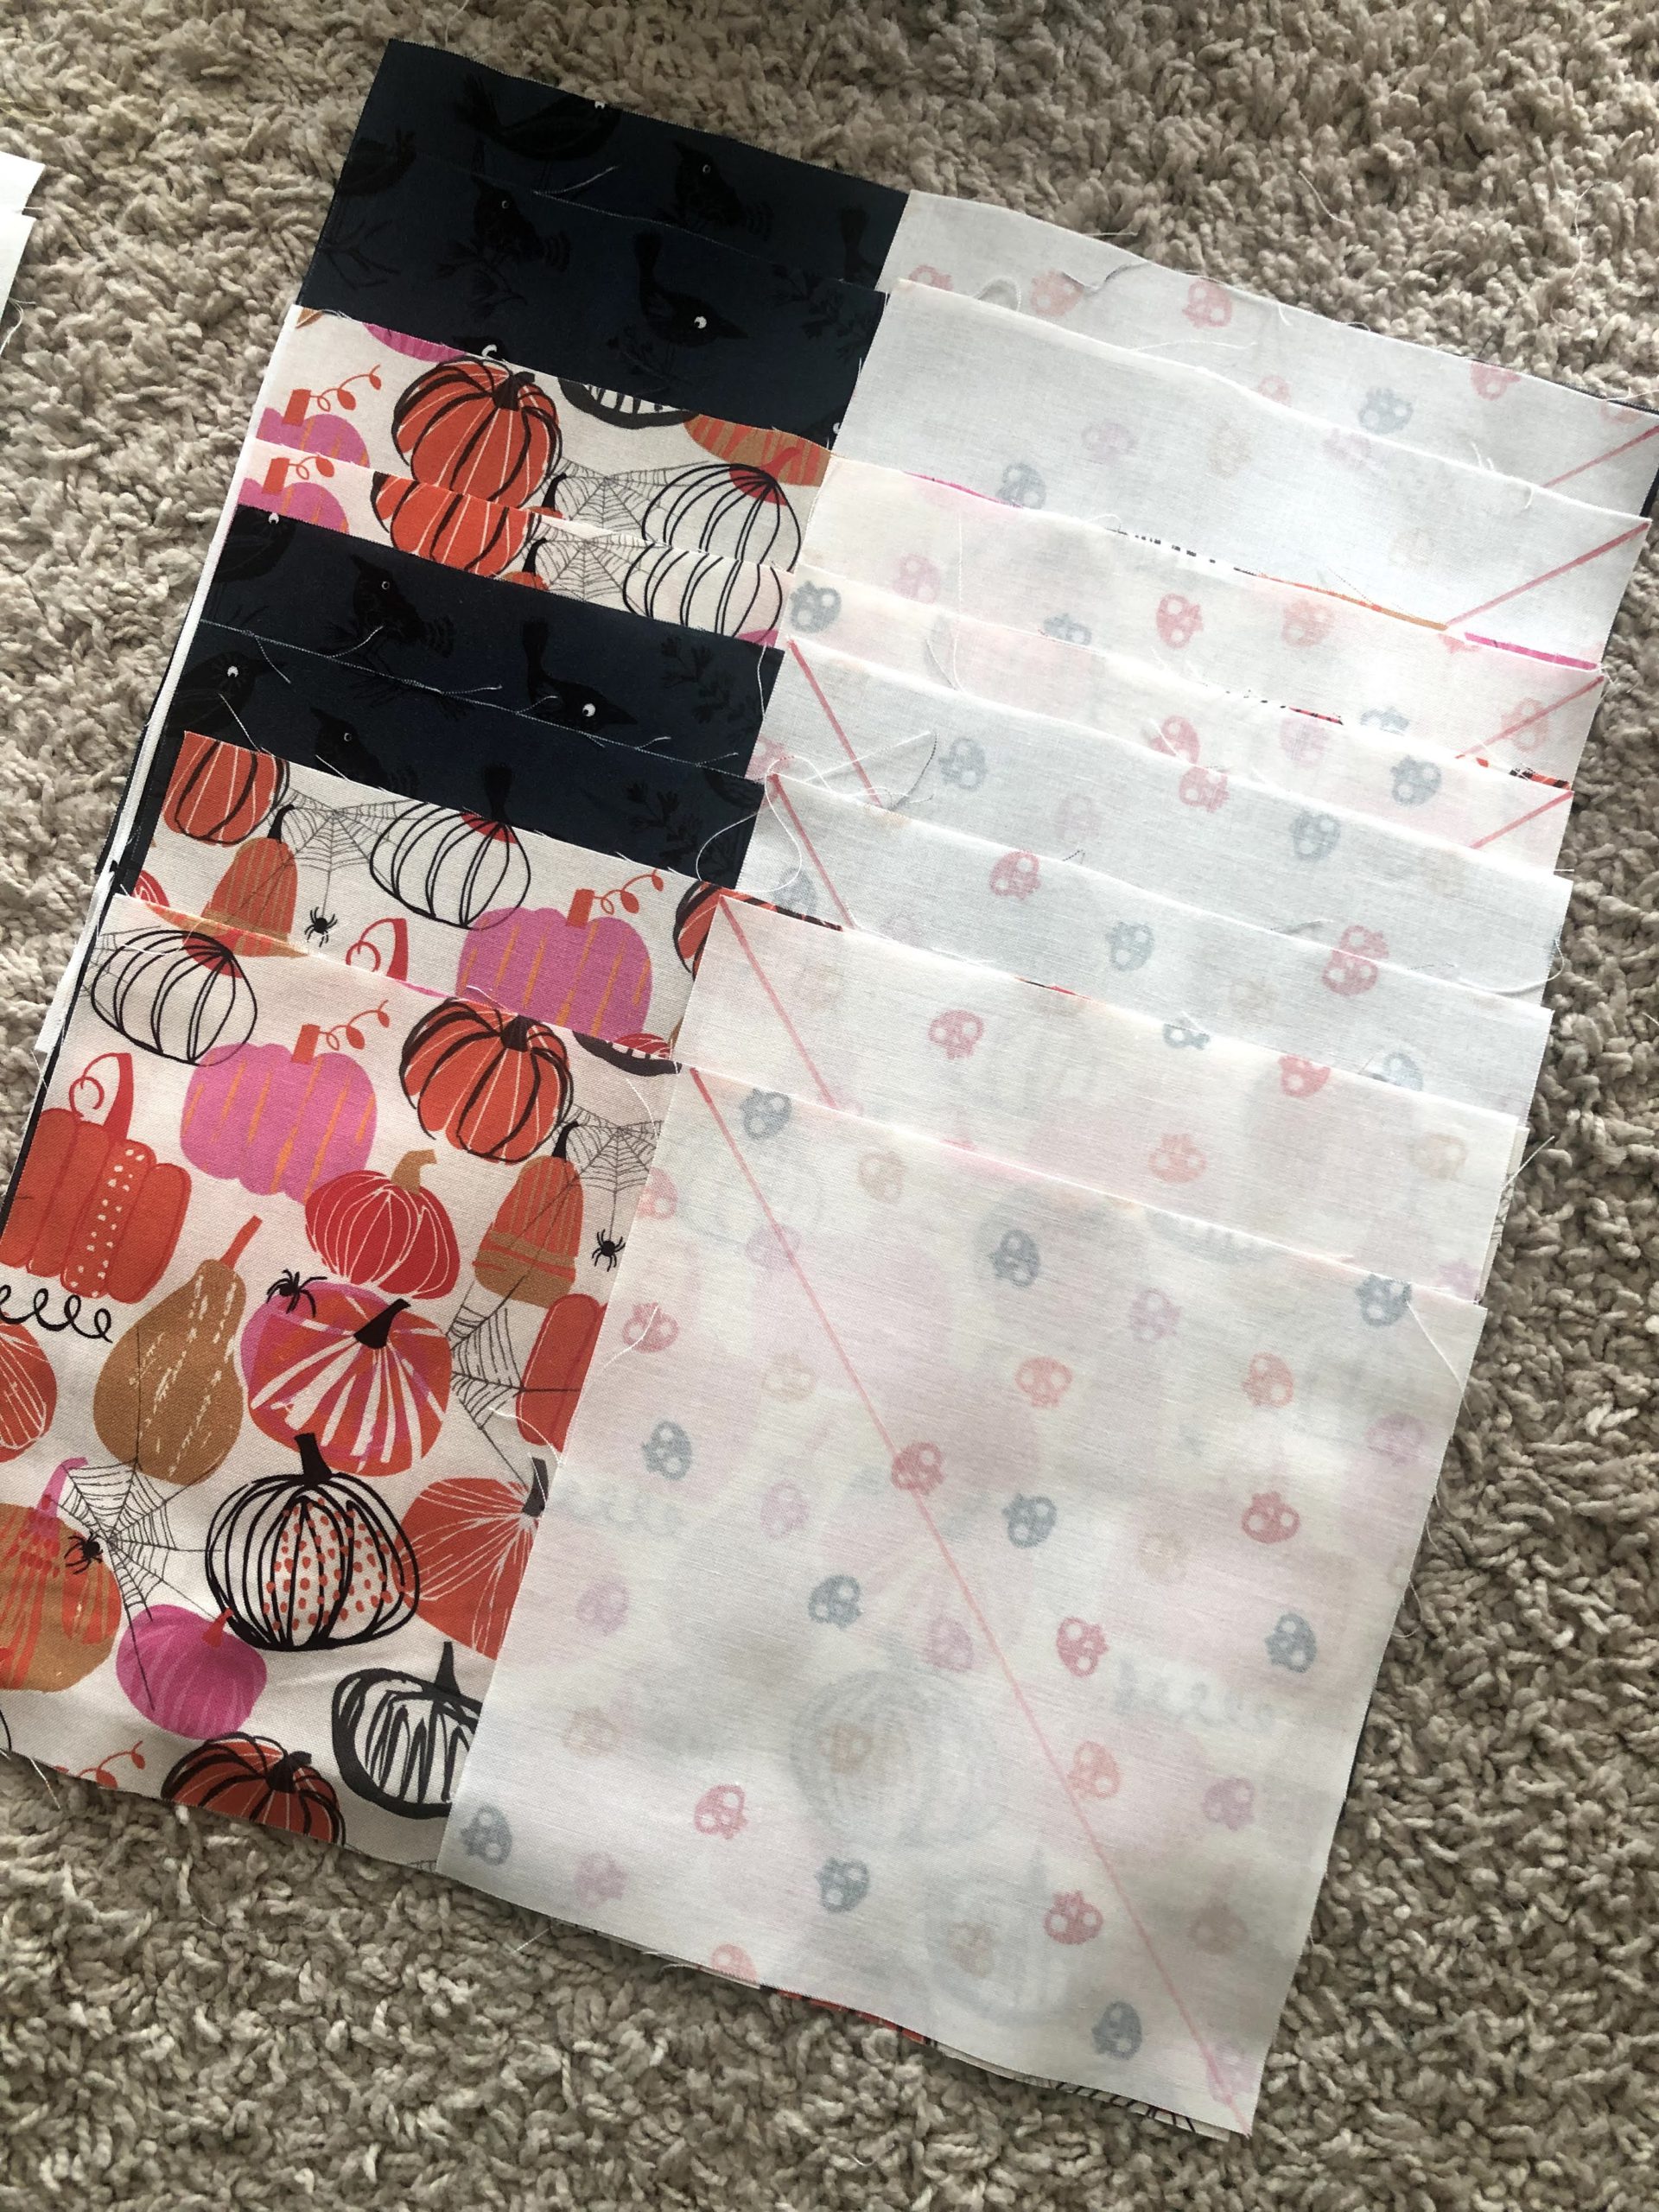
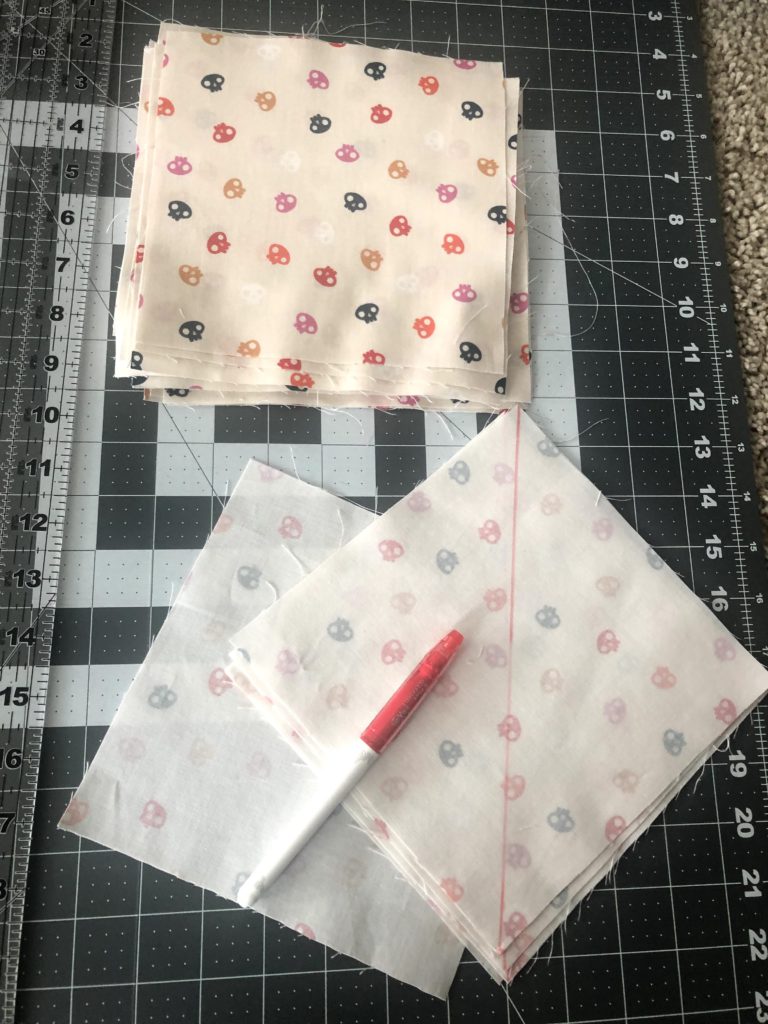
Frixon Marker
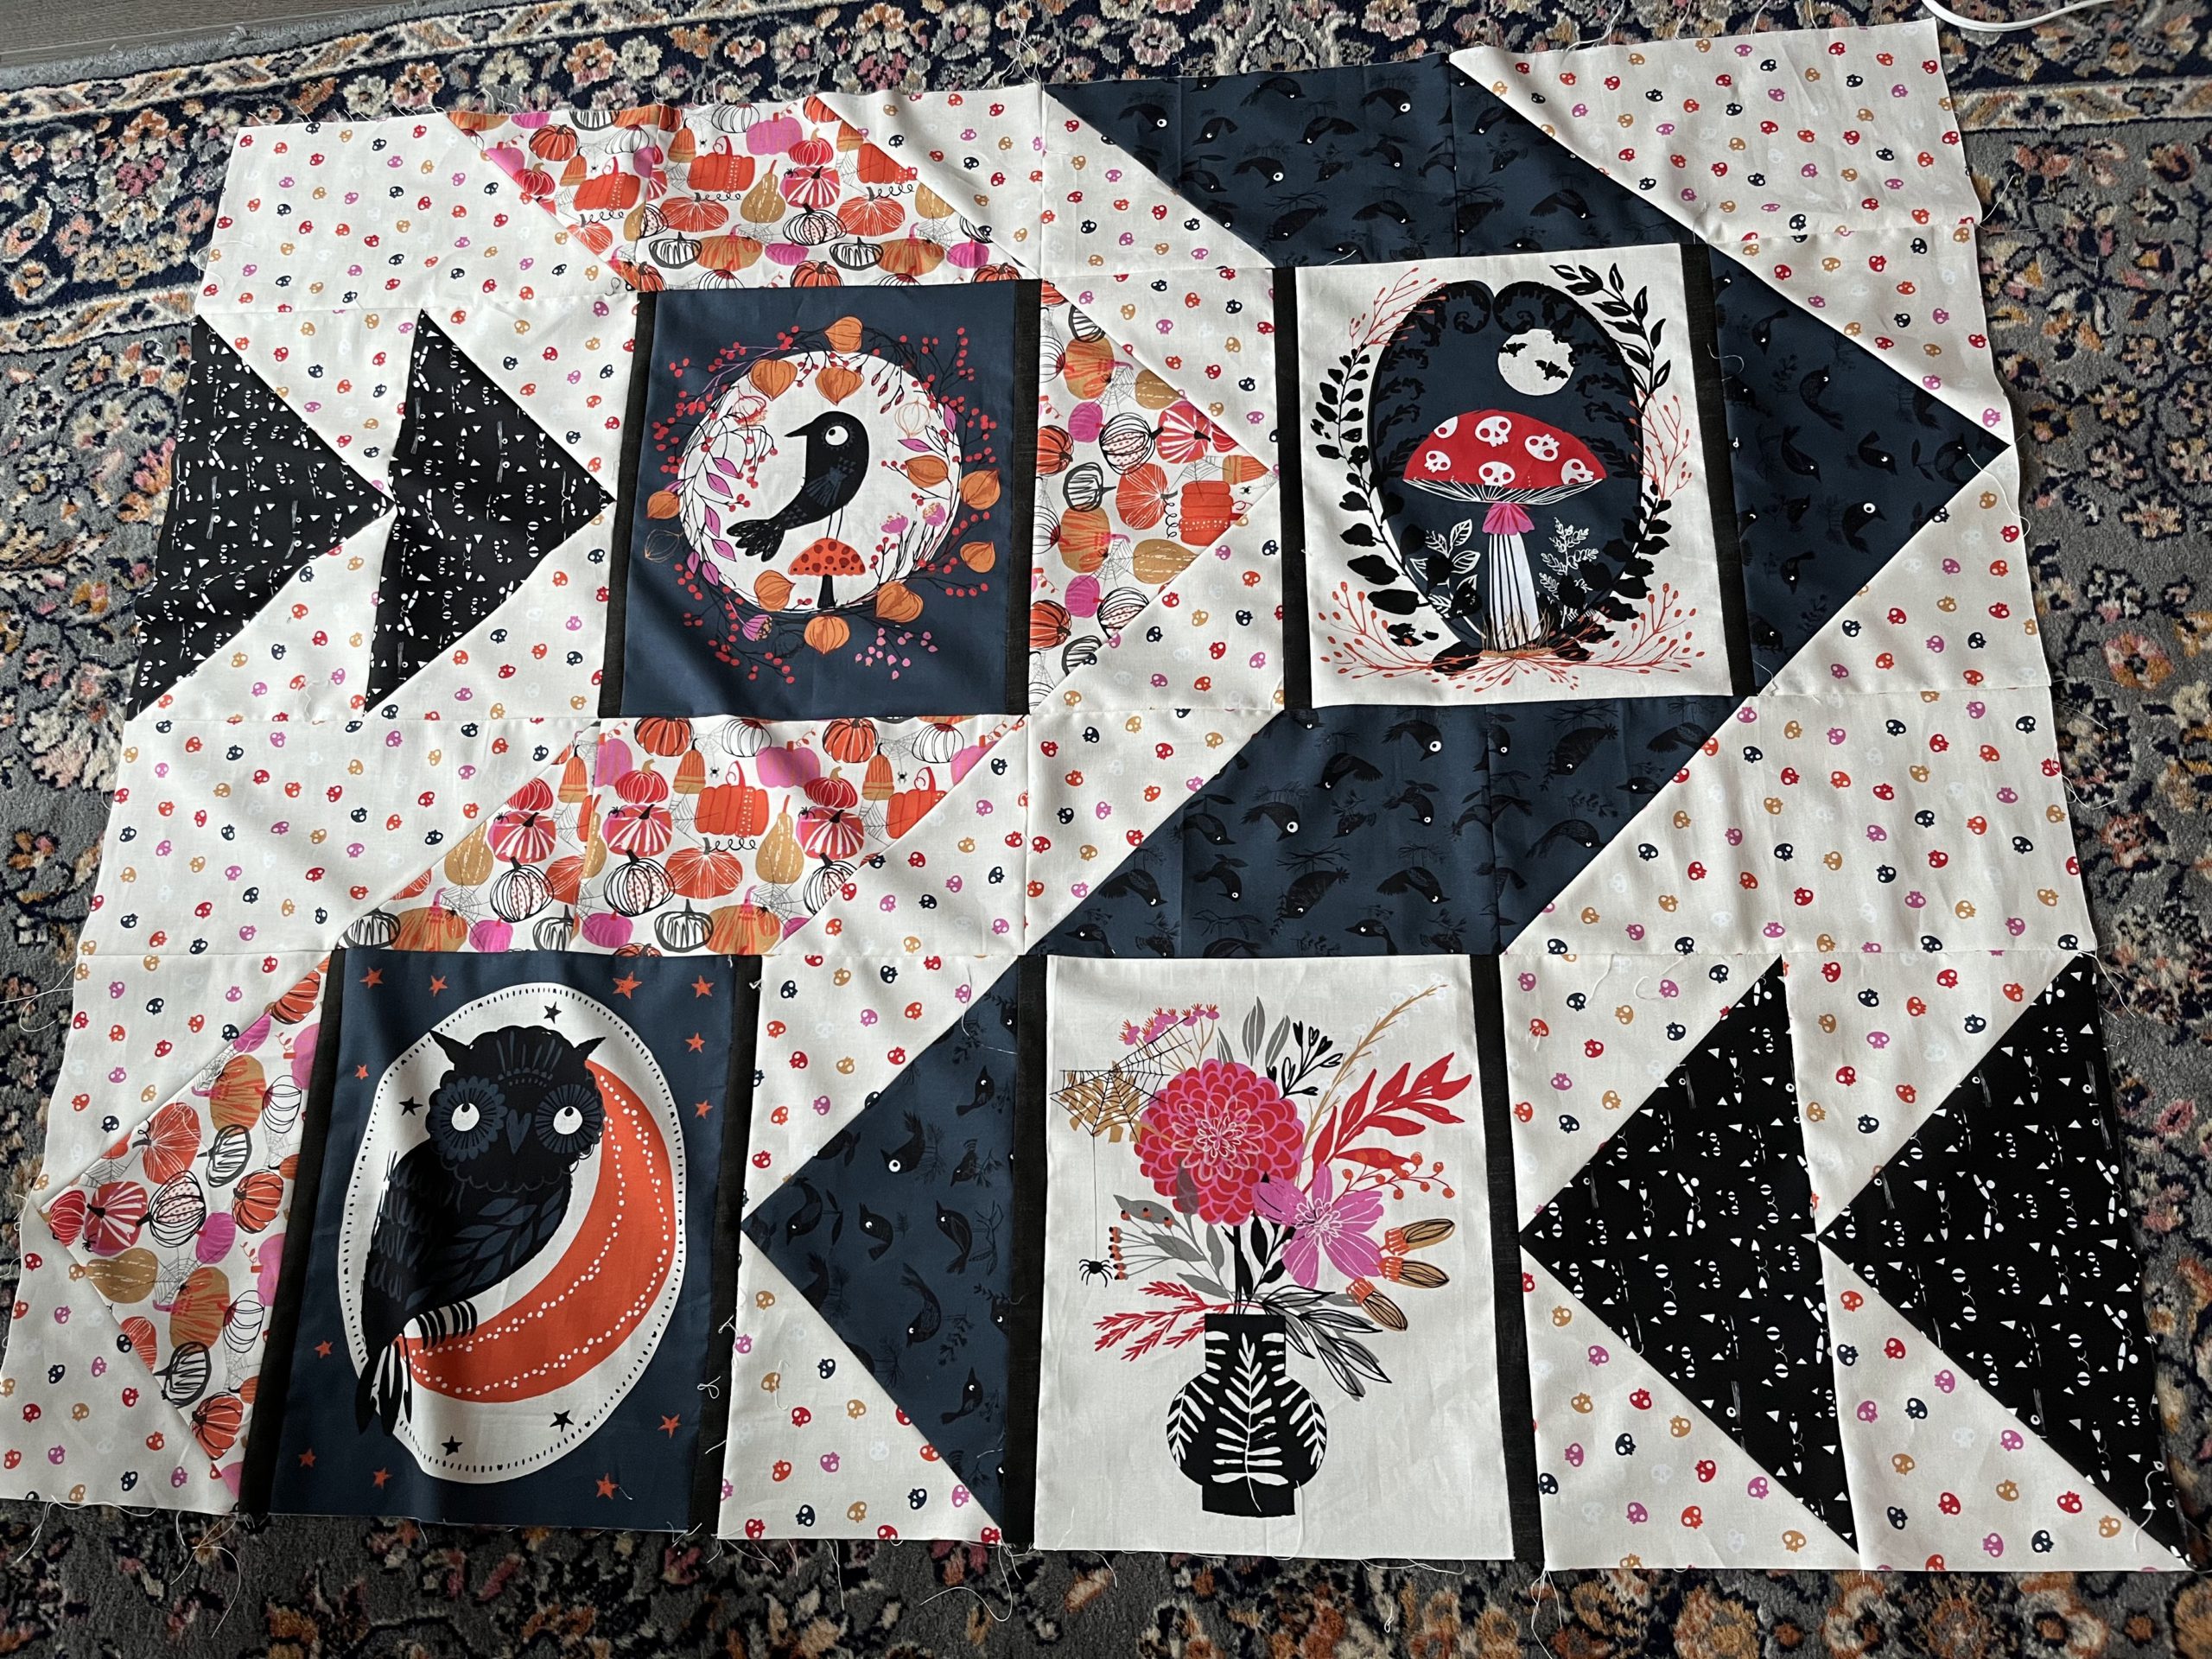
3. DESIGN WALL. I need one. Badly. Otherwise your blocks may be sewn on in the wrong order! I guess you could use the pinning method, but I am super visual and like the idea of being able to move things around on the wall. The floor isn’t cutting it!
3. Chain piecing. I learned this about halfway though! Yes, I painstakingly sewed each triangle one by one. But with chain piecing you keep sewing and literally sew a chain in between each triangle piece. I was hesitant to do this since I had read you shouldn’t let your sewing machine just sew on top of nothing- but boy did this save a lot of time! Plus there is something extremely satisfying when you cut between each piece! It’s like cutting sausage links, lol.

Time to get smart! 2 at a time 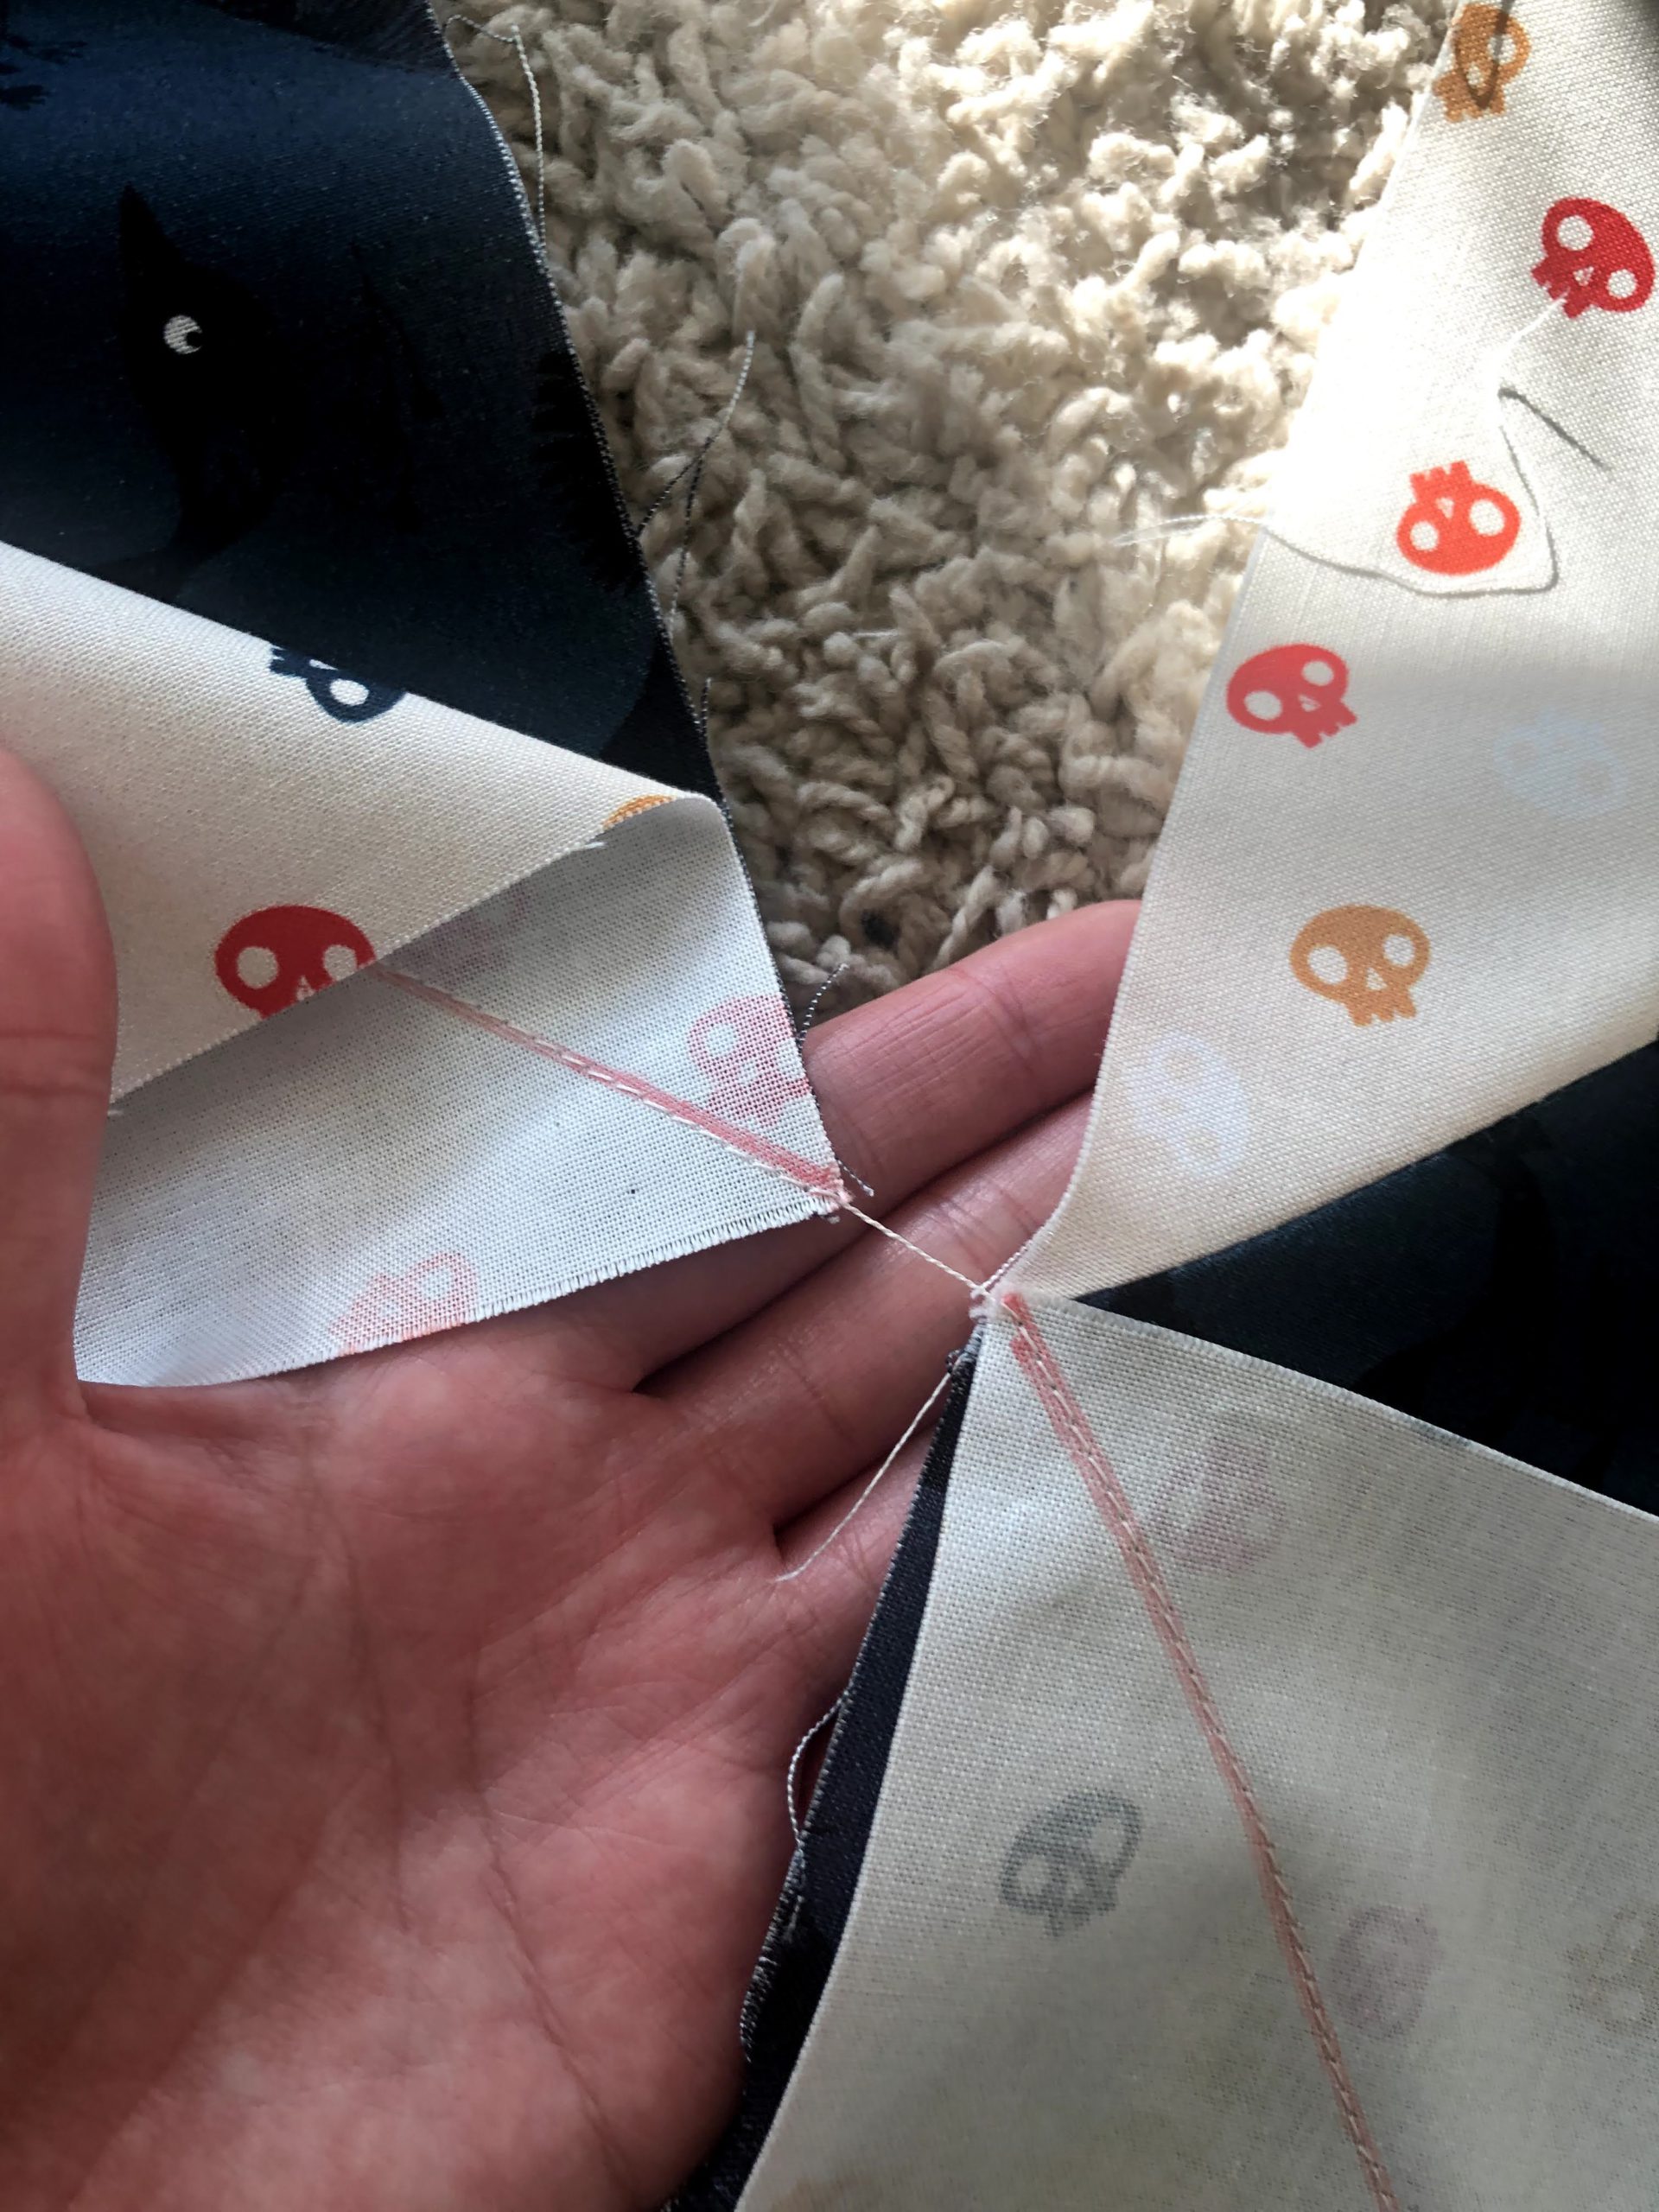
Chain chain chain… 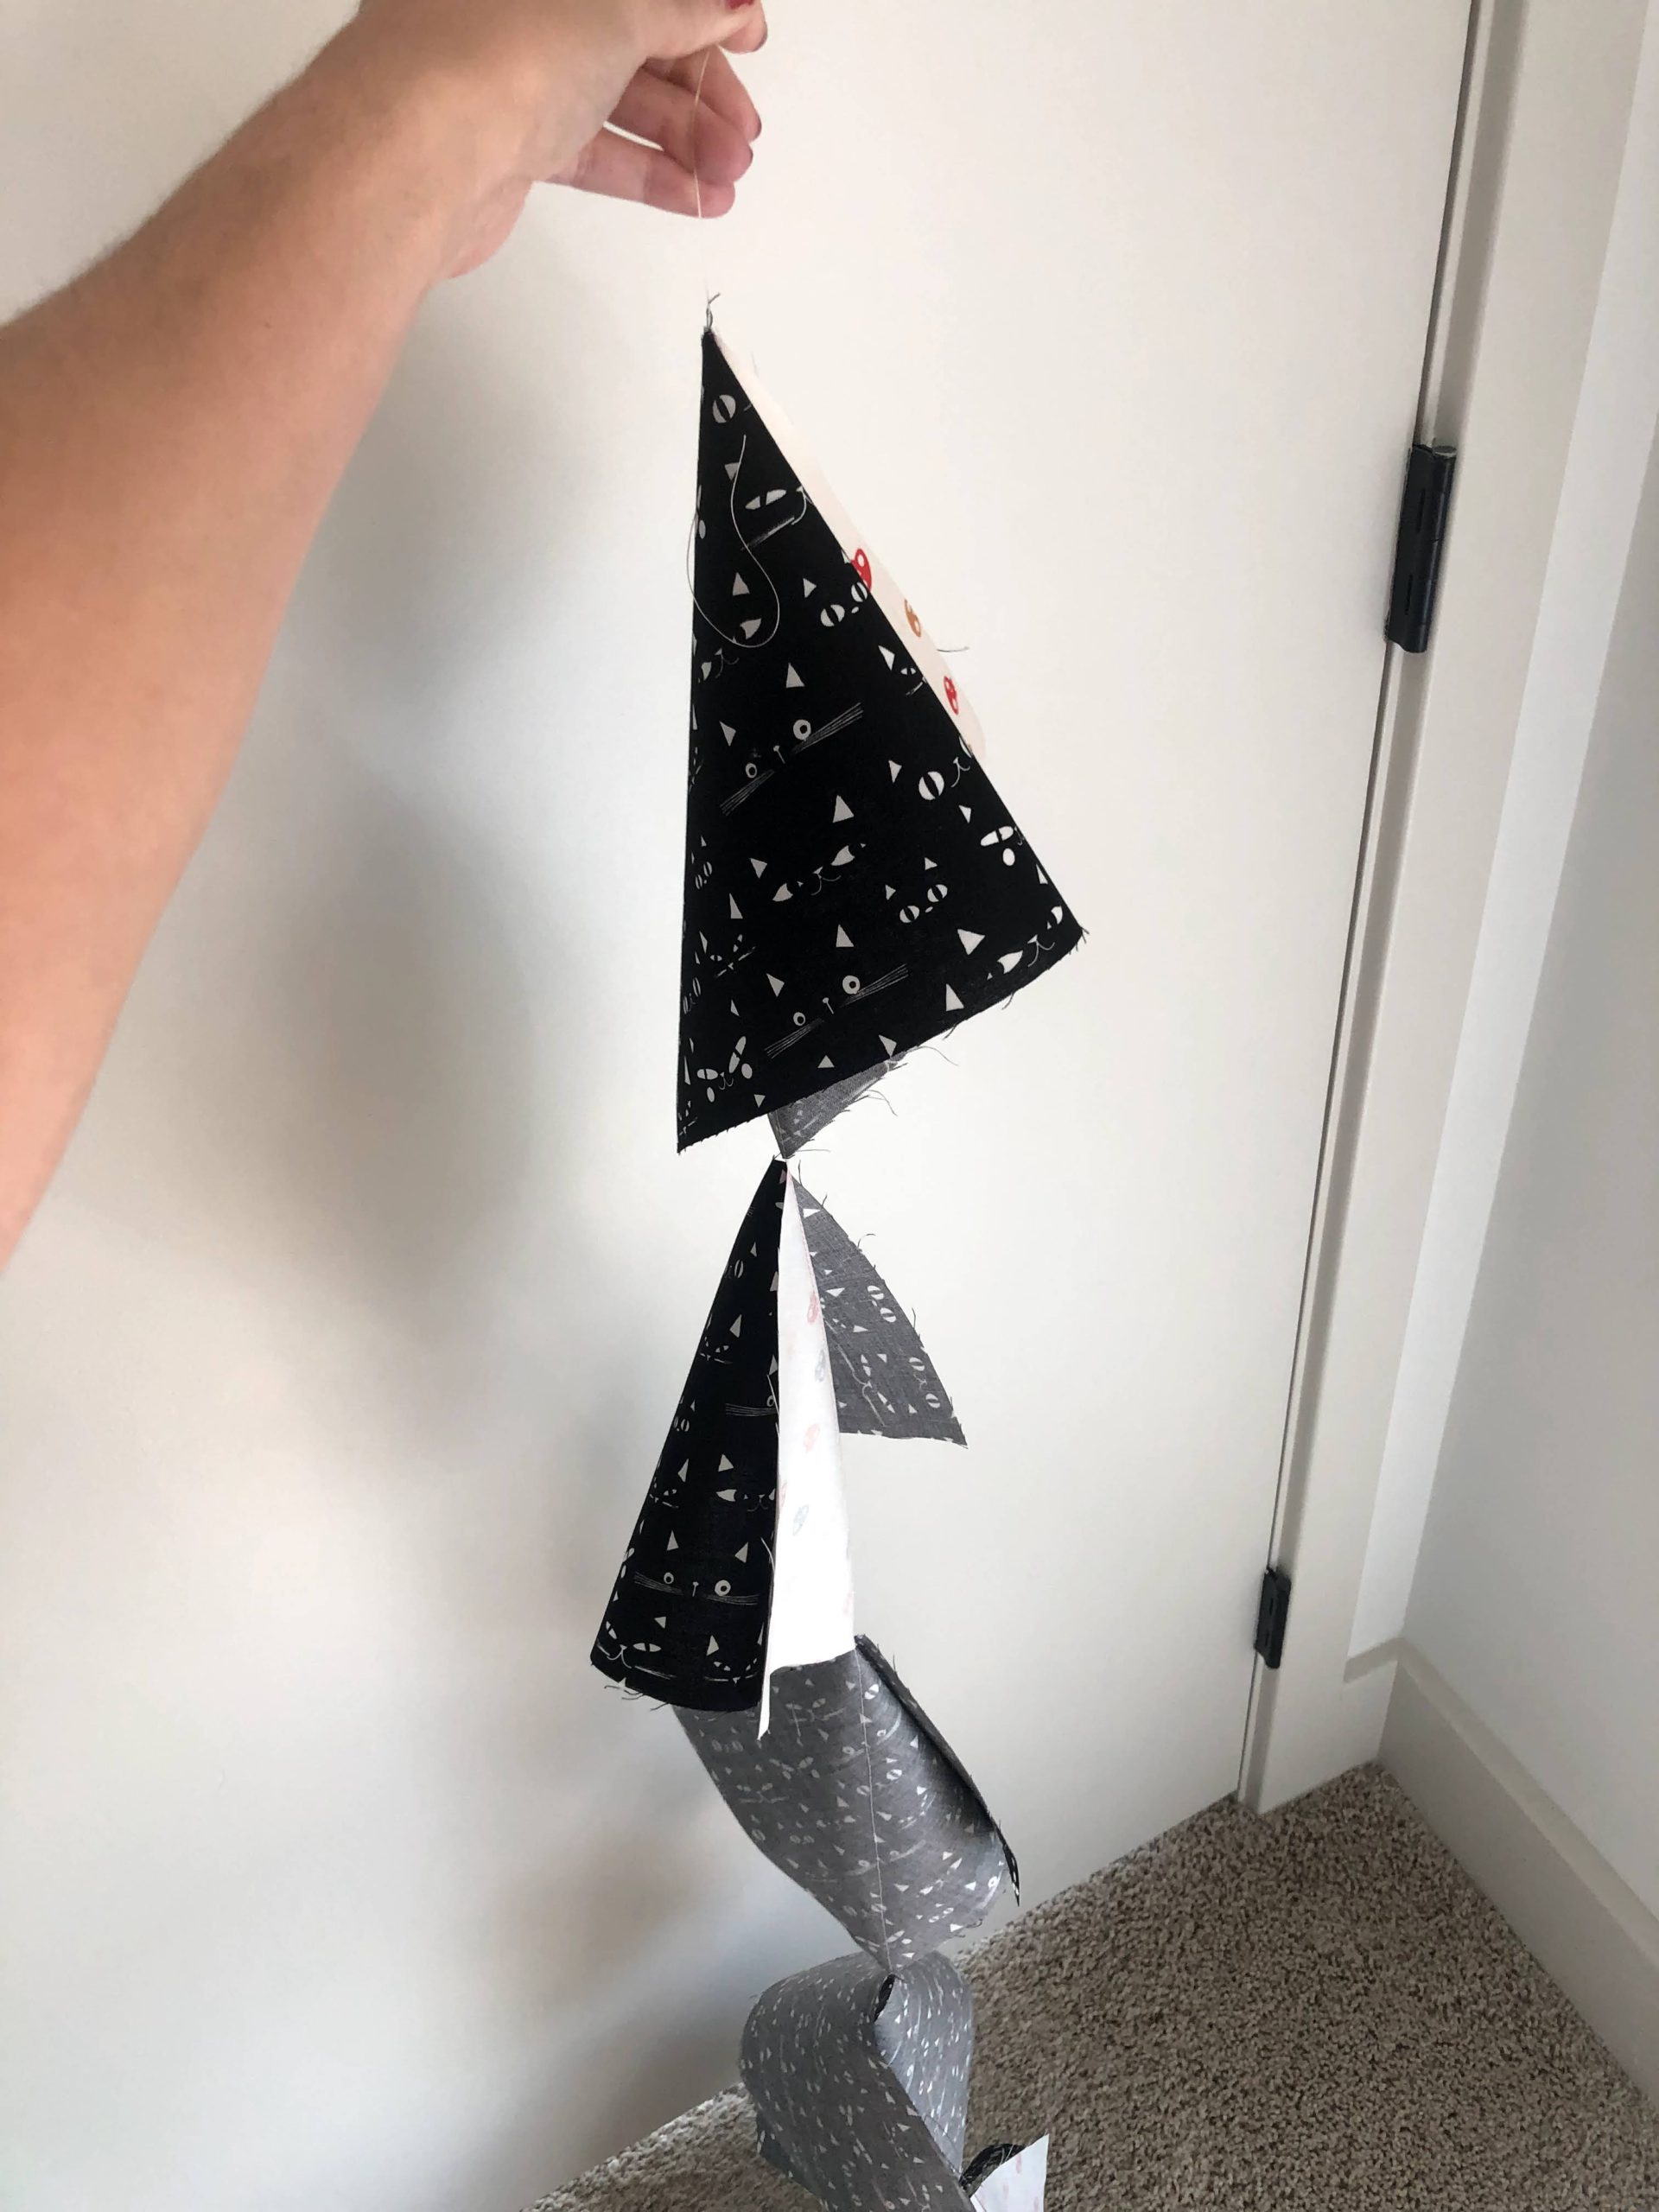
Ta- da!
3. You’re going get really friendly with your iron too. I pretty much used it after every single action. And yes, PRESS, don’t IRON! The ironing action may stretch out your blocks…which again leads to a wonky quilt!
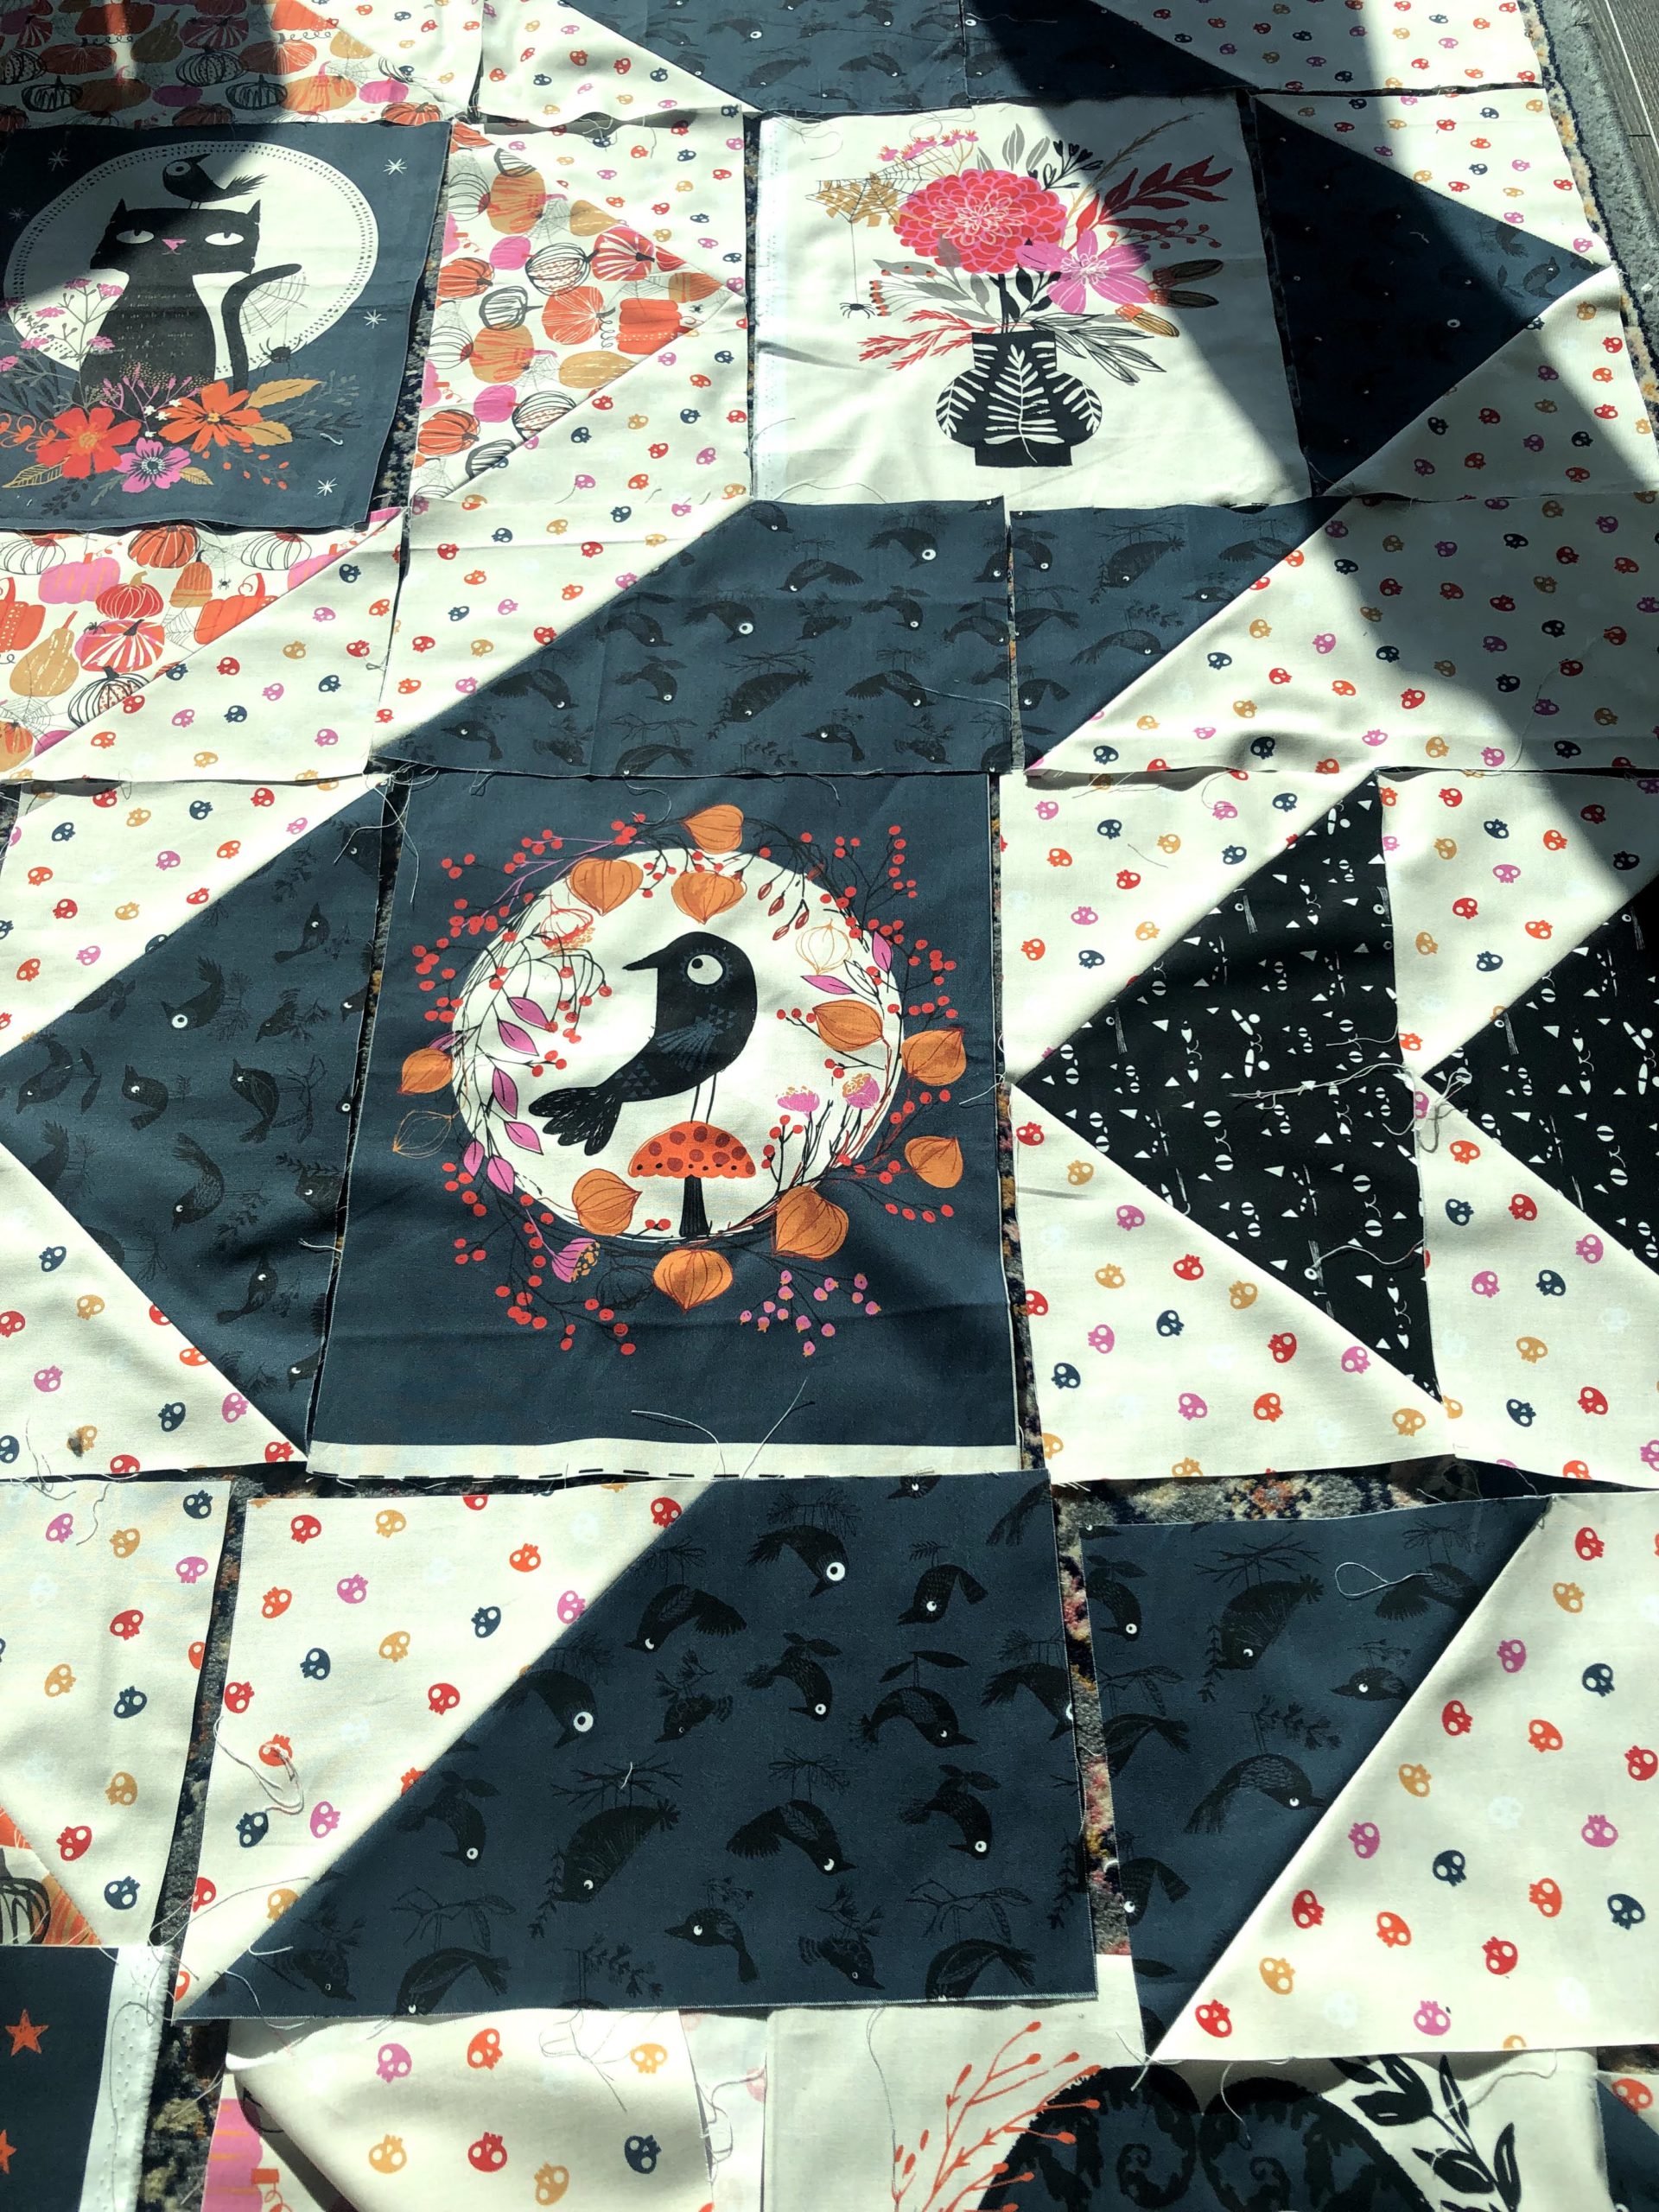
4. It takes a long time. Yes it does. Don’t even think it won’t. But once you start laying out the design the finish line is in sight and it starts to get really really exciting.
5. 1/4″ piecing foot. YES! Another great thing I learned thanks to YT. This thing is so spectacular! Helps keep the lines straight because inevitably you will take your eyes off it to blink, sneeze or daydream just for a split second, lol.
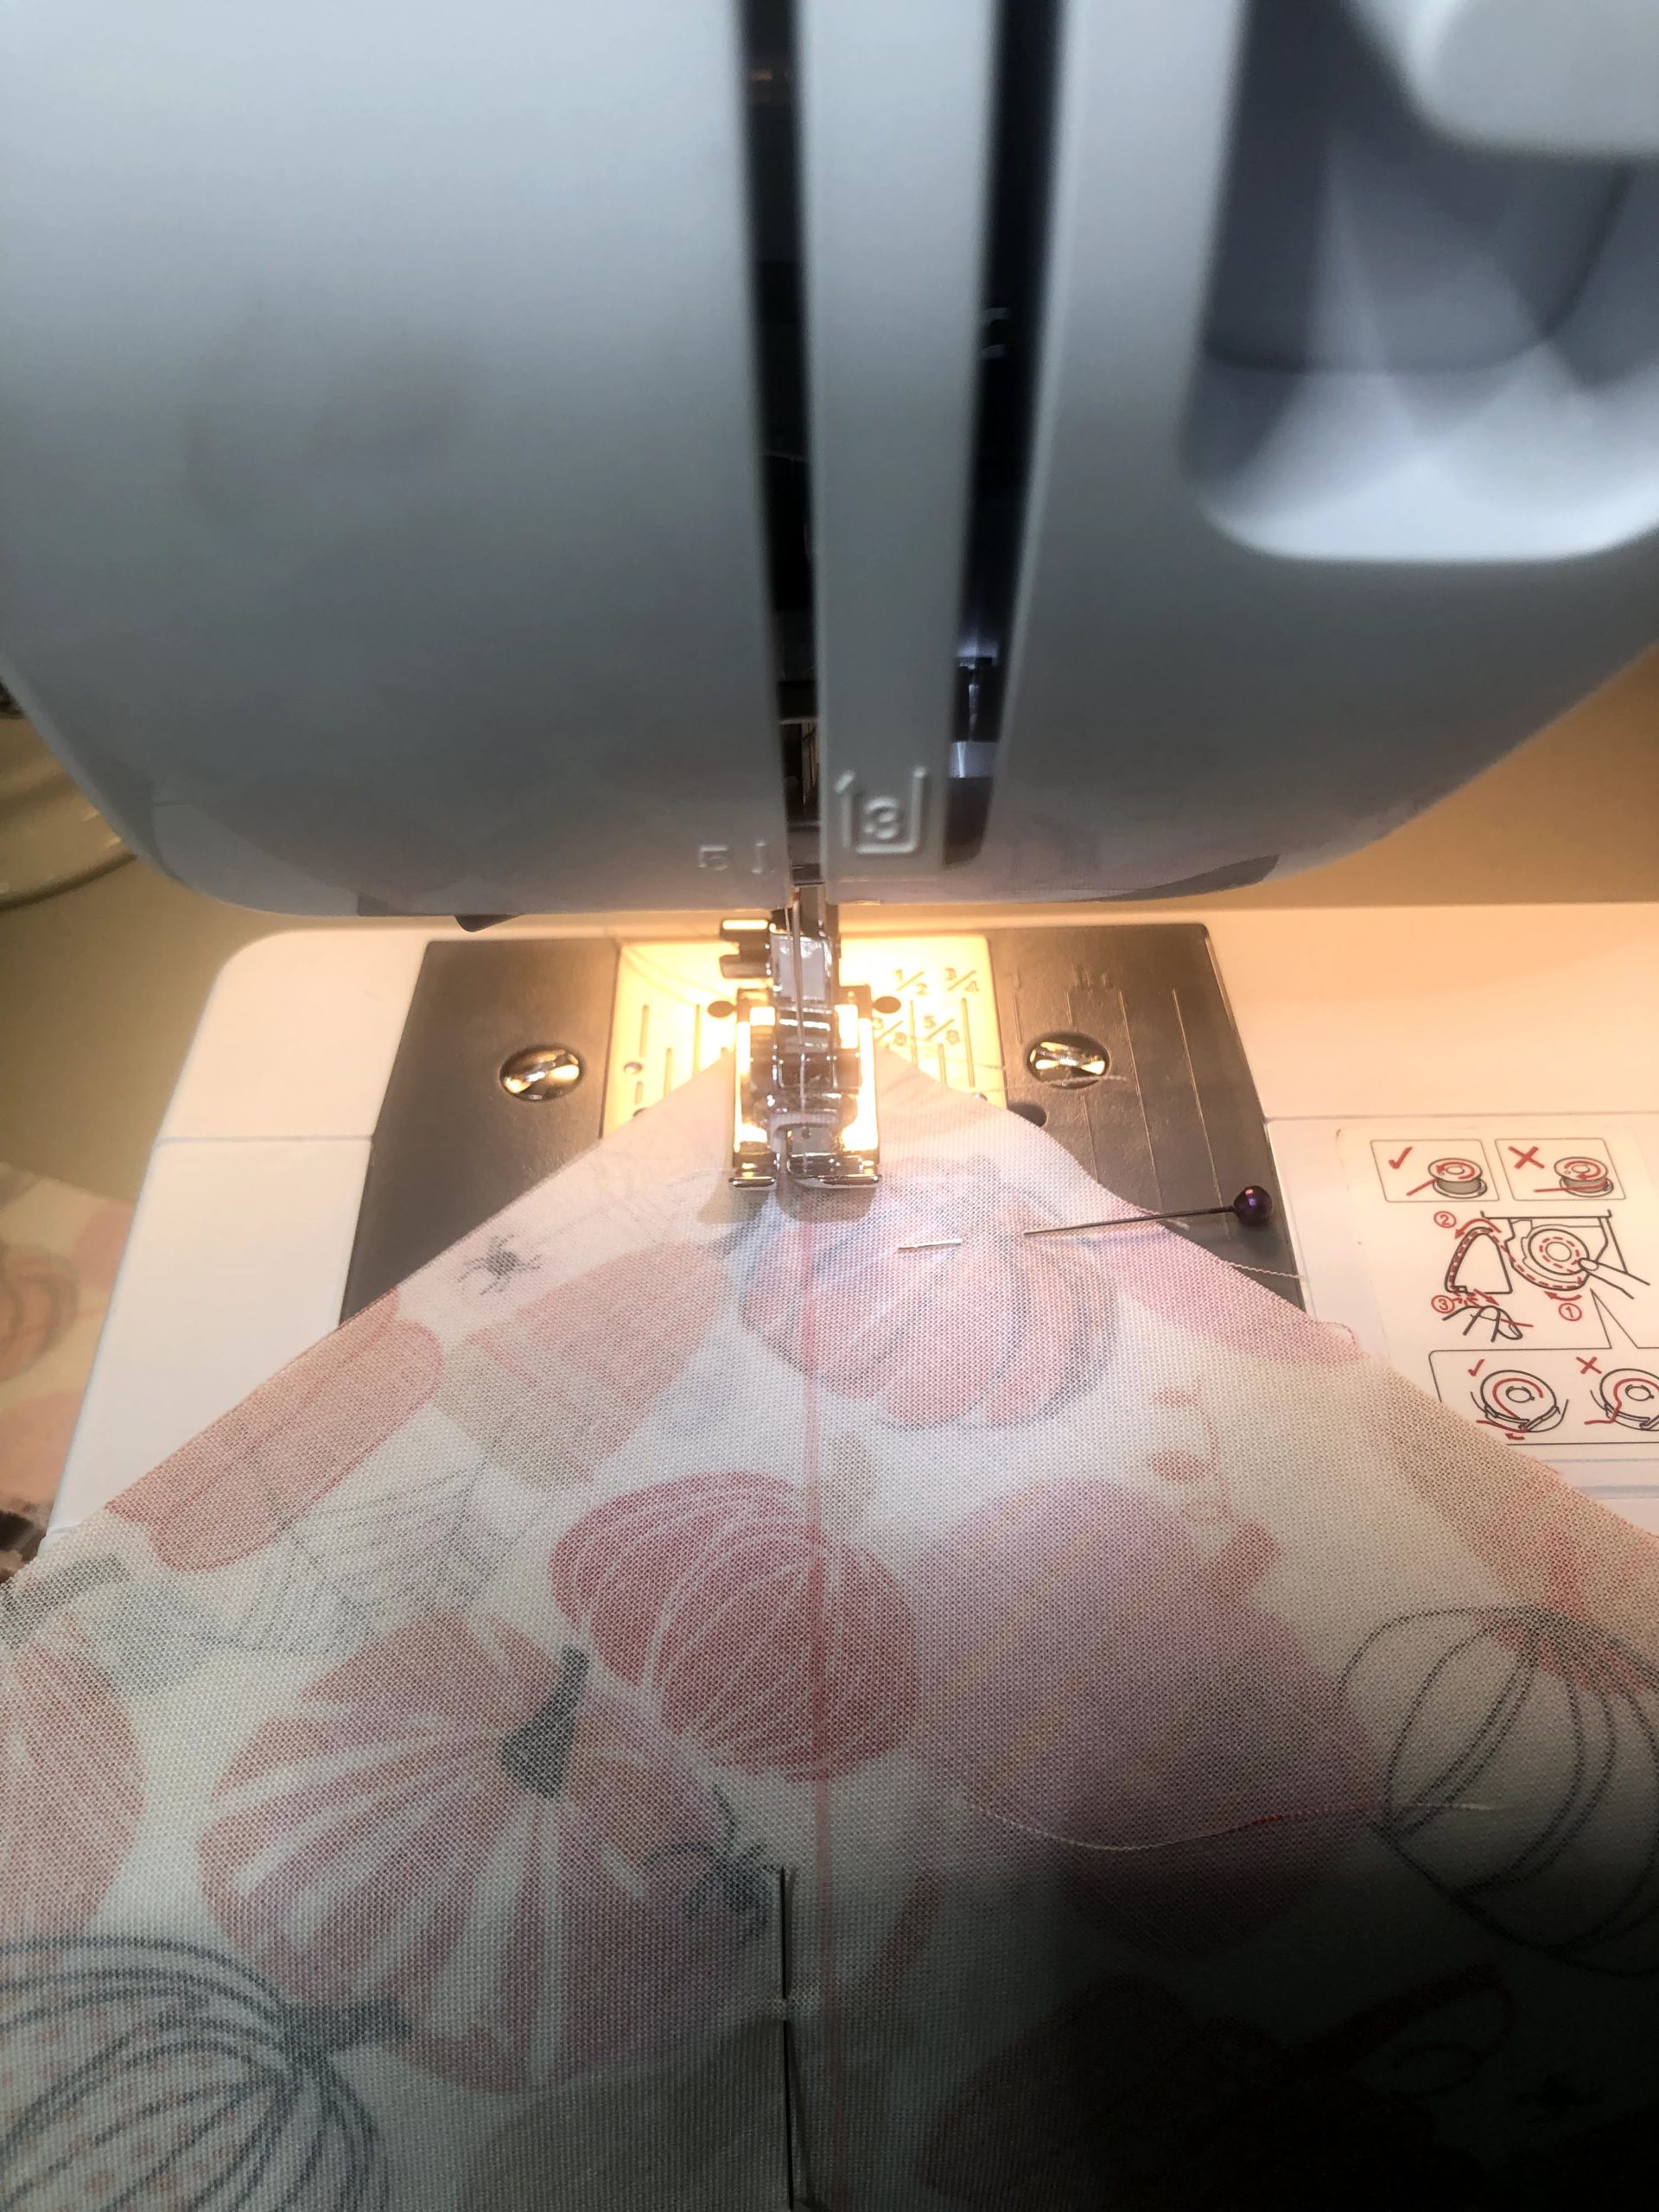
Exhibit A: Using a regular foot 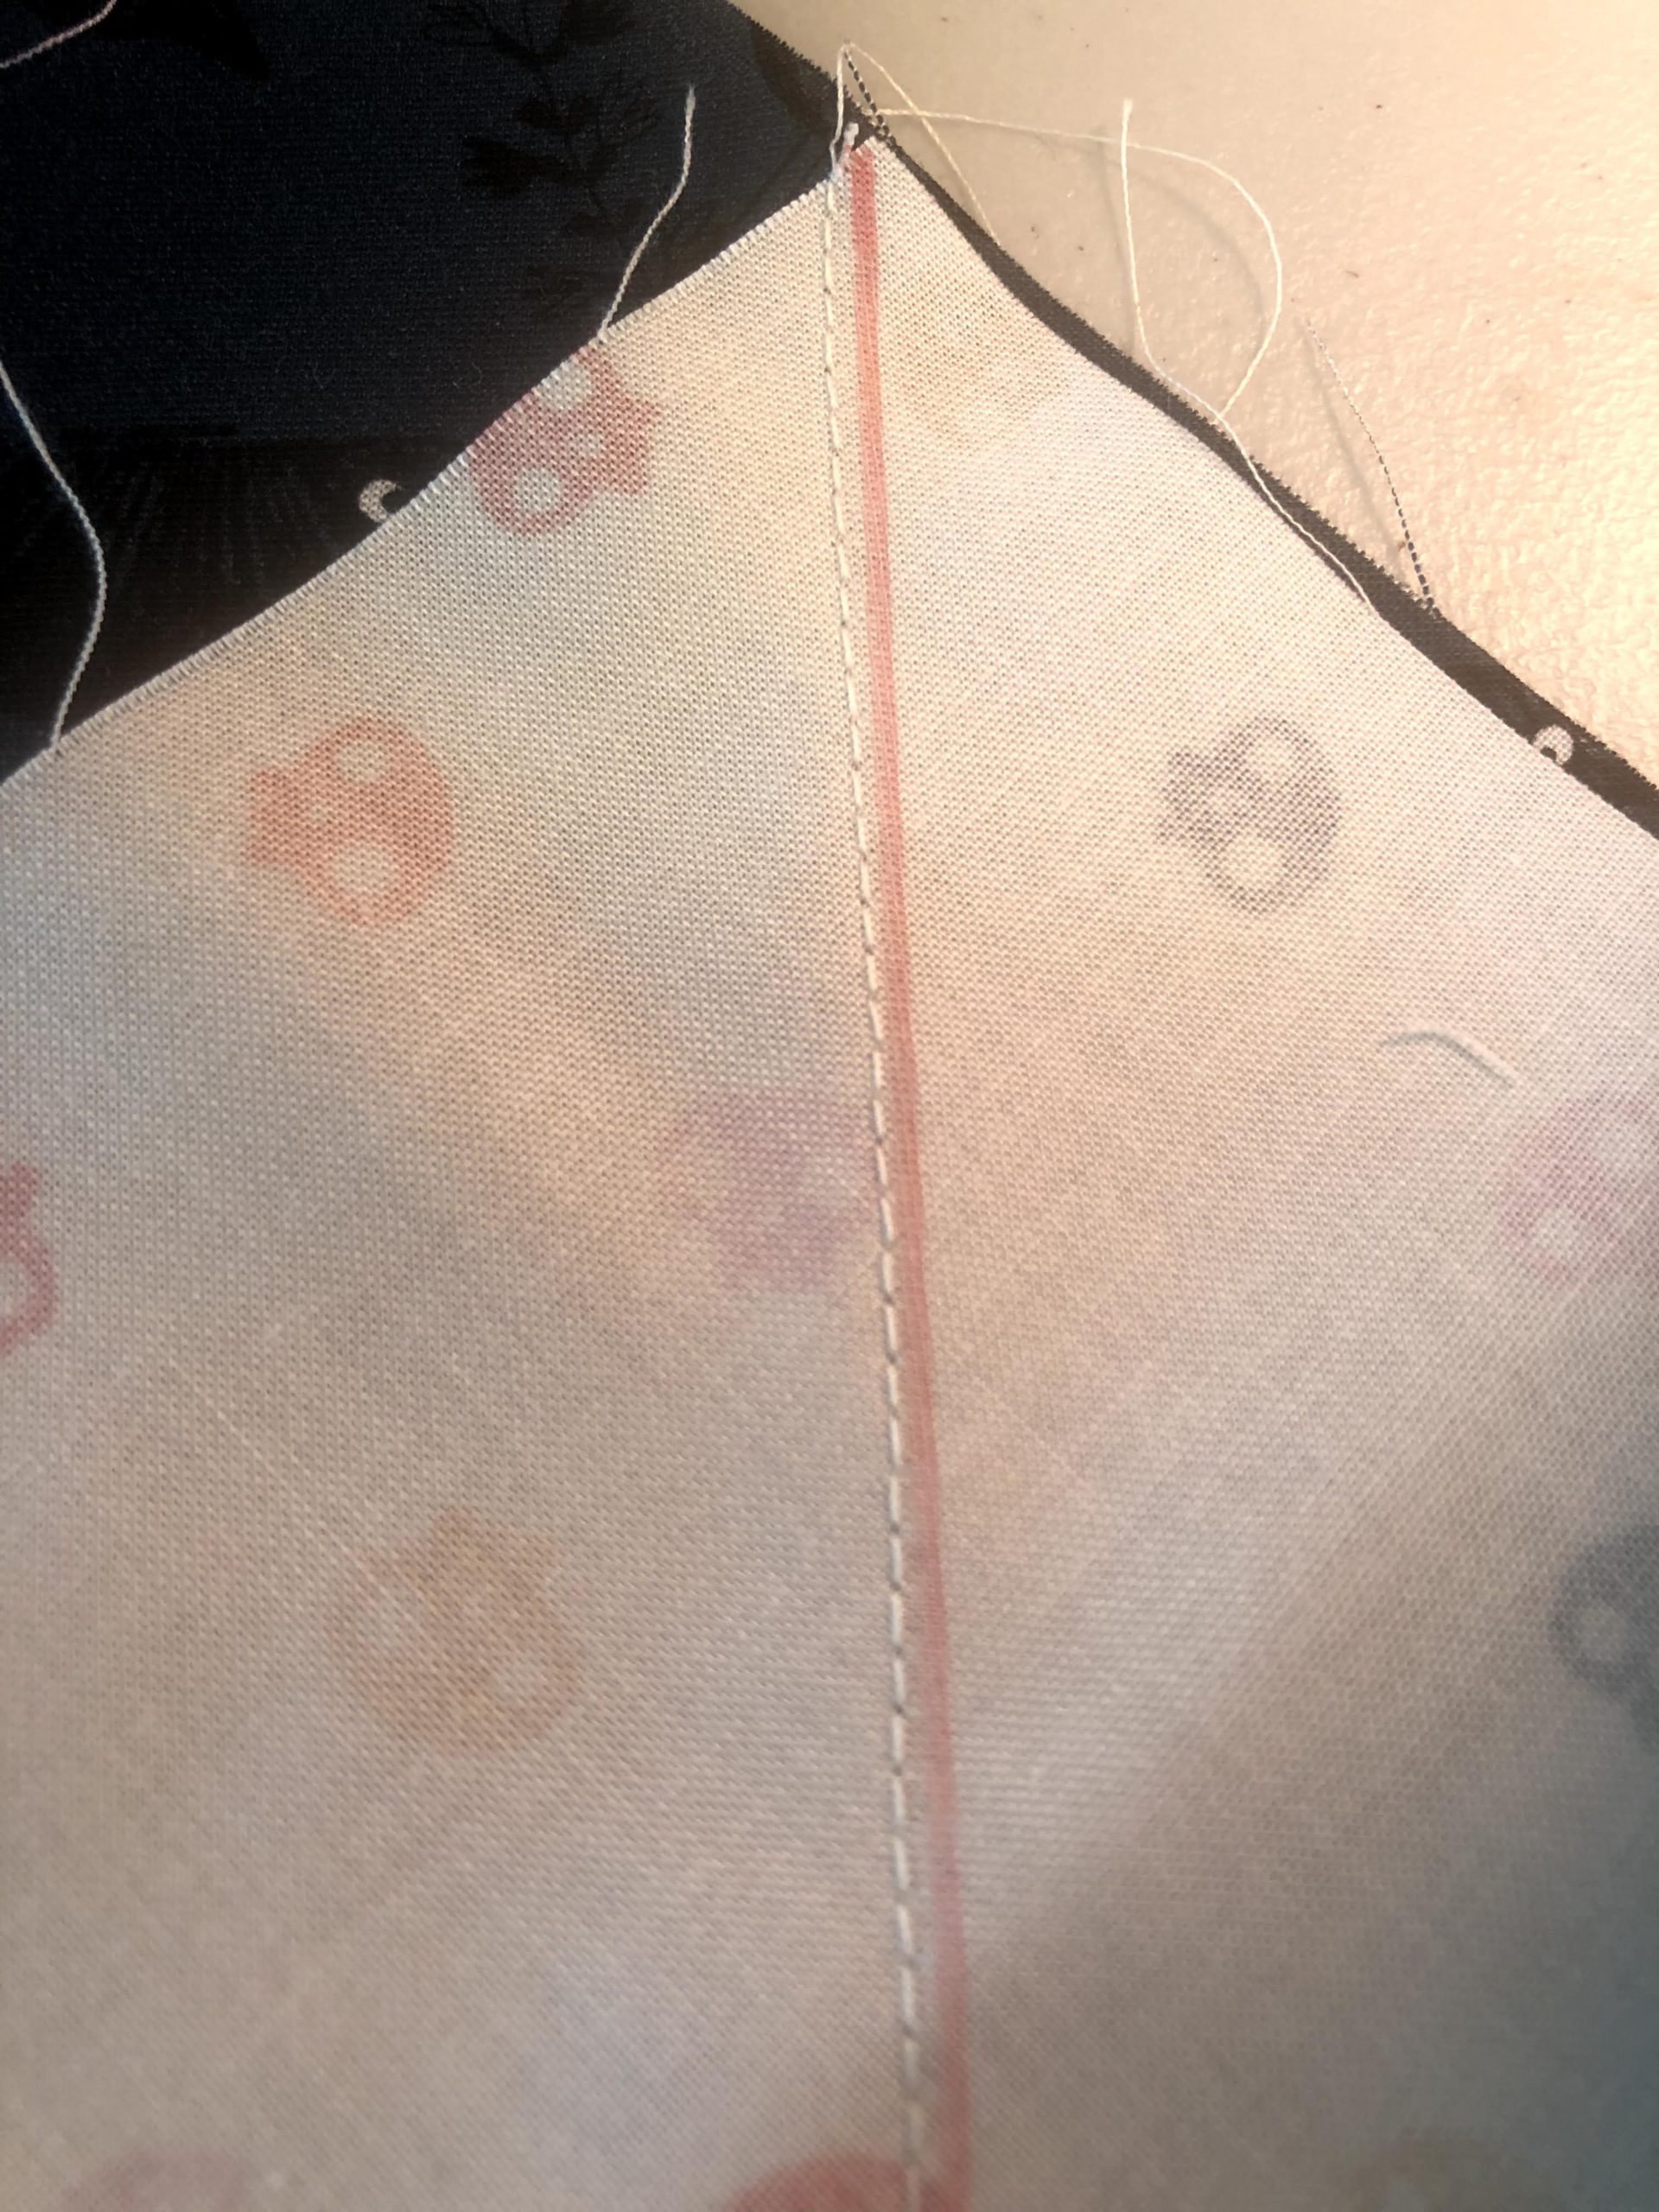
Exhibit B: Crooked line 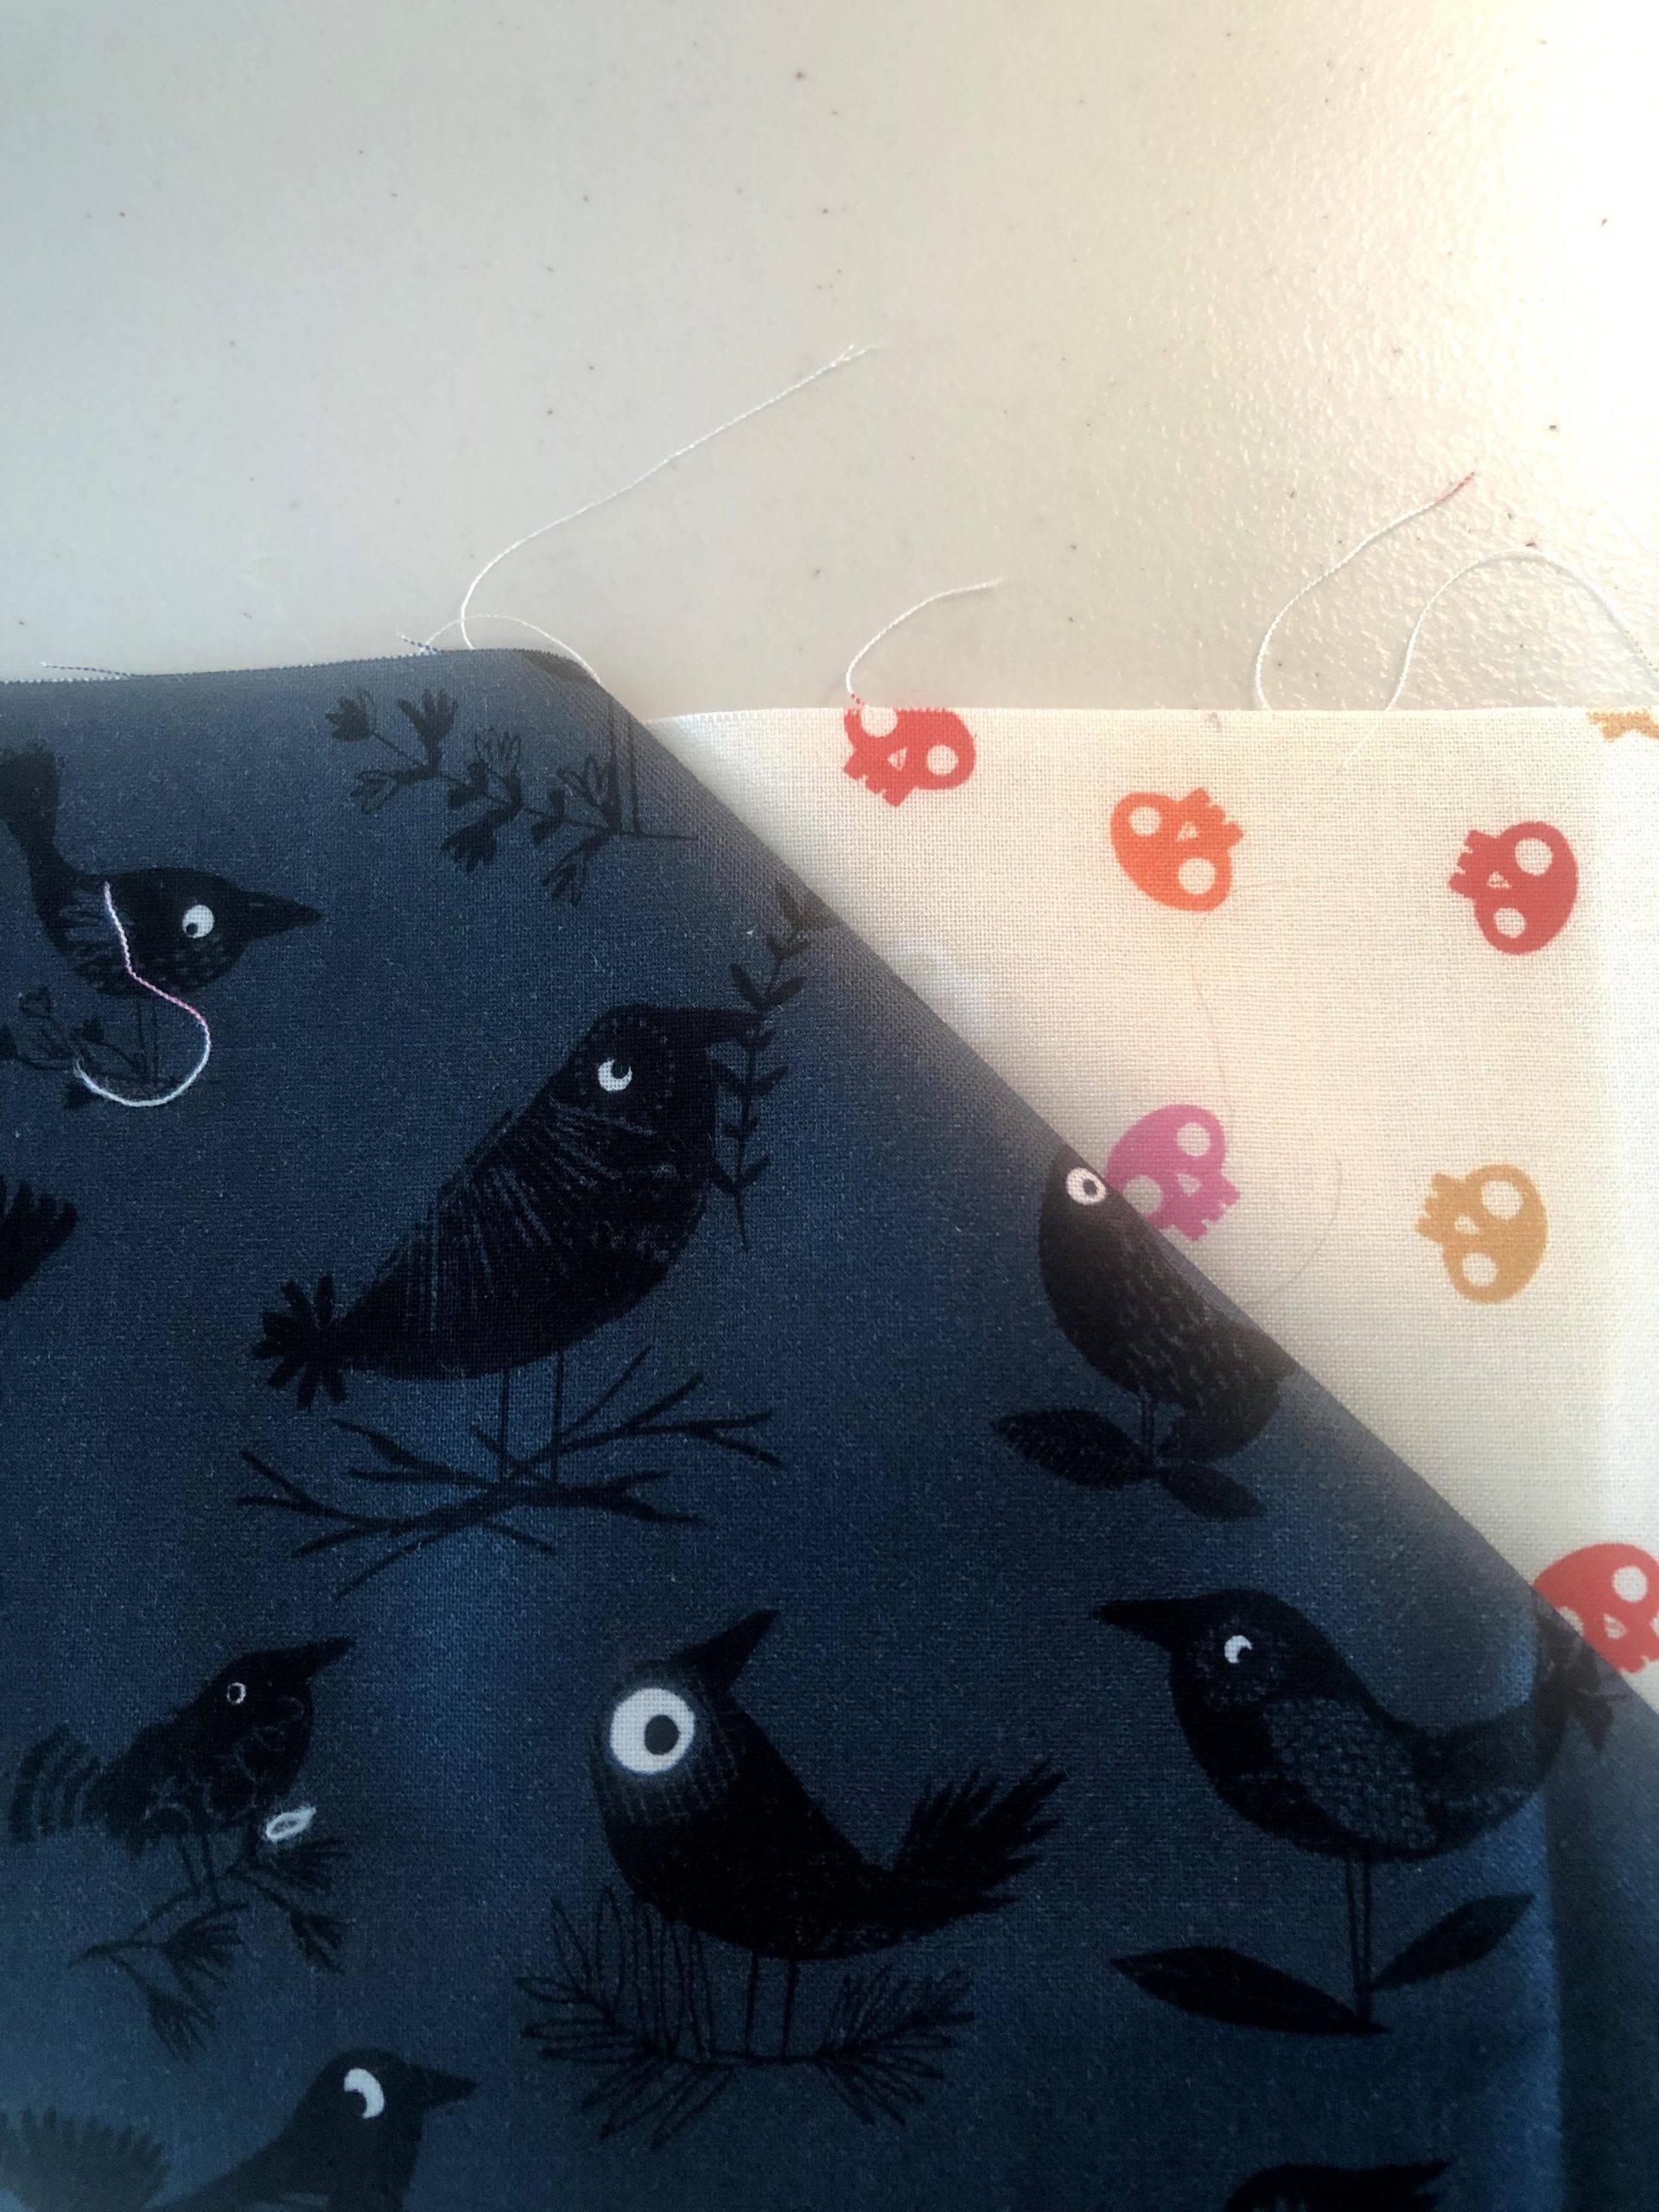
Exhibit C: The most crooked block of all time
6. You will think of your quilt as your baby. It was unavoidable. When you spend time with something so long and your heart and soul goes into it, it becomes an extension of you, lol. I went into this Halloween quilt not super jazzed about the fabric or pattern…but somehow I got attached to it once it all came together.


I love that quilt!!!!! That’s a lot of work, and a lot of patience!!! And your skirt looks wonderful on you, so fun!👏🏻👏🏻👏🏻👏🏻❤️❤️❤️❤️❤️
Thank you! It took a long time but it was fun! Can’t wait until it’s 100% complete.