Wiksten Shift Dress
*This blog post is a long time coming- I apologize in the delay! For some reason I was unable to get any good pics of this Wiksten pattern over the last couple of weeks.
After working on small projects it’s time to sew garments again! I really like having a break where I don’t have to worry about fitting. Small projects fit the bill.
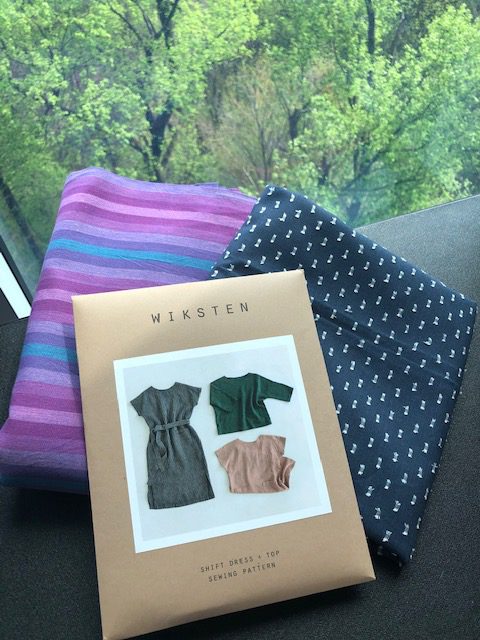
A few weeks ago I took a sewing class for the Wiksten top. This pattern isn’t really my style, but I enjoy the in-person instruction so much I overlook the pattern and chalk it up to more time behind the machine. Going to the store to pick up the pattern and fabric got me really excited to sew clothes again. What is it about being in a fabric store that is so inspiring?! I could stay in there all day just petting the fabric and flicking through patterns.
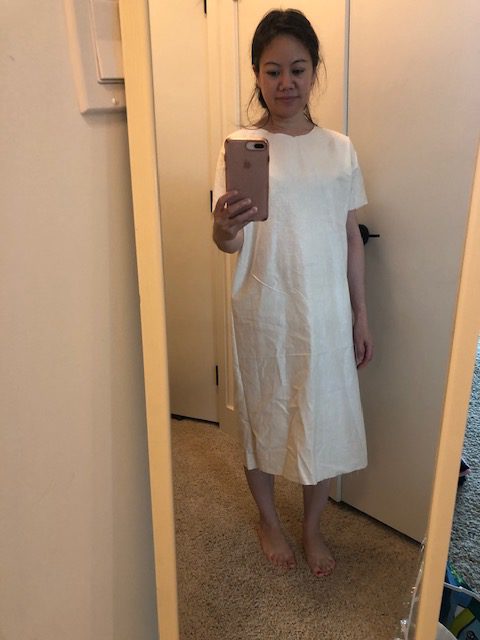
I didn’t make the same mistake as last sewing class with the Adrienne Blouse- I muslined the dress beforehand. The class is for the top but I was more interested in the dress, so I sewed it first before class started. My intent was to wear it to class while sewing the top, lol.
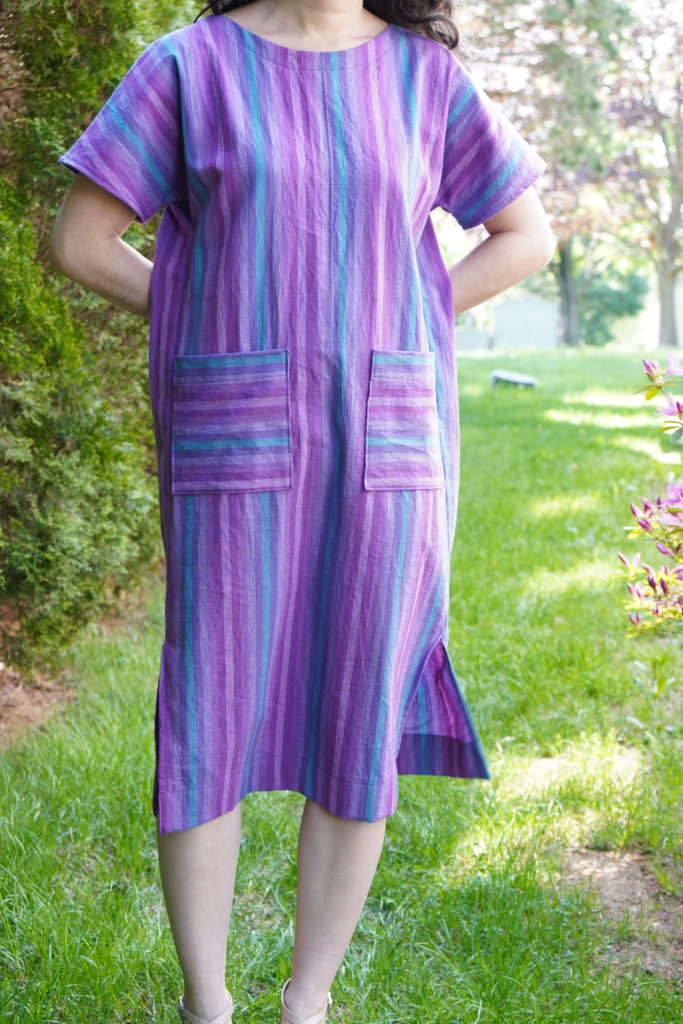
I chose a fun striped woven. I smiled when I saw the shades of purple and turquoise. It pretty much looks like everything else I have sewn and I almost put it down for that reason. But you know what?! WHY NOT. I say if you are naturally drawn to something just go with it. It’s ok to have a million pink dresses in your closet. Obviously that is your style so just go for it. That’s why we sew! To make things that reflect our personal style and to make things we feel great in.🙂
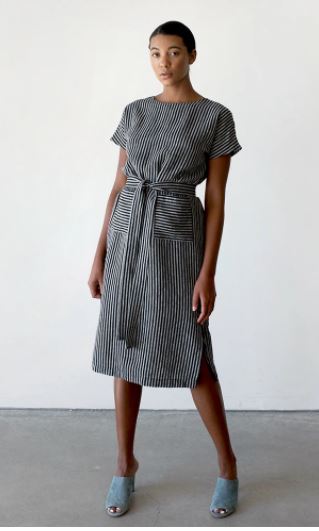
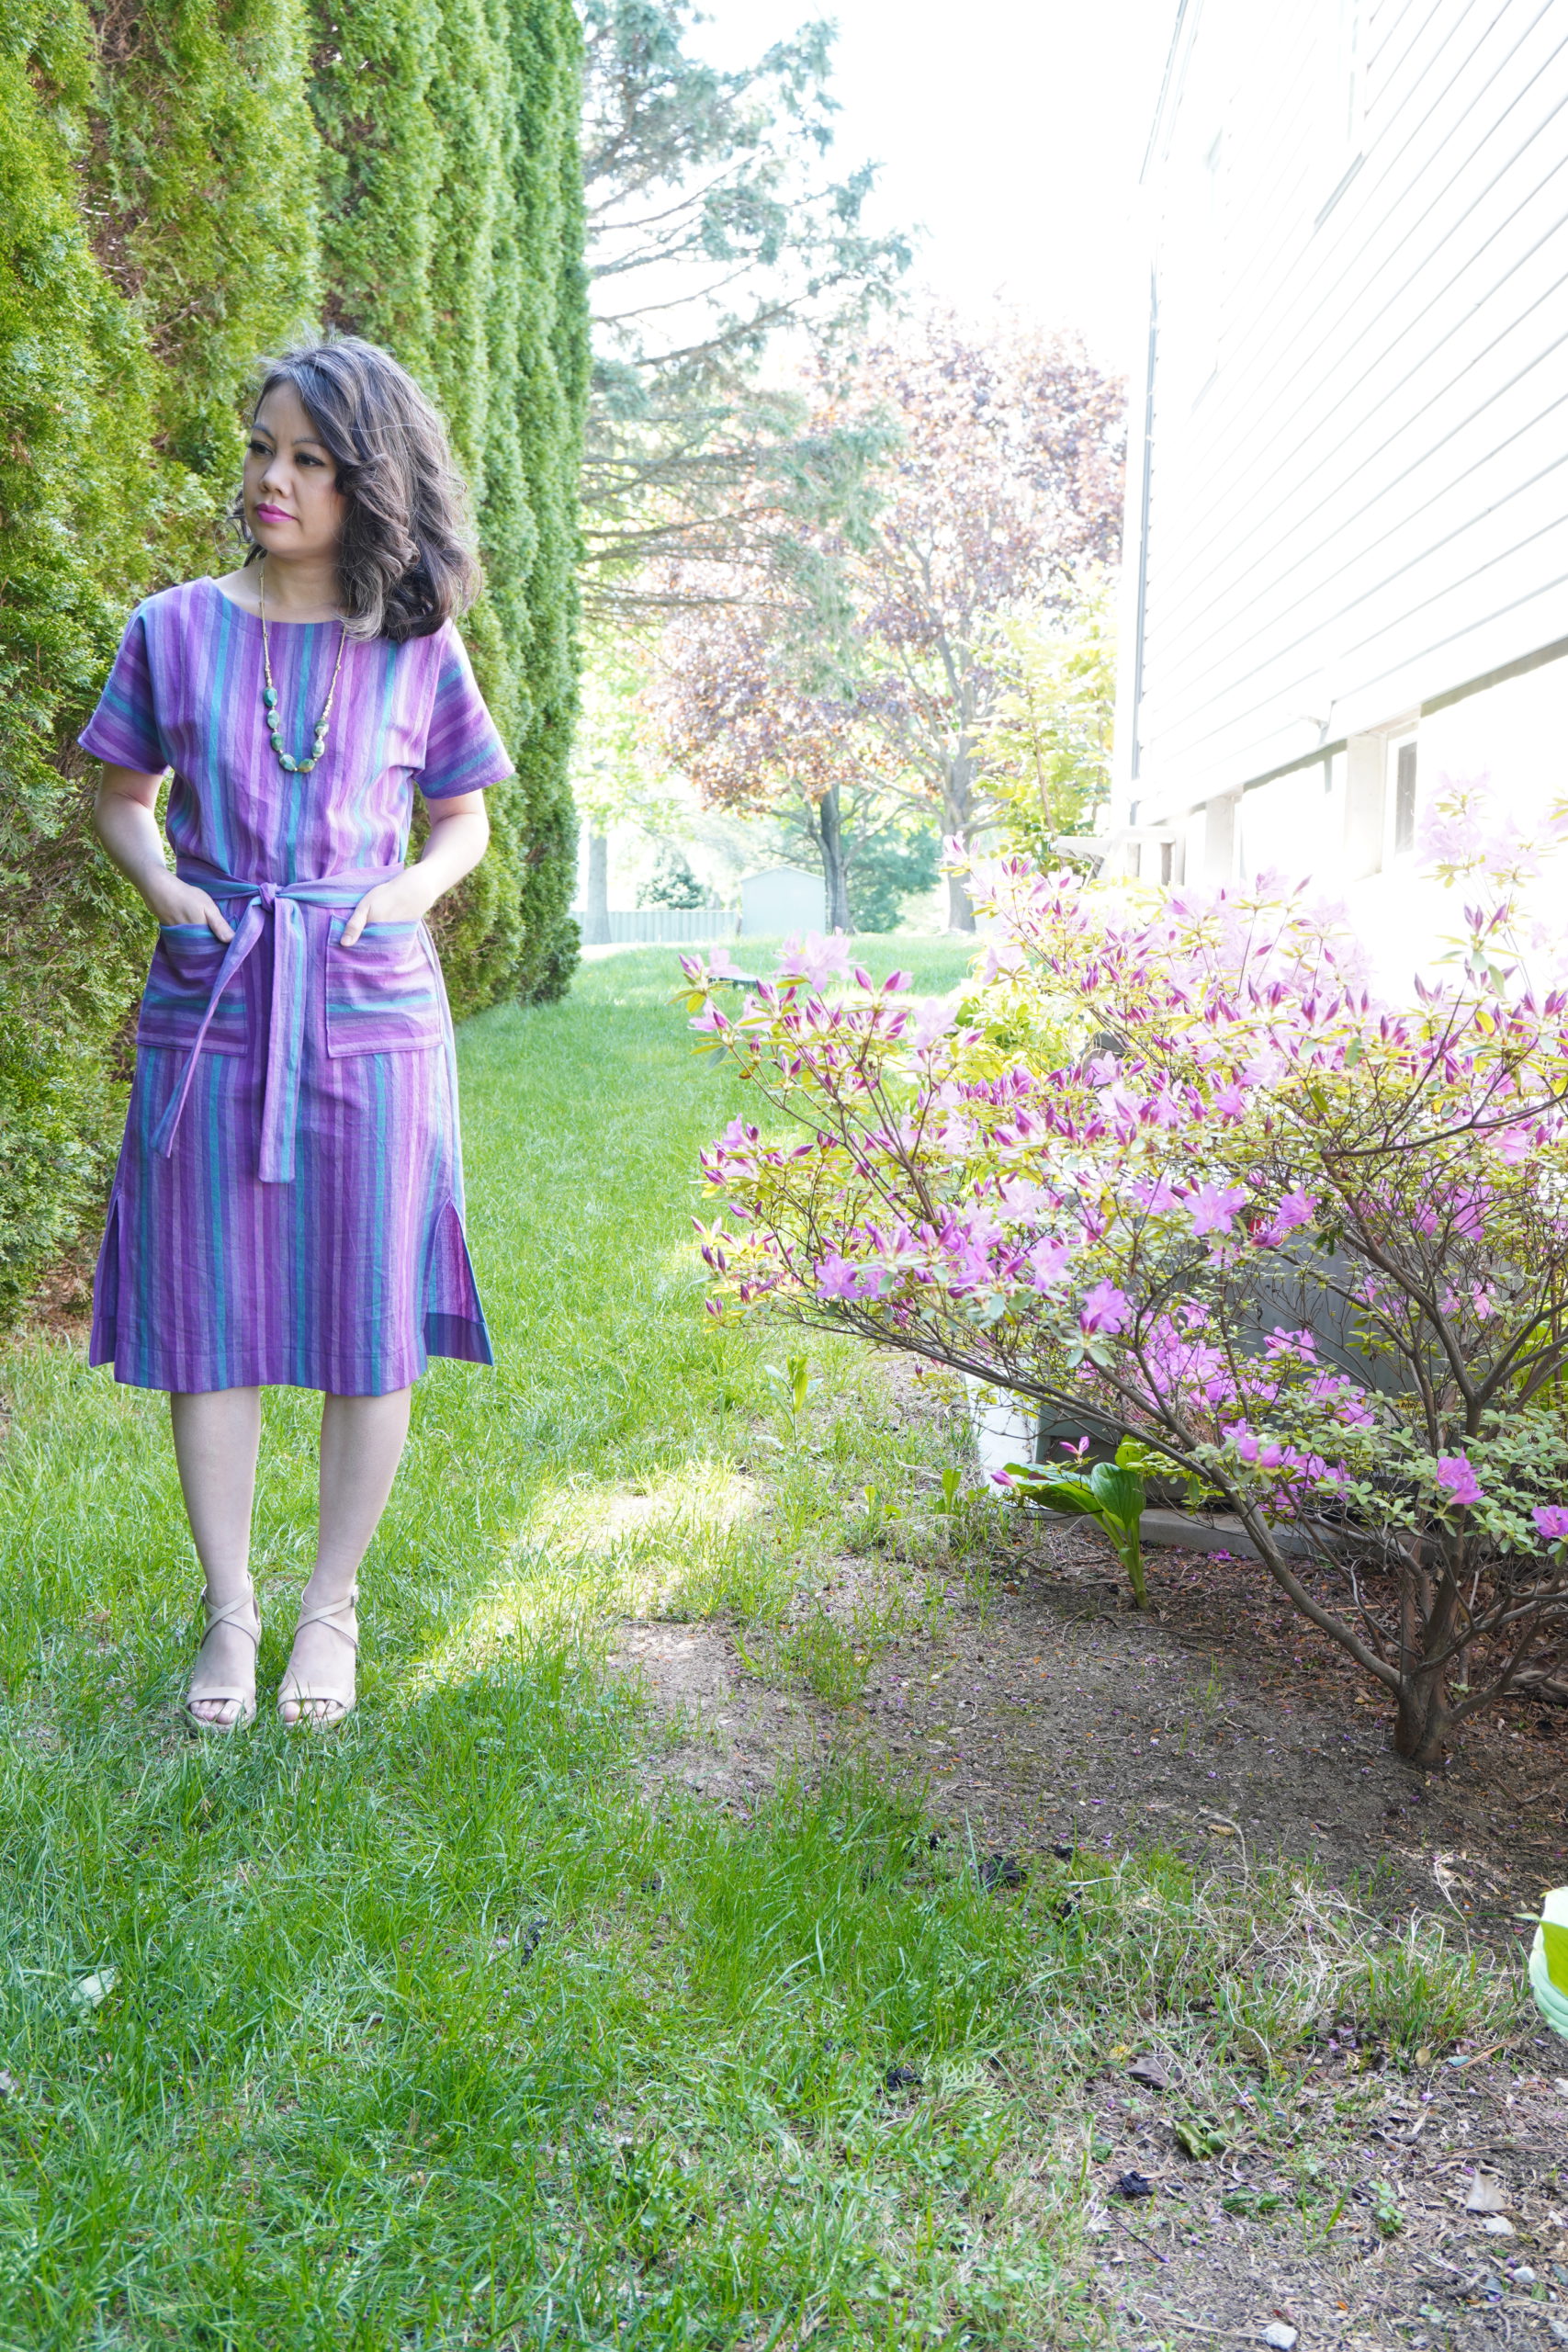
About the Wiksten Shift dress- boy am I glad I muslined this. I had read that the dress has a lot of ease and I can confirm this. Some people warned to size down at least 2 sizes! I sewed a size 0 and still took in 2 inches from both sides. To be fair, my size was off the chart so I knew it was going to be too large. Some reviews said that it was a bit “hospital gown” looking. I agree with this too, which is why I went for the long dress with the belt instead of the short dress with no belt. Because of the the shape, fabric choice could attribute to the hospital look- anything with small flowers, green or blue would look very much like you escaped the hospital.
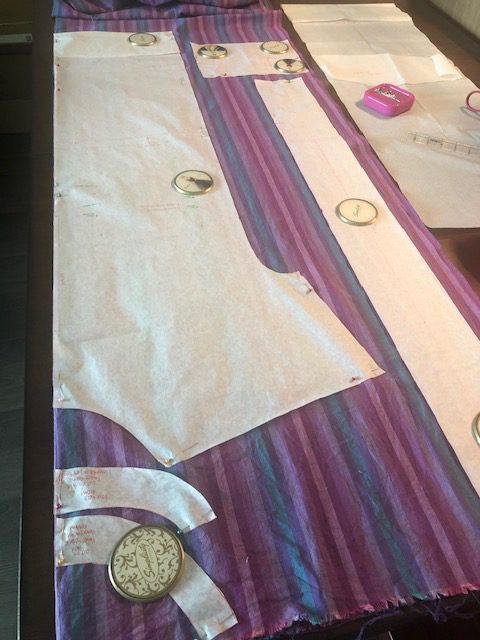
Even though the dress is a few pieces, I got annoyed with the pattern. I felt like I was spending way too much time cutting and shaping it. It was to the point where I almost scrapped the project. During the muslin period I could not see how the dress could be in any way cute. But The Viking told me to keep going. He’s the best encourager!
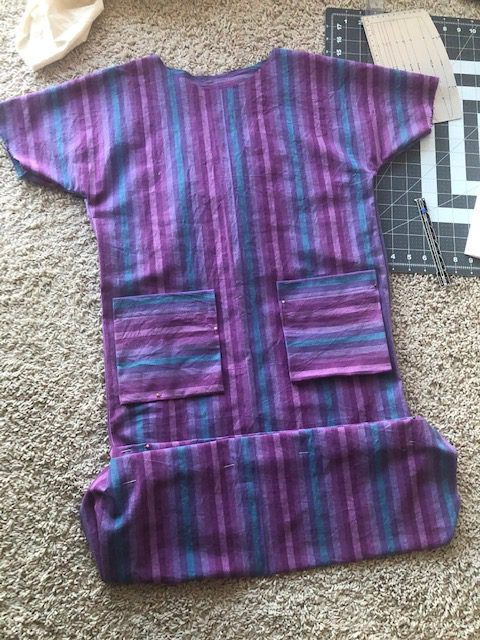
Final adjustments:
Took in 2 inches from both sides
Chopped off 5 inches in length during flat pattern stage (trying to decide length). Ended up hemmed this up 2 inches twice – the pattern wants you to do this at 1.25″ twice.
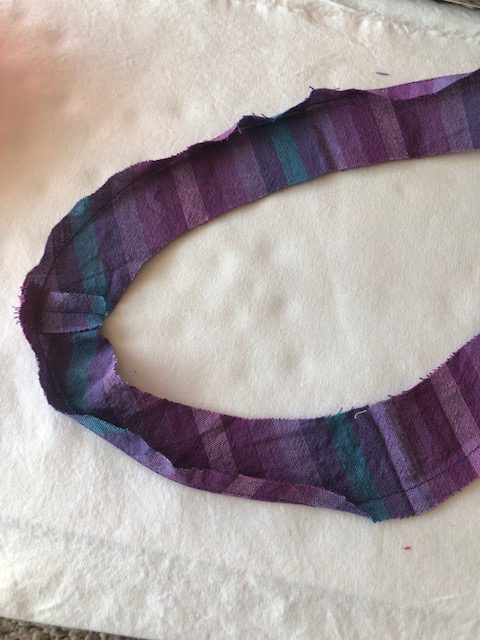
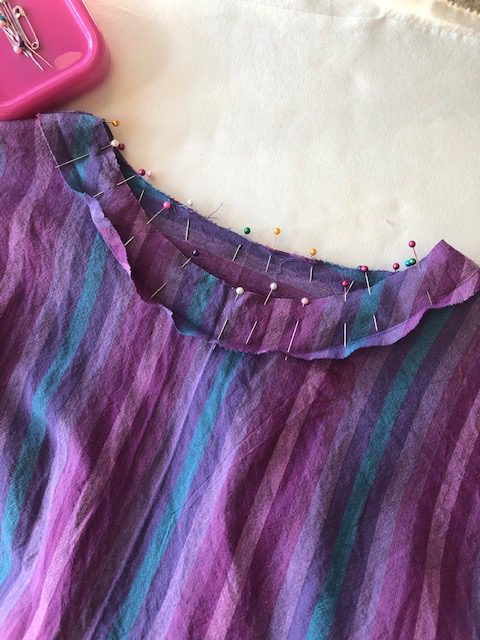
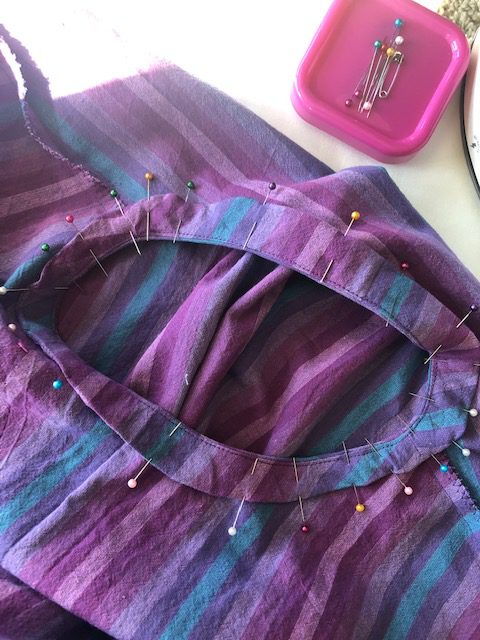
The dress has self-neck facing so you don’t have to worry about a stretched out neckline. The instructions say to stitch at 1/4″ then use that as a guide for pressing then attach the facing to the neckline. This was probably the hardest part for me, trying to keep everything flat. I opted out of using interfacing.
I think a beginner could make this dress since it really only uses the gathering technique. Everything else is just straight lines of sewing.
I completed the dress in two days just in time for class. It was fun showing off the finished product! My instructor loved it! I purposely sewed it beforehand so that people could see what the dress looks like. Sometimes it’s hard to envision what fabric will look like once its sewn. It’s also a $20 pattern so I wanted to get my $ worth. From my experience so far, I’ve noticed most people want to see the finished product, they could care less about construction. It’s only the sewists who want to know HOW you got there. 😉

After wearing it to class for a few hours I noticed the front kept on creeping up to my neck trying to strangle me. That’s when I realized that I should have done a forward shoulder adjustment. It’s only noticeable when I am sitting. I totally missed this during the muslin period because it sat ok while standing. The shoulder line is slightly behind my bone. If (and that’s a HUGE if) I make this dress again I will do that adjustment.
I dug around on the internet after the fact and it looks like other people have had a problem or two with this dress. Wiksten’s website has info on how to fix a forward shoulder adjustment: Shift Hack: Forward Shoulder Adjustment – Wiksten (shopwiksten.com)
This would have been helpful if I had noticed it early on…oops.
If you end up making this I highly recommend making a muslin…this dress has a lot of potential for fit issues.
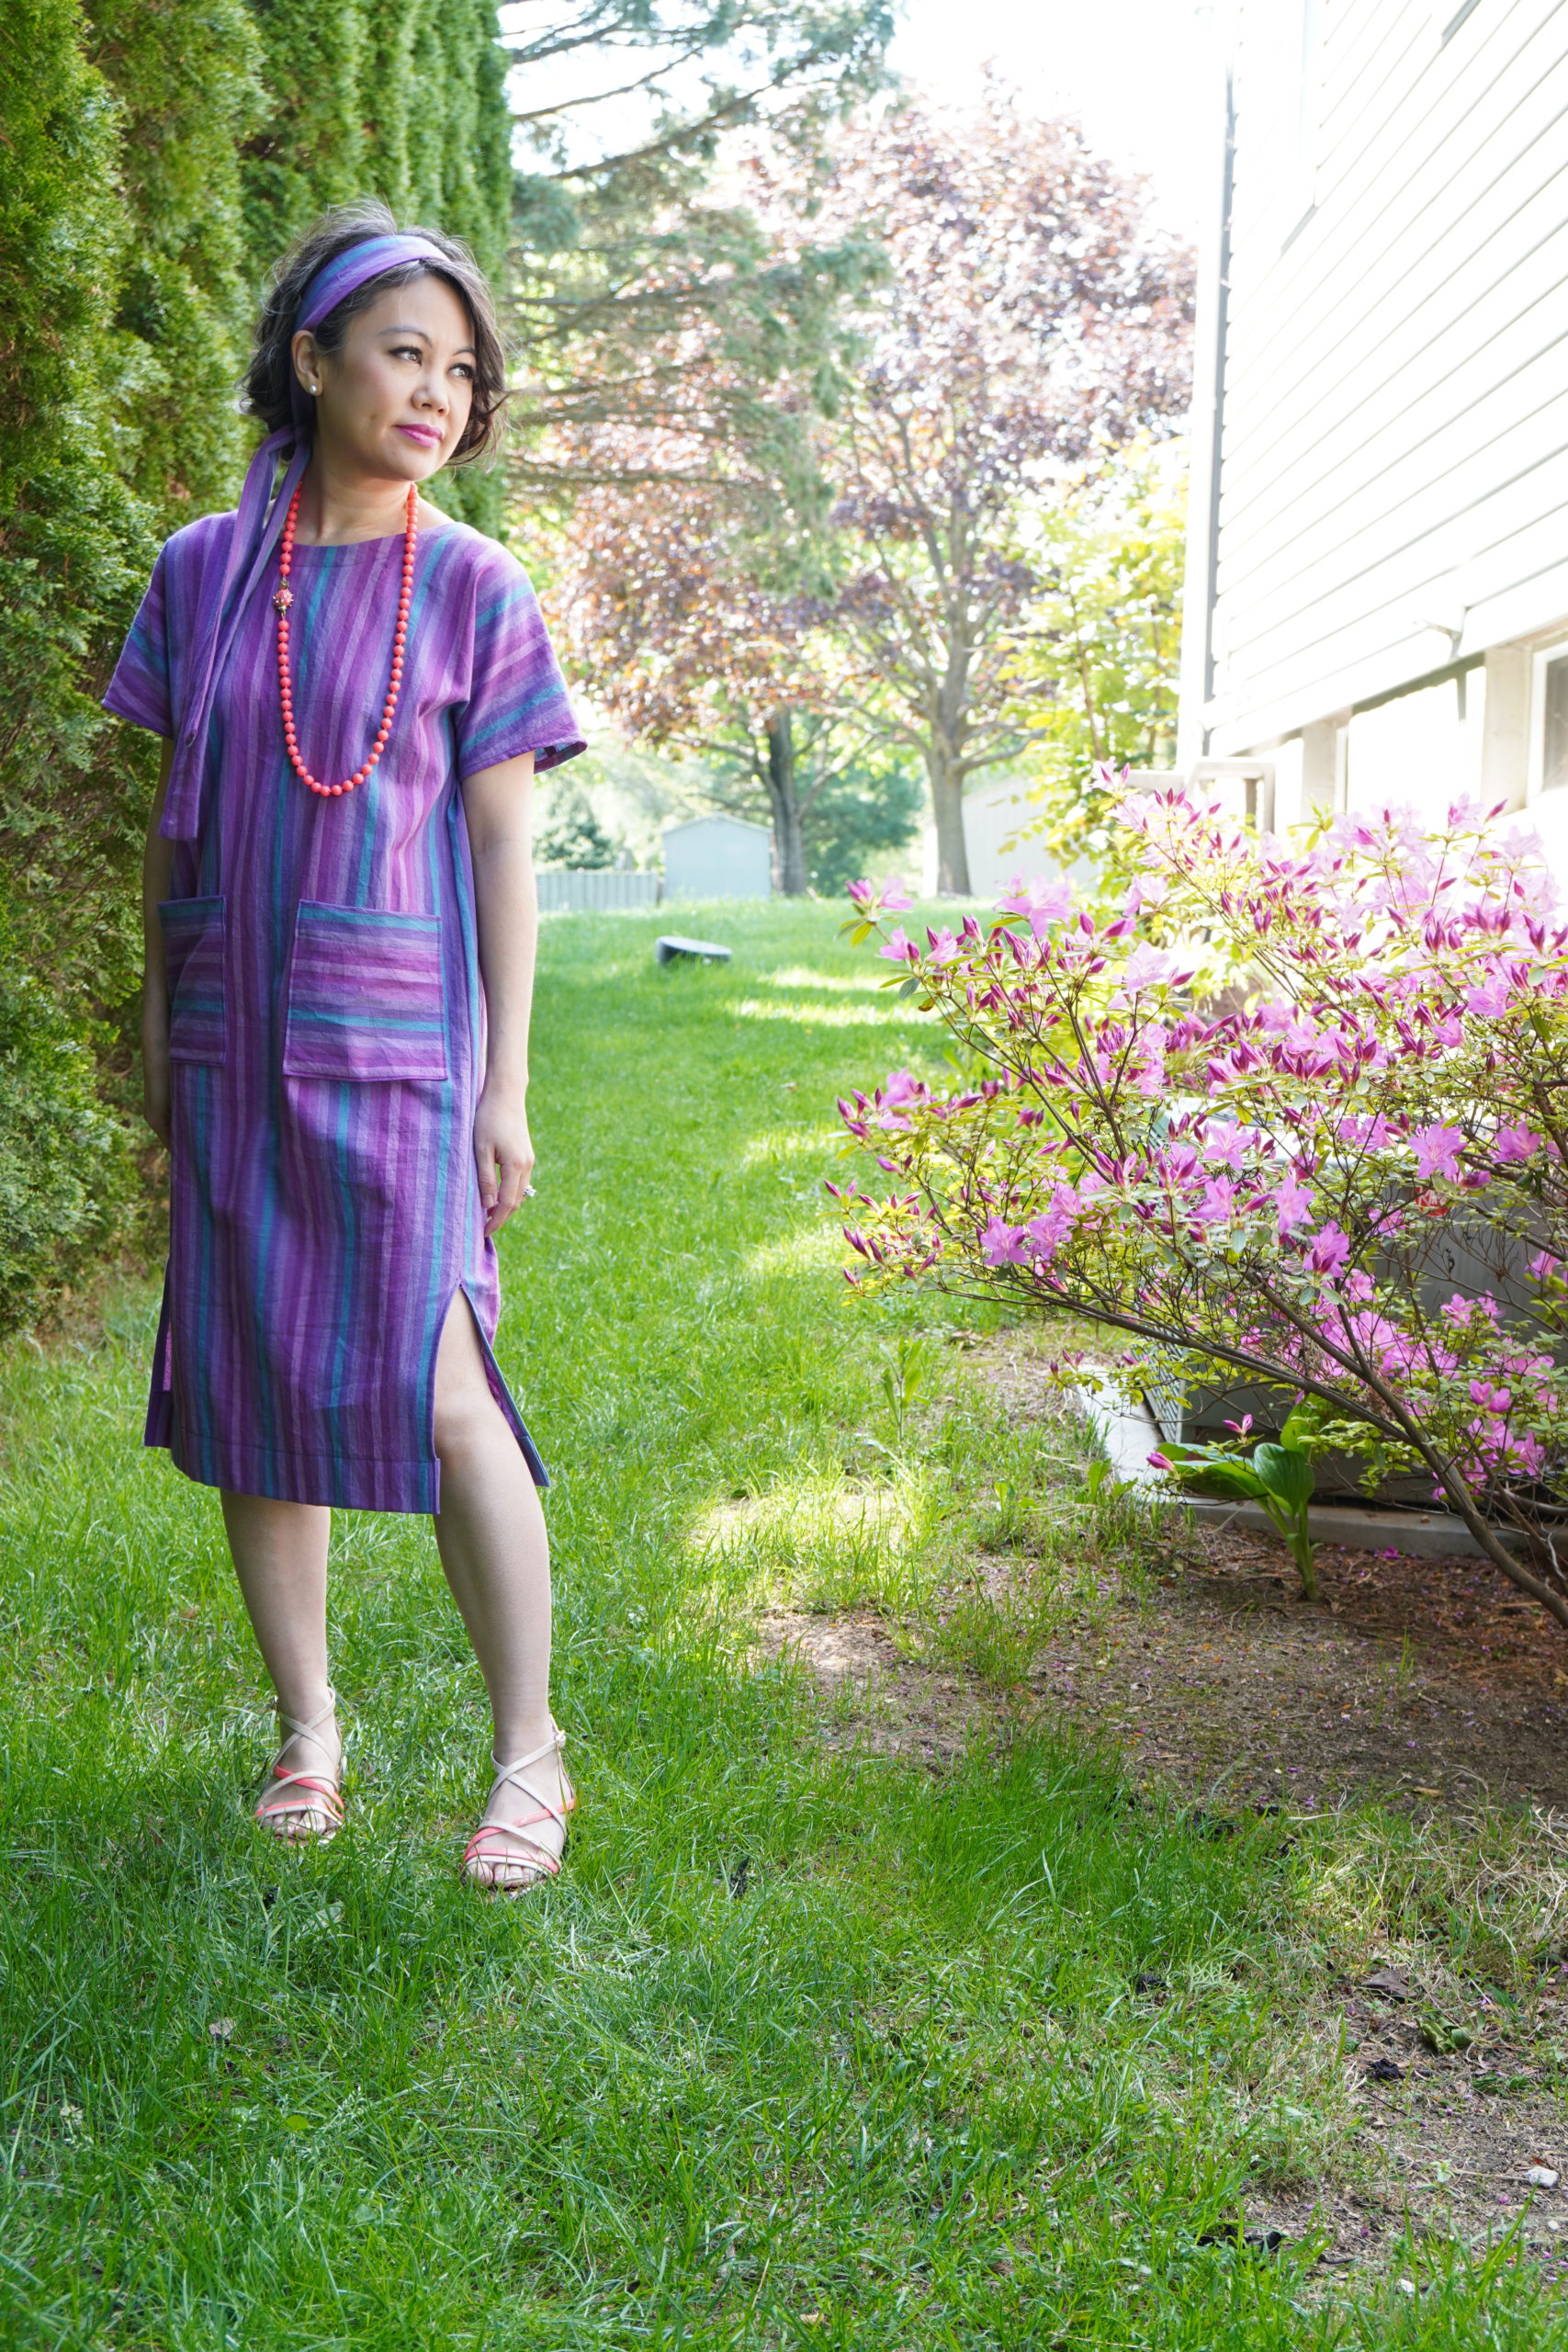
In the end it turned out a lot better than I was expecting. I styled it different ways. Belted it feels very casual yet still put together. Unbelted it feels boho-chic. I don’t know if I would ever wear it unaccessorized since it does feel a little nightgown-ish. You could probably double this dress as a beach caftan. I think my fave is the boho look.
Unfortunately I have to rate this dress 3/5. I hate to ding it so much but it wasn’t a satisfying sew. So many fit issues and I wasn’t feelin the instructions either. More on that in my next blog post about the top and final thoughts on the entire project.