Sewing Bee Round 1: Uniquely You Pajama Recap
Alright! Well here we go- Simplicity 8803 PJs were the choice for the Sewing Bee Contest Round 1. I love matching top and bottom pjs so I had picked up this pattern early on when I was learning how to make pj pants. I had intended to make a matching top but was putting off the button thing, mentally thinking pjs are not a priority. (Well now they are, lol) I had originally chosen a different (easier) pattern but decided I needed the bootcamp this week to finally check “buttons” off my goal list.

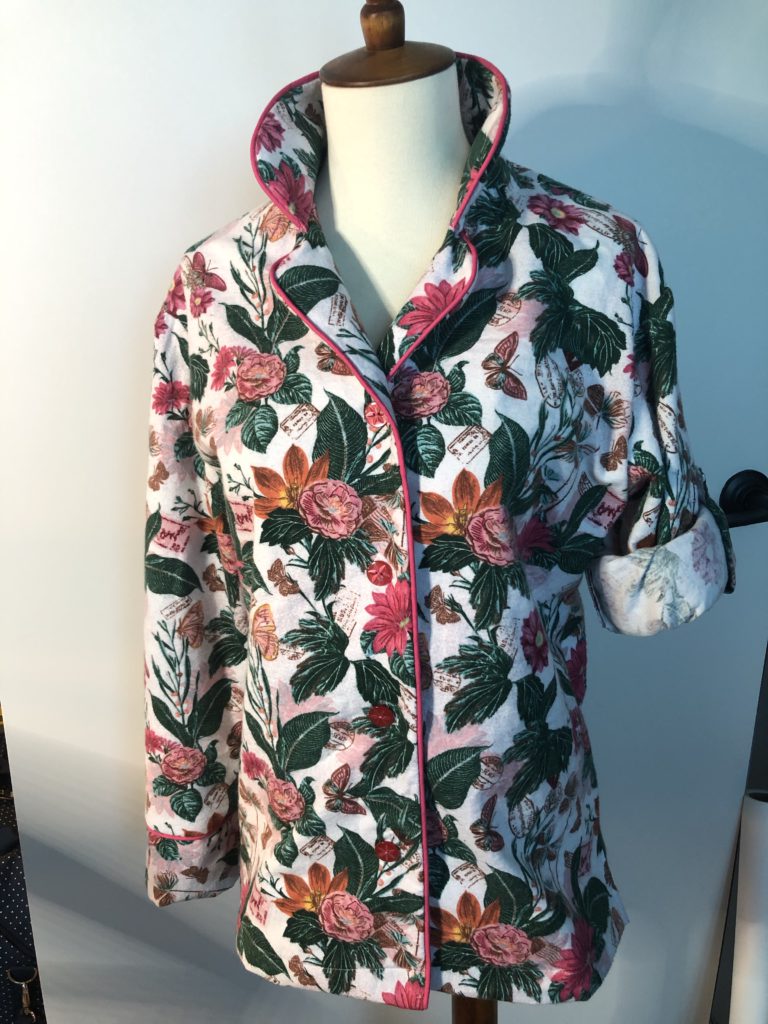
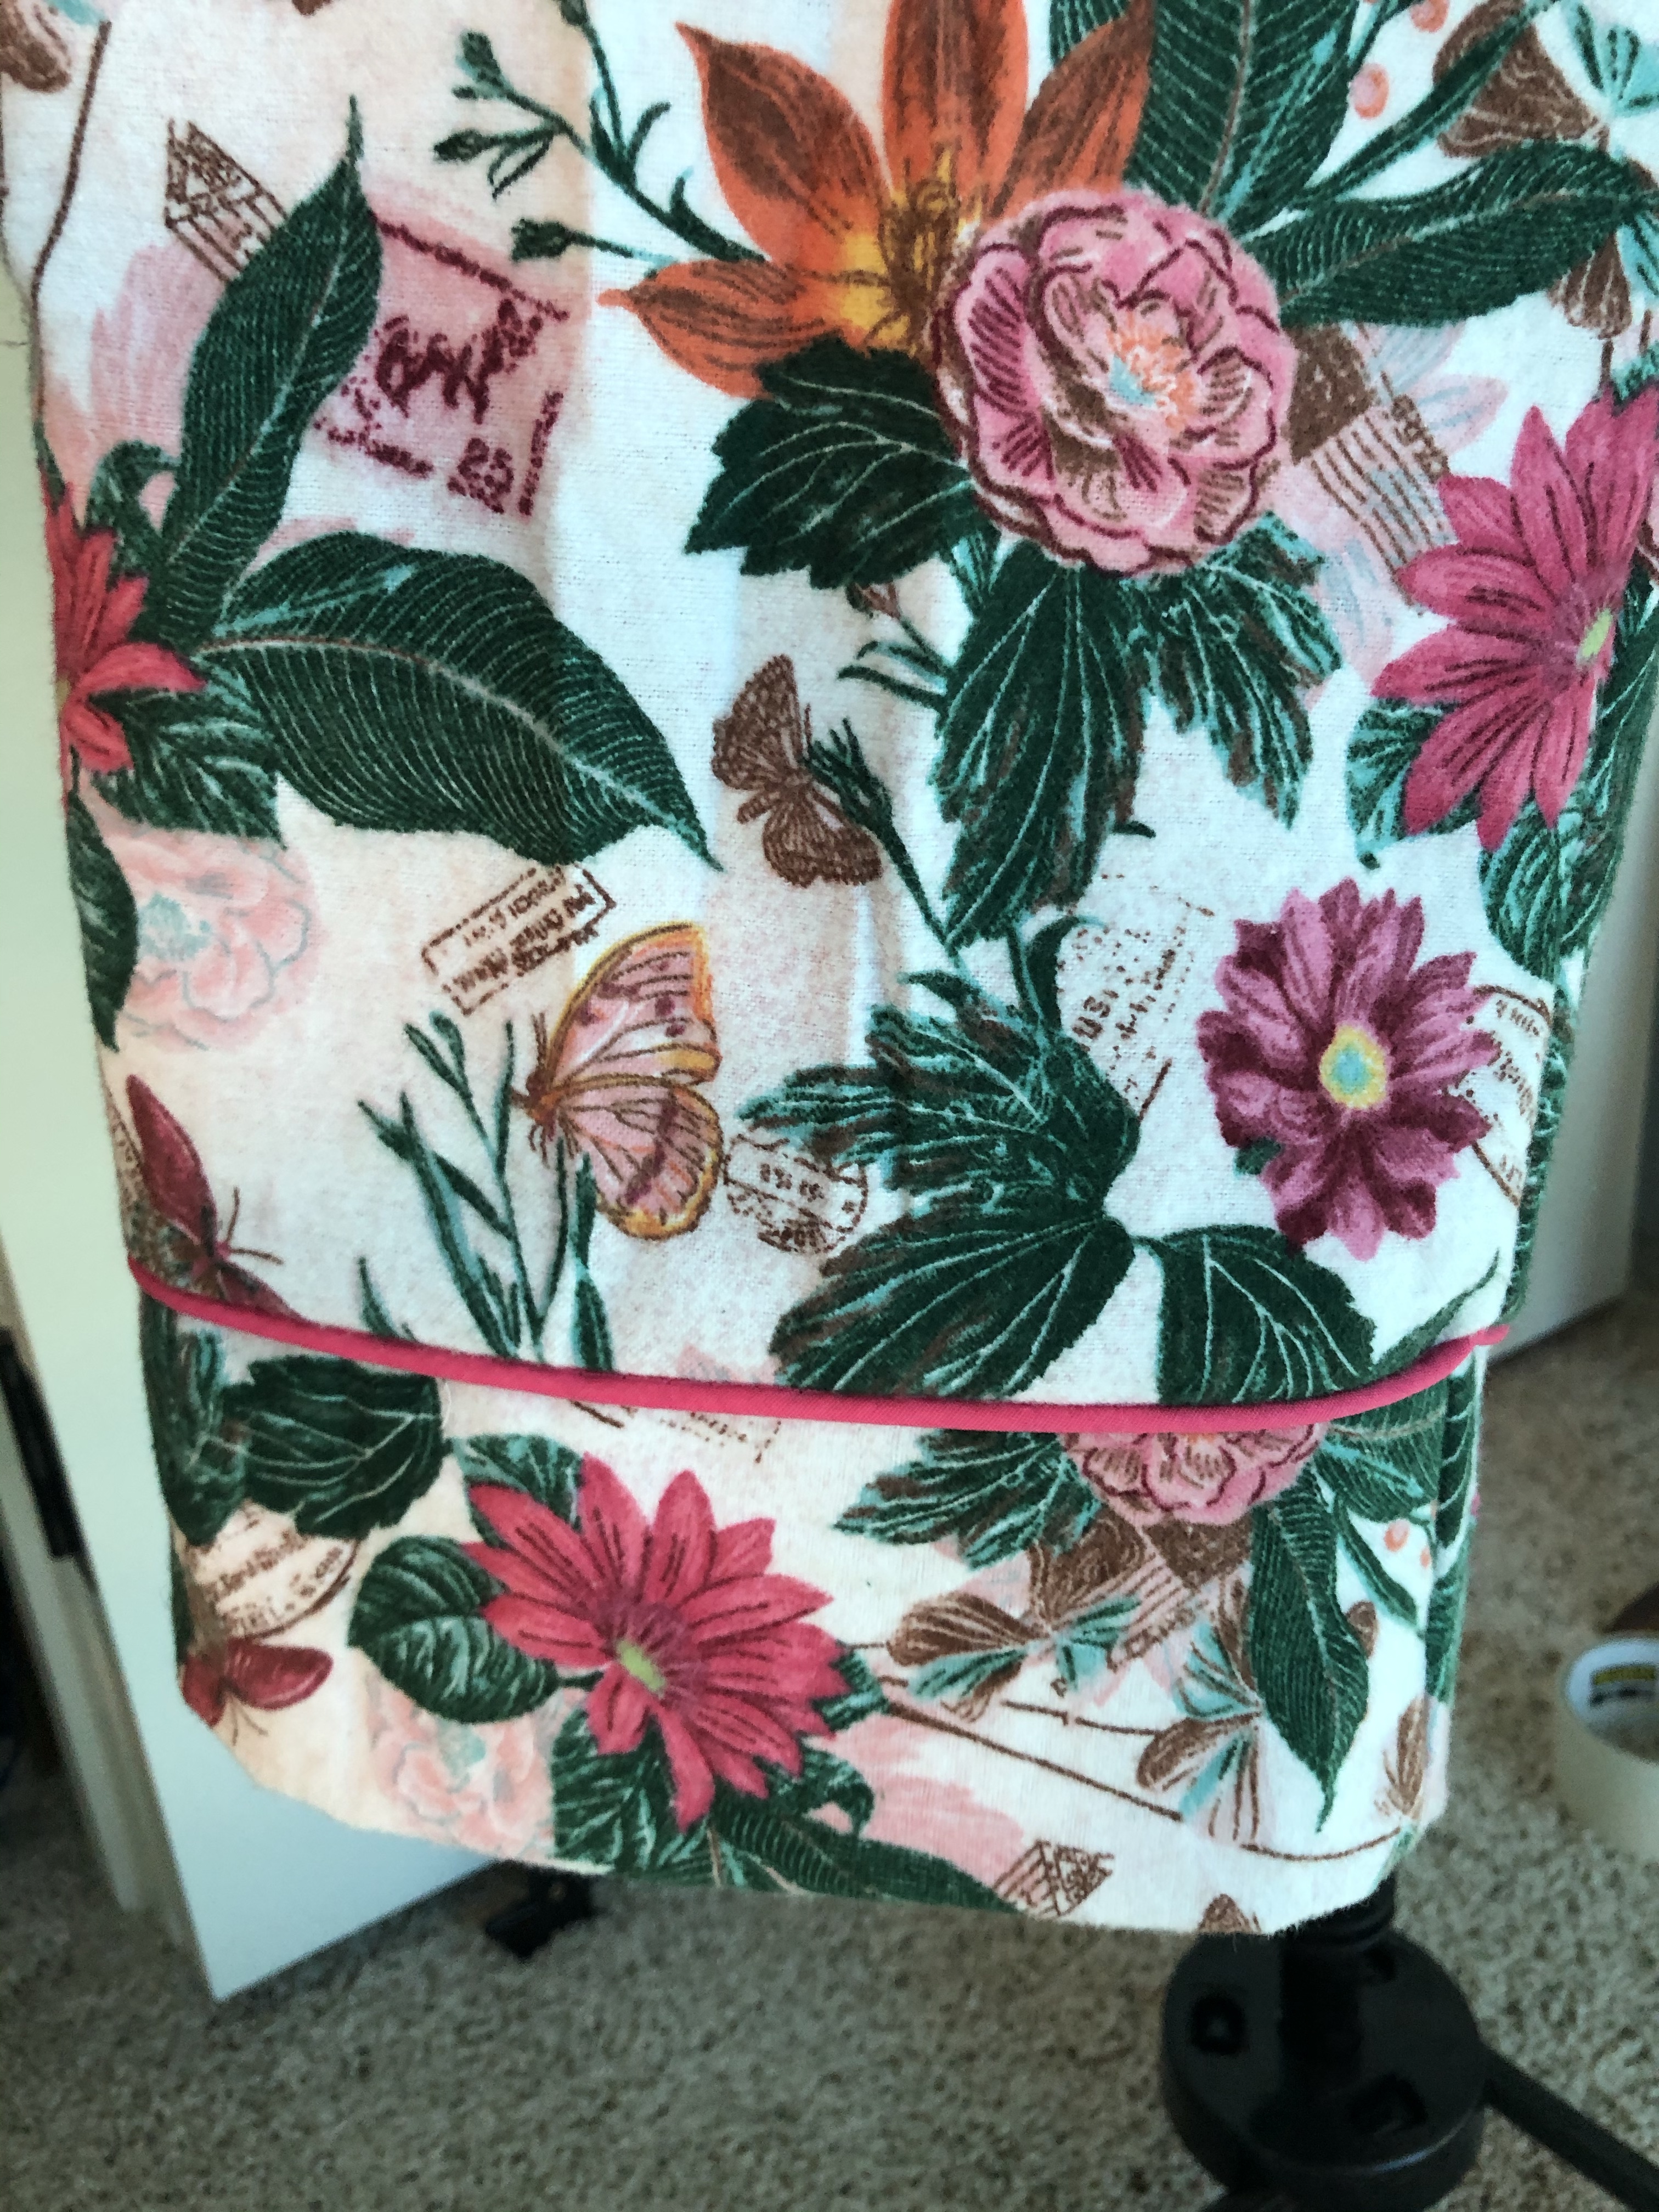
I wear flannels year round but can never find summer flannel pjs in RTW. The stores almost always switch over to shorts and tank tops once summer hits. Flannel seems to be reserved for Christmas for some reason. I chose this bright and happy floral from my fabric stash that I got on super clearance last summer. I just love the hot pink! I decided to highlight that color and use it in the piping and buttons.
For the contest we had to incorporate something that made the pjs unique to you. I thought about my day and what would be helpful. I do a lot of chores in the mornings and am usually still wearing pjs. I decided to create roll tabs for the arms and legs since I normally roll them up once I get in the zone aka doped up on coffee. They never stay up though and it’s really irritating when you’re trying to wash the dishes and they creep back down and get wet. The tabs would help keep them up. I figured why stop at the arms?! Let’s make tabs for the legs too since I hate getting pant legs wet when cleaning the shower.
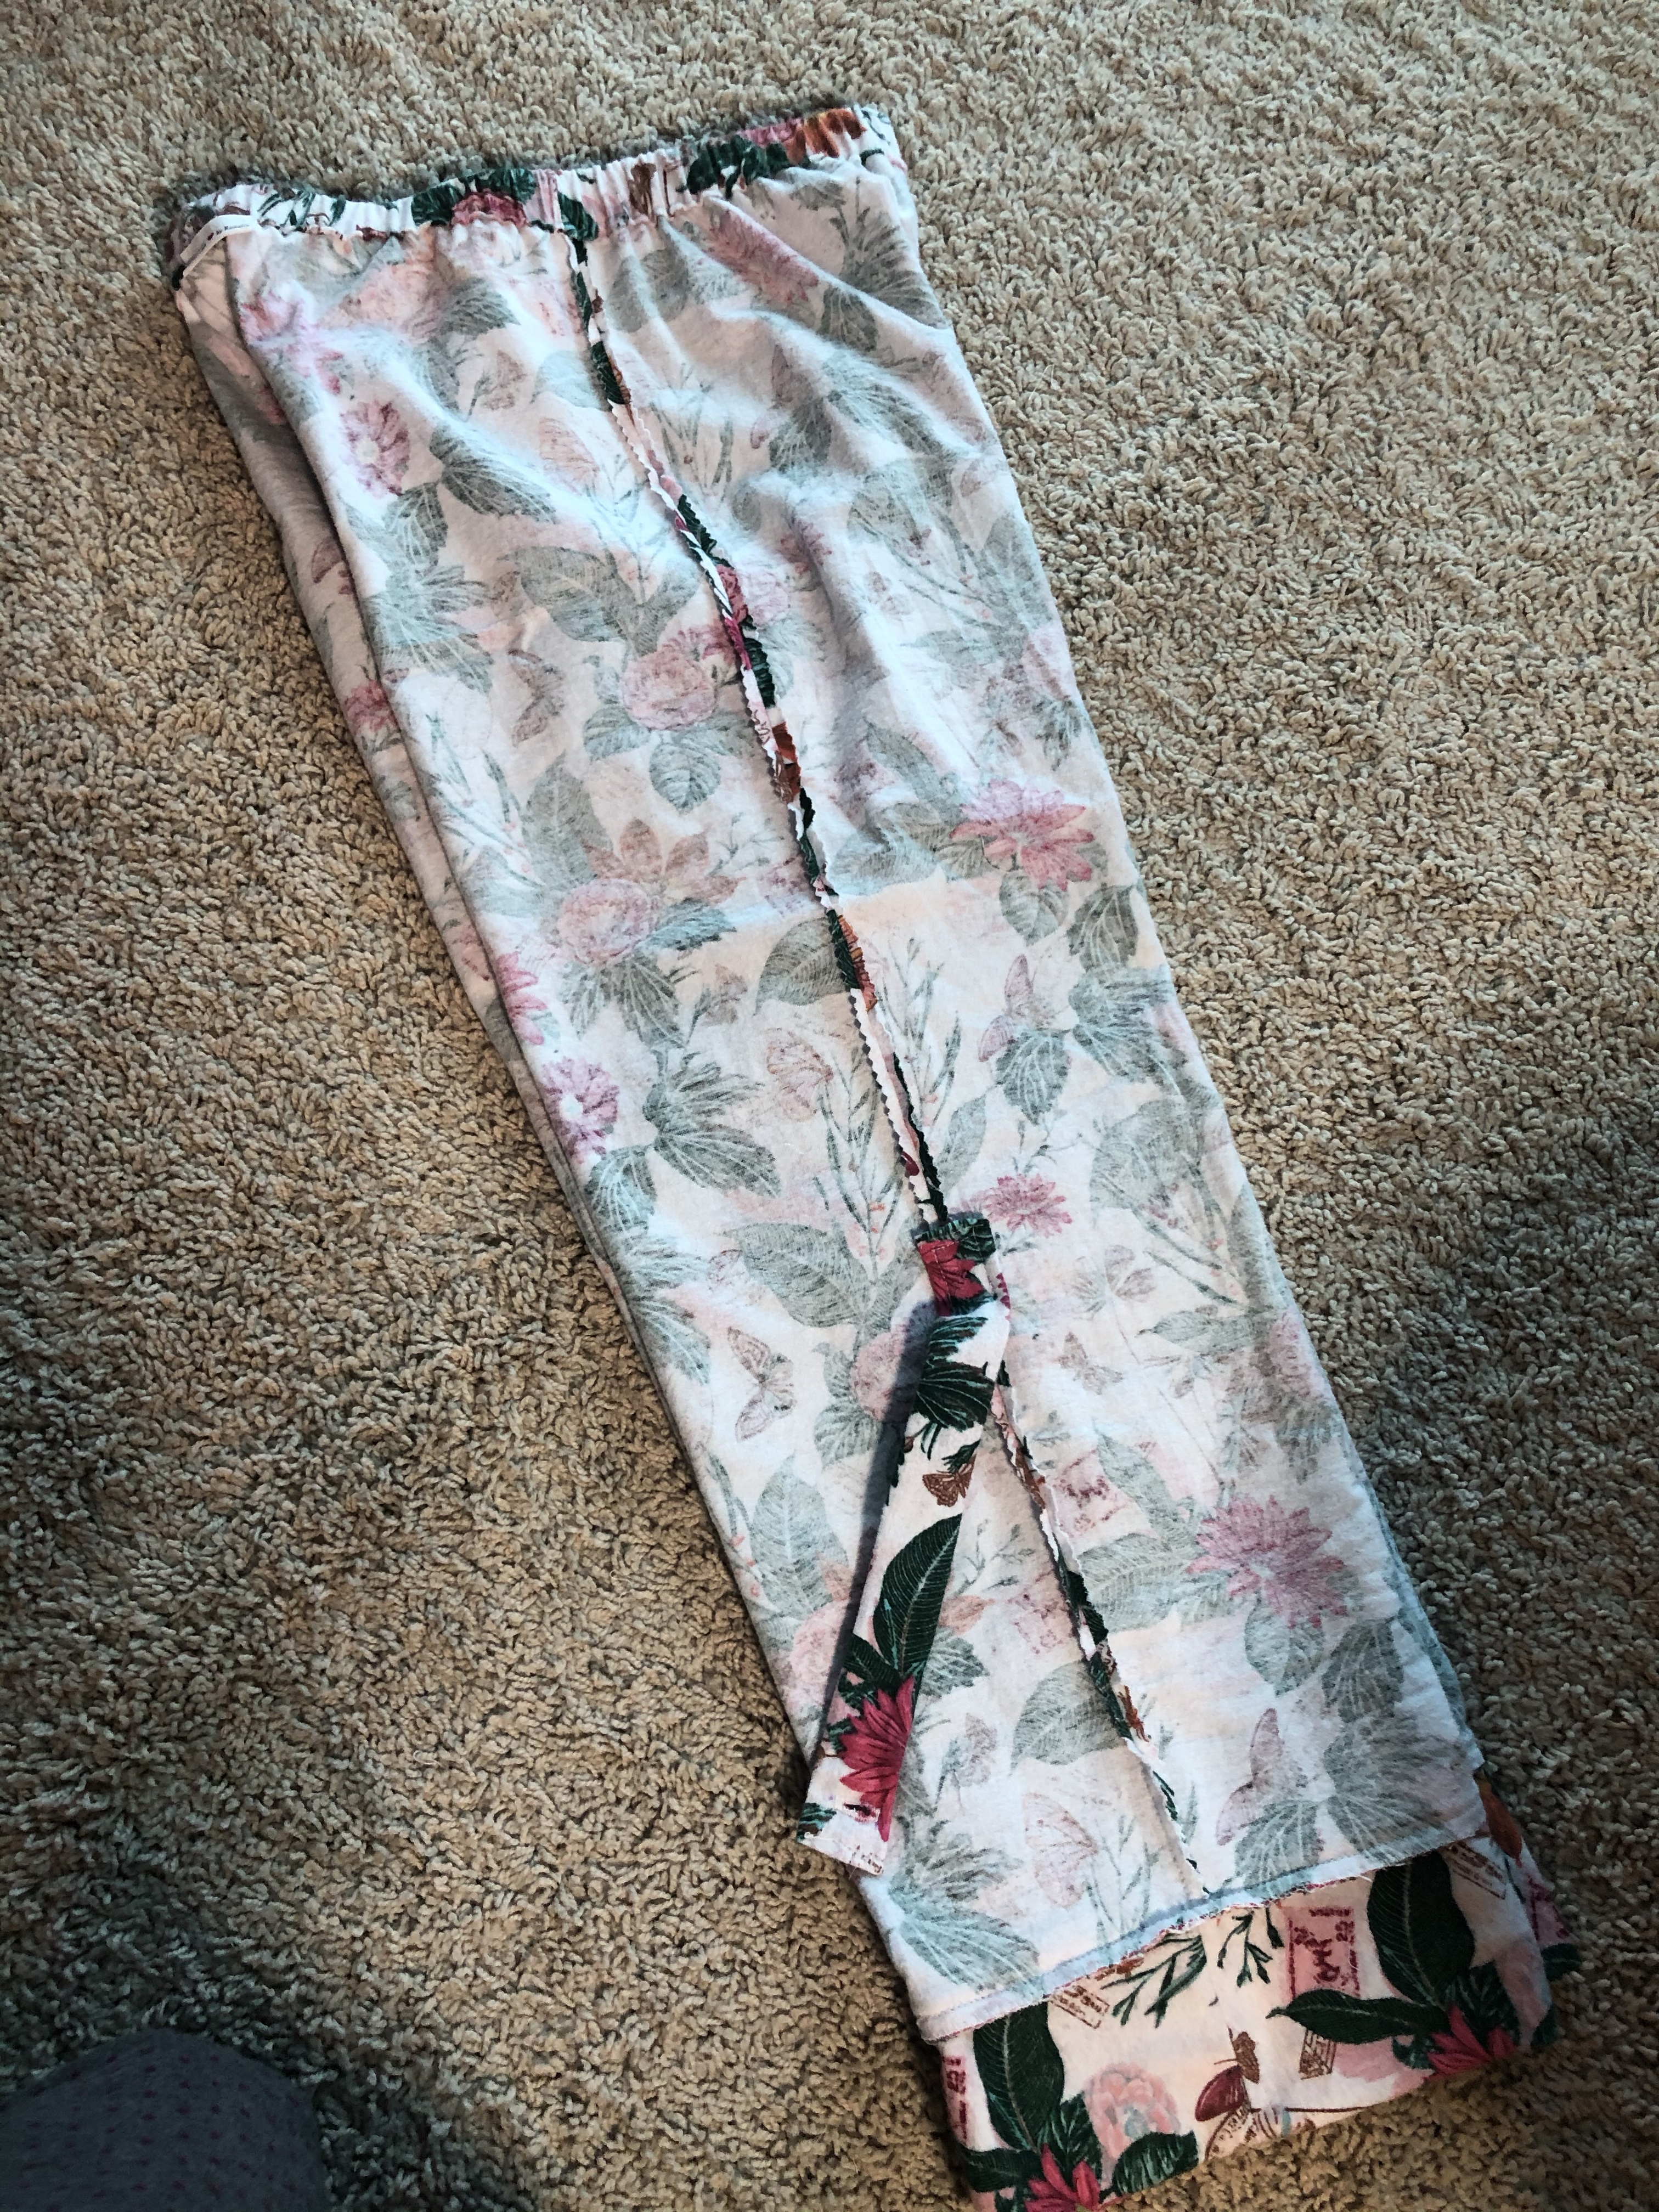
Since I’ve made pj pants before, I decided to tackle the pants first. I was able to get these done on Days 1 and 2. Instructions were the same as all the other patterns I’ve sewn. Insert one leg into the other, turn inside out and ta-da! Pants. I had to chop off 4.5″ in the length since this pant as a cuff.
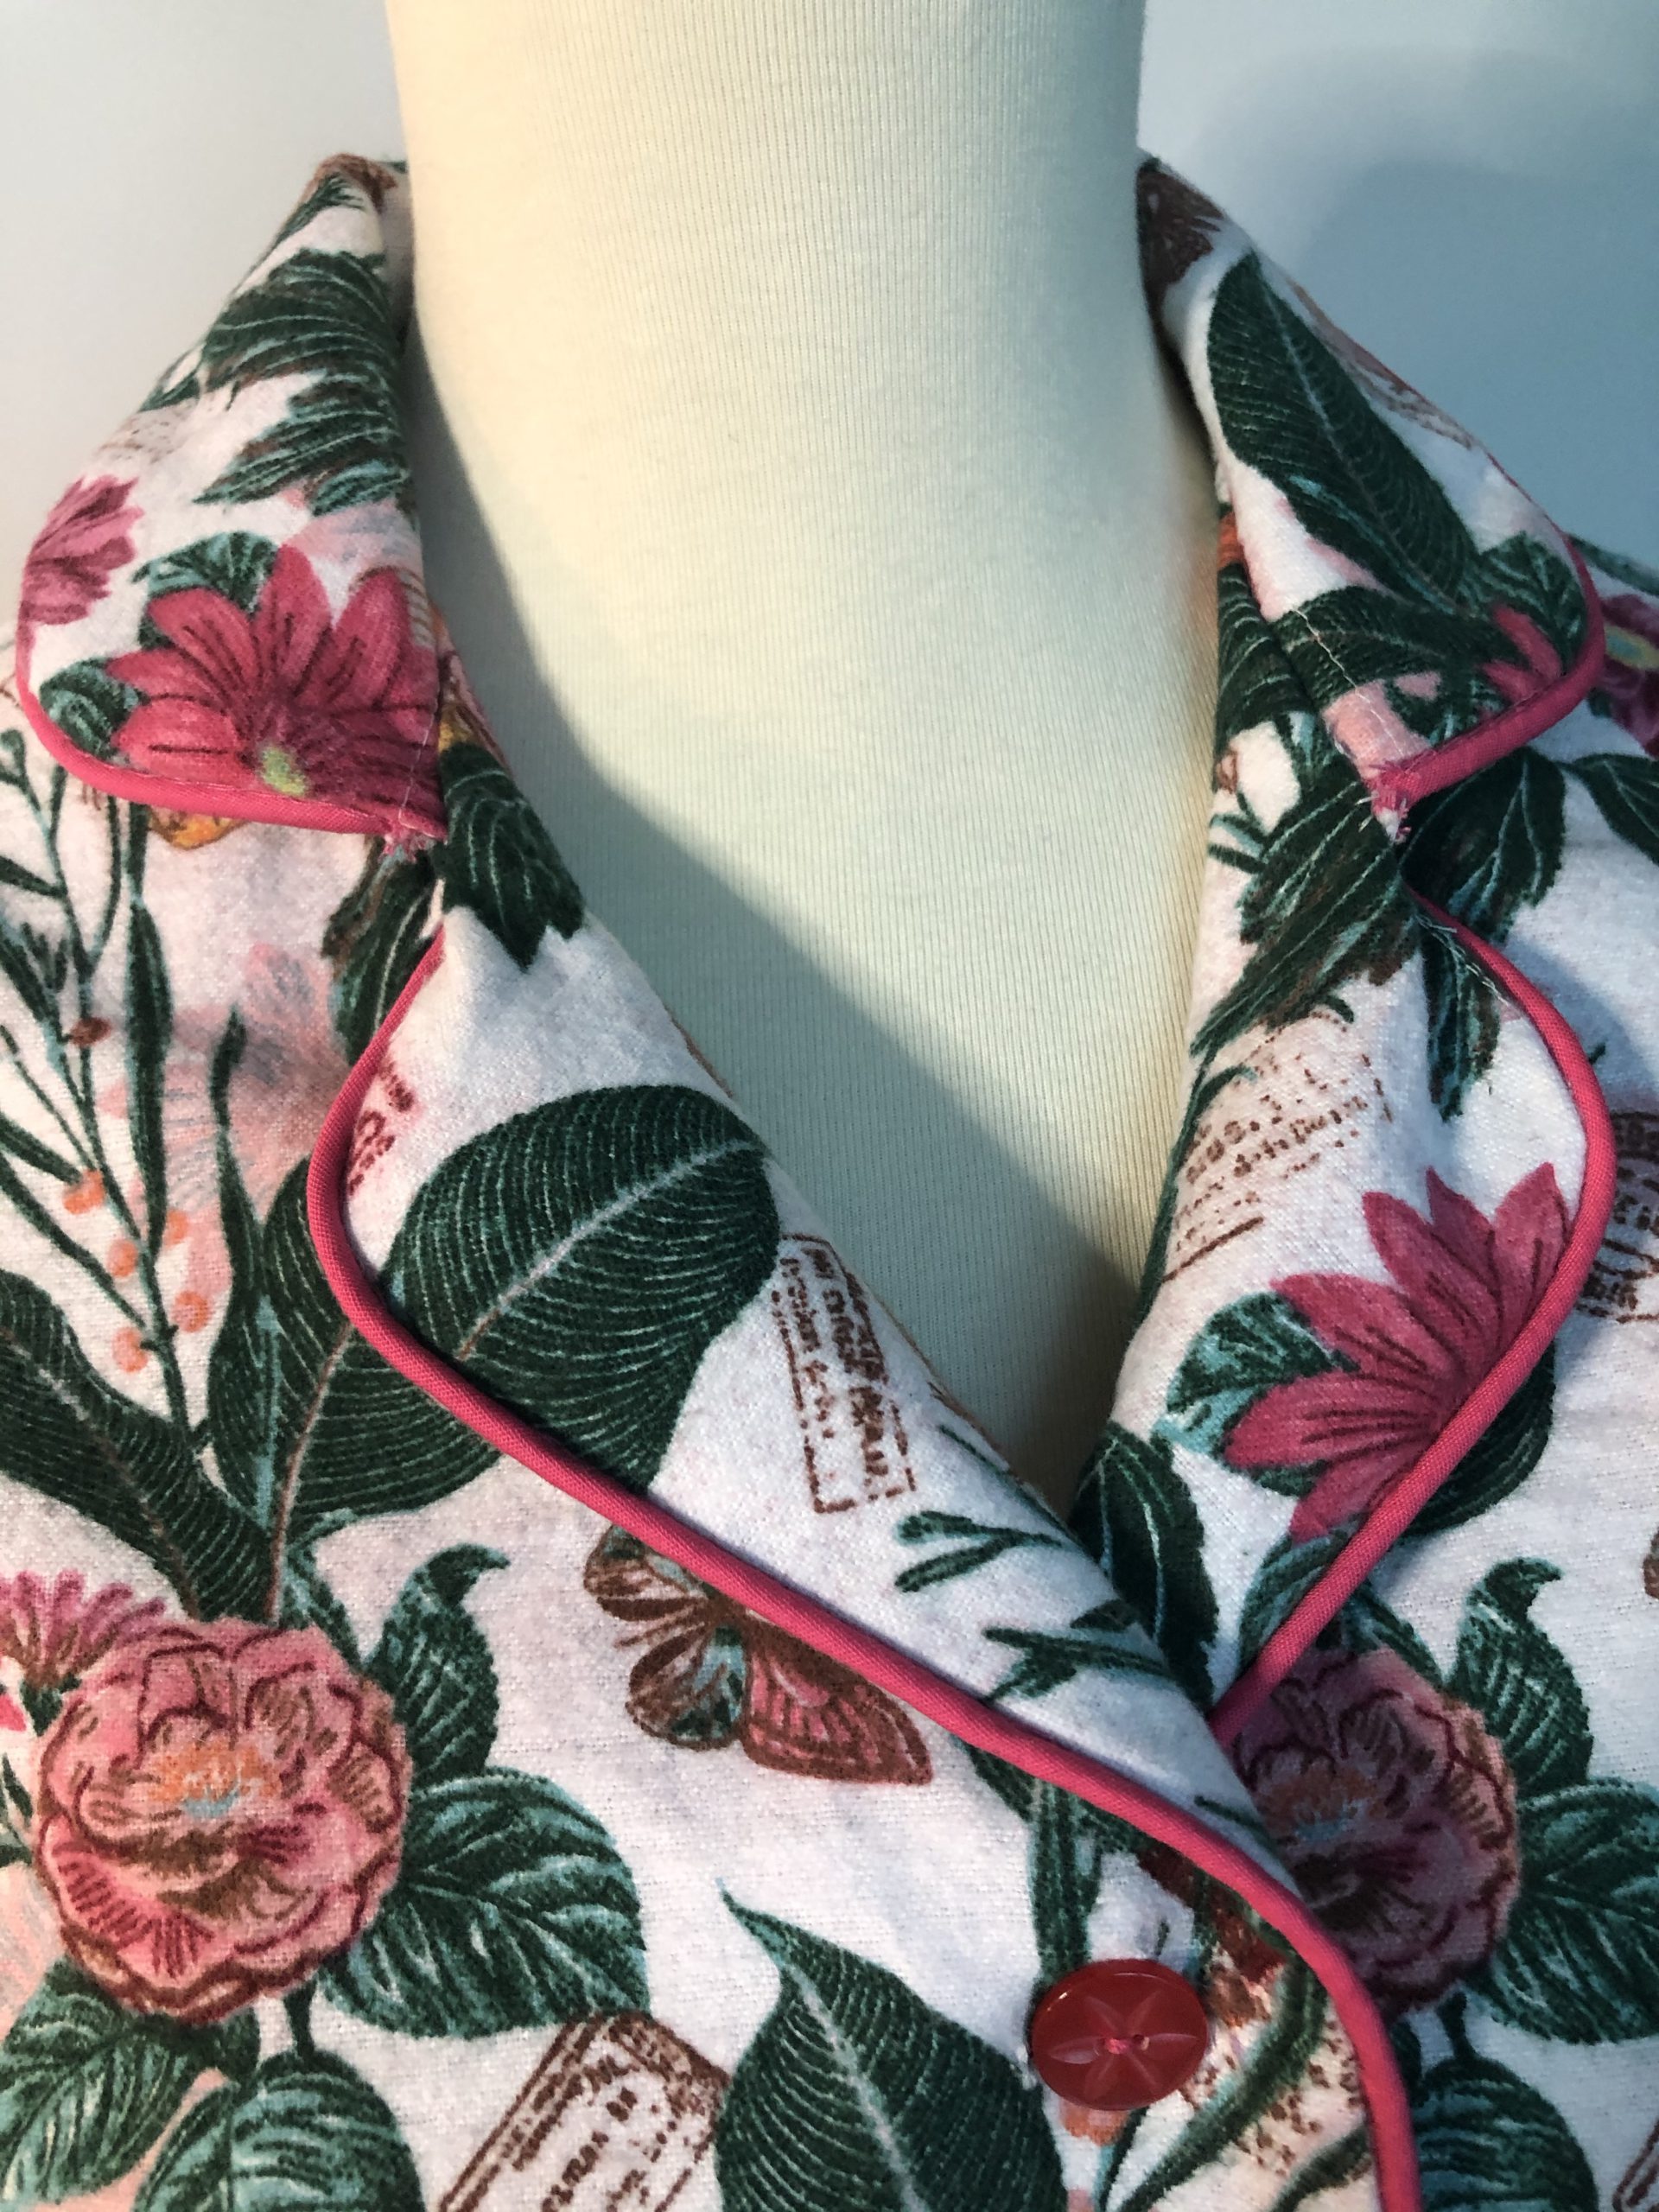
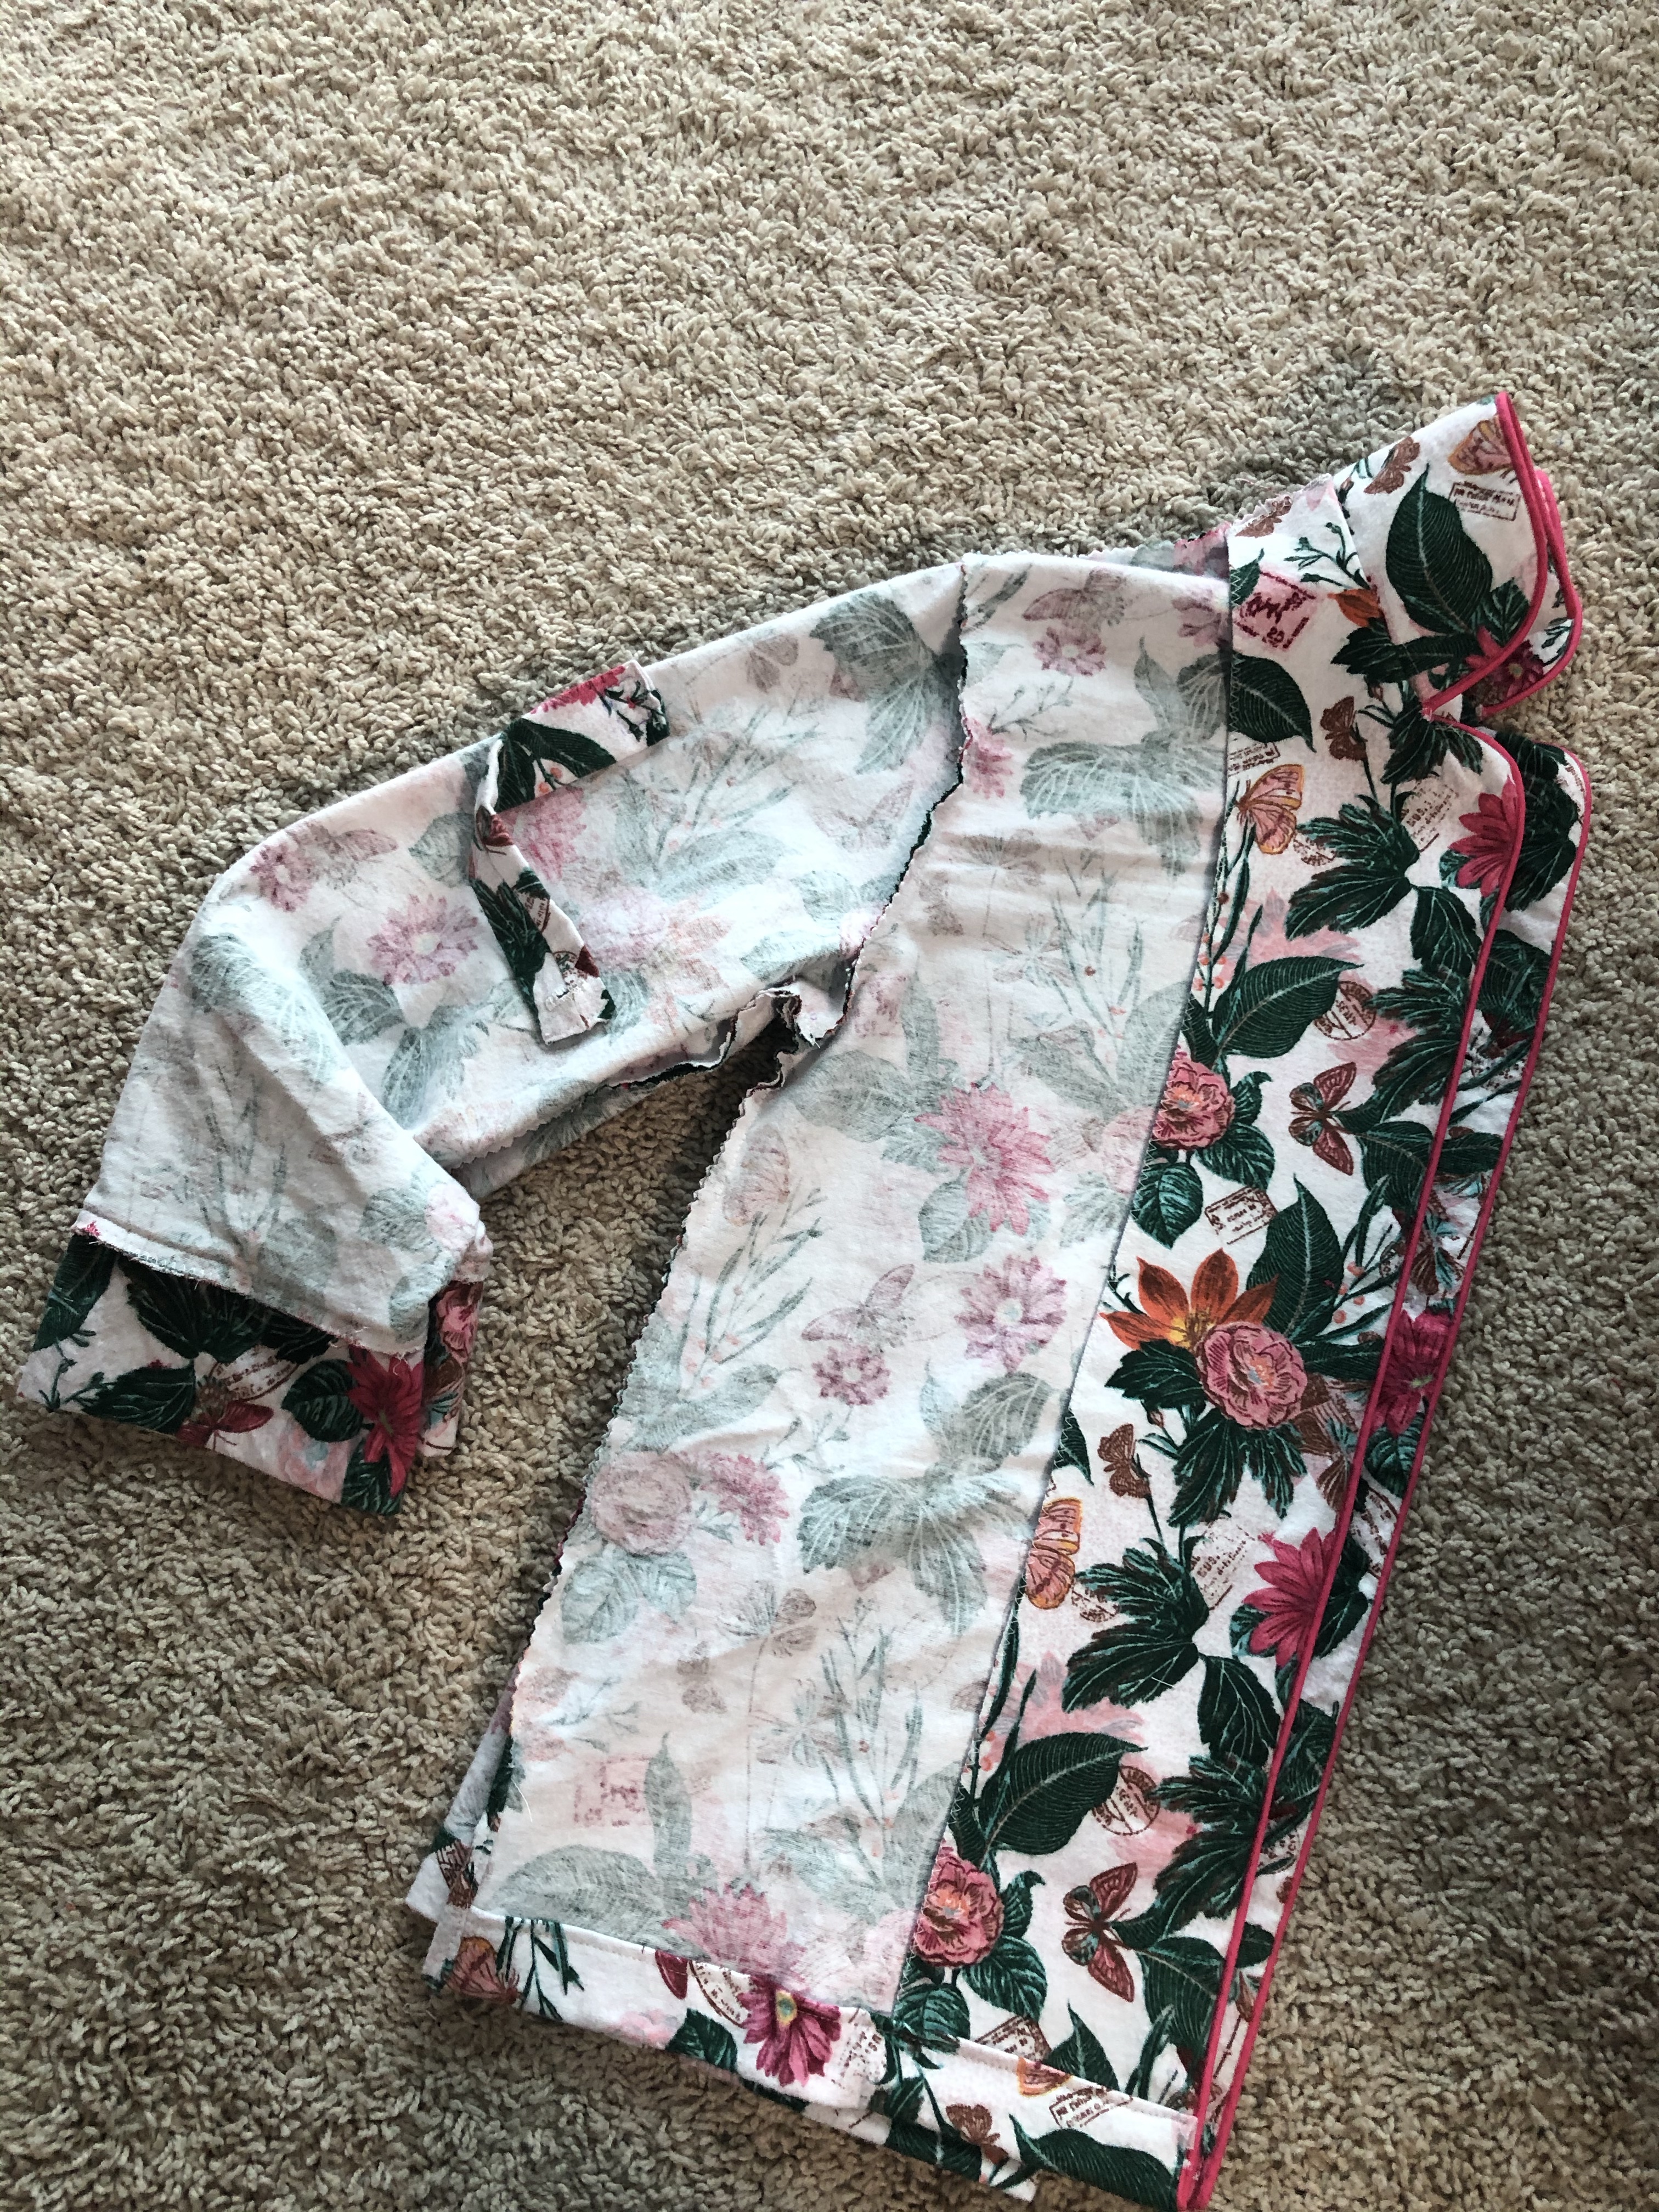
I sewed an XS of the top and didn’t have to make any adjustments. That hardly ever happens! The ease was just right and the sleeve length was ok too, even with the wrist cuff. When I got to the piping it actually wasn’t that bad. I used the zipper foot to sew it down and pressed it out. I don’t know why I thought piping was more difficult- maybe because of the way it looks. Since I had done zippers before there was a familiarity with using the zipper foot. I love the piping. It totally looks like something you bought in the store!
Front facing 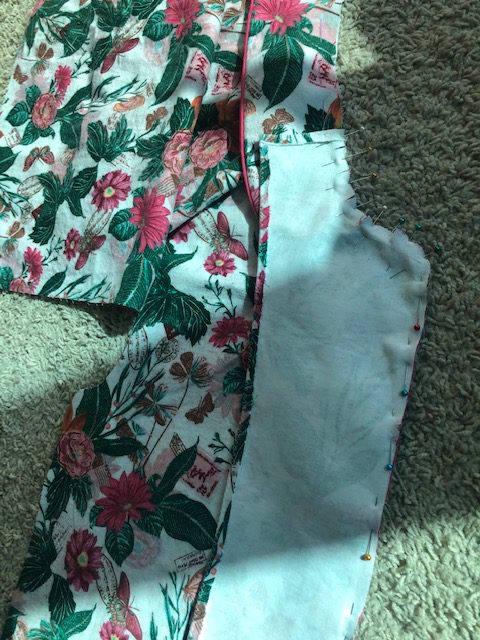
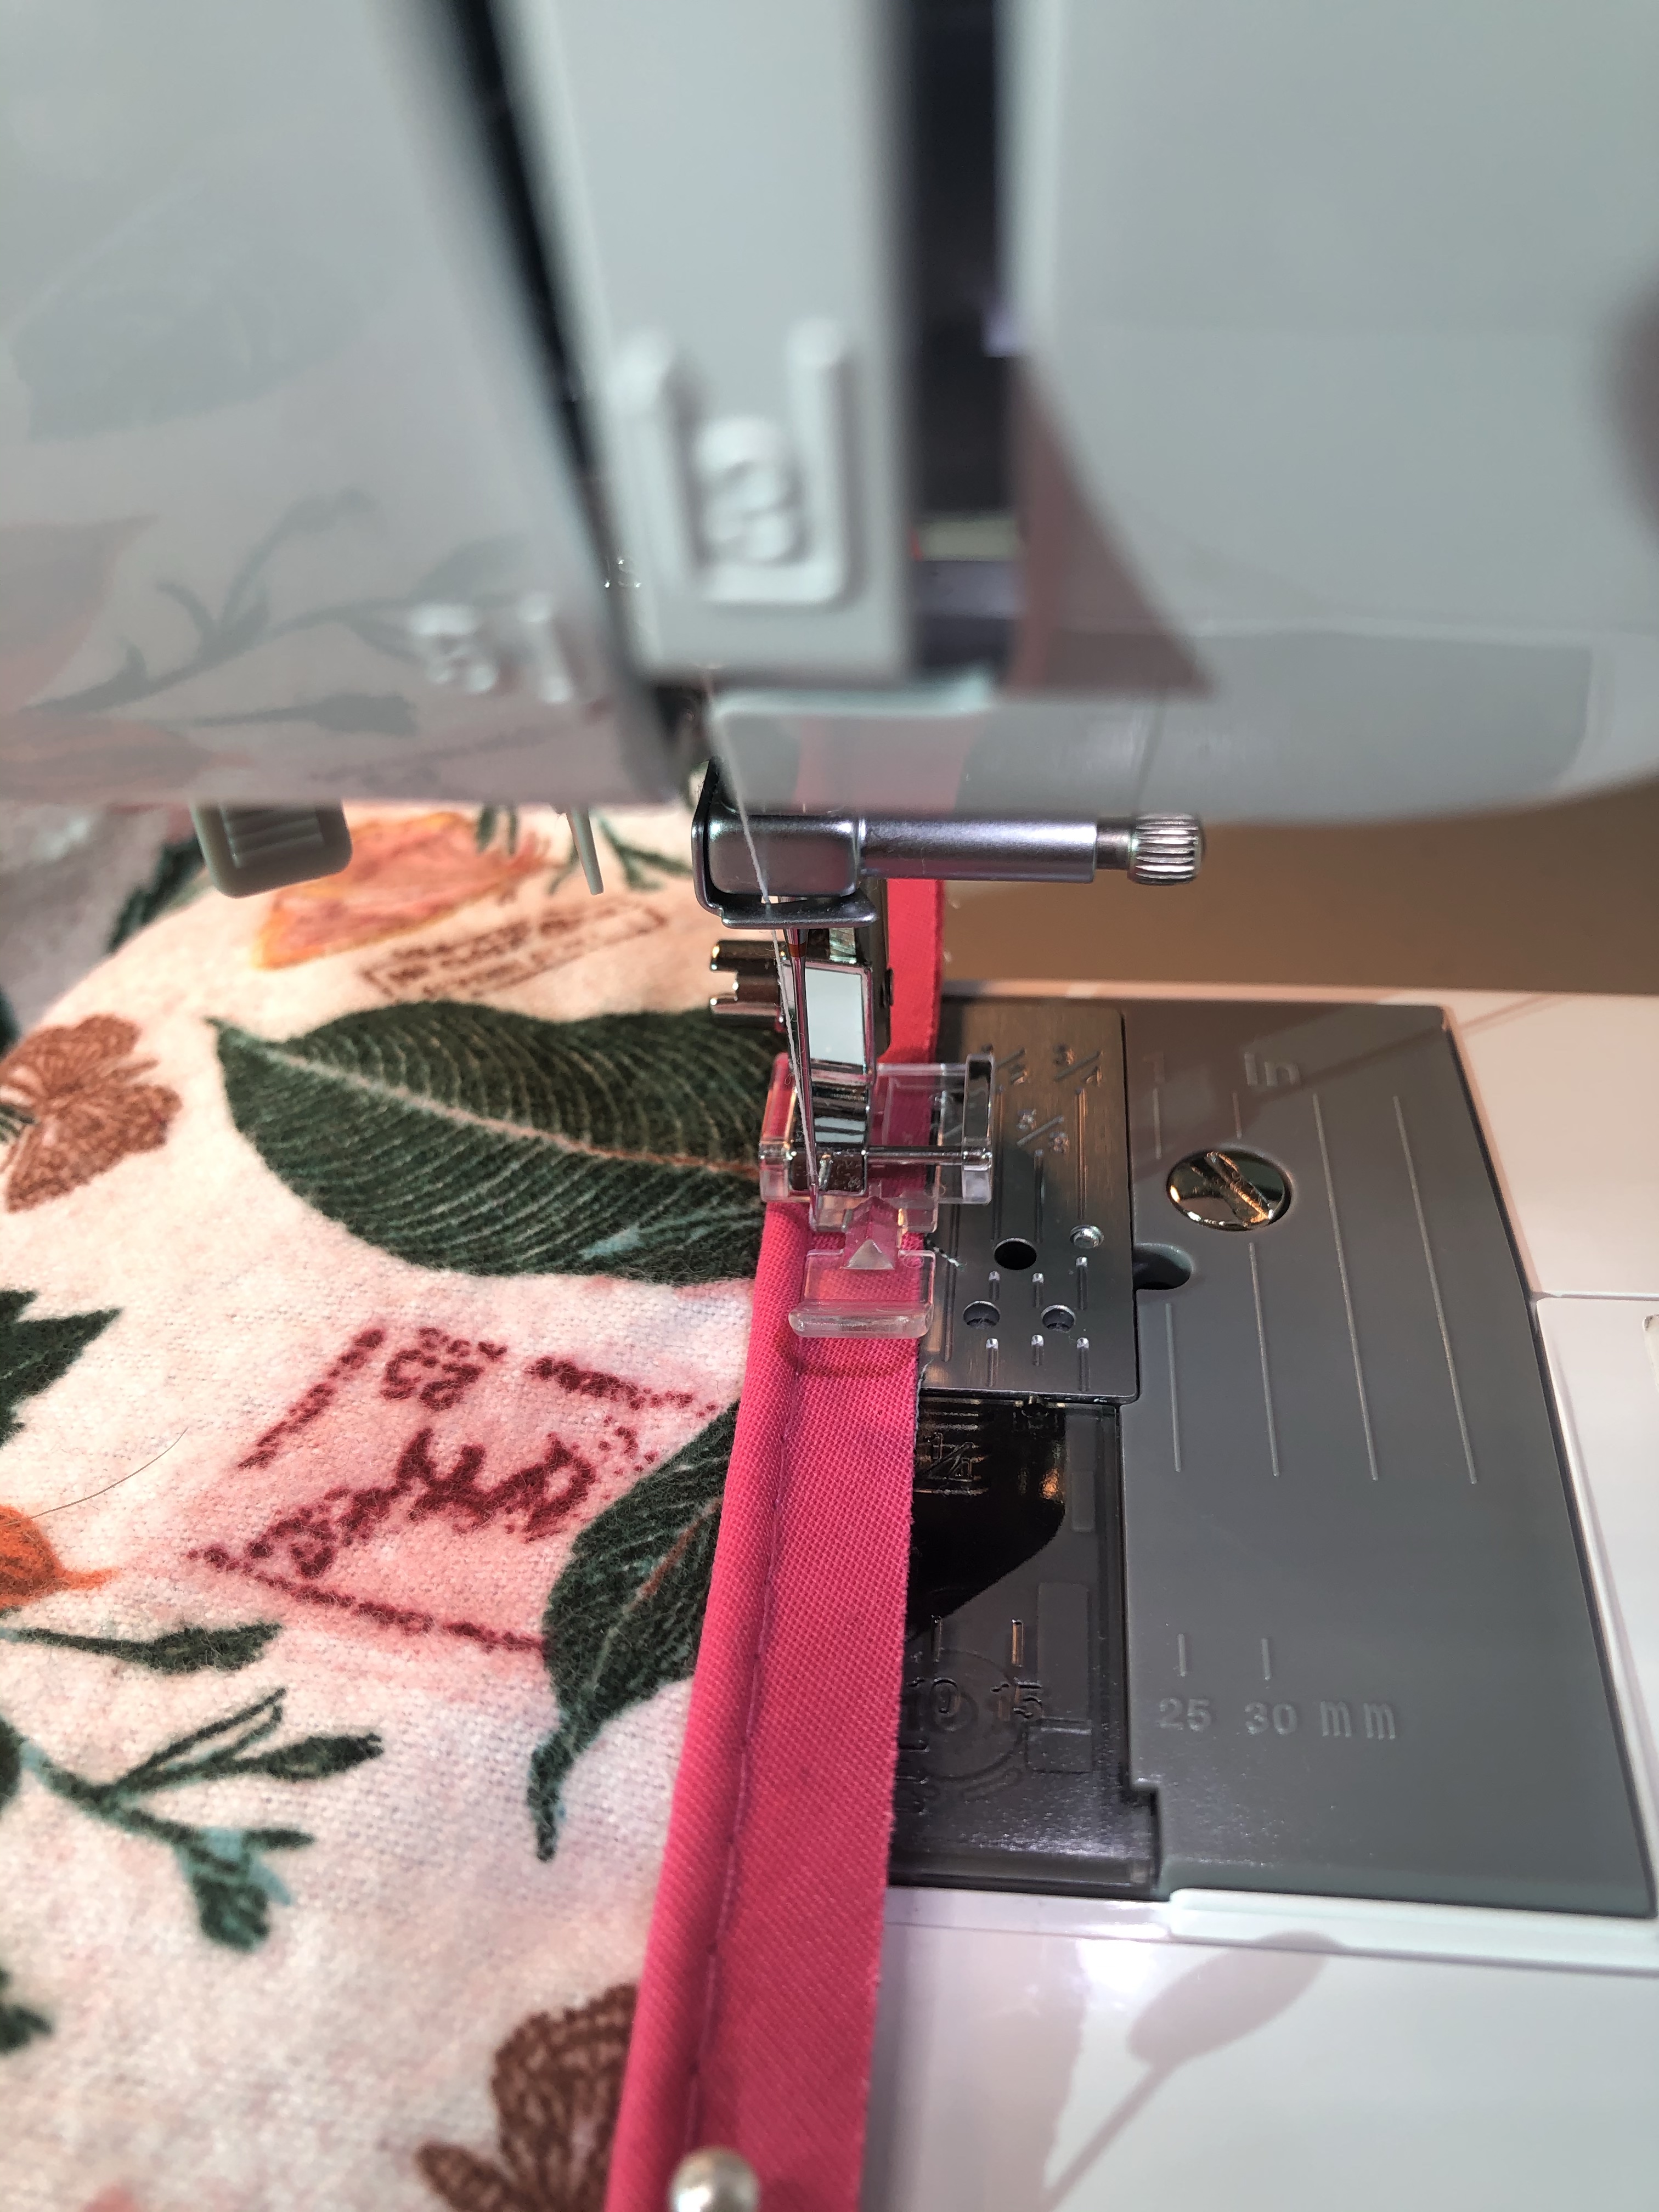
Got real cozy with my zipper foot this week.
Days 3 & 4 were spent sewing the collar and front facings. The instructions for the collar were so confusing. I had to consult a lot of other online resources to figure it out. I had an idea of how it was supposed to be sewed on but the piping was throwing me off. Like, how do you get the piping to show on the outside when you have to sew the right sides together and turn it inside out?? Well luckily I was able to troubleshoot this pretty quickly, consulting my good friend Mr. Google. Once I sewed it on I was feeling pretty good of how everything was looking. Because of the lame collar instructions, I rated this pattern 4 out of 5 stars on Pattern Review.
Day 5: BUTTON day. I knew it was coming and I couldn’t sleep the night before. I was going to learn how to sew this buttonhole no matter what. My sewing machine has a buttonhole foot so I busted out the manual and practiced the heck out of it on a scrap piece of flannel. I even practiced slicing open the hole.
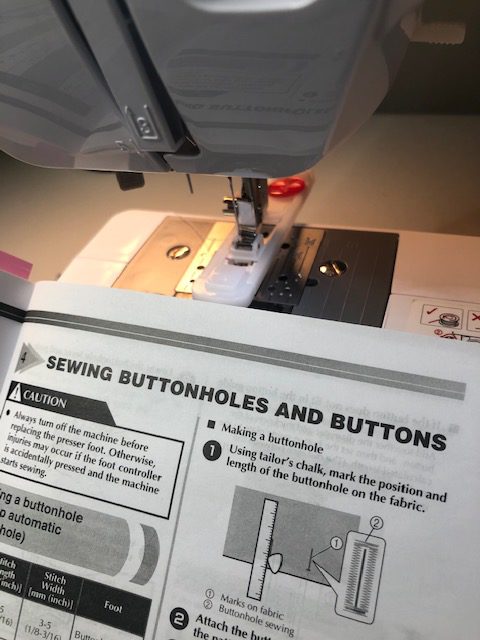

Buttonhole foot 
Practice makes perfect
Once I was comfortable I sewed the buttonholes onto the top and the tabs. Of course it was not smooth sailing. The second buttonhole was all wonky and the bobbin created a thread birdnest underneath. Picking all that out was annoying as heck! There were probably 5000 stitches!! (Over-exaggerated of course, lol) But it was a learning experience and since I had 4 buttonholes on the front plus the 4 from the roll tabs I knew I was going to master it by the end of the week.
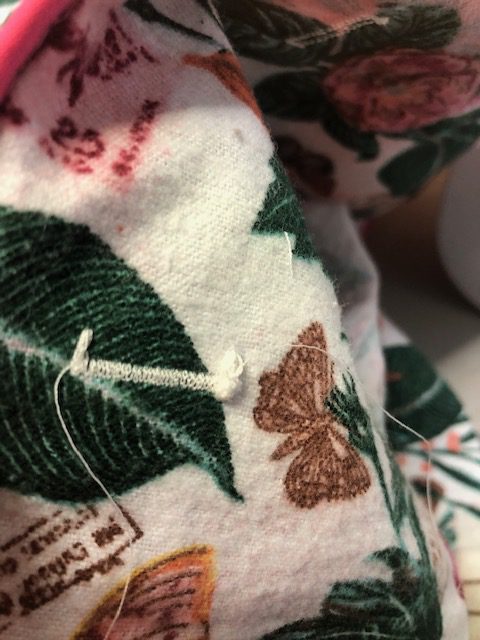
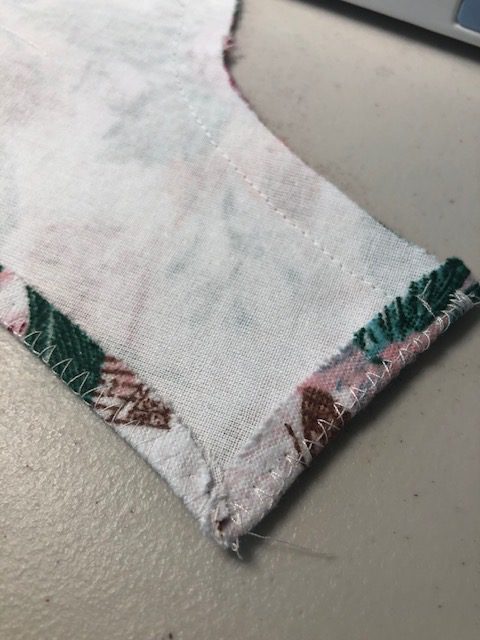
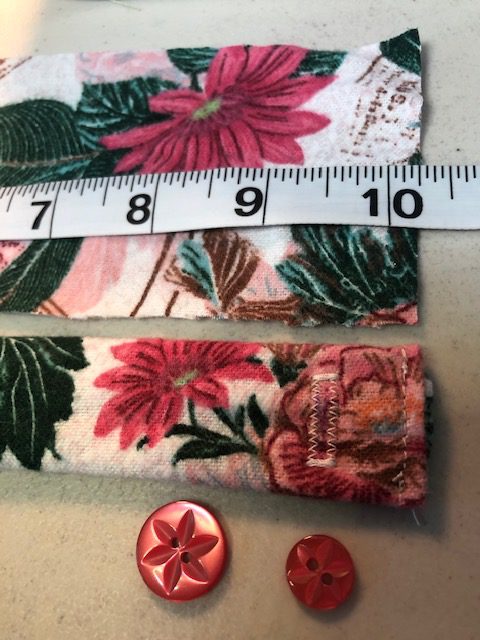
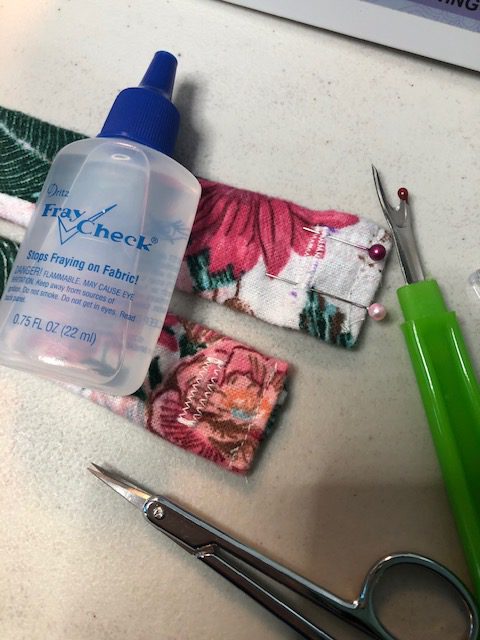
To create the roll tabs for the pants I cut a 10″ x 3″ rectangle, folded it in half lengthwise and sewed around the open edges using a 1/4″ seam allowance. I did the same process for the sleeve tab but cut a 8″x3″ rectangle. To attach, I eyeballed where the side of my knee hits the outside of the pant seam. For the sleeves I sewed the tab down 6″ from the top of the sleeve cap, lining up with the top of my tricep. Then I sewed a small 1″x1″ box to attach the tabs on the inside of the pants and arms. I used that box as a guide on where I should sew the button on the outside.
Day 6: More buttons and buttonholes. I read a tip to use fray check on the buttonholes before you slice them open. I think it works ok.
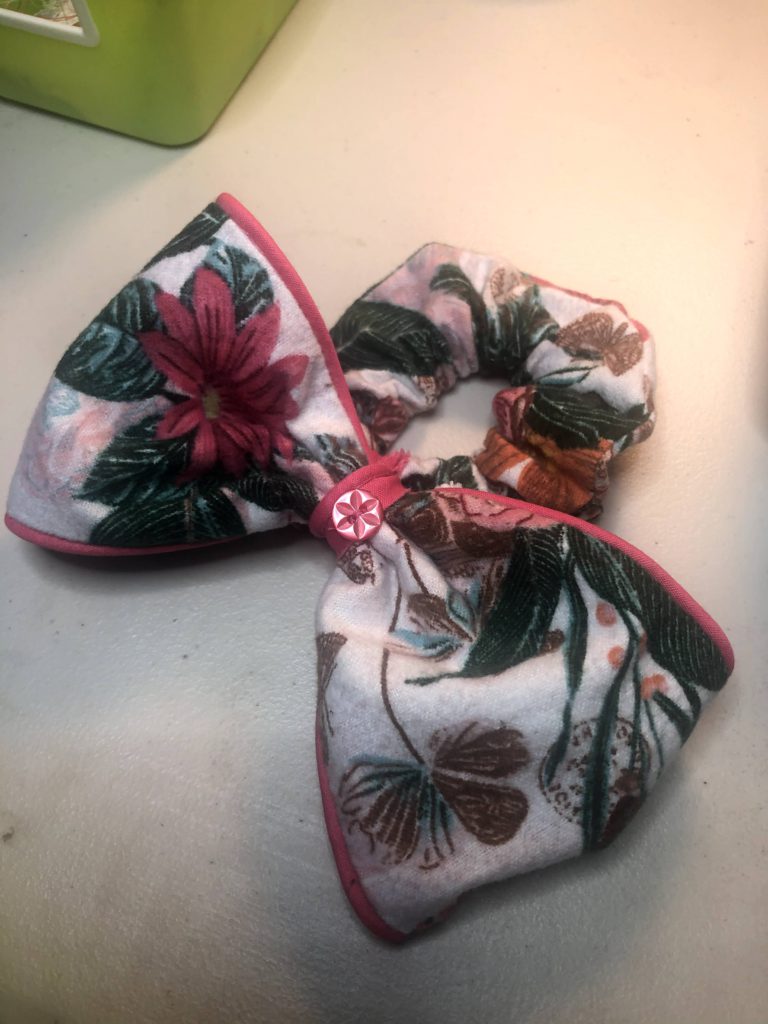
As far as the buttons go, my button foot will also sew buttons on for you but I don’t trust it, lol. I handsewed all 8 on. All 8! It made me wonder how seamstresses who sew all those buttons on the back of a wedding gown do it. Talk about a lot of concentration and hand coordination. I actually finished early in the day so I decided to create a matching scrunchie using the leftover piping and flannel.
Day 7: My flannel set is complete! Now time to enter my project into the contest.